



















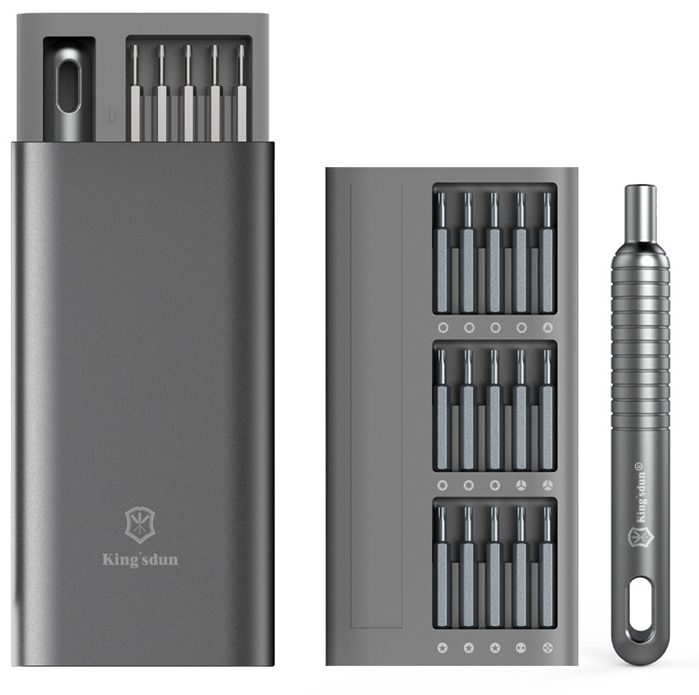


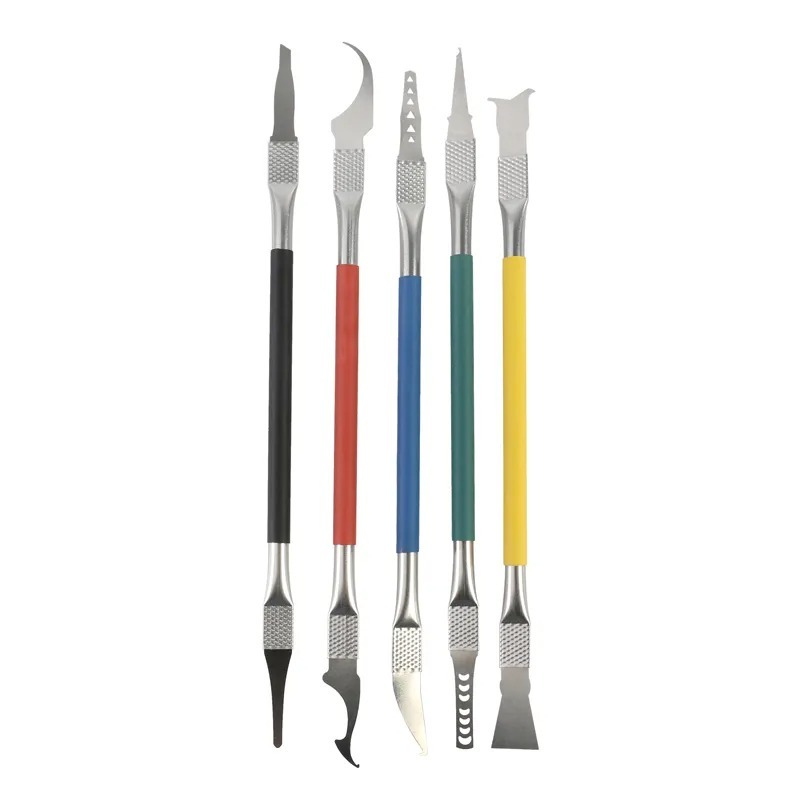

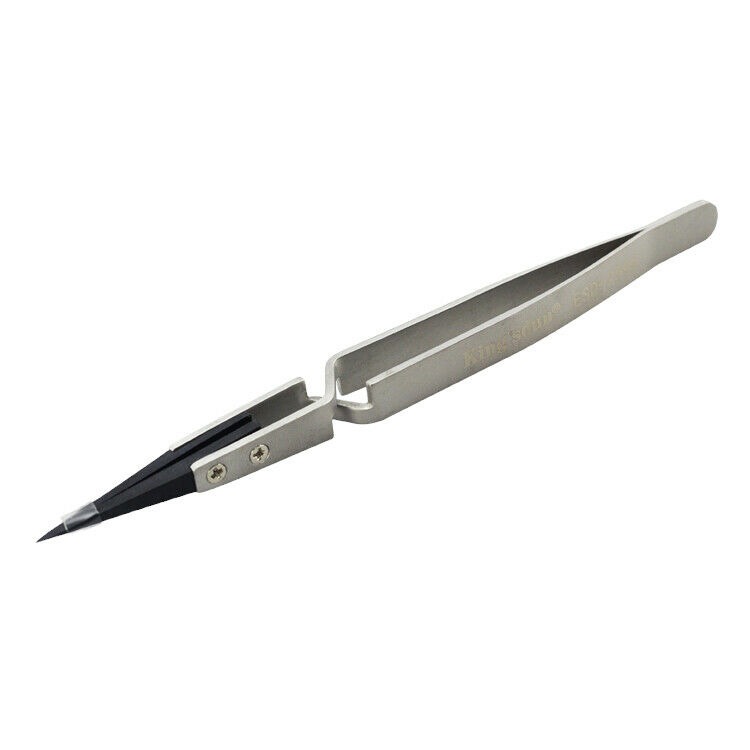






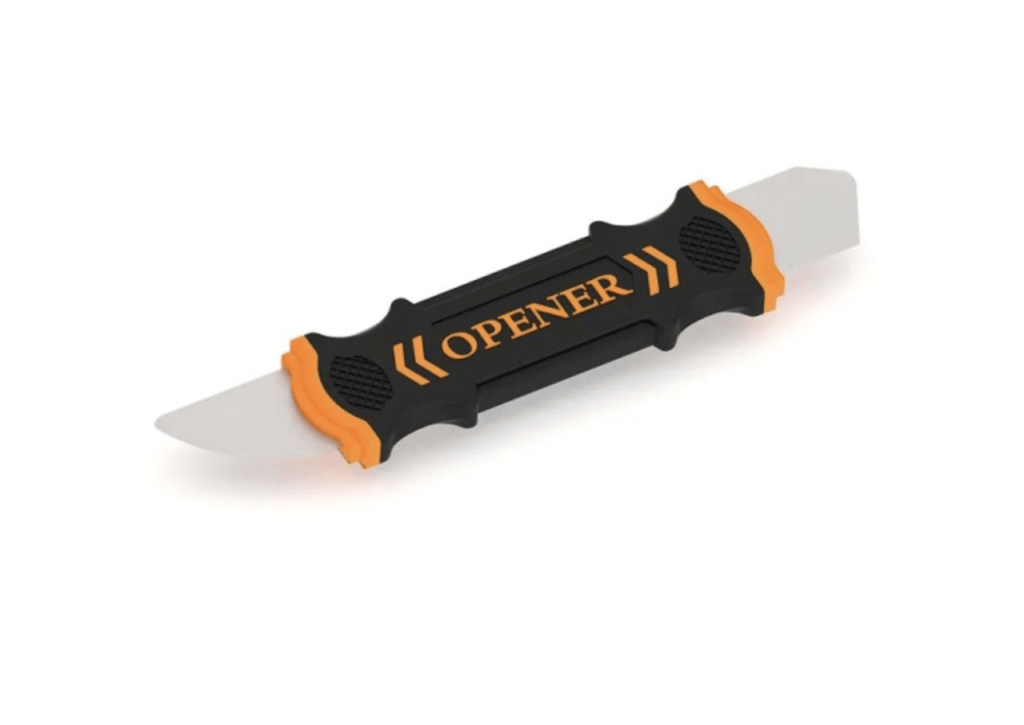





Model: MacBook Air 13-inch Retina Intel (A2179) | Level: Intermediate | Tools: Pentalobe screwdriver, suction cup, plastic spudger, T3 Torx screwdriver, T5 Torx screwdriver, T8 Torx screwdriver
Performing a MacBook Air A2179 LCD replacement restores your display without forcing you to buy a whole new computer. Because Apple secured the display hinges and delicate Wi-Fi vent module directly above sensitive internal flex cables, proper screw organization and careful cable routing are critical.
If your 2020 Retina display suffers from horizontal lines, cracked glass, continuous dark ink spots, or flickering backlights, swapping the display assembly resolves the issue completely.
Follow along as our lead TEKDEP technician walks you through every fastener and antenna cable in the guide below. Let’s get started.
How to Perform a MacBook Air A2179 LCD Replacement (Quick Overview)
- Remove the bottom case screws and immediately disconnect the battery power connector.
- Remove the Wi-Fi module and display retention brackets using precision Torx bits.
- Peel the glued antenna vent bar away from the top edge with care.
- Unscrew and remove the heavy hinge screws and separate the chassis from the screen.
- Slot the replacement panel into the hinge channels and reattach all Torx Screws.
- Plug in the display connector and antenna heads before re-engaging battery power.
- Run a full bench power test to verify image clarity and sleep sensor triggers.
🛠️ Required Tools & Preparation
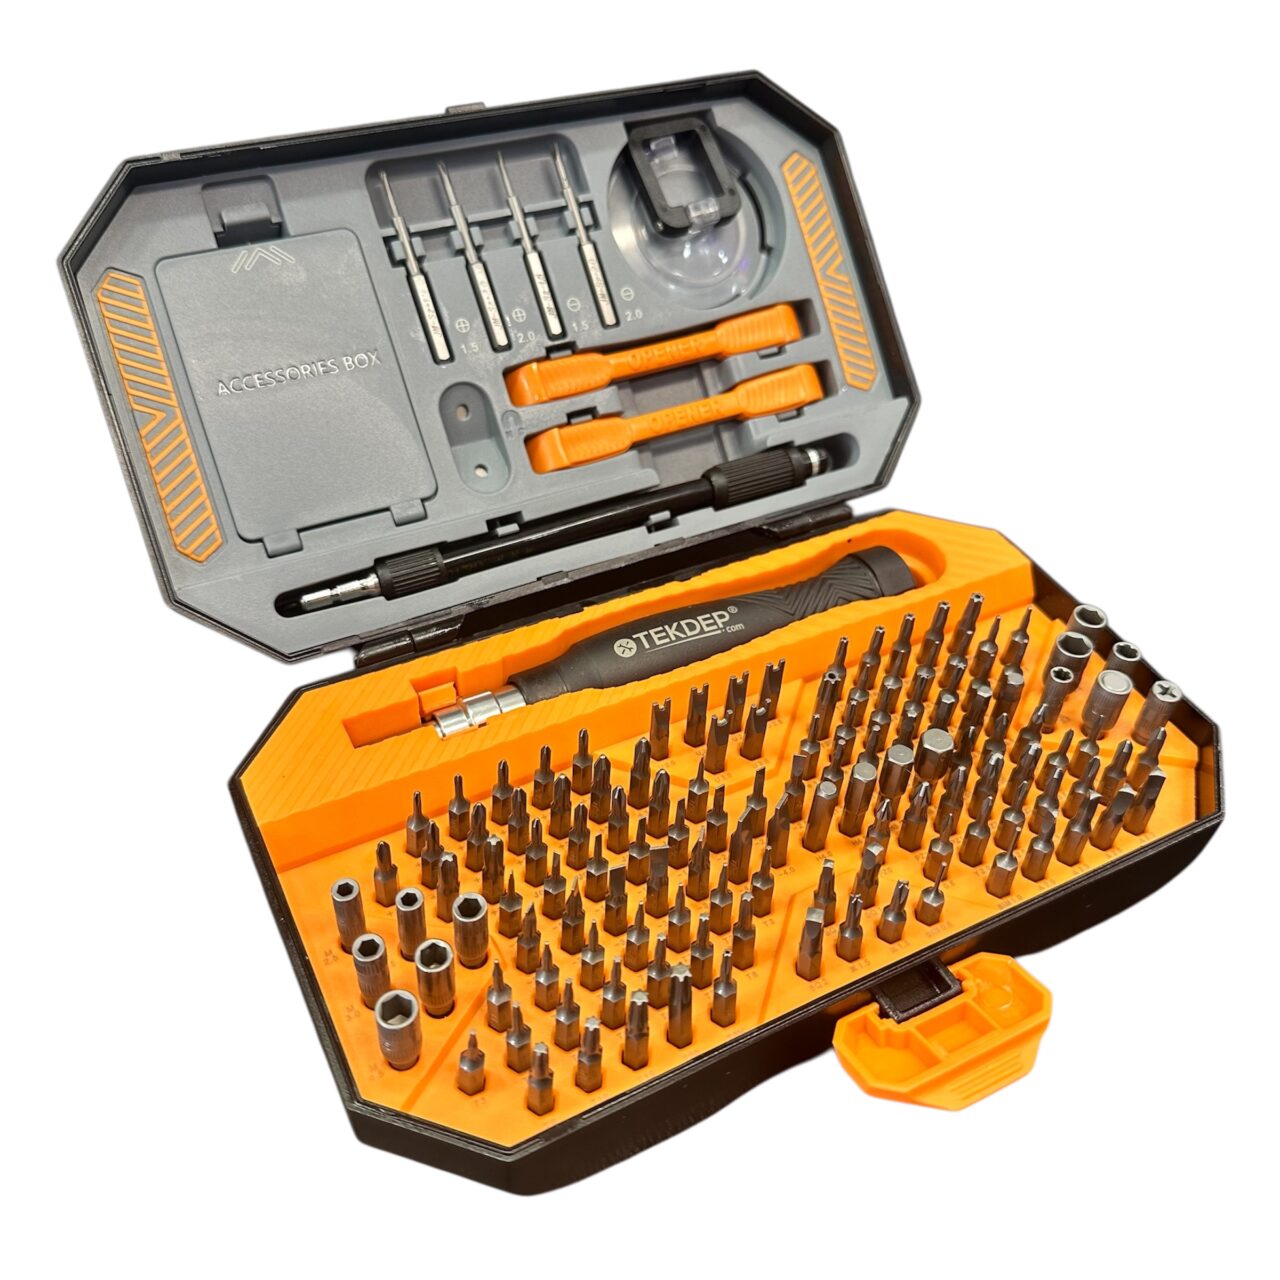
A proper A2179 screen repair requires exact screwdriver sizes to avoid stripping soft aluminum Screws. Power down the laptop completely before loosening any hardware.
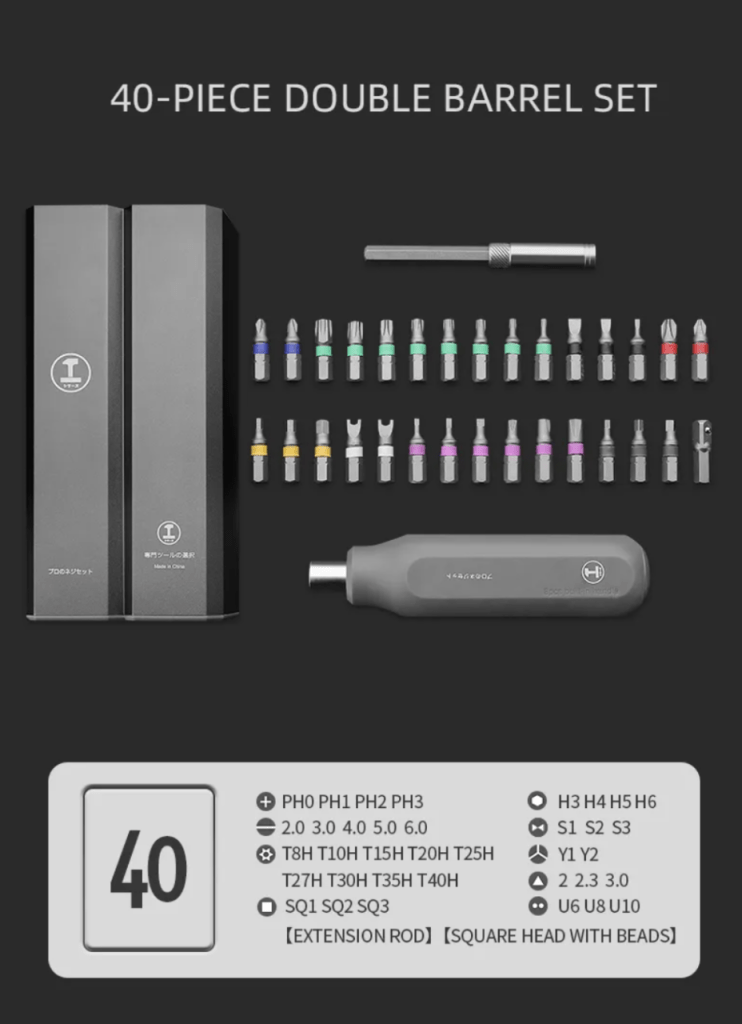
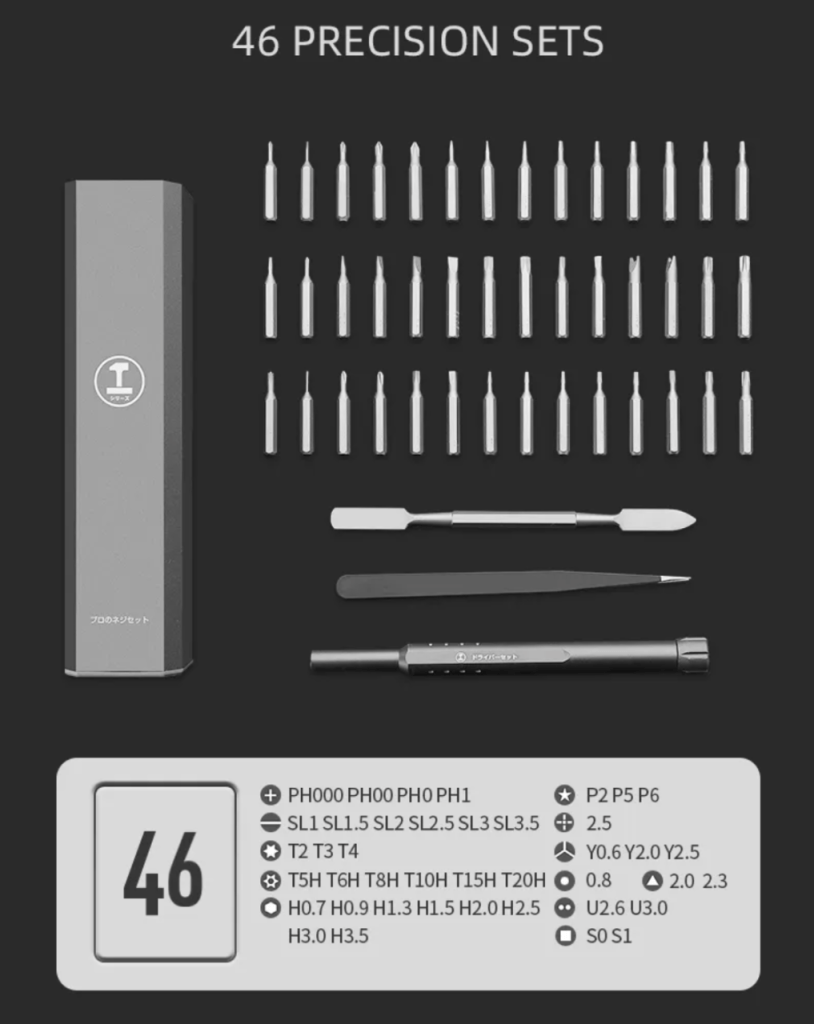
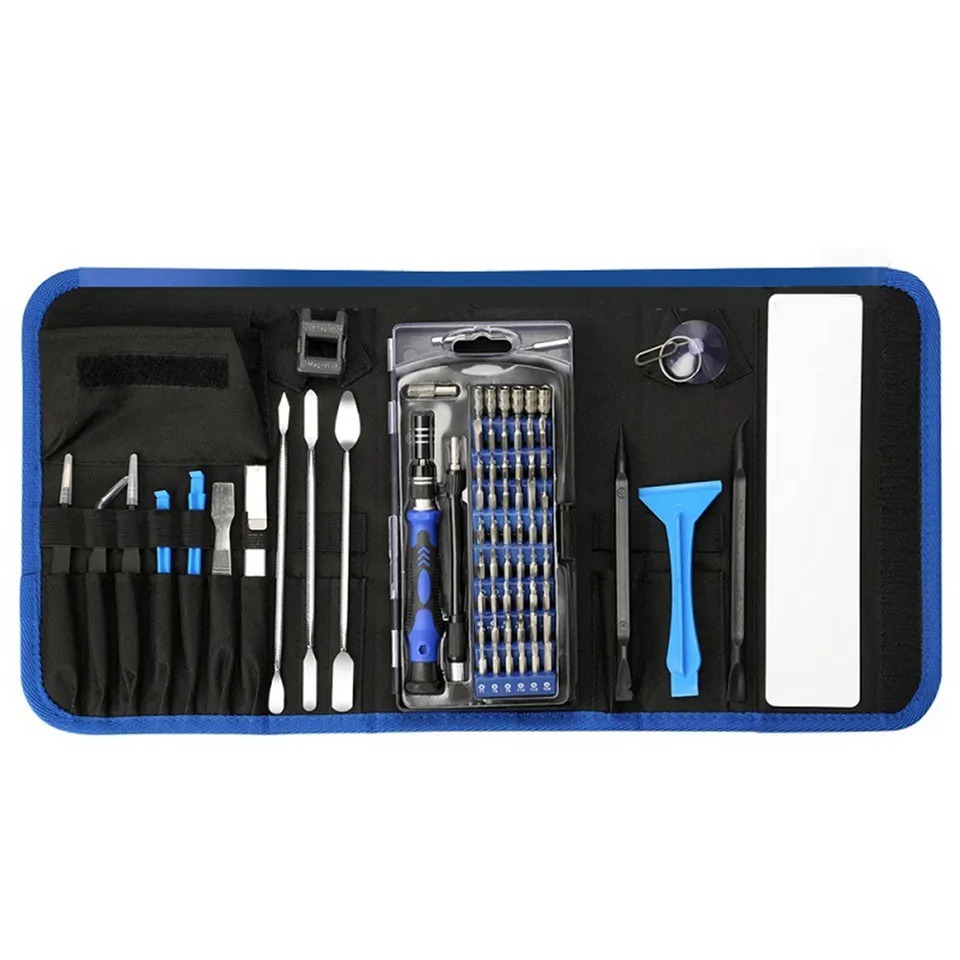
- Pentalobe screwdriver: extracts the ten lower housing exterior screws.
- Suction cup: safely pops open the internal clips holding the bottom cover without bending the metal
- Plastic spudger: safely unplugs sensitive antenna cables and lifts glued parts.
- T3 Torx screwdriver: handles antenna retention plates and display connector brackets.
- T5 Torx screwdriver: removes the antenna vent housing and the small display board anchors.
- T8 Torx screwdriver: releases the structural display hinge bolts.
Get the Exact Tools Used by Our Techs:
⚠️ Before you start: Disconnect the battery connector before touching any logic board circuitry. Torx screws on this model vary widely in length, so keep each cluster organized to avoid punching through internal layers.
Phase 1: Access & Power Isolation (Bottom Case and Battery)
Opening the chassis cleanly and cutting off live battery voltage protects delicate logic components from accidental short circuits during your MacBook Air A2179 LCD repair.
Step 1: Remove the Lower Case Screws
Flip the laptop upside down on a soft mat to prevent scratching the aluminum lid during disassembly.
- Remove the ten Pentalobe screws around the lower case perimeter using your driver.
- Keep the four top screws separated, as they are the longest fasteners in the set.
- Group the two center edge screws, which represent the shortest fasteners in the case.
- Set aside the four bottom screws, which share similar medium dimensions.

Step 2: Lift the Cover and Disconnect the Battery
Internal clips secure the center of the case, requiring steady upward suction rather than aggressive prying.
- Attach your suction cup near the center of the plate and pull upward until the internal clips pop free.
- Locate the primary battery connector leading into the logic board socket.
- Pull the connector straight back away from the board to cut off power safely.

Phase 2: Releasing Antennas, Connectors & Hinge Brackets
To remove the old screen, you need to free the antenna vent bar and unplug the video cables.
Step 1: Remove the Vent Screws and Board Brackets
Precision screws hold the antenna assembly and the small display control board to the chassis frame.
- Take a T5 Torx screwdriver and extract the four long screws holding the Wi-Fi vent module.
- Remove the two black screws securing the center LCD board to the top case using the same T5 Torx bit.
- Switch to a T3 Torx screwdriver to remove the one screw on the antenna retention bar.
- Extract the two T3 Torx screws holding the metal retention plate over the LCD connector.

Step 2: Unplug Cables and Peel the Wi-Fi Vent Module
The antenna module uses light perimeter adhesive, requiring slow leverage to prevent cracking fragile plastic vents.
- Unplug the wide LCD flex connector straight up from its logic board seat.
- Use a plastic spudger to gently pry the coaxial Wi-Fi antenna heads upward off the logic board.
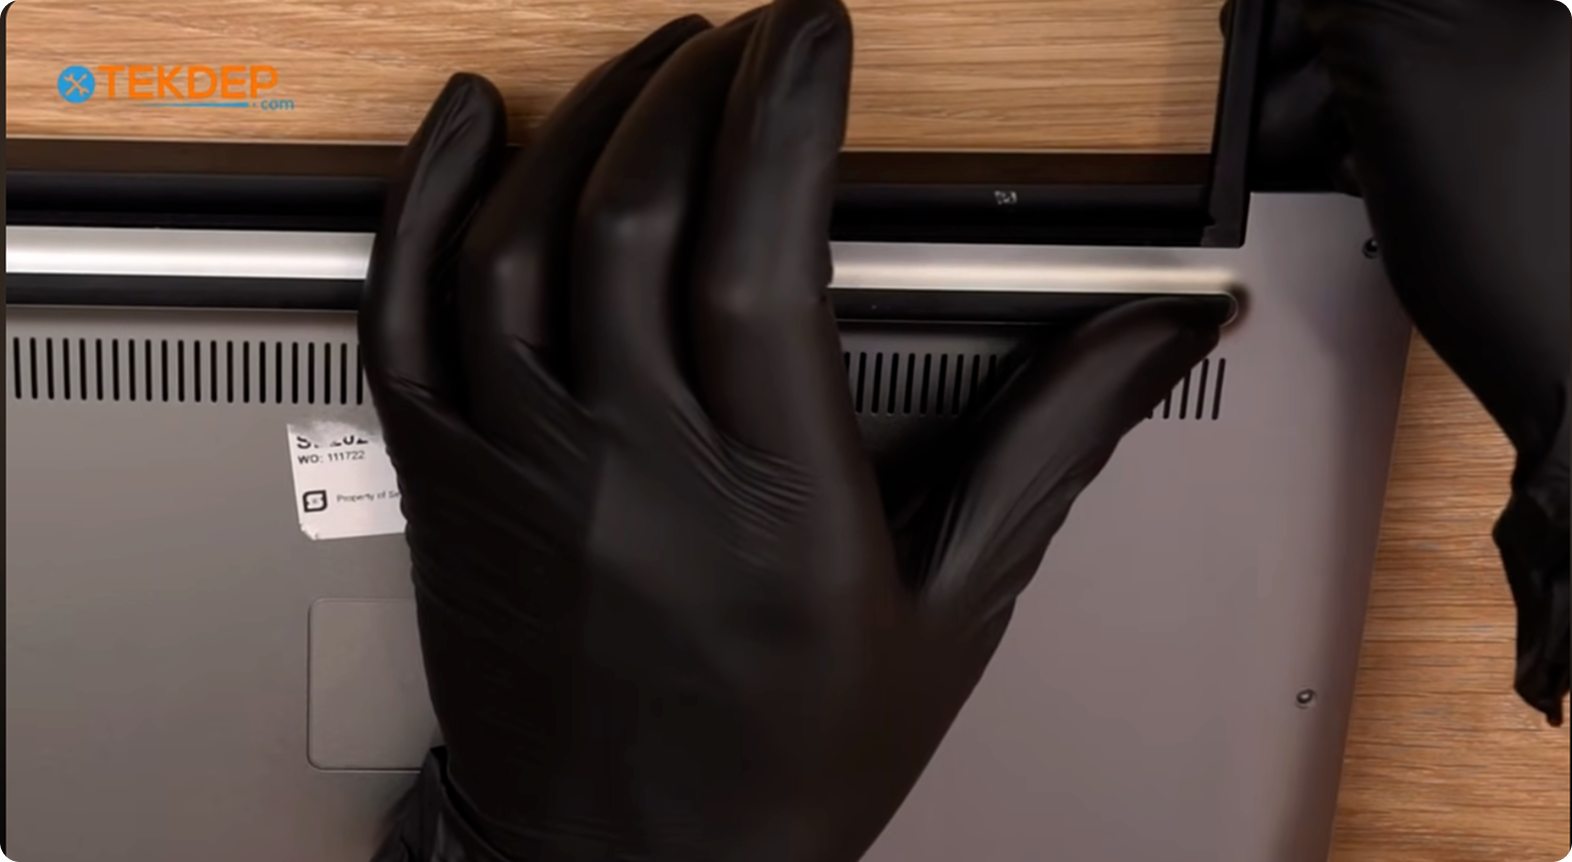
- Carefully pry and peel the Wi-Fi vent module away from the chassis adhesive.

TekDep Expert Warning: The Wi-Fi antenna vent bar is glued directly along the rear frame. Never yank it quickly; peel slowly from end to end to keep from snapping the thin plastic channel.
Step 3: Remove Hinge Screws and Separate the Old MacBook Air A2179 LCD
Heavy hinge bolts support mechanical screen tension and must be fully removed before you separate the display halves.
- Use a T8 Torx screwdriver to take out the six hinge screws, three on each side.
- Partially open the MacBook Air assembly to a ninety-degree angle over your table edge.
- Slide the bottom keyboard chassis up and clear of the structural hinge posts.

Phase 3: Mounting the New Display & Routing Cables
Routing the cables carefully stops them from getting pinched when you install the new screen.
Step 1: Fit and Secure the Display Hinges
Align the hinge anchors carefully to avoid getting the hinges stuck during regular opening and closing.
- Feed the display flex cable into the chassis opening, ensuring it rests inside rather than beneath the edge.
- Align the hinges with the top case recess until both sides click firmly into position.
- Gently close the chassis while guiding the hinge posts into their recessed pockets.
- Install the six T8 Torx screws firmly to lock the display hinges securely in place.
Step 2: Reinstall the Antenna Bar and LCD Board
Route the board and flex cable through the proper ventilation openings to avoid crushing data lines.
- Insert the LCD board into the vent. Keep the main display cable outside the slot.
- Attach the Wi-Fi vent module using the four long silver T5 screws.
- Move the two black T5 screws into the small LCD board to anchor it flush.

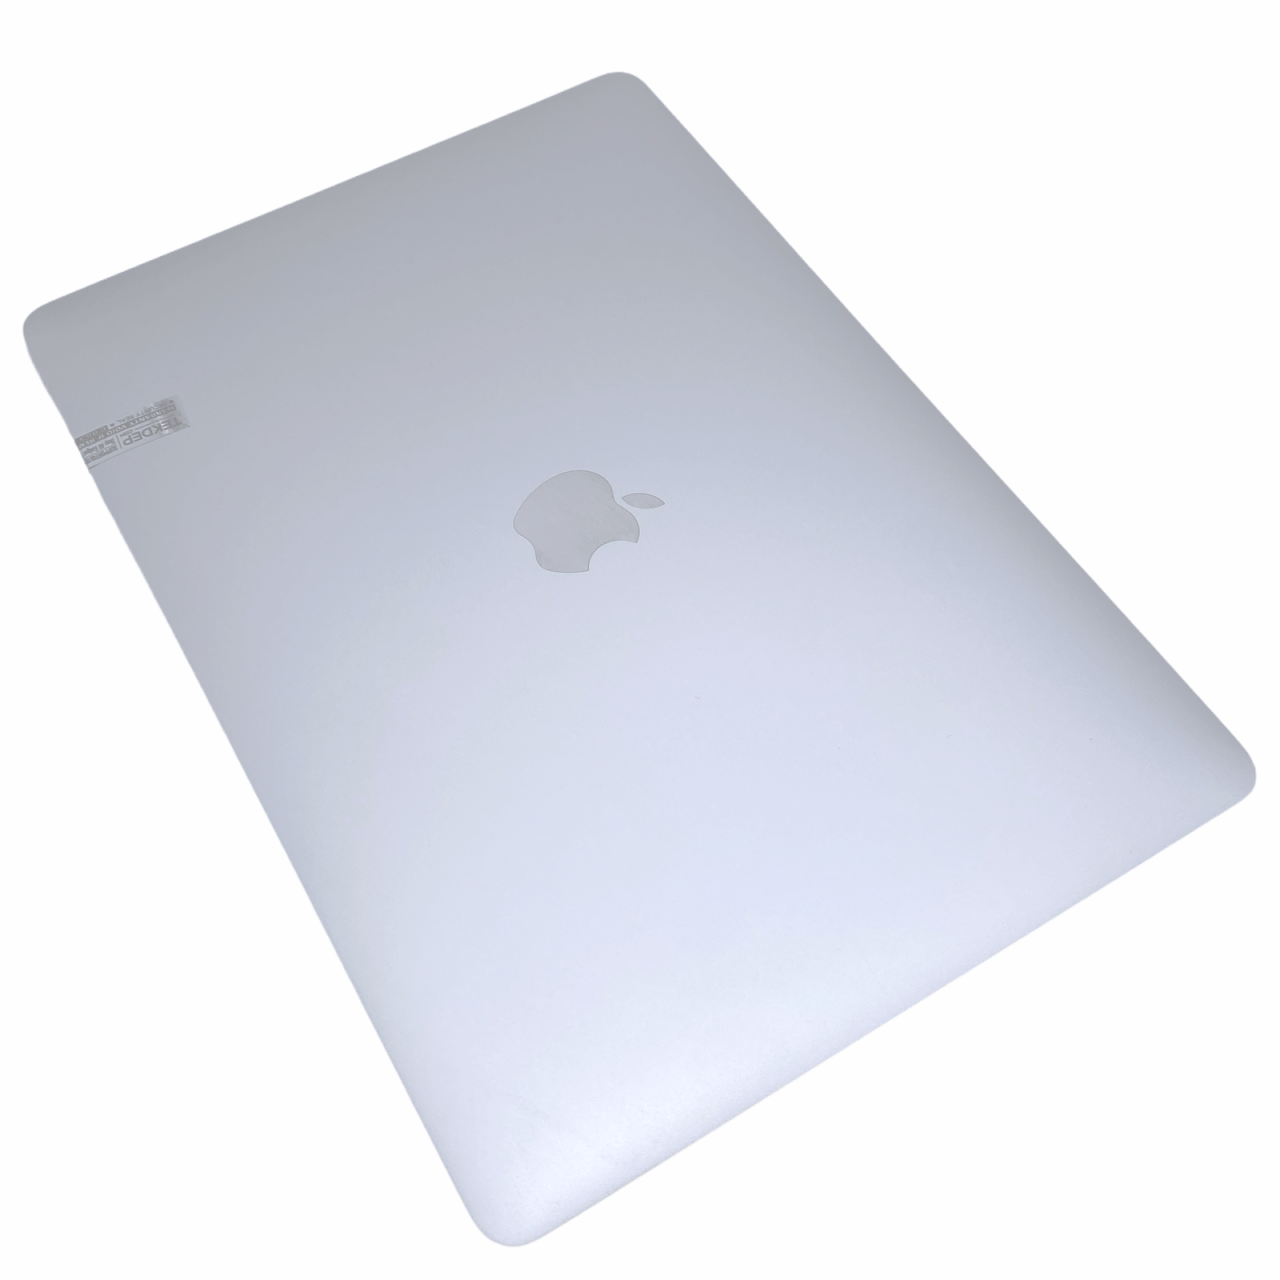
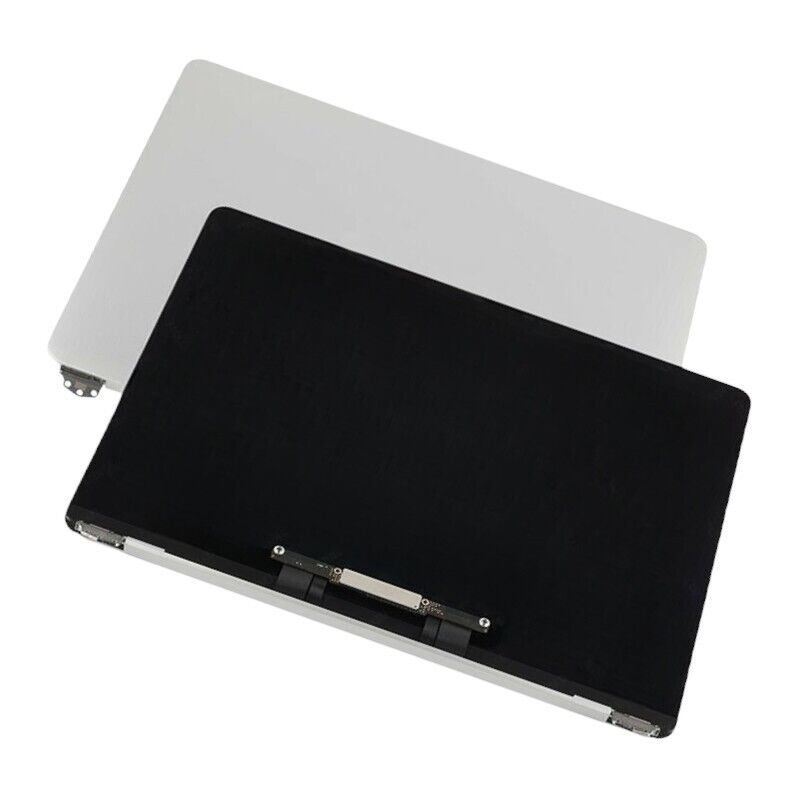
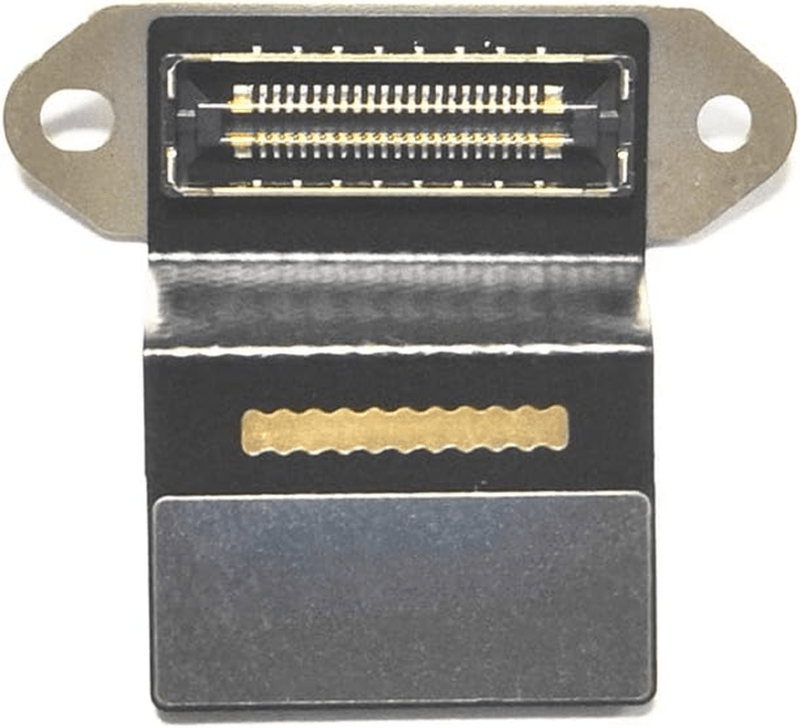
Get the replacement parts and tools for MacBook Air A2179:

Phase 4: Reconnection, Bench Testing & Closing
Plug in all the cables and test the screen before putting the bottom cover back on.
Step 1: Reconnect Display Cables and Antennas
Make sure every cable clicks firmly into place on the logic board before screwing the metal plates back on.
- Press the wide display connector firmly into its logic board socket.
- Snap both miniature Wi-Fi antenna terminals straight down onto their logic board pegs.
- Install the display retention bracket and secure it with the two T3 Torx screws.
- Attach the antenna bracket bar using the single T3 Torx screw.
- Plug the main battery connector back into the board to restore system power.
Step 2: Bench Test for MacBook Air A2179 LCD and Lid Sensor
Testing the screen with the base open saves significant time if a flex connection requires reseating.
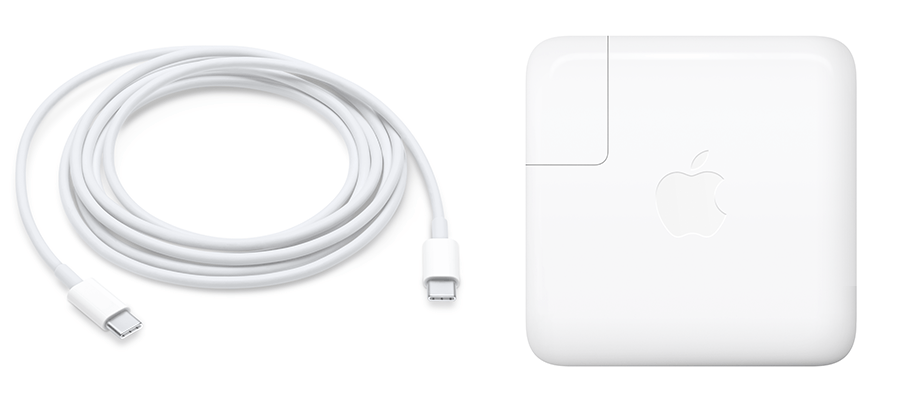
- Connect your USB-C power adapter and listen for the Apple startup chime.
- Inspect the panel as it boots to verify clean backlighting with no vertical lines or distortion.
- Slowly close the lid to make sure the screen turns off right before it shuts. This checks that the sleep sensor is working

Step 3: Reinstall the Bottom Cover
Align the bottom plate flush with the chassis perimeter and snap the center mounting tabs inward. Fasten the ten Pentalobe screws back into their matching positions, returning the longest bolts to the top edge.
Congratulations! You have successfully replaced the LCD on your MacBook Air A2179.
🛑 Not Comfortable Handling Fragile Screen Cables? If reading about glued antenna housings and micro-coaxial connectors has you second-guessing your DIY skills, don’t worry. The TEKDEP experts are here to help.
We offer clean, professional, and affordable Mail-In repair services for the entire Apple MacBook lineup.
Frequently Asked Questions about the MacBook Air A2179 LCD Replacement.
Is it hard to do a MacBook Air A2179 LCD replacement?
It is moderately difficult due to the fragile antenna vent assembly and tiny Torx Screws. Swapping the entire display assembly avoids the need to peel glass layers, making it manageable for careful DIY builders with the right screwdrivers.
Why does the screen turn off when tilted partially closed?
Apple uses an internal proximity lid sensor to put the laptop to sleep before the top case closes completely. If your screen remains illuminated when fully lowered against the deck, the sensor flex is disconnected or misaligned.
Do all bottom screws on the A2179 use the same length?
No, the ten lower Pentalobe screws feature three distinct lengths. The four along the top edge are noticeably longer than the side and bottom Screws, so track their positions during disassembly to prevent chassis damage.
🛑 IMPORTANT: SAFETY & LIABILITY DISCLAIMER: TEKDEP®️ TEKDEP.com assumes no liability for property damage or injury incurred as a result of any information in this blog post or associated videos. Dealing with internal computer components, specifically Lithium-Ion batteries, carries natural risks including fire, toxic gas exposure, and irreversible device failure. Any injury, damage, or loss from improper use of tools, mishandling of components, or misinterpretation of this information is the sole responsibility of the user. Perform repairs at your own risk. If you are unsure of your capabilities, please utilize our professional Mail-In Repair Service.