











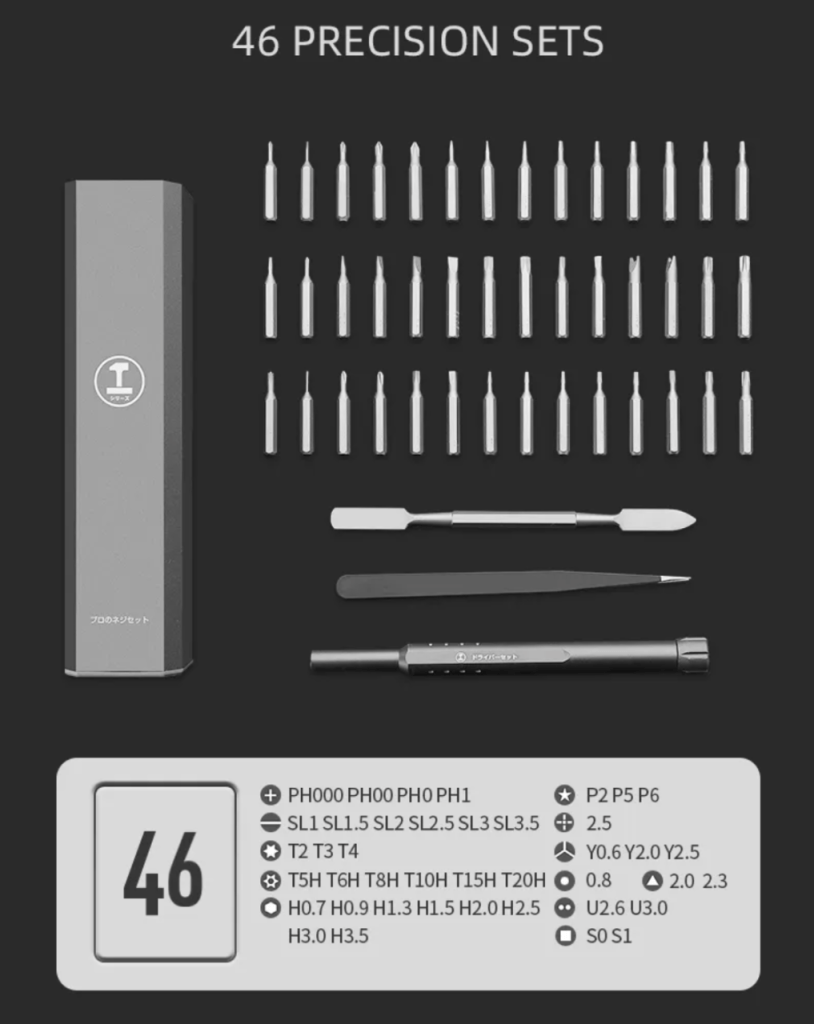
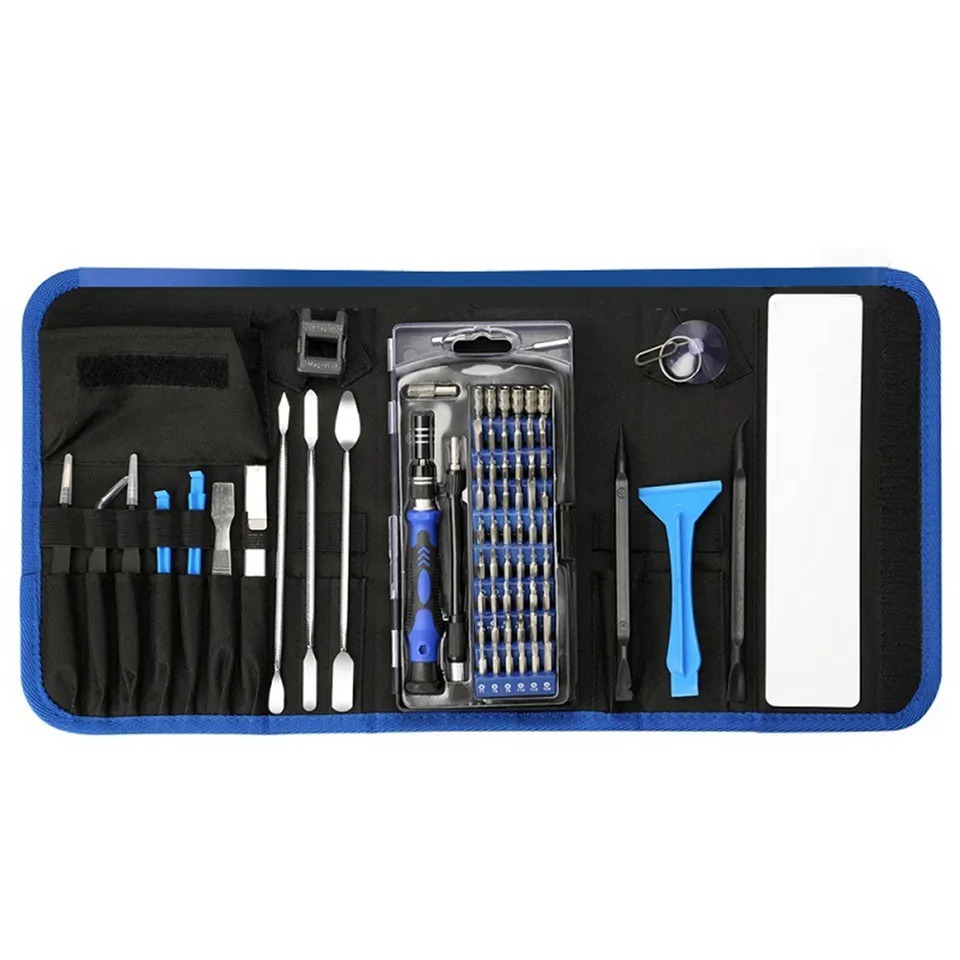


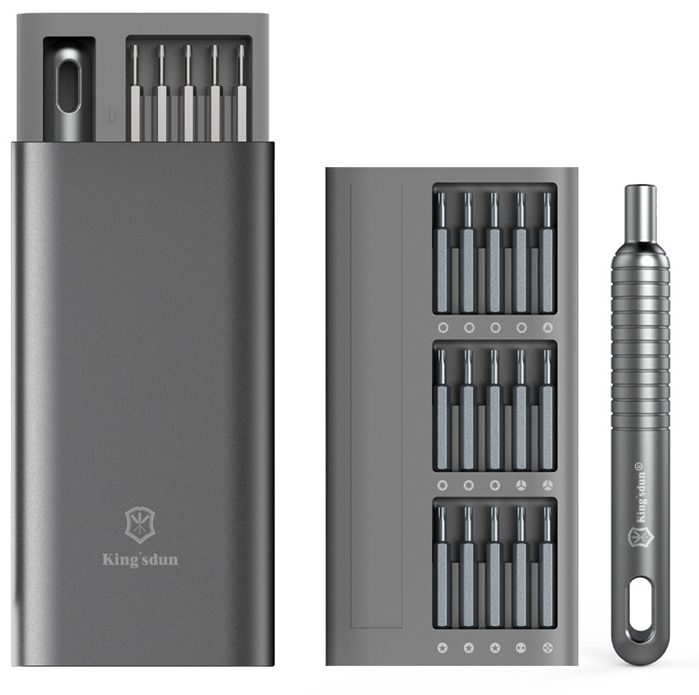


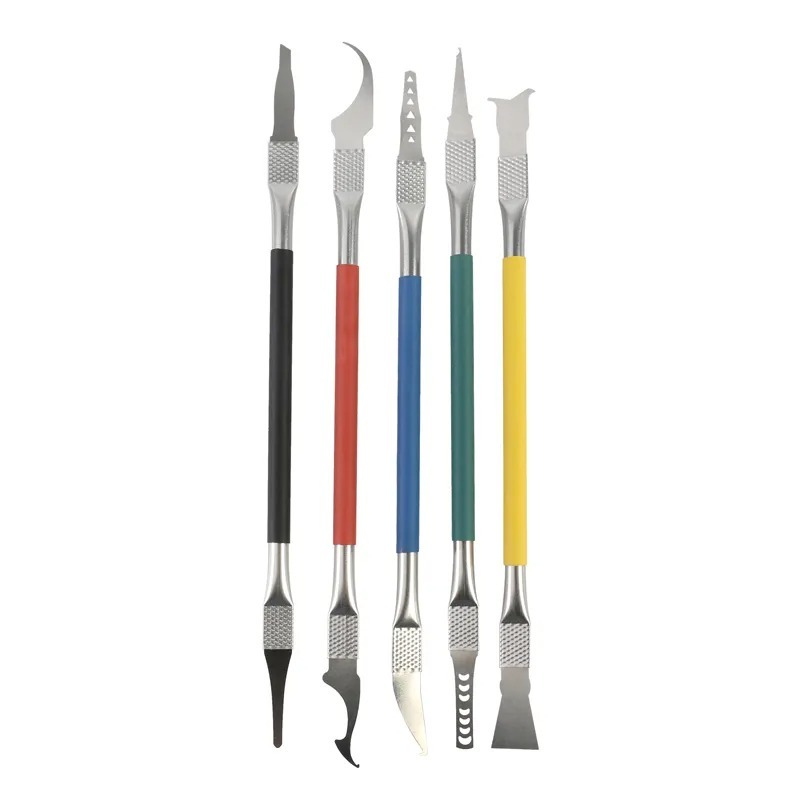
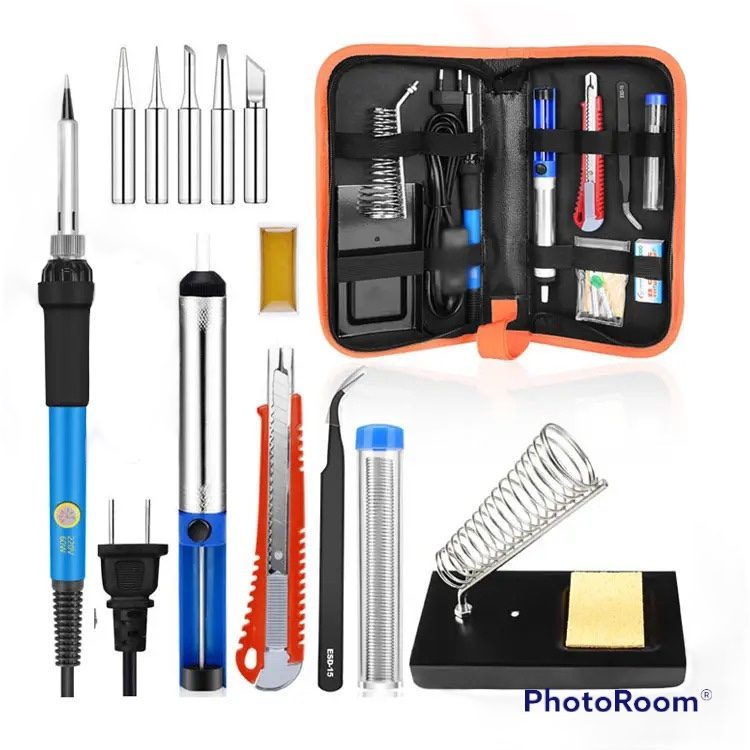

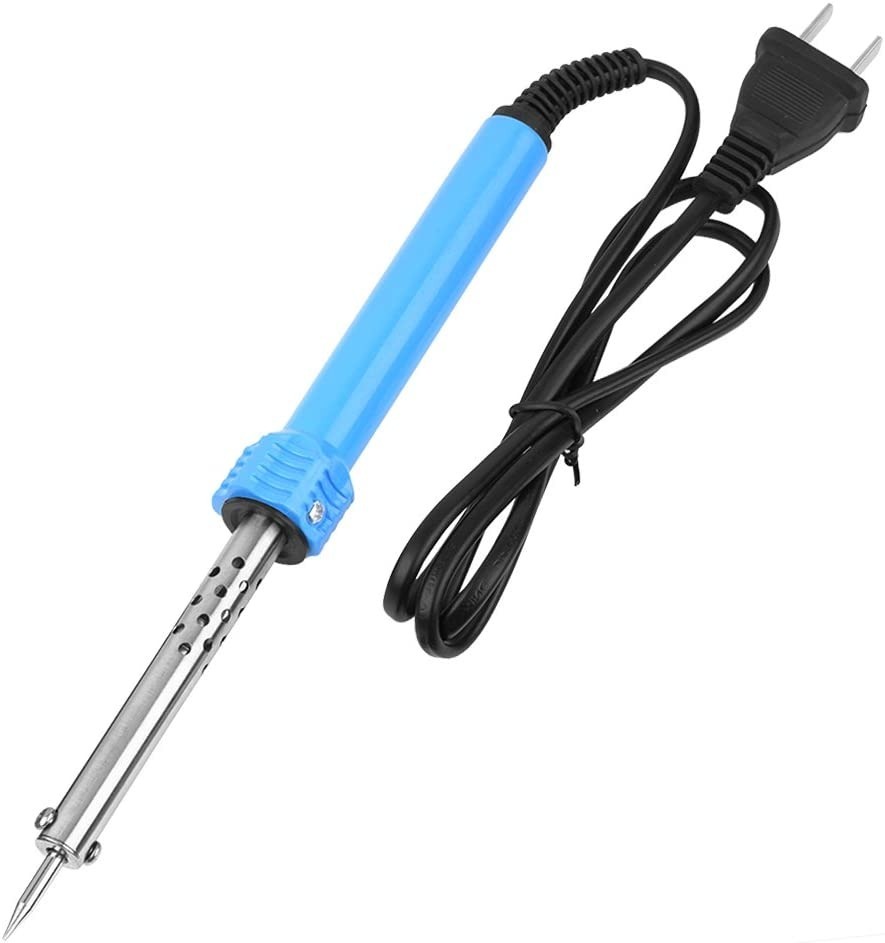
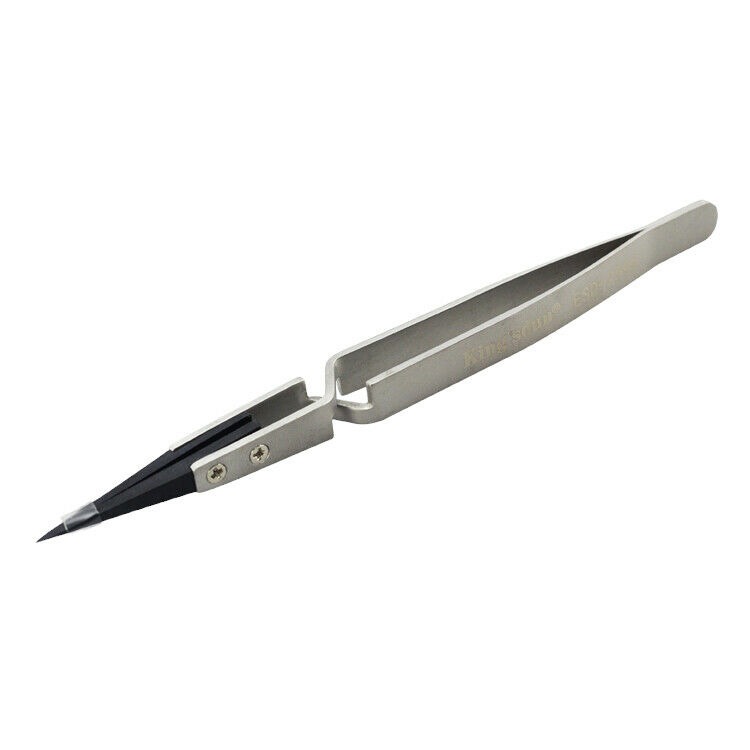

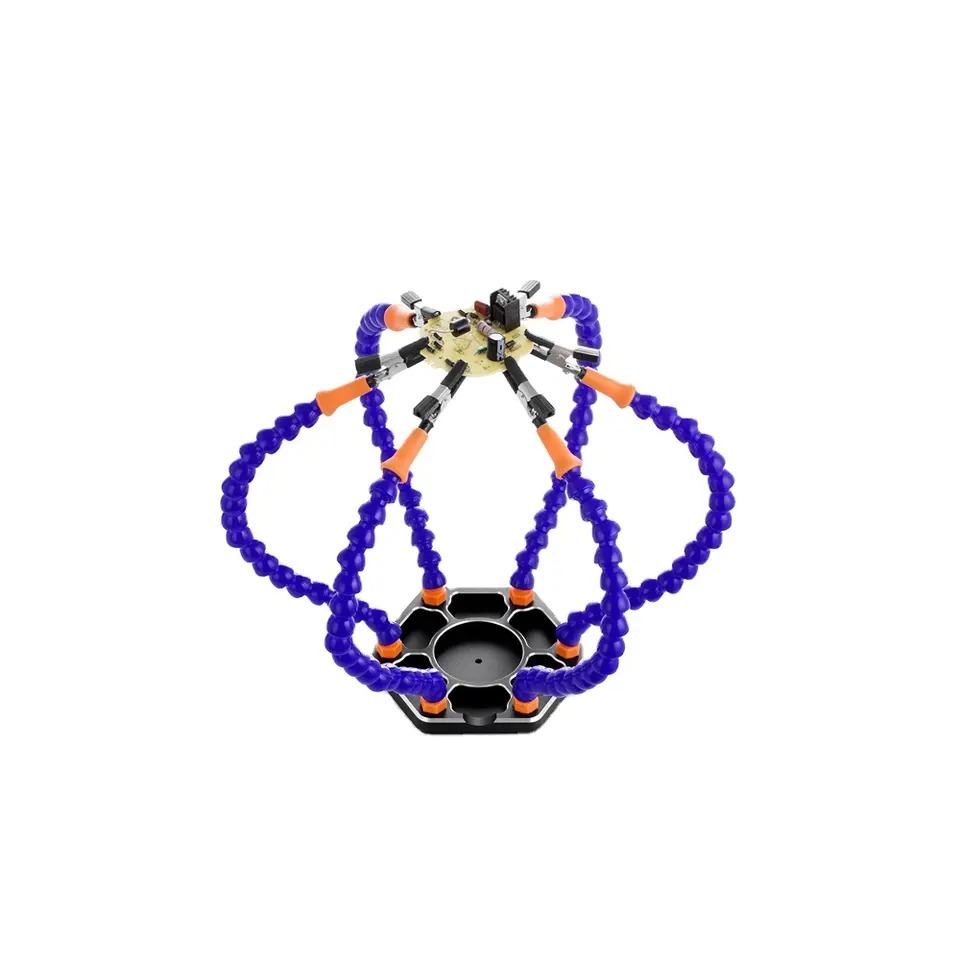
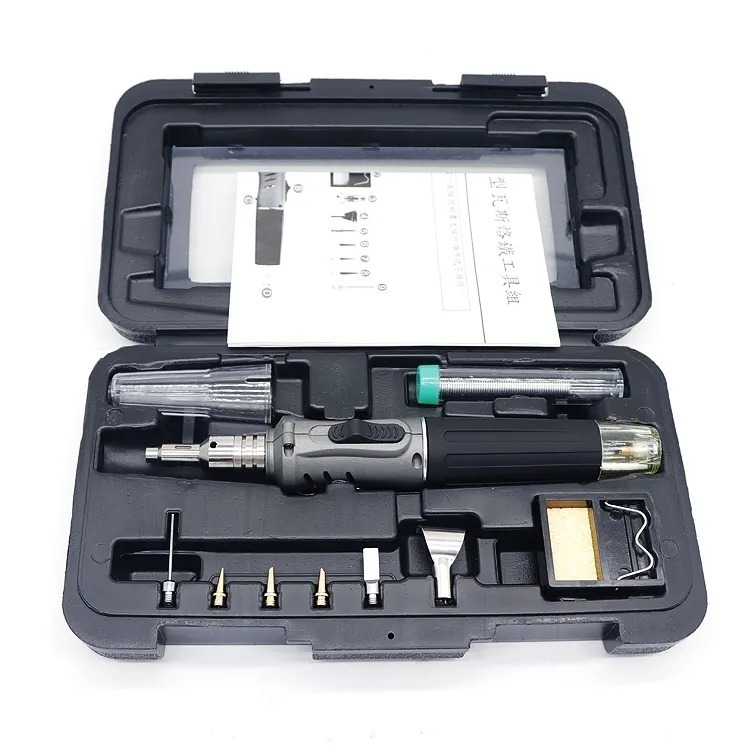
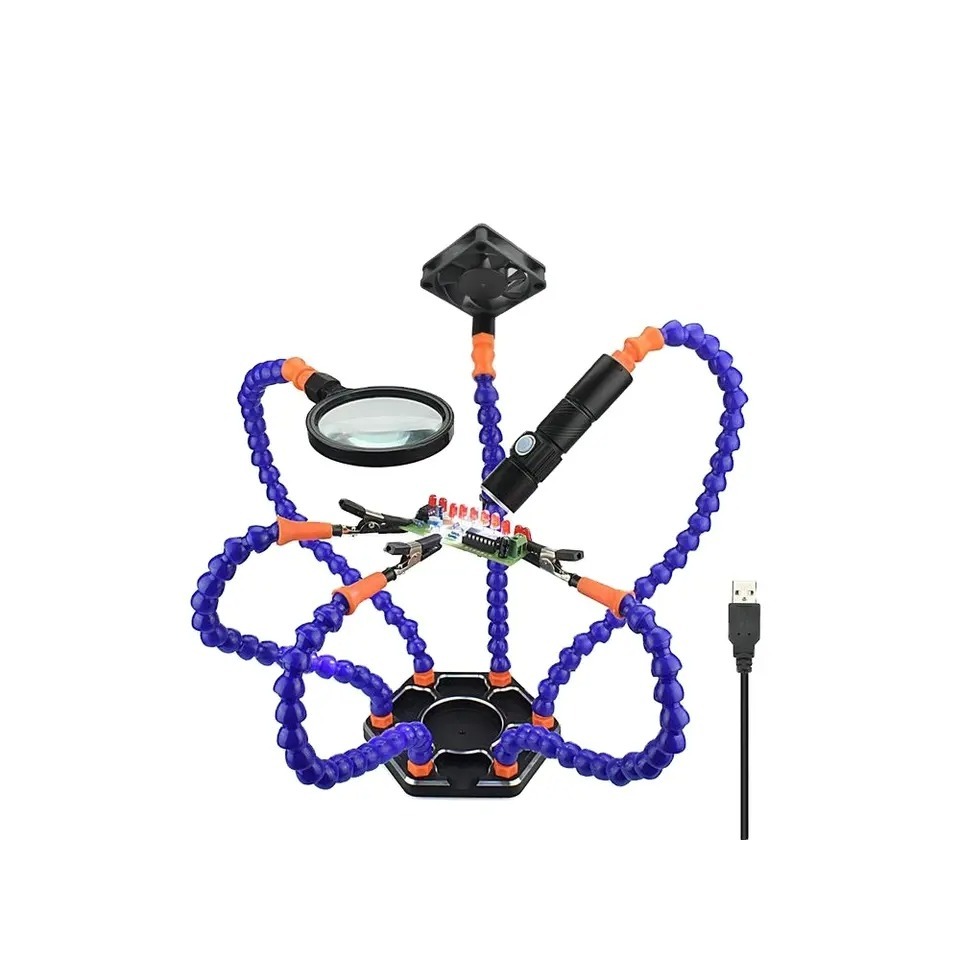


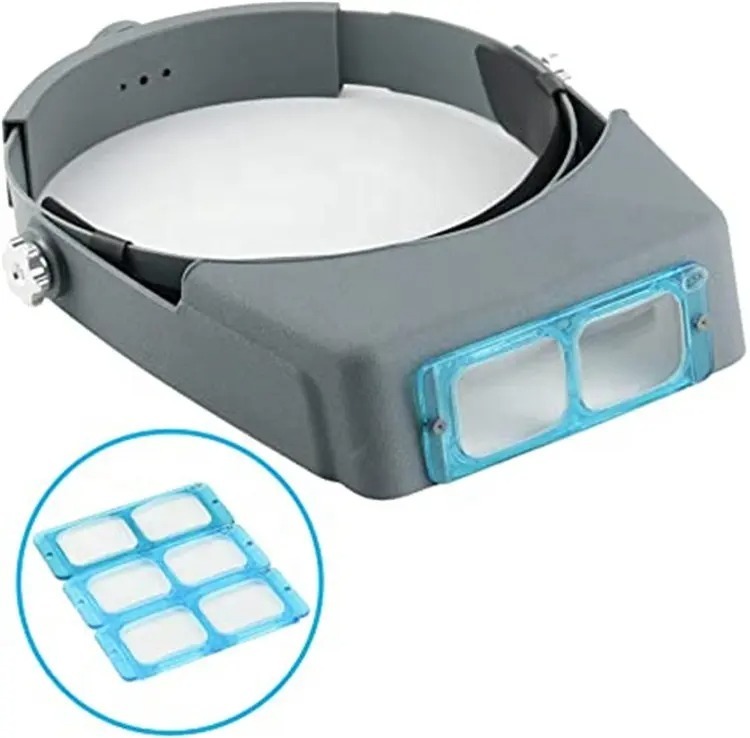

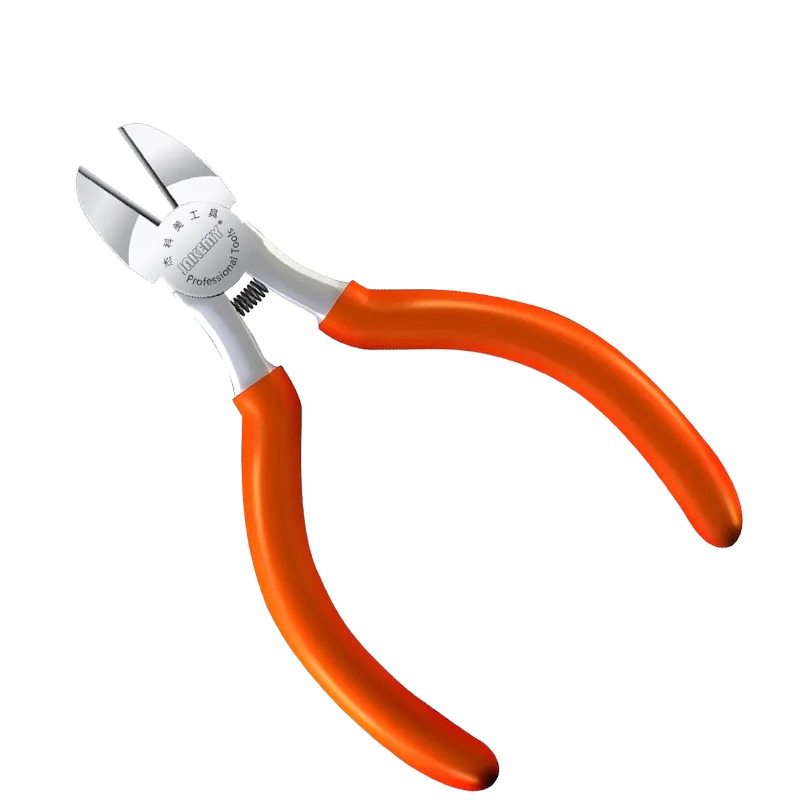

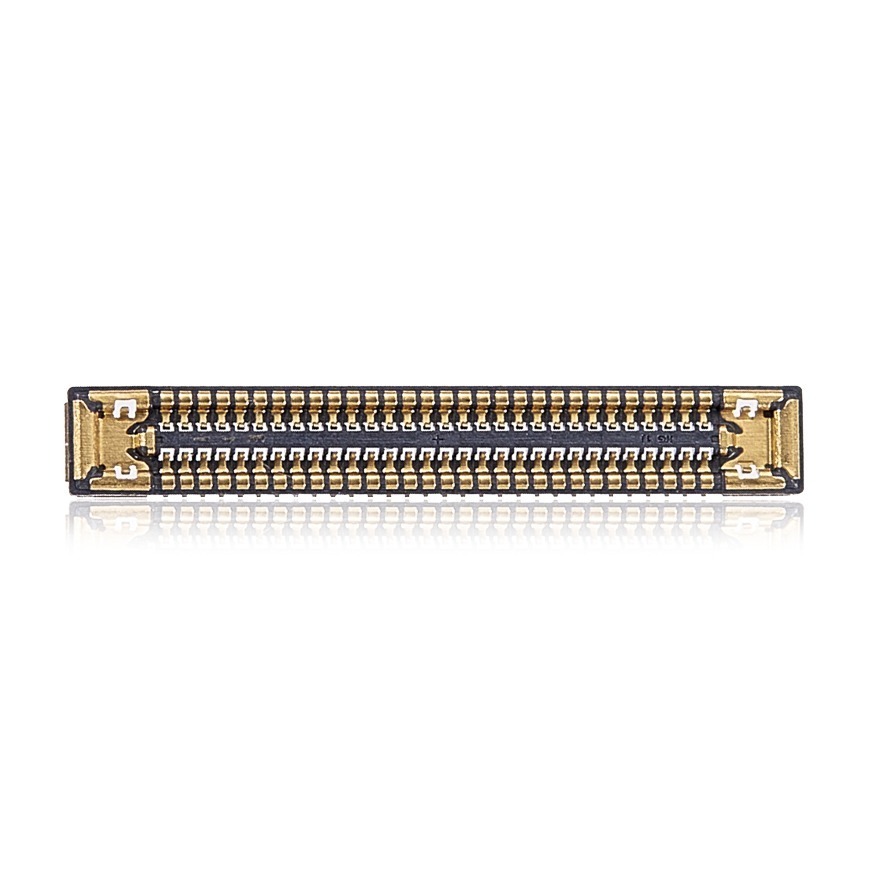

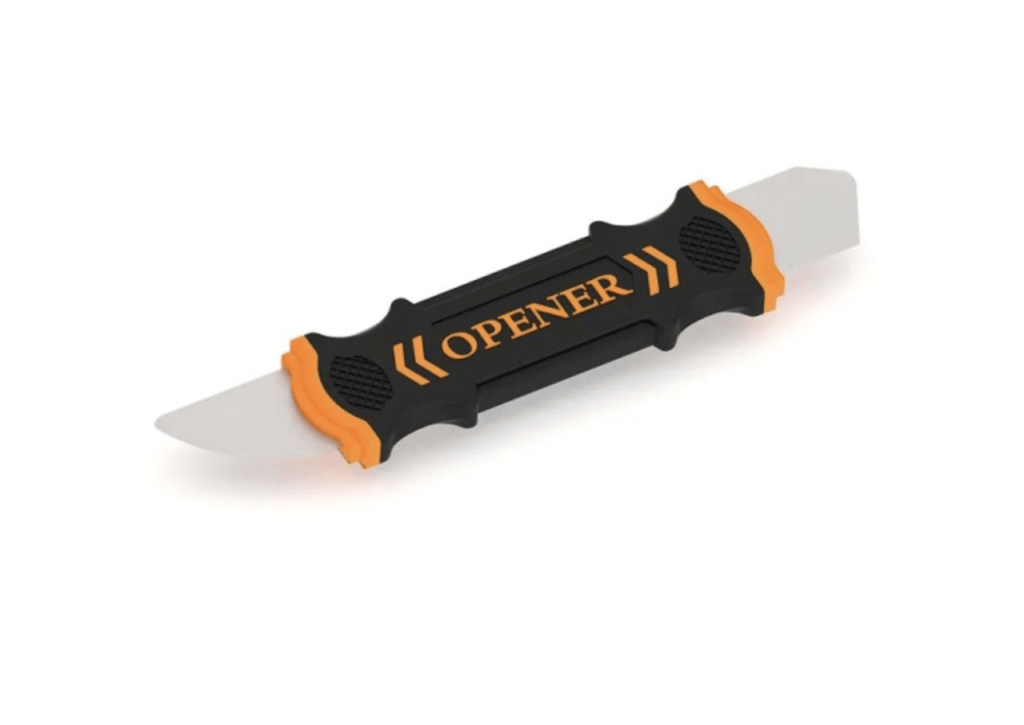
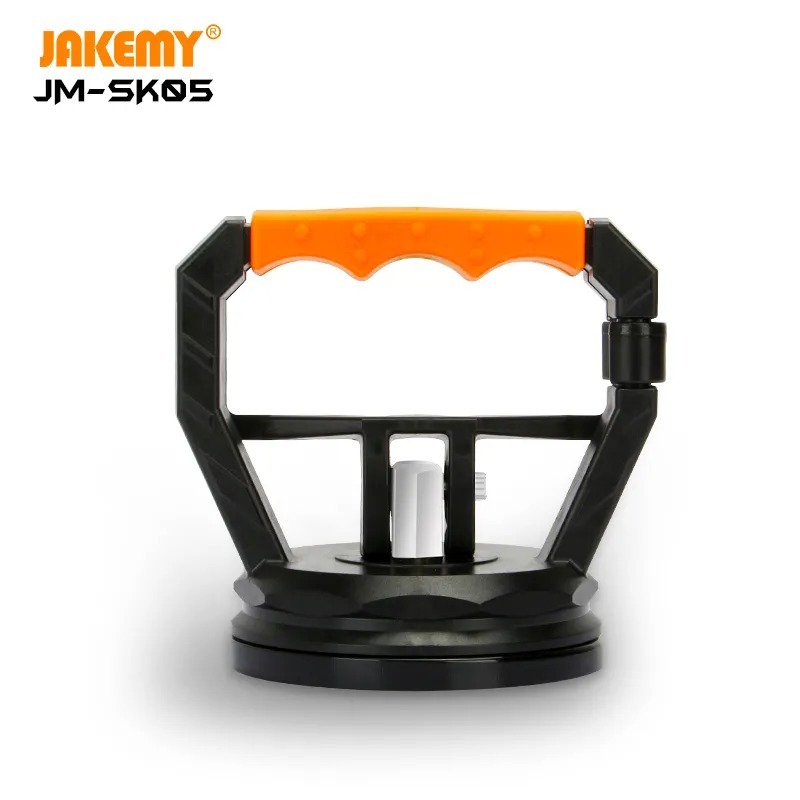




Model: Samsung Galaxy Tab S7 (SM-T870) | Level: Advanced | Tools: Heating pad, frame glue remover, Curved plastic lever, flat plastic lever, plastic card, plastic spudger, Phillips screwdriver, Dremel tool. This guide will walk you through the Tab S7 screen replacement process step by step.
A Samsung Galaxy Tab S7 screen replacement takes some patience because the large glass front is stuck on tight with strong glue, and you have to move a few delicate small parts over to the new screen.
If your tablet has cracked glass, black spots on the picture, or the touch screen does not work at all, putting on a new front panel will fix it.
Our technician walks you through every step of the job in the video on YouTube below. Let’s get started.
How to Replace the Samsung Galaxy Tab S7 Screen (Quick Overview)
- Use liquid glue remover and heat the screen to safely soften the strong factory sticker.
- Slice the glue around the edges using a thin plastic card so you don’t cut wires inside.
- Unplug the main wire before pulling the broken screen all the way off.
- Scrape the old glue off and smooth out any bent metal so the new glass sits perfectly flat.
- Take the small board and wire off the old glass and put them onto your new screen.
- Put down new liquid glue or strong double-sided tape, plug the wires in, and press it closed.
🛠️ Required Tools & Preparation for a Tab S7 Screen Replacement
A Galaxy Tab S7 screen replacement needs some heat and special liquid to remove the glue. Turn the tablet completely off before you start.
- Heating pad: safely warms the front of the tablet to 60–90°C to soften the tight glue.
- Frame glue remover: a special liquid dropped around the edges to make the sticker less sticky.
- Curved spudger & plastic card: help you lift the edge and cut through the glue without tearing any wires inside.
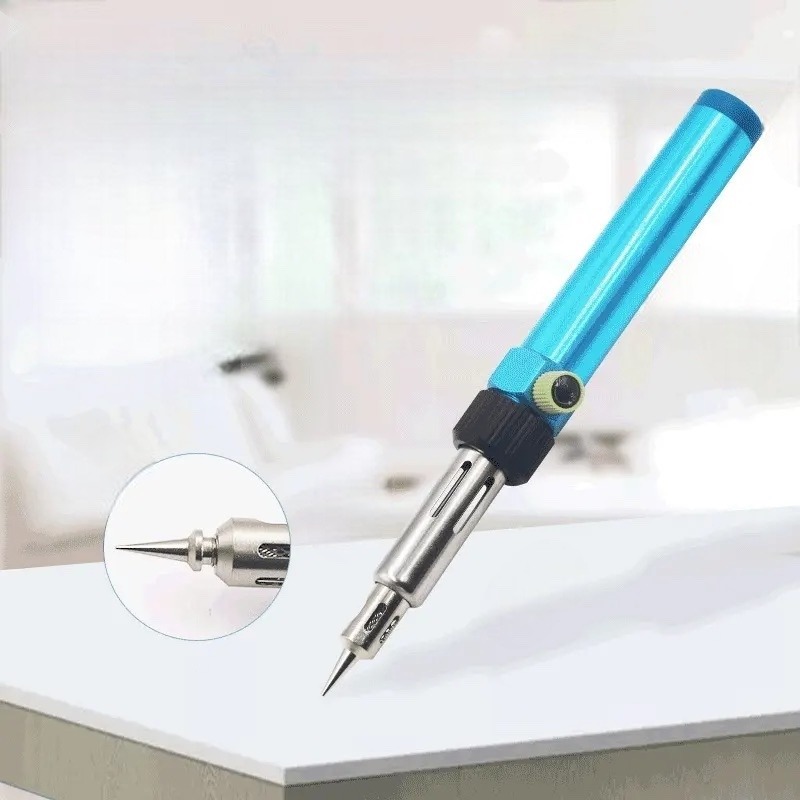
- Dremel tool: a small spinning tool that smooths out dents in the metal edge that would break the new glass.
- B-7000 glue or tape: provides a strong, flat seal to keep the new front panel from lifting up later.
https://m.gsmarena.com/samsung_galaxy_tab_s7_5g-10337.php
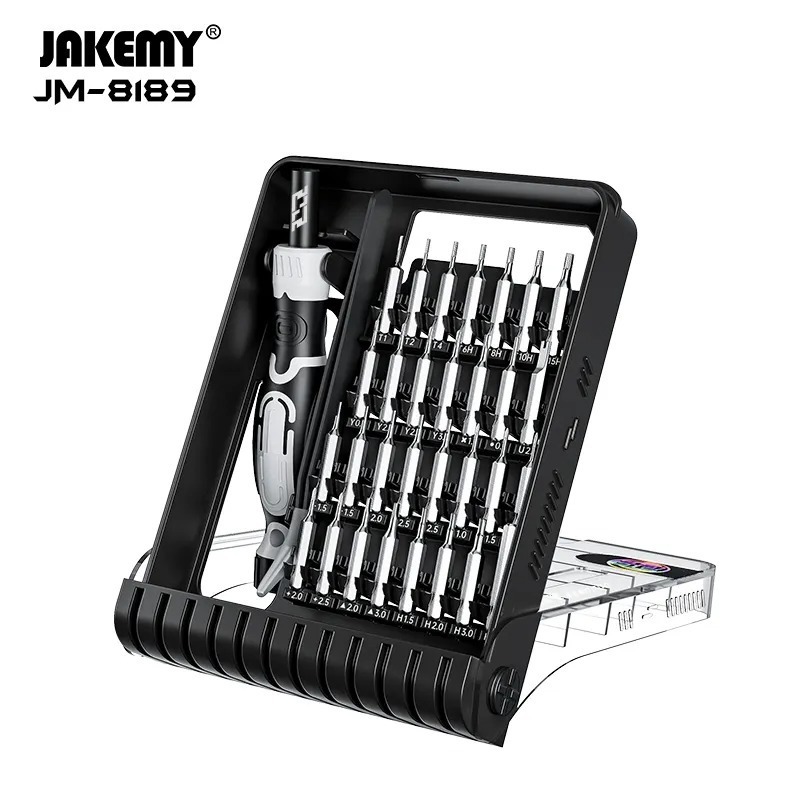
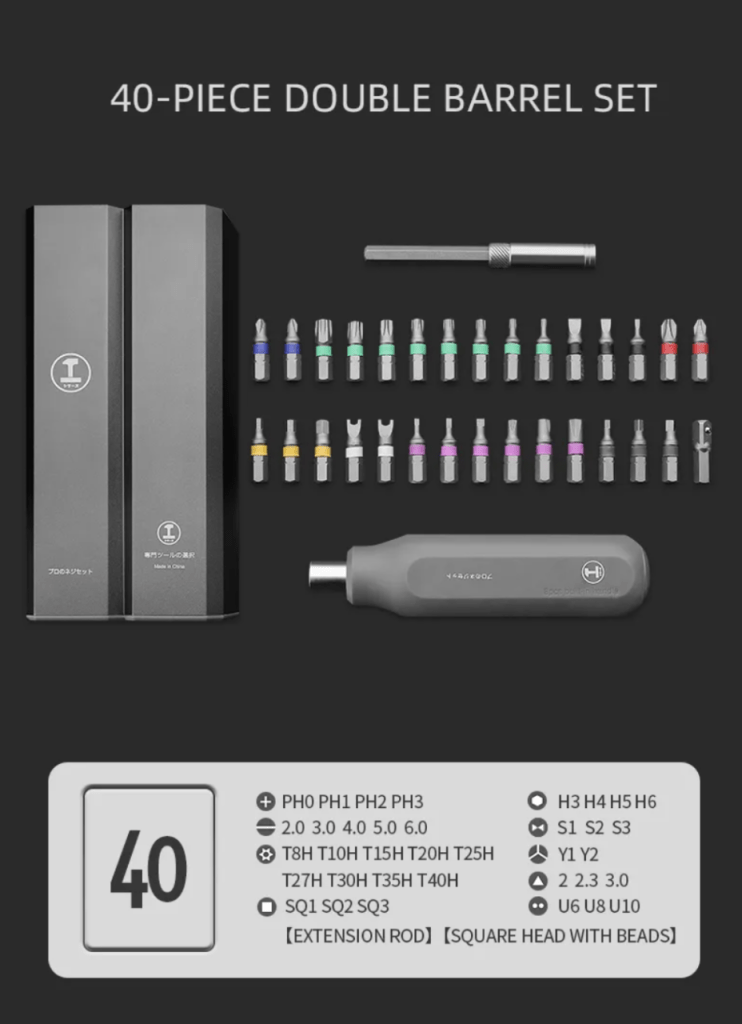
Get the Exact Tools Used by Our Techs:
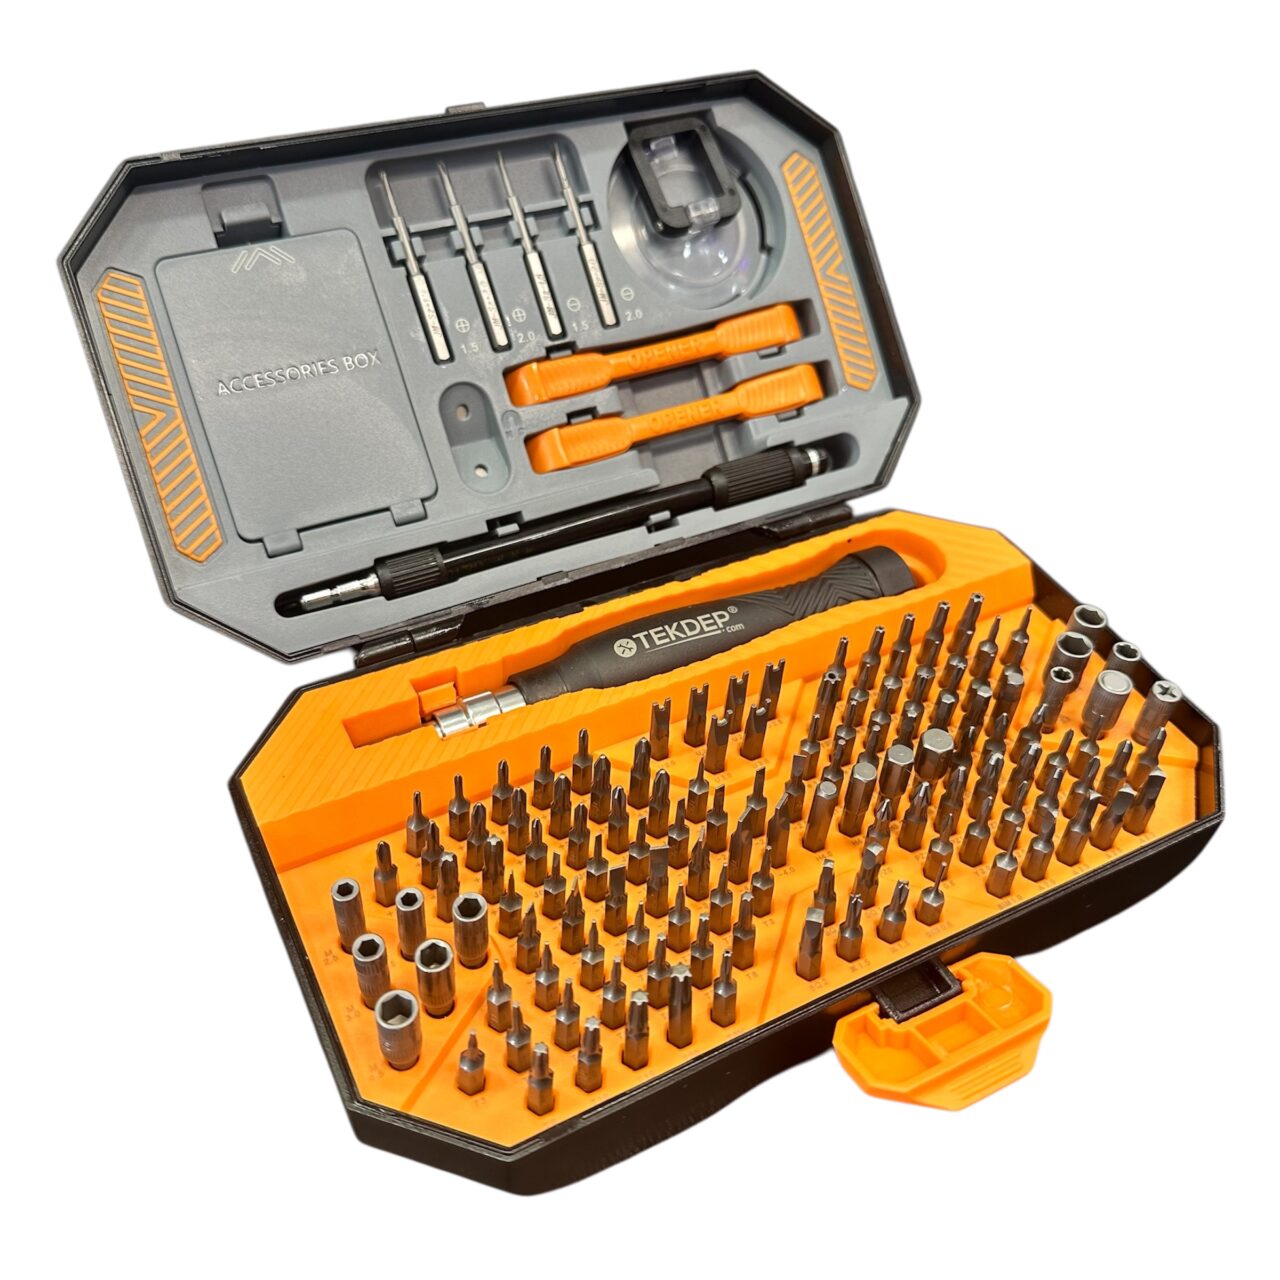
You can find every part we carry for this model in our store.
⚠️ Before you start: Broken glass is very sharp and small pieces can flake off when you heat it. Wear safety glasses, put clear packing tape over the whole front if it is badly cracked, and be careful with liquids near the battery inside.
Phase 1: Getting Inside for the Tab S7 Screen Replacement (Heating & Cutting the Glue)
The tablet is held together entirely by sticky glue, so you have to use heat and take your time to open it.
Step 1: Warm It Up and Add Liquid
Using both heat and a special liquid is the best way to make the strong factory glue soft enough to cut.
- Turn on your heating pad to between 60°C and 90°C and lay the tablet face down on it to get warm.
- Put drops of frame glue remover right along the edges where the glass meets the metal.
- Let the liquid sit there for a full five minutes to soak into the sticky stuff.
Step 2: Slice Around the Edges
Once you get under the glass, you must use a soft, bendable tool so you do not cut the important wires inside.
- Poke your curved plastic lever (called a spudger) into the gap to start a small opening.
- Right away, switch to a thin, bendable plastic card and slide it along the sides.
- Add more frame glue remover liquid as you go to make slicing easier.

TekDep Expert Warning: Do not push your plastic card very far into the tablet, especially near the top where the front camera is. Pushing too deep will scratch the camera or cut the delicate wires for the picture.
Phase 2: Taking Off the Broken Glass in a Tab S7 Screen Replacement
Even after you cut all the glue around the edges, the glass is still plugged into the main computer board inside.
Step 1: Open It Up and Unplug
You have to unclip the wire before you pull the broken glass all the way away.
- Lift the glass very gently so it opens like the cover of a book.
- Find the wide flat wire that still connects the glass to the tablet body.
- Use your plastic lever to gently pop that wire plug up and off.

Step 2: Remove the Old Part
Now that the main wire is safely unplugged, carefully take the old, broken front piece completely off and set it on your table.
Get the replacement Samsung Galaxy Tab S7 screen parts we used:
👉 OEM Pull LCD Assembly Without Frame (SM-T870)
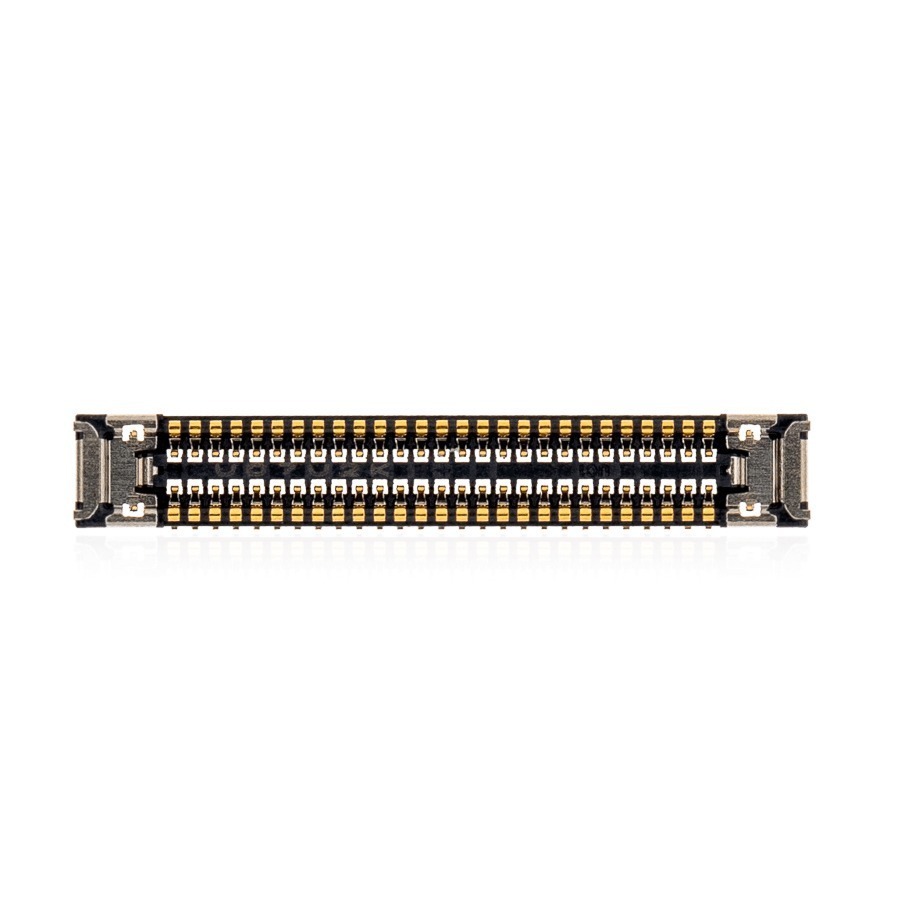
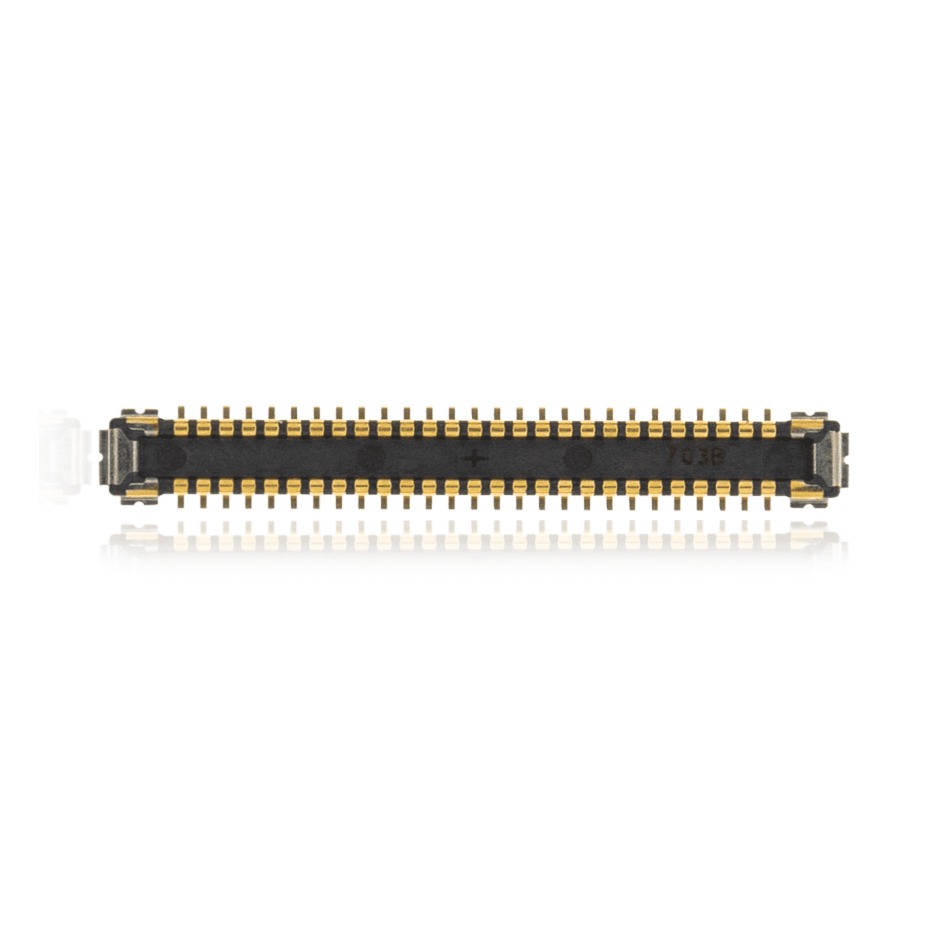
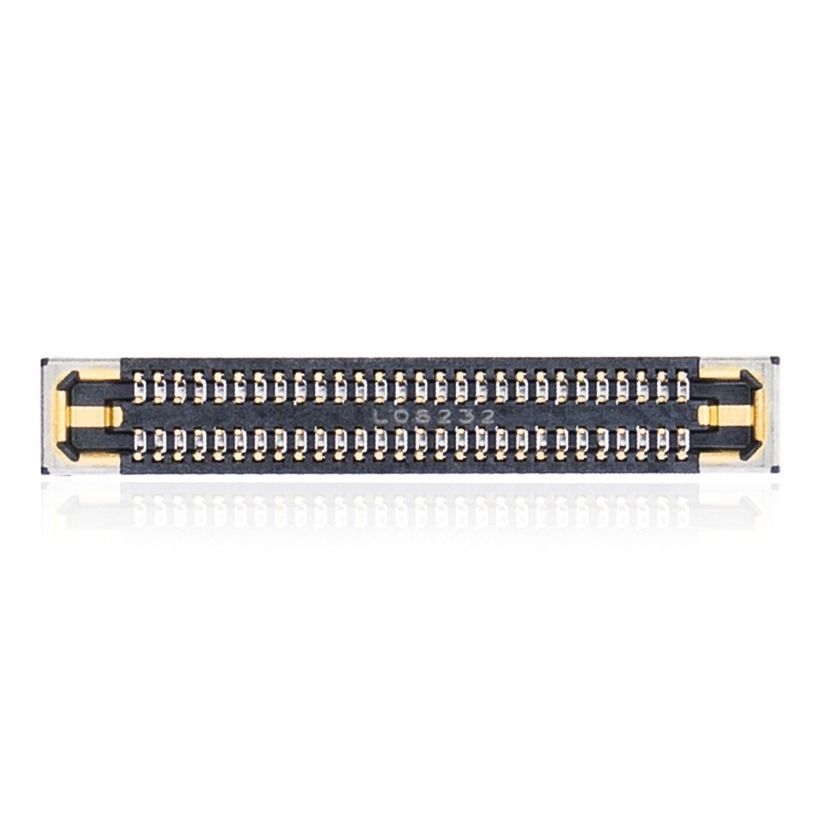
👉 LCD Flex Cable
👉 Wacom Bridge Flex Cable
Phase 3: Cleaning & Fixing Bent Edges Before the Tab S7 Screen Replacement
A new piece of glass needs a perfectly flat, clean metal edge to stick to, or it will eventually pop up or crack again.
Step 1: Clean Off the Old Glue
Do not skip cleaning the metal edge; sticking a new screen over old, crusty glue guarantees it will not hold.
- Scrape all the old, dirty glue out of the metal border.
- Put some frame glue remover on a small cloth or swab to wipe away any sticky spots left behind.
Step 2: Smooth Out Bent Metal
When you drop a tablet hard enough to break it, the metal edge often gets bent inward, which will poke the new glass.
- Look all the way around the metal border for any dents.
- If you find a dent pointing inward, use a small spinning Dremel tool to carefully sand that spot flat.
- Place the new screen down (without any glue yet) to check that it sits perfectly flat on every side.

Phase 4: Moving the Small Parts Over for the Tab S7 Screen Replacement
Most brand-new screens do not come with the tiny board and wire that control the tablet pen, so you have to move them yourself.
Step 1: Take Parts Off the Broken Glass
These pieces make your pen work and are held to the back of your broken screen with weak glue.
- Unplug the wide flat wire attached to the tiny green board.
- Unplug the other thin wire.
- Carefully pry the tiny green board off the back of the glass.

Step 2: Put Parts on the New Screen
Move the pieces you just took off and put them in the same spot on your new part.
- Unplug any temporary wires that might be on the new screen.
- Stick the tiny green board onto the back of the new screen.
- Plug the thin wire back in and make sure everything lines up straight.
Phase 5: Putting It Back Together & Testing Your Tab S7 Screen Replacement
With a flat metal edge and your new screen ready to go, it is time to close the tablet up for good.
Step 1: Put Down New Glue
You can choose between strong liquid glue or very sticky double-sided tape; both work well.
- Squeeze a solid line of B-7000 glue (or stick the tape down) right onto the clean metal edge all the way around.
- Do not put glue too close to the hole for the front camera, or it will smear on the lens and make your pictures blurry.
Step 2: Plug It In and Test
Hold the glass near the tablet and snap the main wide wire back into place. Before you push the glass all the way down into the glue, turn the tablet on to make sure the picture looks bright and the touch screen works everywhere. Once you know it works, press the glass down firmly all around the edges to seal it.
Congratulations! You have successfully finished a Samsung Galaxy Tab S7 screen replacement on your SM-T870.
🛑 Not Comfortable Handling Sharp Broken Glass? If reading about liquid glue remover, spinning sanders, and delicate tiny wires has you second-guessing your DIY skills, don’t worry. The TEKDEP experts are here to help.
We offer clean, professional, and affordable Mail-In repair services for the entire Samsung Galaxy lineup.
Frequently Asked Questions
Why do I need a sander for a Samsung Galaxy Tab S7 screen replacement?
A small sander smooths out dents in the metal edge caused when the tablet was dropped. If the metal is bent inward, the new glass will not sit flat, and that pressure will quickly cause a new crack across your display.
Do I need to move the pen wires to the new screen?
Yes, most brand-new parts do not come with the wires and the tiny board that make the pen work. You have to carefully unplug these from your broken glass and stick them onto the new part to get all the features working again.
What type of glue should I use to close the tablet?
We recommend using B-7000 liquid glue or high-quality double-sided tape made for electronics. Both choices create a strong hold that keeps the glass from popping up, as long as you cleaned the metal edge perfectly first.
🛑 IMPORTANT: SAFETY & LIABILITY DISCLAIMER: TEKDEP®️ TEKDEP.com assumes no liability for property damage or injury incurred as a result of any information in this blog post or associated videos. Dealing with internal computer components, specifically Lithium-Ion batteries, carries inherent risks including fire, toxic gas exposure, and irreversible device failure. Any injury, damage, or loss from improper use of tools, mishandling of components, or misinterpretation of this information is the sole responsibility of the user.