






































Model: MacBook Pro 13-inch (A1989) | Level: Intermediate
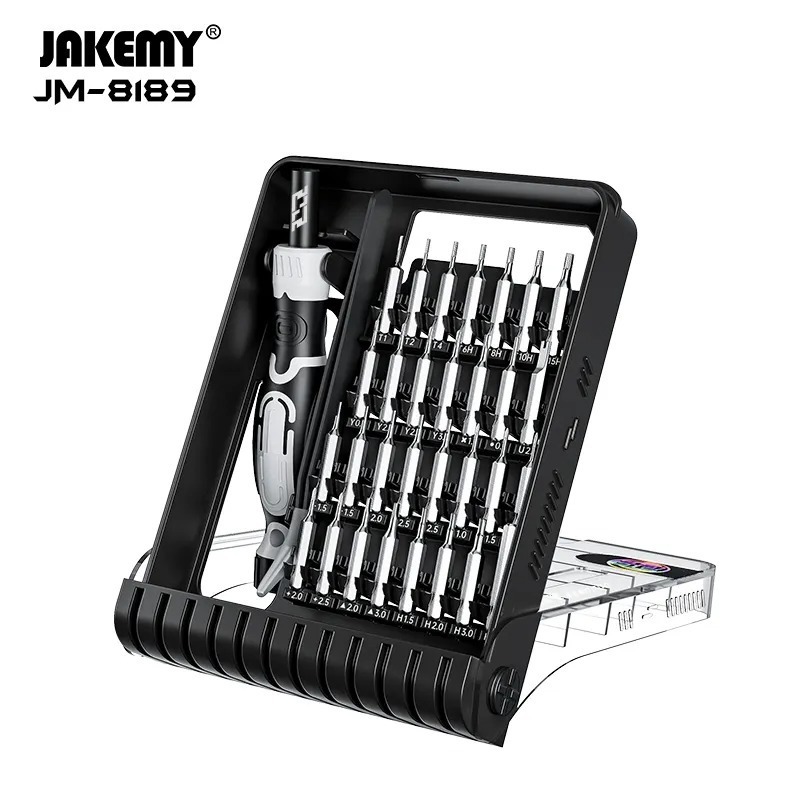
Tools: Pentalobe screwdriver, T3 Torx, T5 Torx, plastic pry tool, isopropyl alcohol | Time: about 15 minutes
An A1989 battery replacement is the easiest way to breathe years of new life into your MacBook Pro, but you must completely remove the trackpad first to avoid shattering it during the adhesive removal.
If your MacBook is losing charge fast, shutting down randomly, or showing a visibly inflated battery, swapping in a fresh pack will solve the problem and protect your internal components.
Our lead technician Nicholas walks you through the entire process safely in the video below. Let’s get started.
How to Perform an A1989 Battery Replacement (Quick Overview)
- Unscrew the Pentalobe screws and unclip the backplate to open the MacBook.
- Disconnect the battery flex cable and hold the power button to discharge static.
- Extract the trackpad and flex cable to prevent glass damage during battery removal.
- Apply isopropyl alcohol around the battery cells to soften the factory glue.
- Slide a plastic pry tool side to side under the cells to release the adhesive.
- Seat the new battery pack and screw down the retainer board.
- Reinstall the trackpad and reconnect the battery power to test the system.
🛠️ Required Tools & Preparation
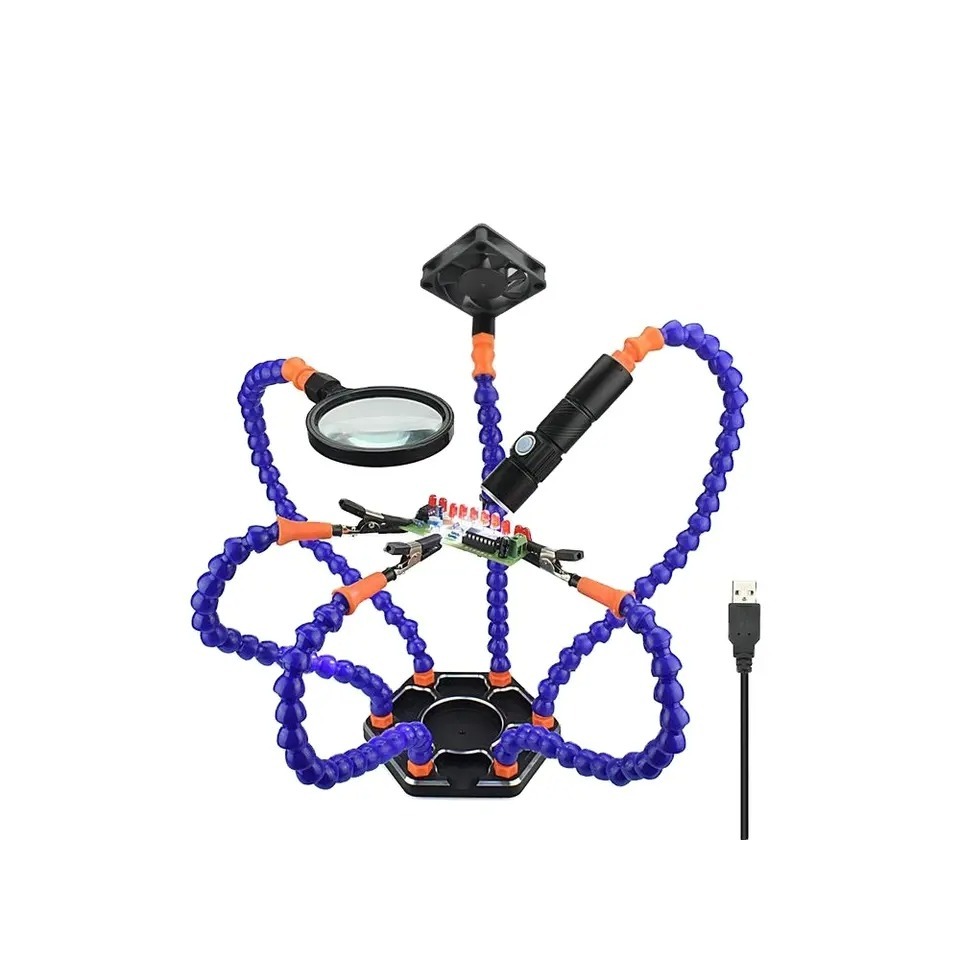
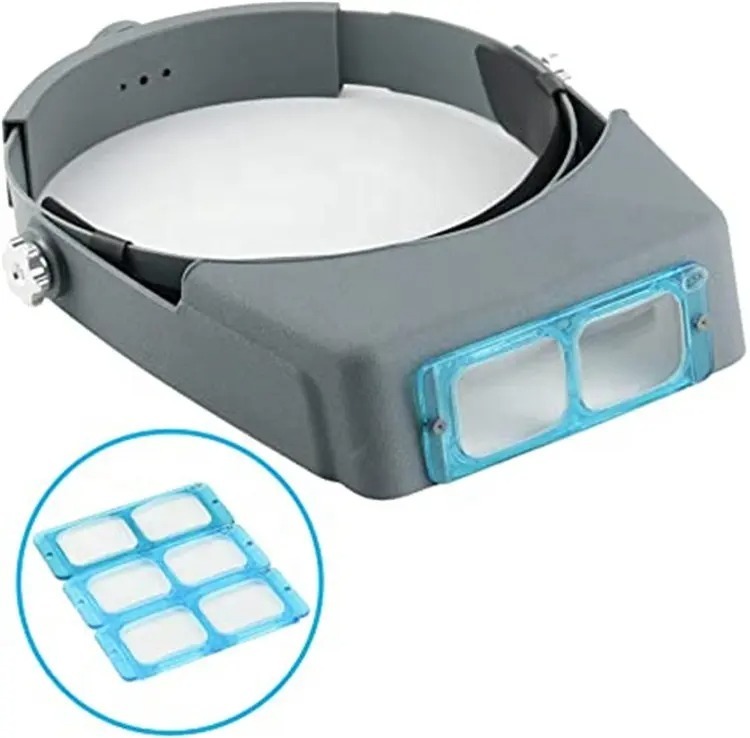
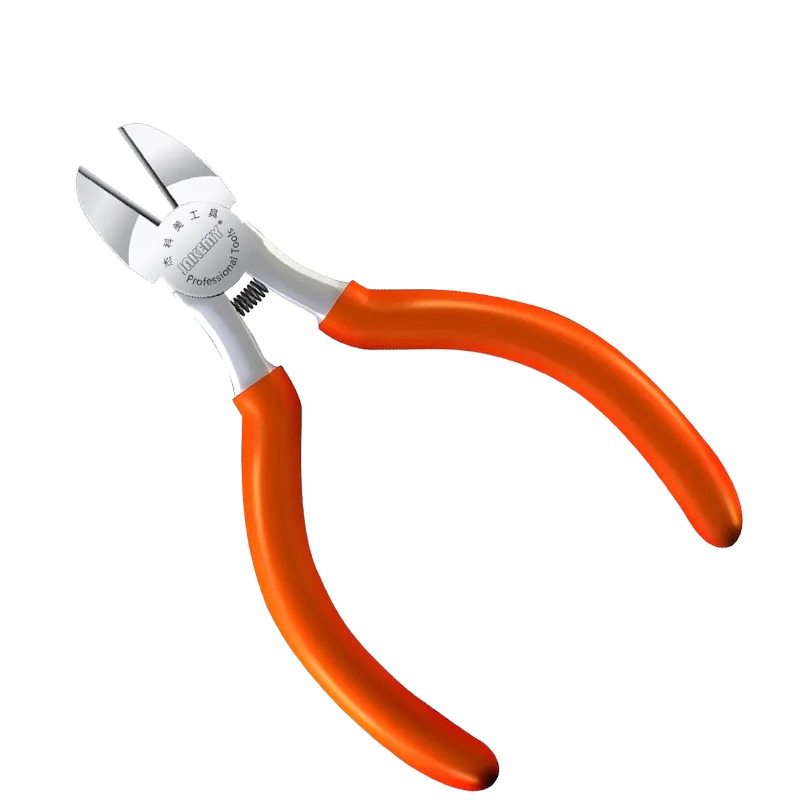
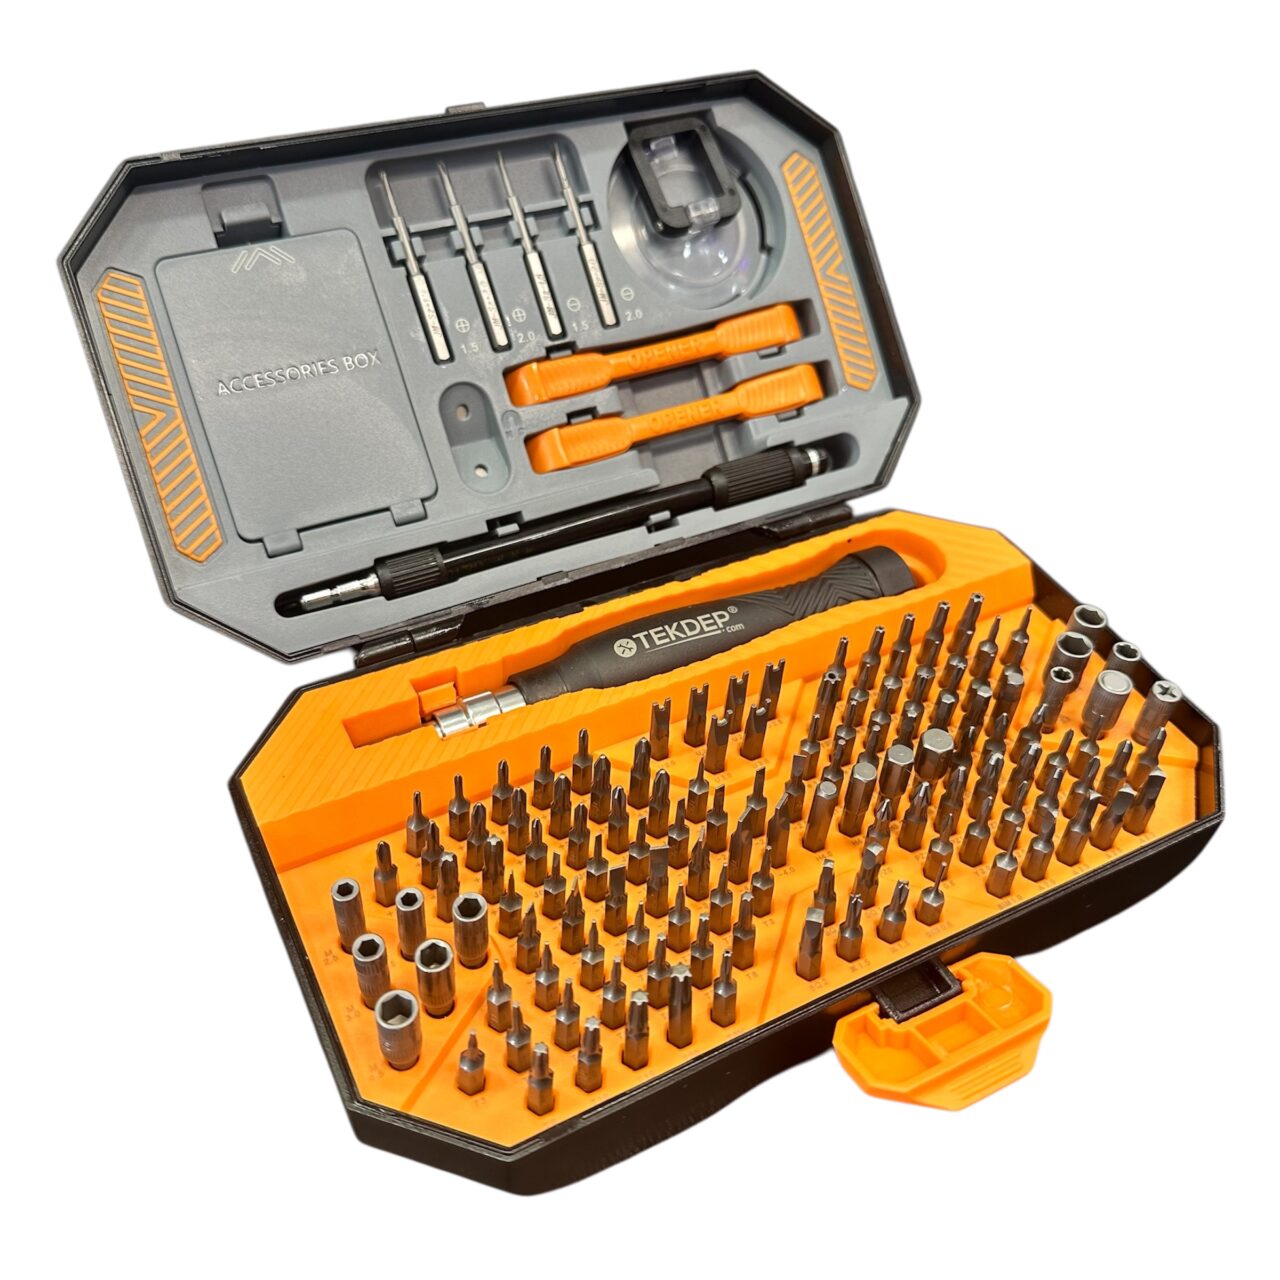
Your A1989 battery replacement requires a few specific Torx bits and chemical adhesive remover; power off and unplug first.
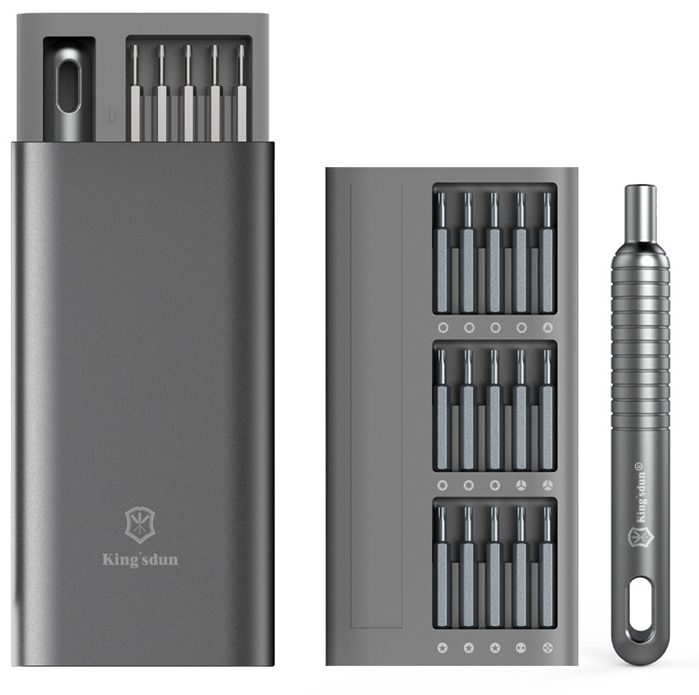
- Pentalobe screwdriver: removes the bottom case screws.
- T3 and T5 Torx bits: remove the trackpad flex cable and battery board screws.
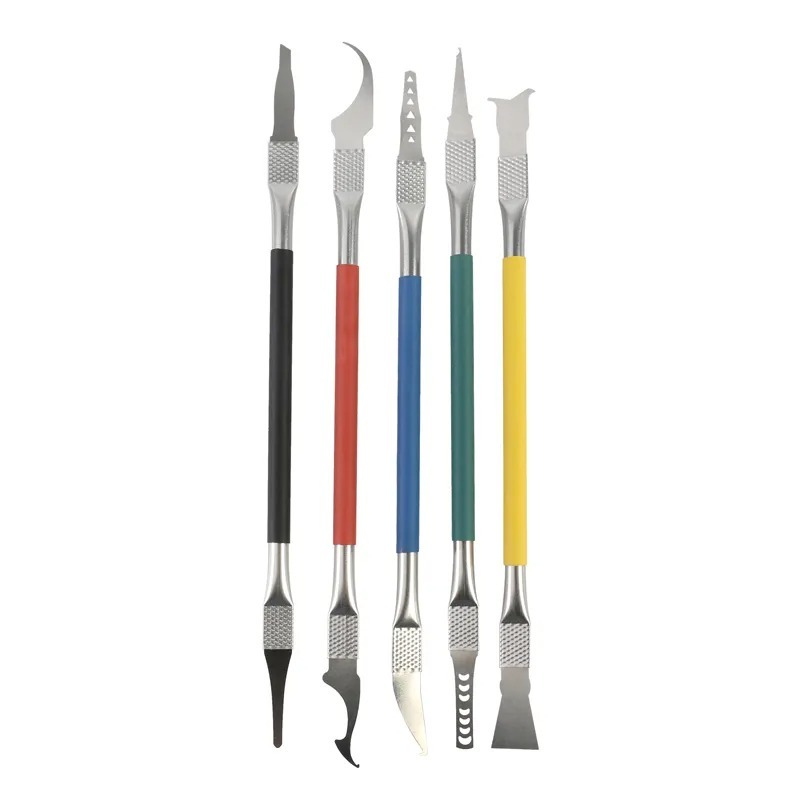
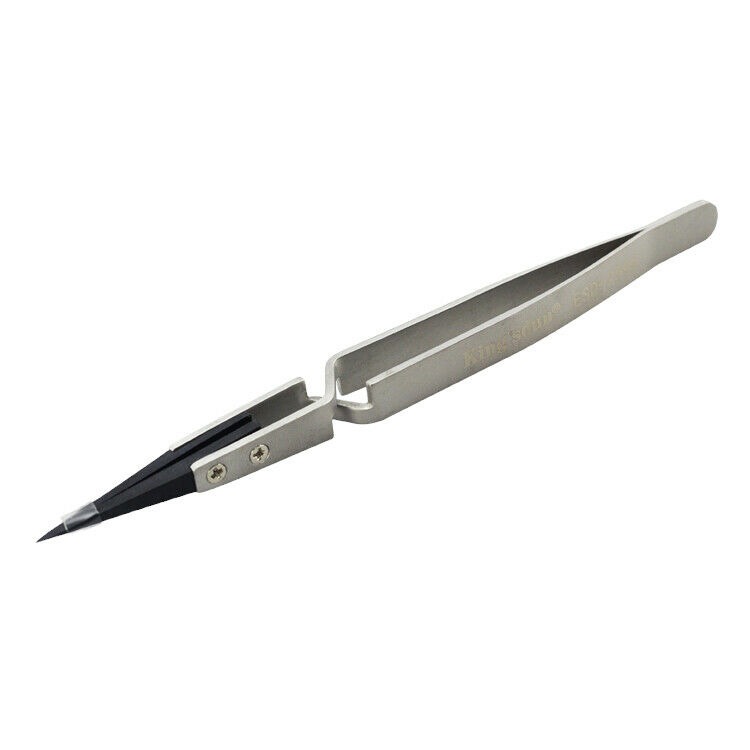
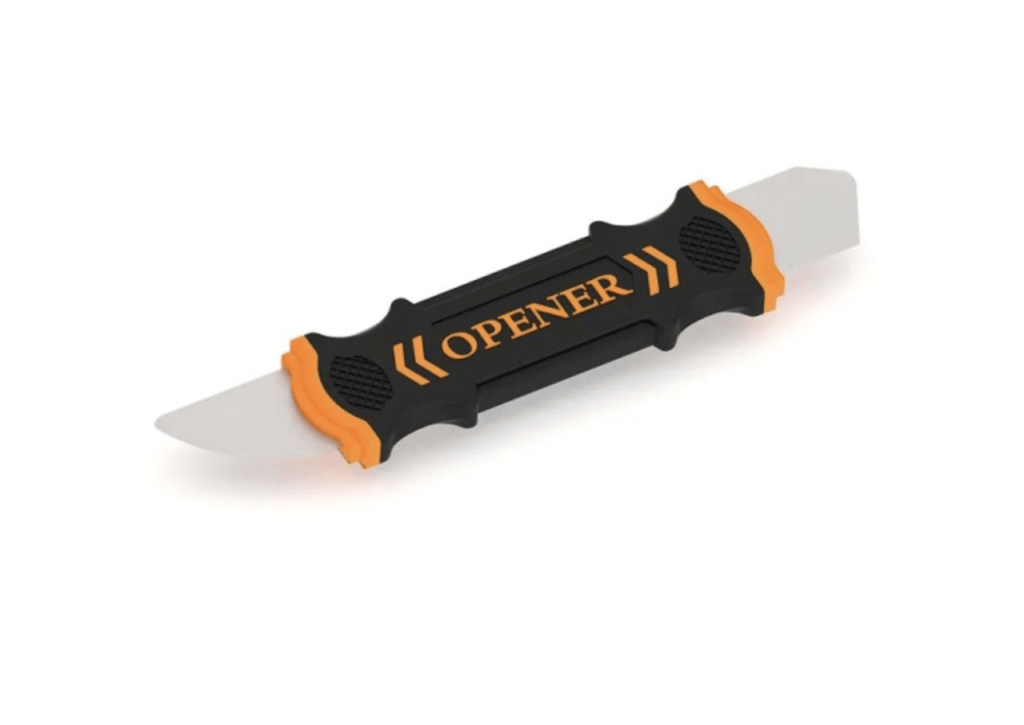
- Plastic pry tool: safely releases flex cables and slices through softened adhesive without puncturing the battery.
- Isopropyl alcohol (90%+): dissolves the heavy factory adhesive holding the battery cells.
⚠️ Before you start: Disconnect the battery before you touch any connector. Work on an anti-static mat and keep each group of screws together.
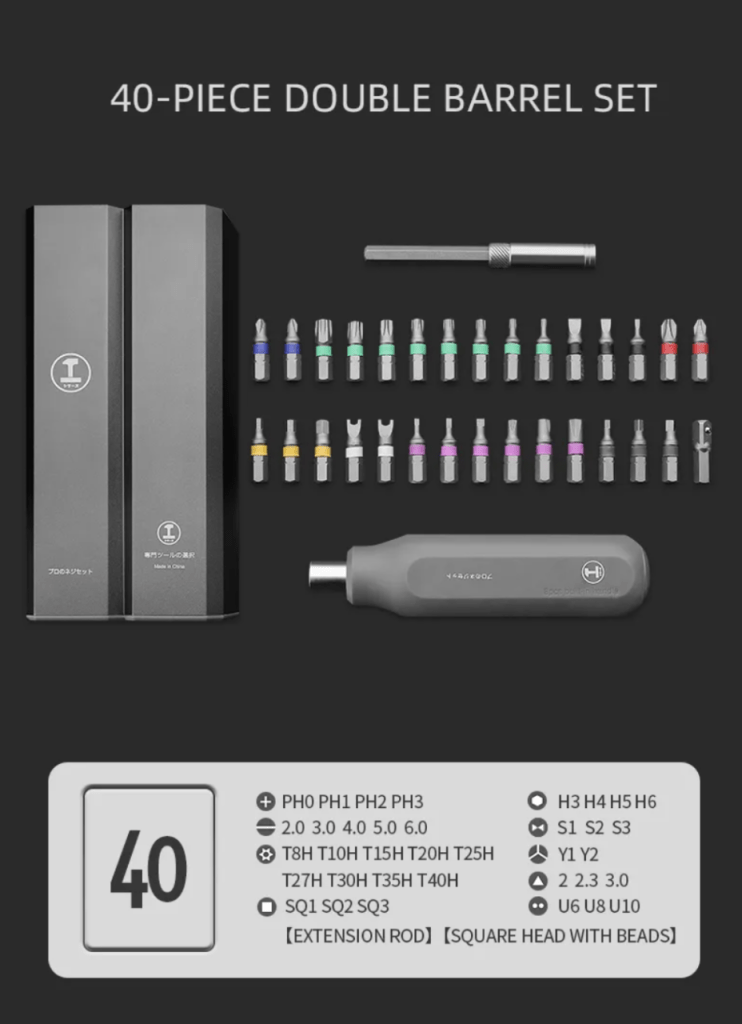
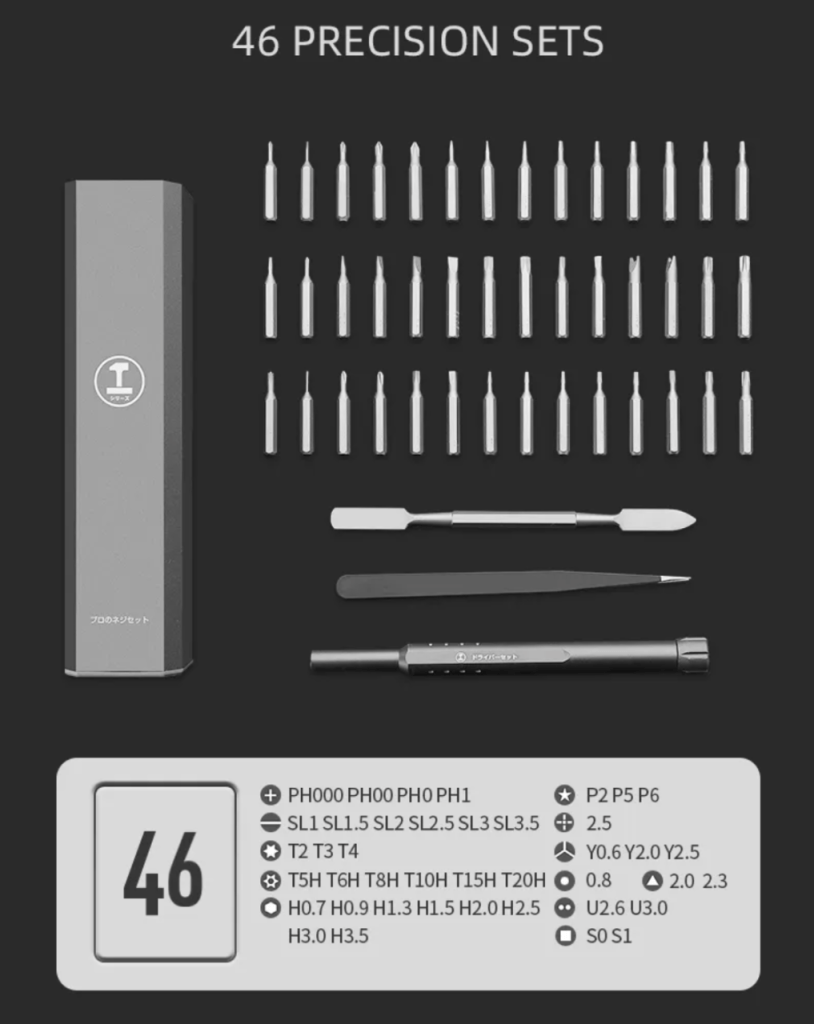
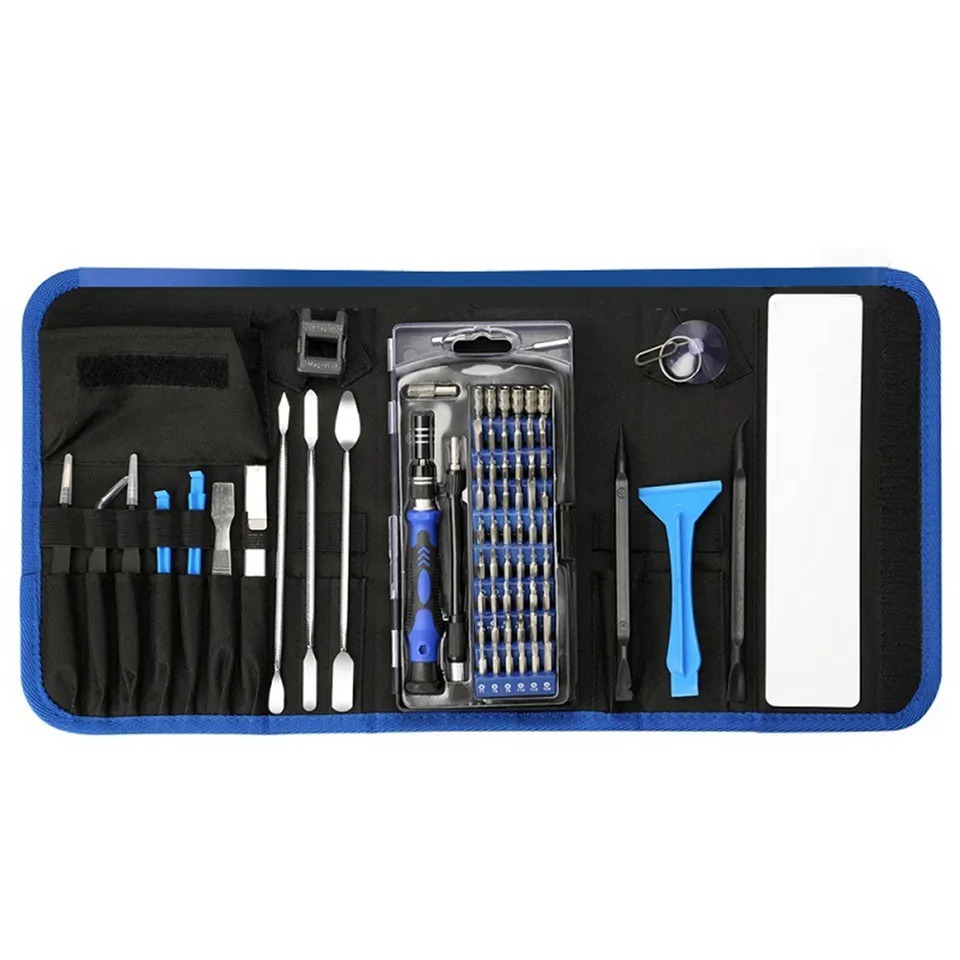
Get the Exact Tools Used by Our Techs:
Phase 1: Getting Inside and Disconnecting Power
Safety is the priority; you must physically sever the battery connection and drain the logic board.
1st Step: Remove the Backplate
- First, remove the exterior screws using your Pentalobe bit.
- Slide a plastic pry tool under the sides and push up until you hear the internal clips release.
- Grab the top case with one hand, push against the bottom, and pull the backplate off.

2nd Step: Disconnect the Battery Flex Cable
The main battery connection sits under a protective cover near the center of the board.
- Pop off the protective cover with your pry tool.
- Get under both sides of the battery flex cable and flip up the locking clip to slide it out.
- Remove the single T5 Torx pancake screw holding the motherboard connector to the battery.
- Flip up the battery connector to fully isolate the power.
- Open the laptop and hold the power button down for a few seconds to discharge any remaining static electricity.

Phase 2: Removing the Trackpad
You must remove the trackpad now so the heavy tools and chemicals used for the battery do not crack or ruin the glass surface.
1st Step: Disconnect the Trackpad Cable
- Swap to a T3 Torx bit and remove the screws holding the trackpad flex cable bracket.
- Go under the flex cable with your pry tool and carefully disconnect it from the board.

2nd Step: Unscrew and Extract the Trackpad
- Swap back to your T5 Torx bit and remove all the screws running around the bottom edge of the trackpad bracket.
- Lift the computer up slightly and carefully lower the trackpad and flex cable out of the unit.

TekDep Expert Warning: Never skip removing the trackpad. If your pry tool slips while fighting the battery adhesive, it will shatter the fragile trackpad glass instantly, forcing you to buy a replacement part.

Phase 3: Removing the Old Battery (Adhesive)
This is the most time-consuming part of an A1989 battery replacement. You will use non-conductive isopropyl alcohol to melt the glue safely.
1st Step: Apply Isopropyl Alcohol
- Drip a small amount of isopropyl alcohol along the outside edges of each battery cell.
- Apply it near the top cells as well, but do not flood the casing to avoid liquid seeping into the LCD.
- Let the alcohol sit for a minute to penetrate and soften the adhesive.

2nd Step: Pry the Cells Loose
Never pry upward violently, as bending a lithium cell can cause a dangerous fire.
- Slide your wide plastic pry tool under the edge of a cell.
- Move the tool slowly from side to side in a sawing motion to slice through the adhesive layer underneath.
- Repeat this side-to-side motion for every cell until the entire battery pack is freed.
- Remove the final T5 battery retainer screws at the top and lift out the old battery.

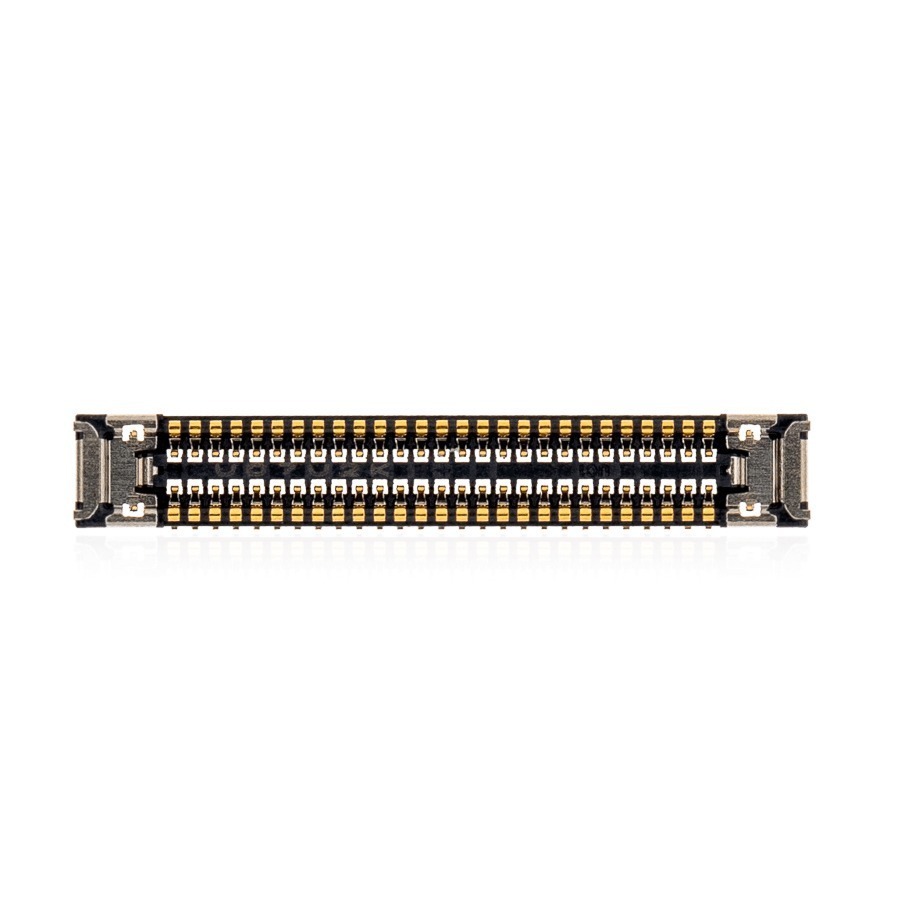
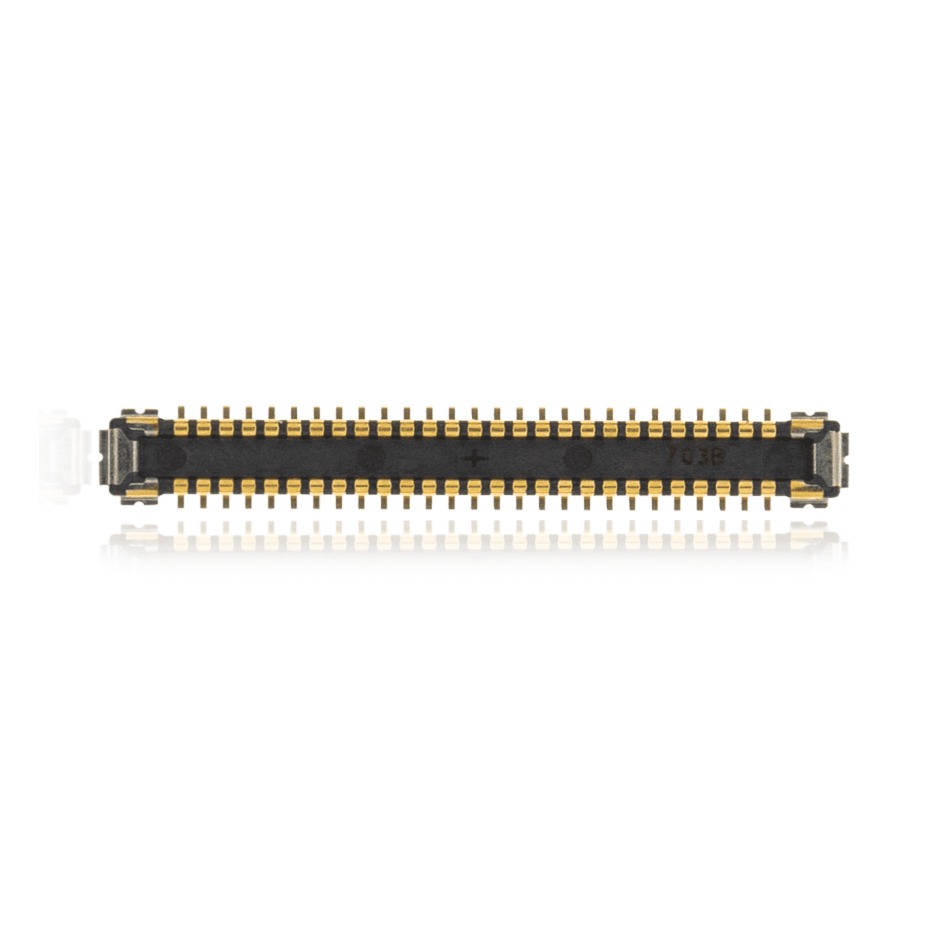
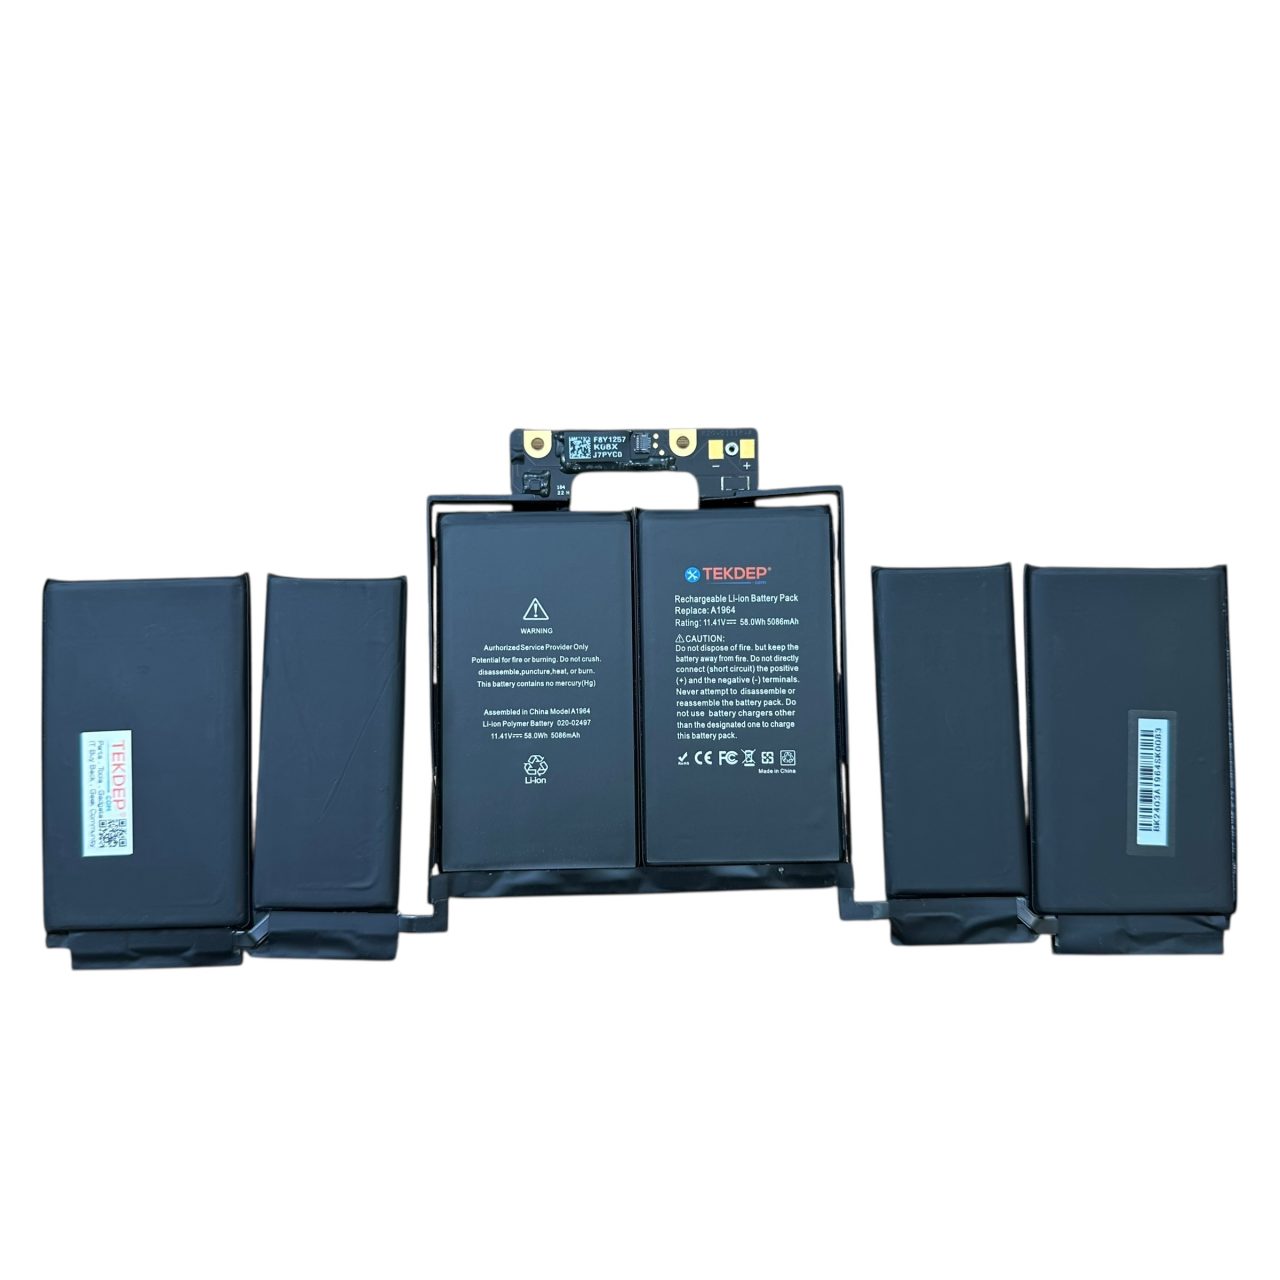
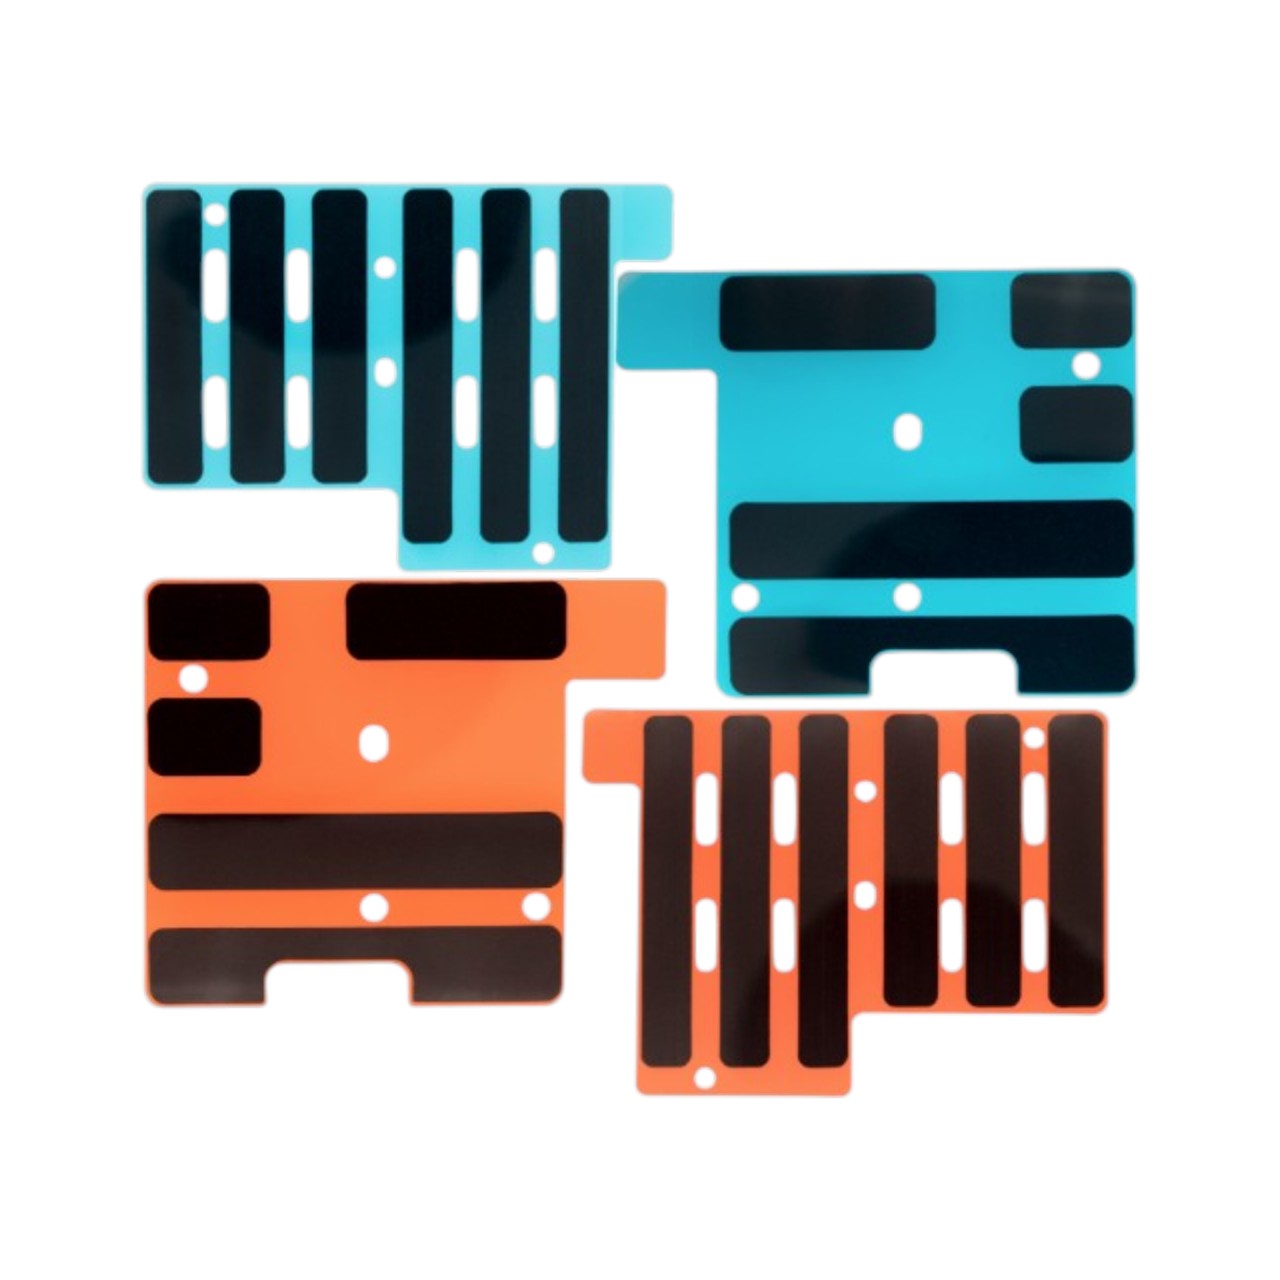
MacBook Pro A1989 parts and supplies featured in this video:

Phase 4: Installing the New Battery and Reassembly
Once you remove the old cells, prep the surface so the new battery sits flush to finish the A1989 battery replacement.
1st Step: Prep the Surface
- Scrape away any remaining black adhesive chunks with your plastic pry tool. Do not use metal to avoid scratching the aluminum casing.
- Wipe the surface clean with a microfiber cloth to remove all isopropyl alcohol residue.

2nd Step: Seat the New Battery
- Peel the protective film off the pre-applied adhesive on the back of your new battery pack.
- Line up the middle of the battery board with the screw holes at the top first.
- Ensure all cells fit inside their respective depressions in the top case, then press down firmly to set the glue.
- Screw in the top battery retainer screws to secure it in place.

3rd Step: Reinstall the Trackpad and Power
- Slide the trackpad back in, with the flex cable facing down, and avoid creasing the delicate ribbon.
- Install two small screws on the bottom and two longer screws loosely so you can align the trackpad perfectly from the front before tightening.
- Reconnect the trackpad flex cable with its T3 bracket.
- Reconnect the main battery flex cable, press the locking bracket down, and secure the T5 pancake screw.

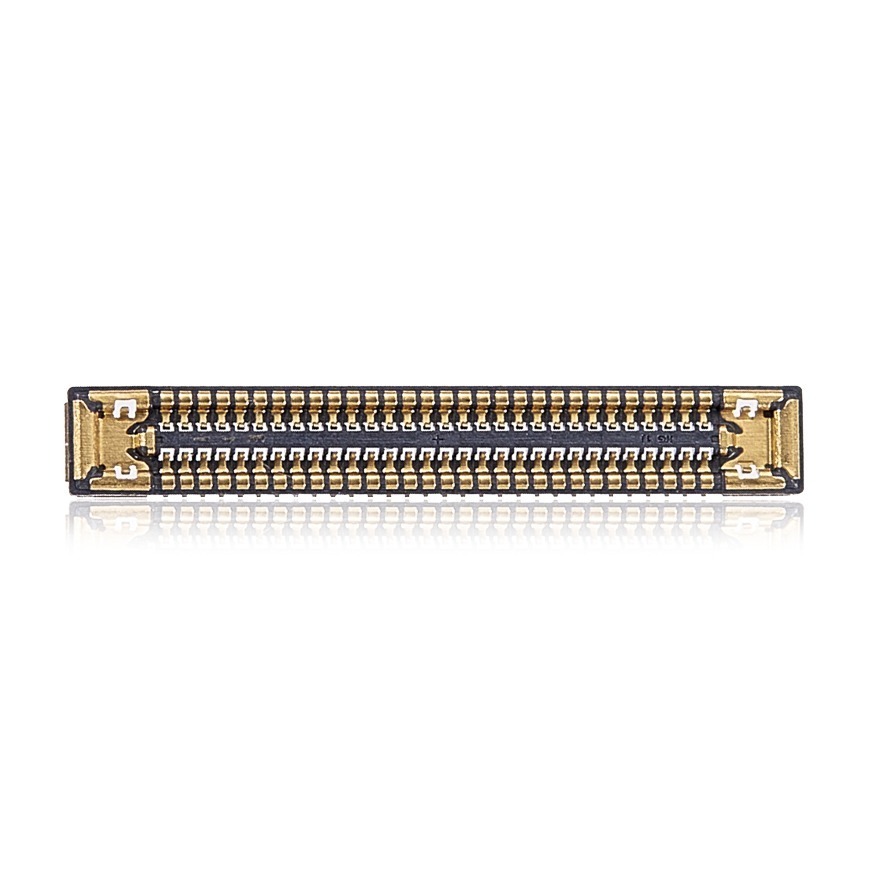
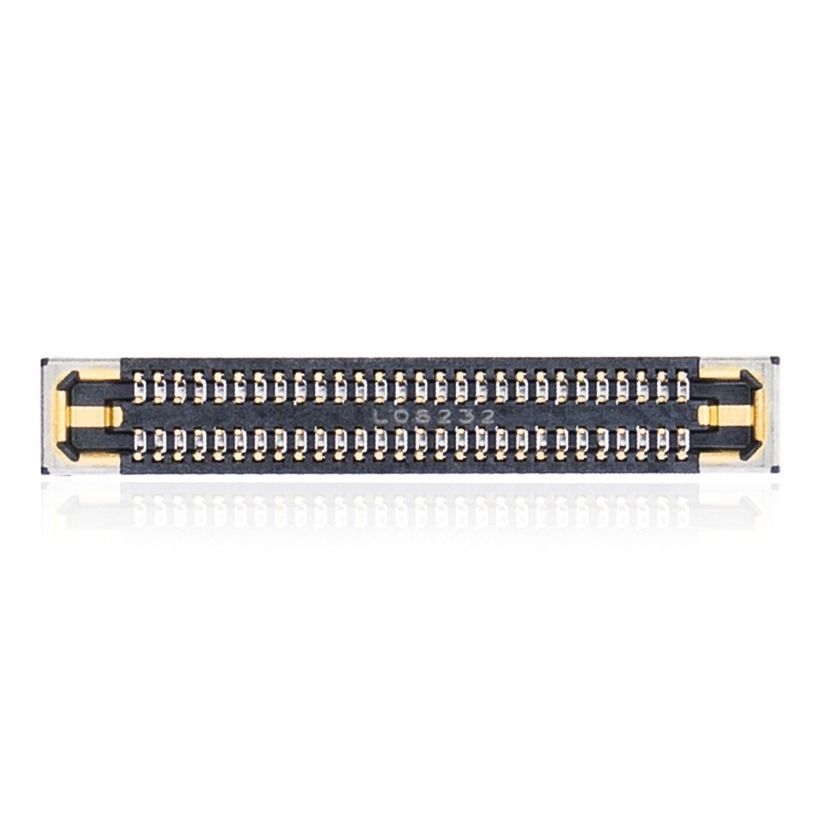
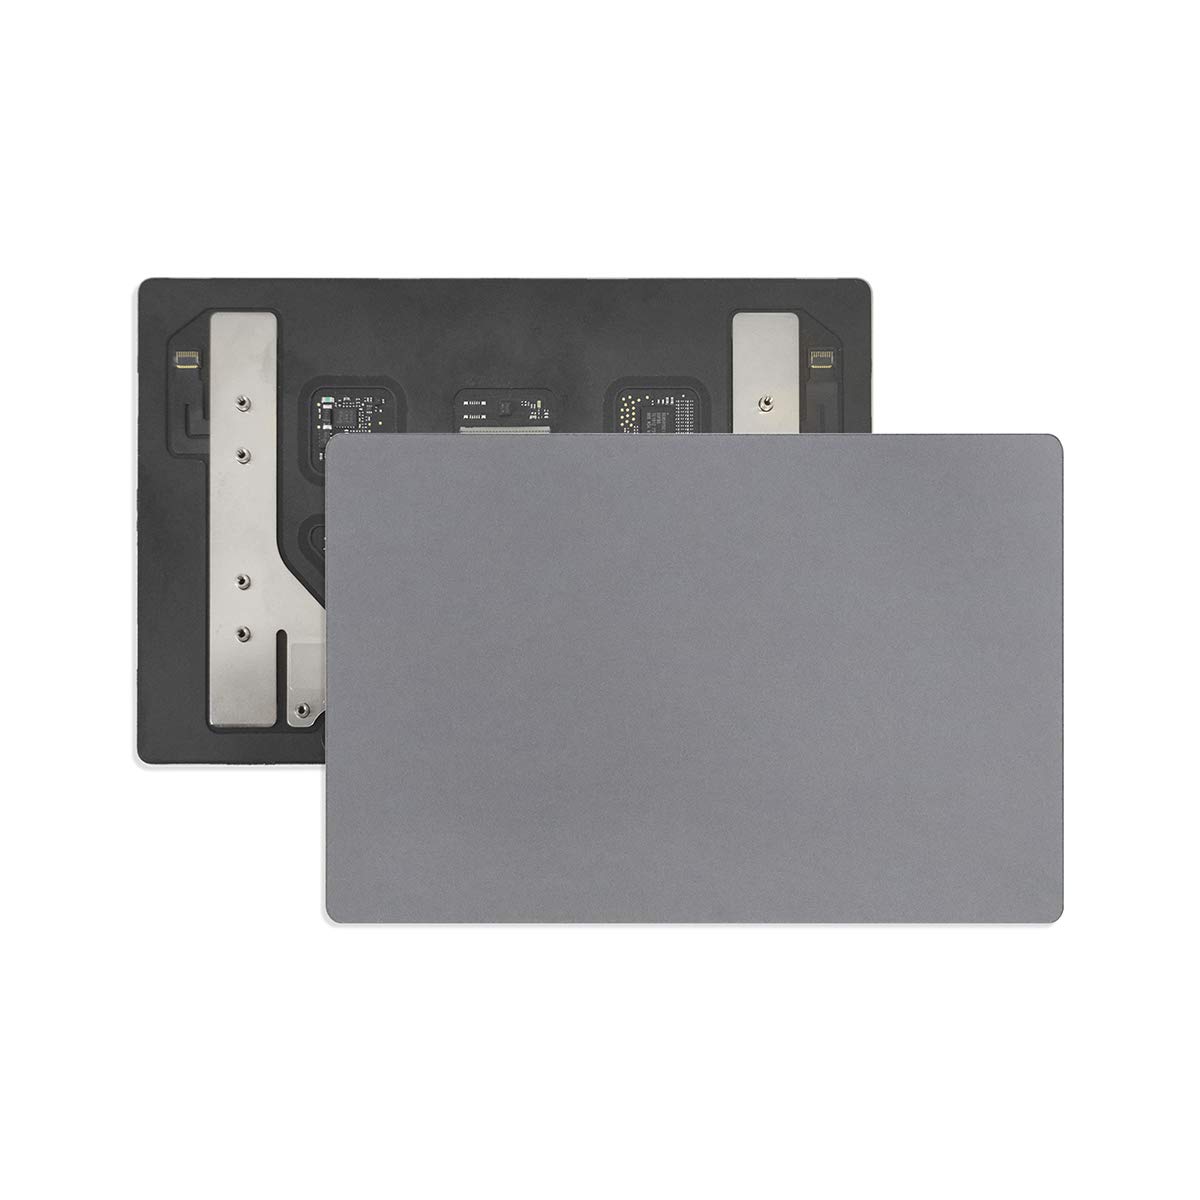
MacBook Pro A1989 parts featured in this phase:


4th Step: Power Test
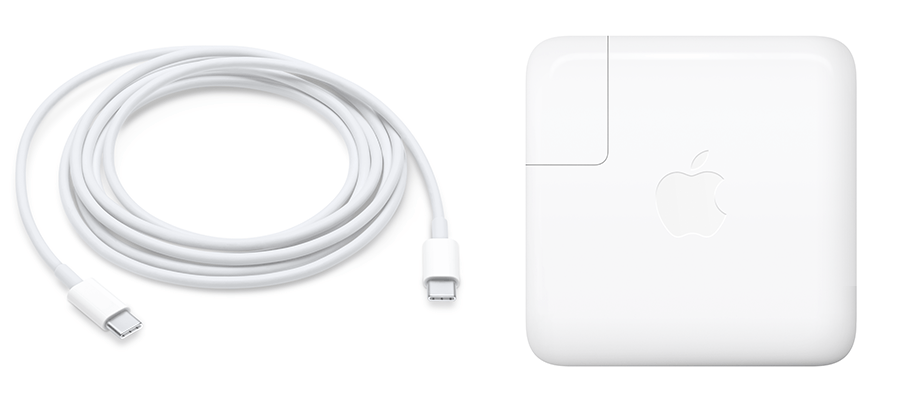
Snap the backplate into place, plug the charger into a USB-C port, and press the power button to confirm the device boots and charges properly.

Congratulations! You have successfully finished the A1989 battery replacement on your MacBook Pro 13″.
🛑 Not Comfortable Handling Battery Adhesive? If reading about heavy isopropyl alcohol and hidden flex cables has you second-guessing your DIY skills, don’t worry. The TEKDEP experts are here to help.
We offer clean, professional, and affordable Mail-In repair services for the entire MacBook Pro lineup.
Frequently Asked Questions
Why do I have to remove the trackpad first?
The trackpad sits directly below the battery cells. Removing it ensures you do not accidentally crack the fragile glass with a plastic pry tool or flood its electronics with isopropyl alcohol during the repair.
What kind of alcohol do I use?
You must use 90% or higher concentration isopropyl alcohol. This chemical is non-conductive and evaporates quickly, allowing it to soften the battery adhesive safely without short-circuiting logic board components.
Is an A1989 battery replacement dangerous?
It can be if handled incorrectly. If the cells in your MacBook Pro are inflated, they are under pressure and highly flammable if punctured. If you are inexperienced with swollen batteries, it is best to send the device to a professional repair facility.
Do I need to calibrate my new battery?
Yes. Calibrating synchronizes your new battery’s actual capacity with your MacBook’s power management system. Skipping this step can lead to inaccurate charge percentages or sudden shutdowns, even when the battery icon says it still has juice left.
🛑 IMPORTANT: SAFETY & LIABILITY DISCLAIMER TEKDEP®️ TEKDEP.com assumes no liability for property damage or injury incurred as a result of any information in this blog post or associated videos. Dealing with internal computer components, specifically Lithium-Ion batteries, carries inherent risks including fire, toxic gas exposure, and irreversible device failure. Any injury, damage, or loss from improper use of tools, mishandling of components, or misinterpretation of this information is the sole responsibility of the user. Perform repairs at your own risk. If you are unsure of your capabilities, please utilize our professional Mail-In Repair Service.