Model: 2023 MacBook Pro 14-inch M3 (A2918) | Level: Advanced | Tools: P5 Pentalobe screwdriver, PL1 screwdriver, T3, T5, T6, T7 Torx screwdrivers, plastic pry tool, tweezers. This guide covers the A2918 keyboard replacement process step by step.
An A2918 keyboard replacement is one of the most intricate repairs you can perform on a 14-inch MacBook Pro, requiring complete board removal to reach the riveted frame. Unlike earlier designs, Apple secures the keyboard directly to the unibody, with dozens of delicate cables and connectors in the way.
If your MacBook suffered a liquid spill, has unresponsive or sticky keys, or has lost its backlight function, swapping out the keyboard assembly resolves the problem without paying for a costly full top-case replacement. For official details on this model, see the Apple Wiki entry for the MacBook Pro 14-inch (Nov 2023).
This tutorial walks you through the entire teardown, rivet release, and reassembly in the video below. Let’s get started.
Follow along as a TEKDEP technician performs an A2918 keyboard replacement to save a liquid-damaged MacBook Pro.
How to Complete an A2918 Keyboard Replacement (Quick Overview)
First, remove the lower case using a P5 Pentalobe driver and release the side retention clips.
Next, disconnect the battery flex and pancake screw, then hold the power button for 10 seconds to drain static power.
Then, remove the antenna bar, hinge covers, and tape the display cables out of harm’s way.
Afterward, extract the M3 logic board, Touch ID button, and cooling fan.
Next, peel away the ruined backlight sheet and remove all PL1 perimeter screws.
After that, tear the riveted keyboard from the unibody while shielding the display with a protective sheet.
Then seat the new keyboard and backlight, tightening the perimeter screws.
Finally, reassemble the logic board and internal modules, reconnect battery power, and verify key response.
🛠️ Required Tools & Preparation for an A2918 Keyboard Replacement
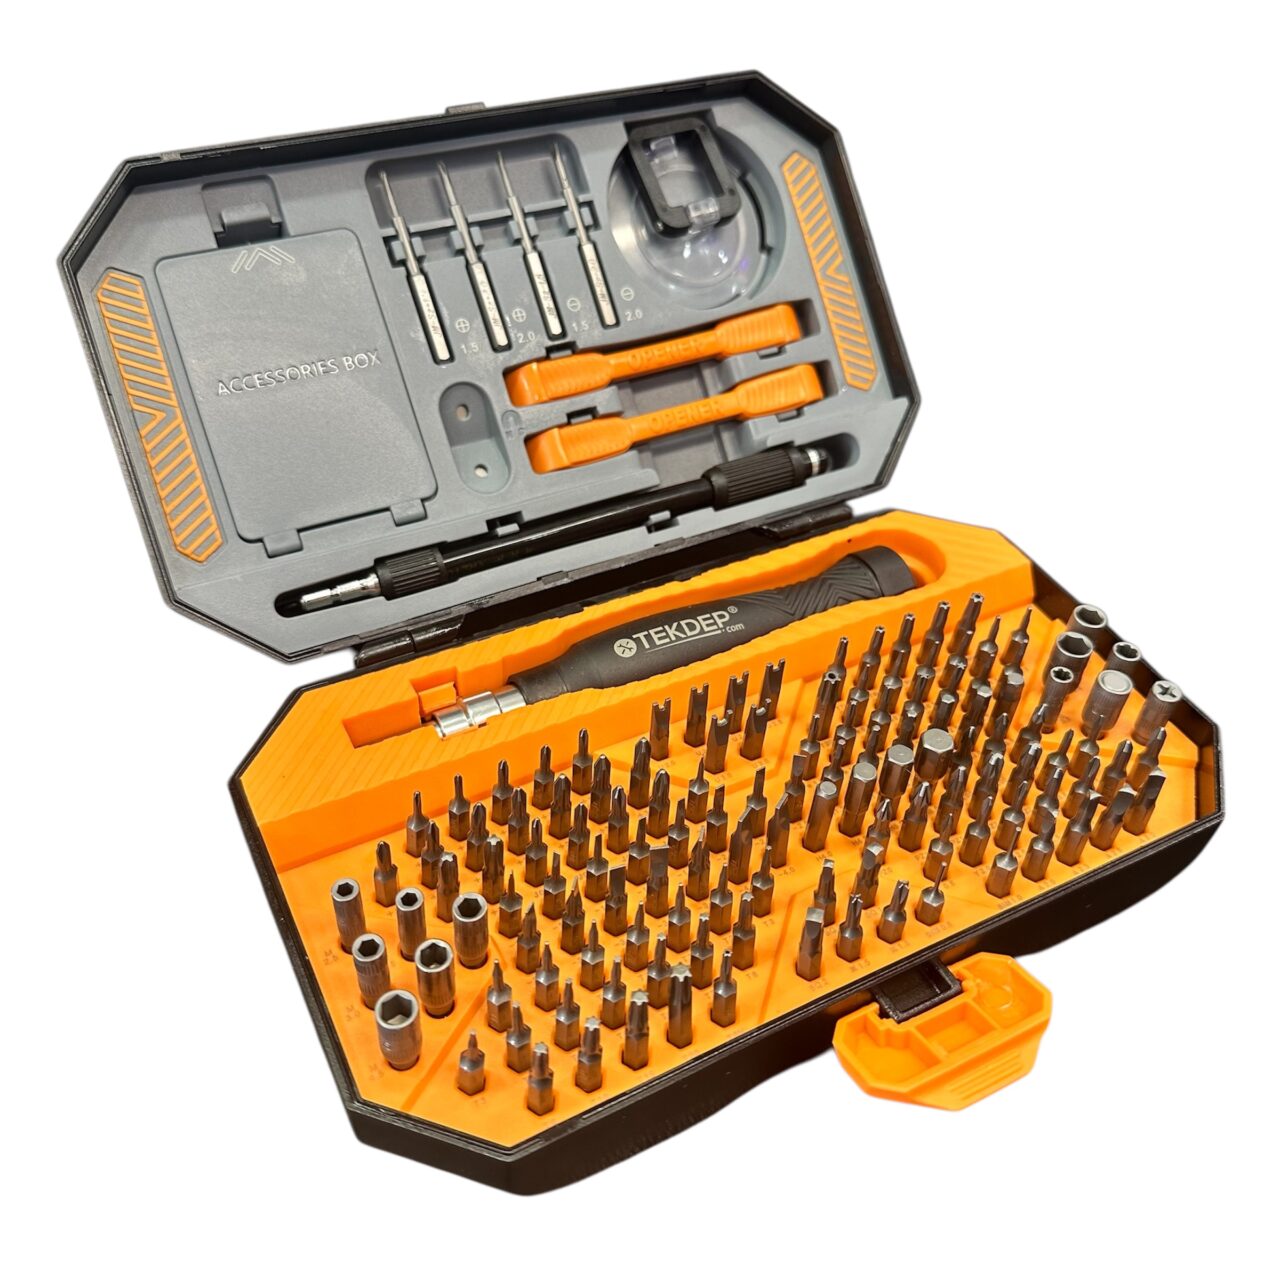
An A2918 keyboard replacement demands precise micro-bits, pry tools, and patience; power off and discharge the laptop before starting.
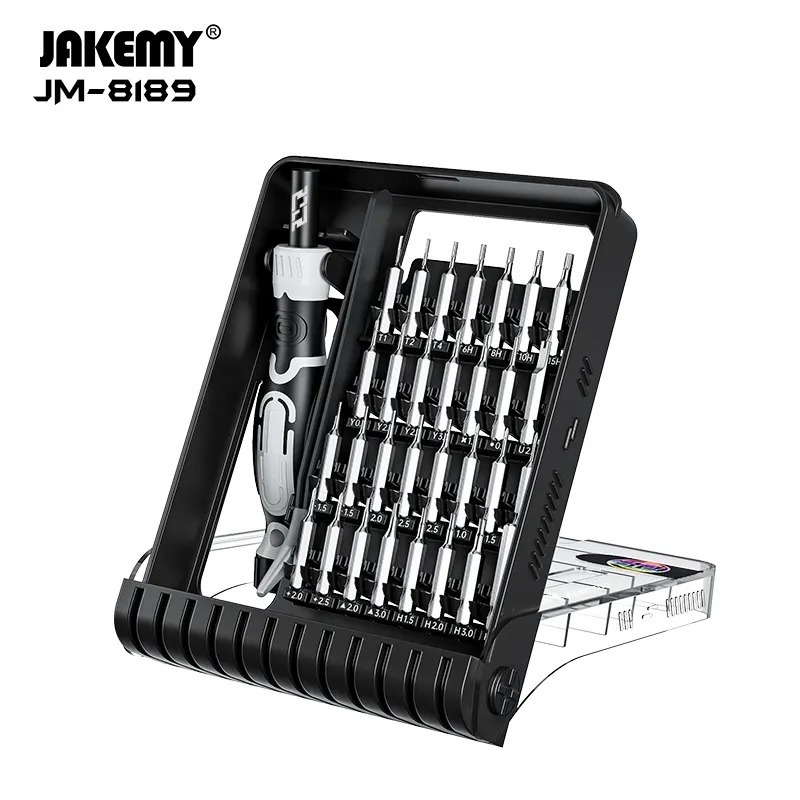
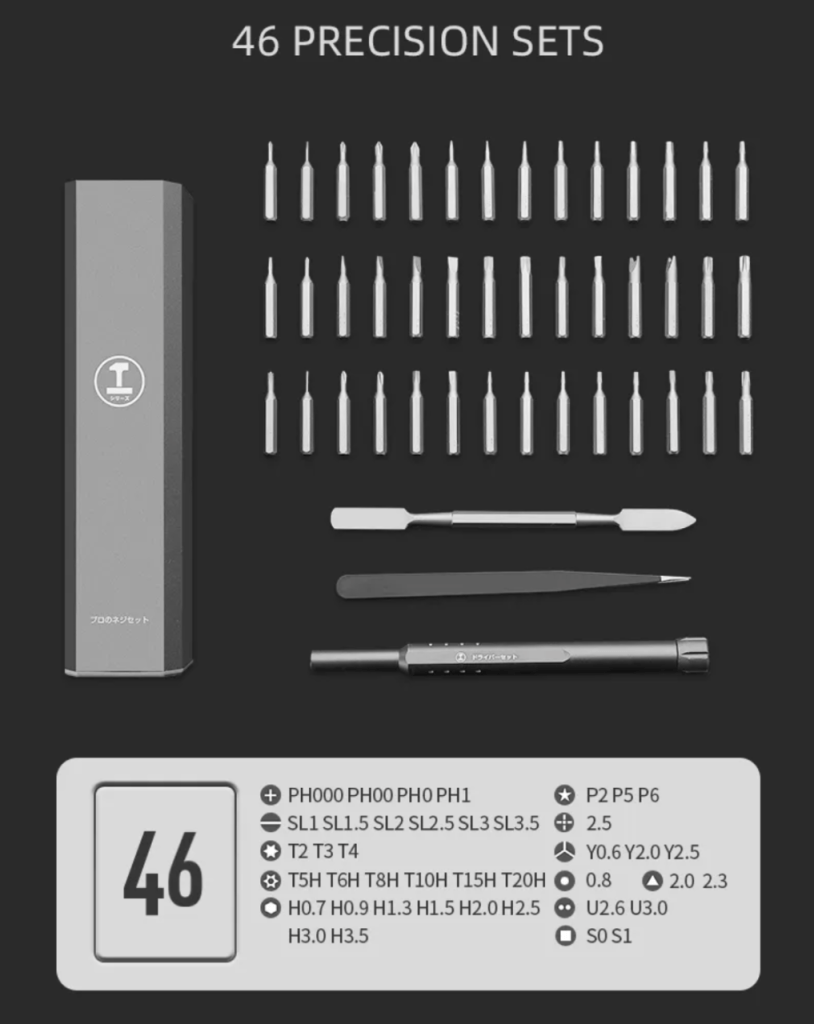
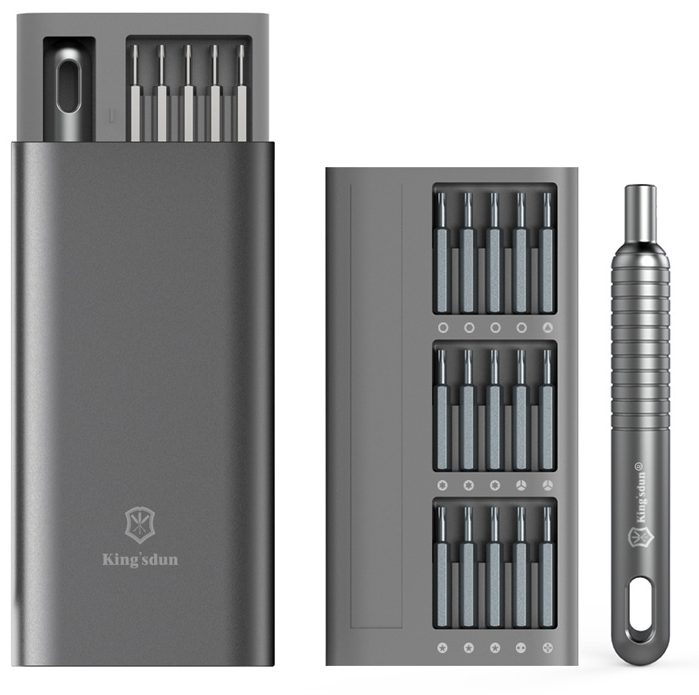
P5 Pentalobe screwdriver: releases the outer lower case screws.
PL1 screwdriver: extracts the tiny antenna and keyboard perimeter screws.
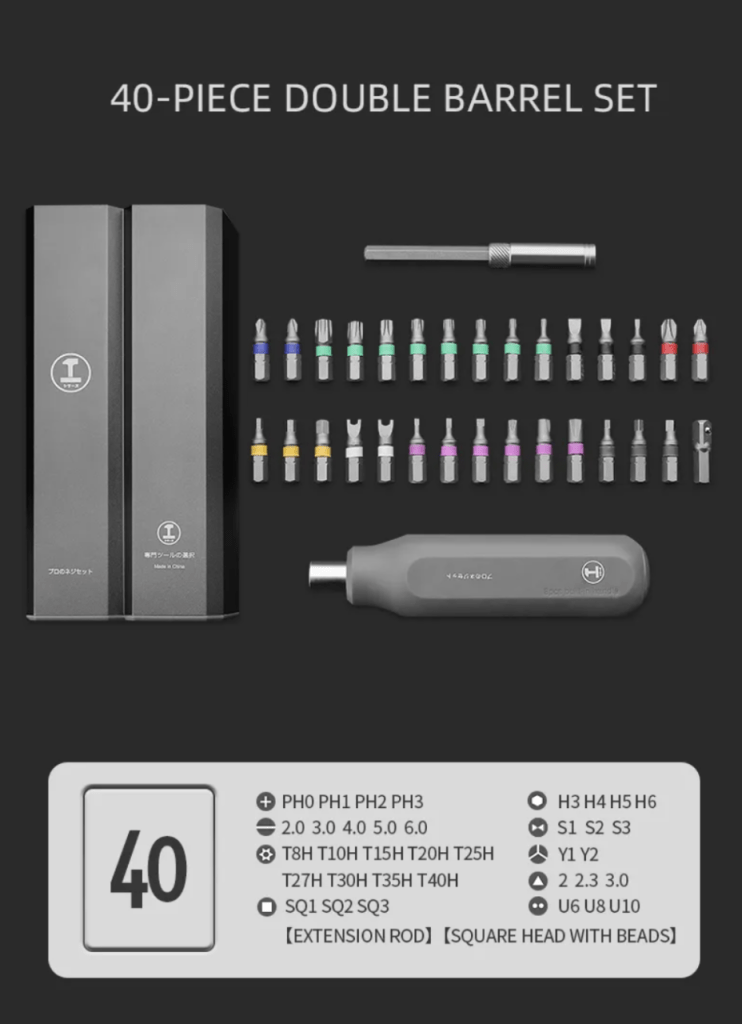
Torx drivers (T3, T5, T6, T7): handle cable brackets, logic board mounts, cooling fan, and hinge hardware.
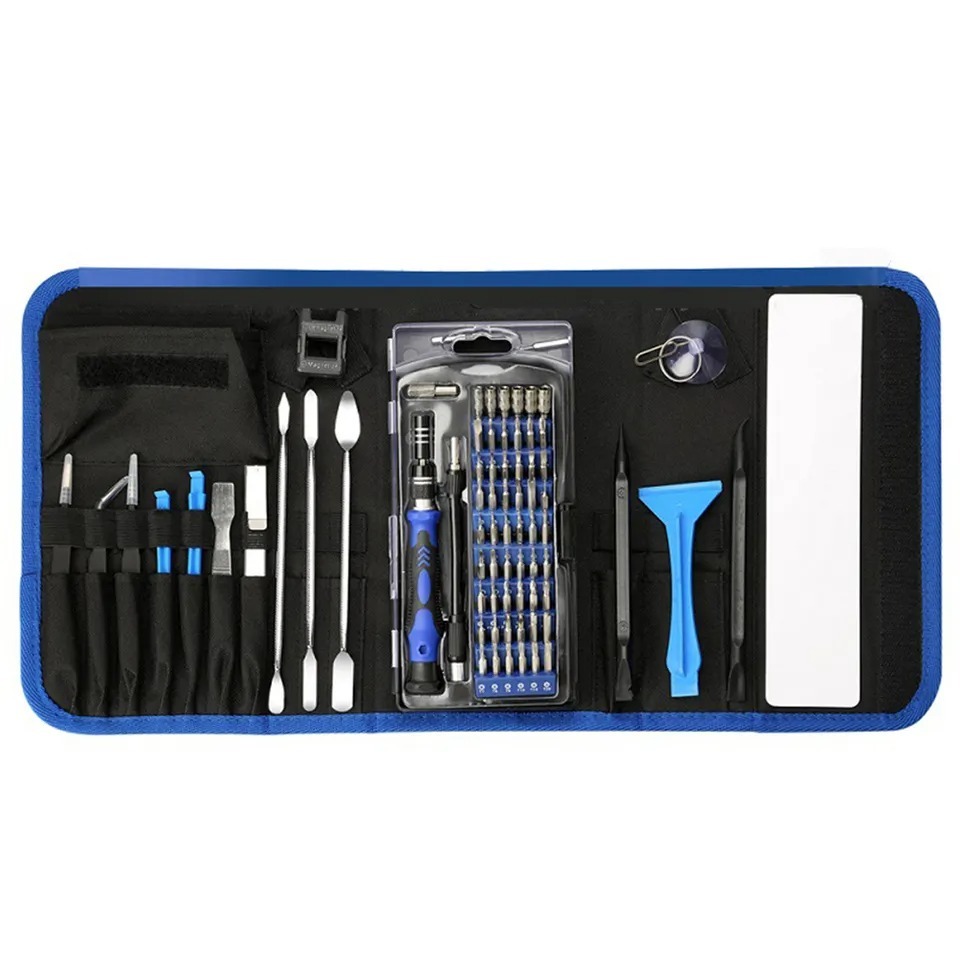
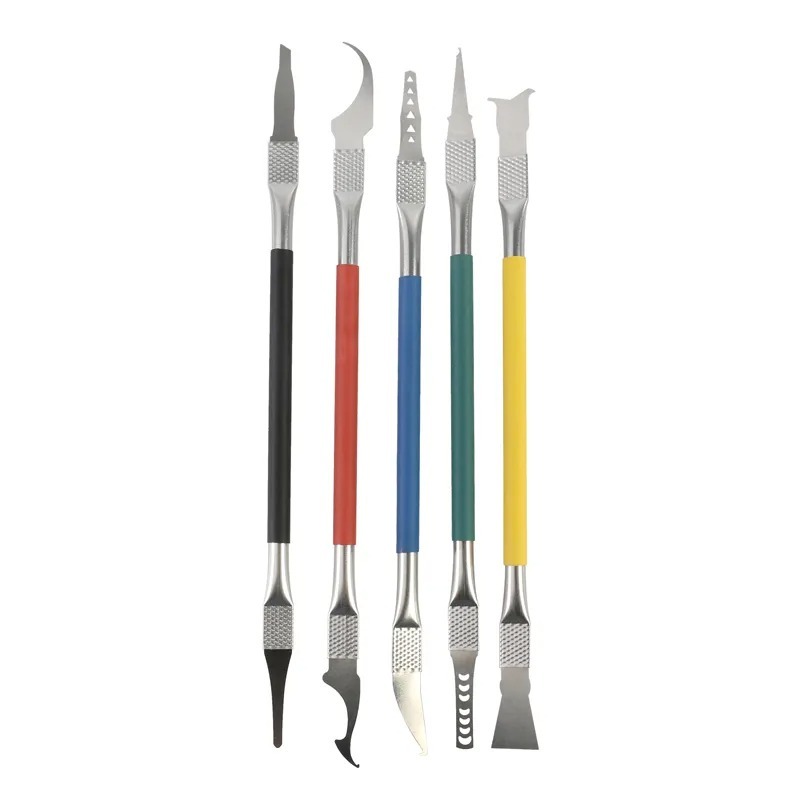
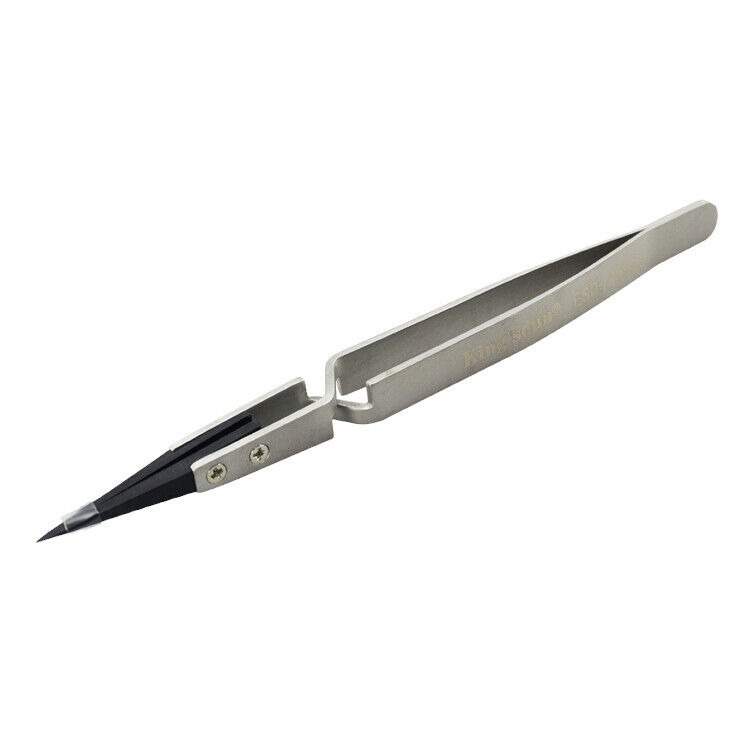
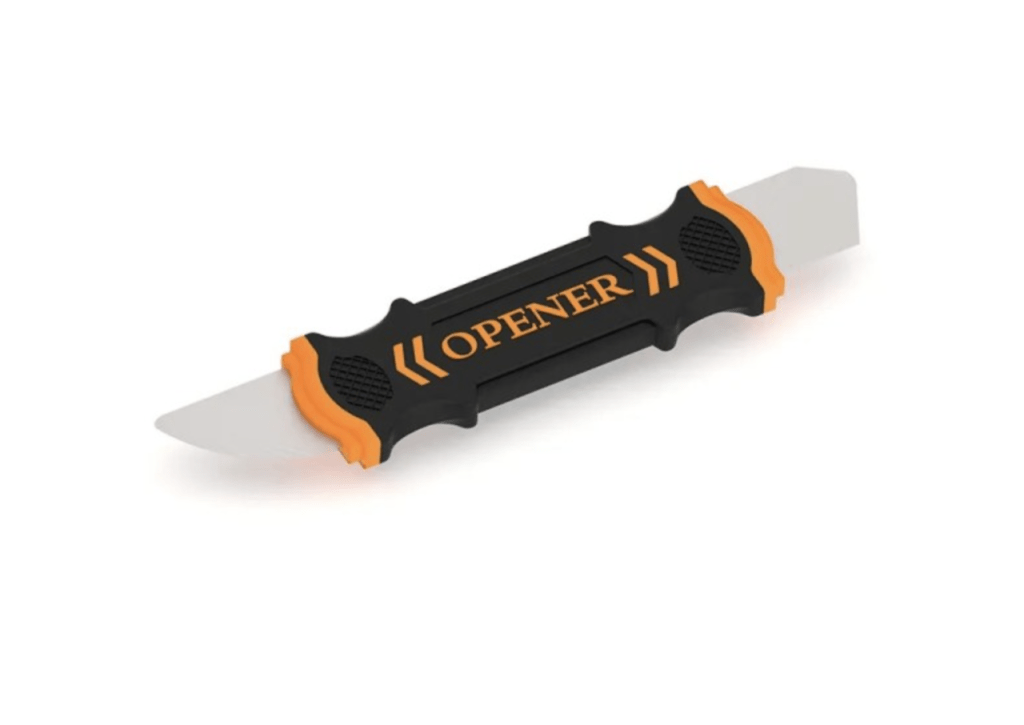
Plastic pry tool & tweezers: detach delicate ZIF latches, flex connectors, and adhesive layers safely.
Anti-static work mat: protects the delicate M3 logic board from ESD damage while uninstalled.
⚠️ Before you start: Disconnect the battery terminal and hold the power button for 10 seconds before touching any internal connectors. Store all removed screws in dedicated compartments; the microscopic PL1 screws will stick to internal display magnets and crack the glass when the lid closes.
Phase 1: Getting Inside for the A2918 Keyboard Replacement (Lower Case & Battery Disconnect)
Before starting the A2918 keyboard replacement, safely cut system power and remove the aluminum cover to prevent electrical arcs.
Step 1: Remove the Lower Case
The bottom shell uses perimeter fasteners and internal slide-lock tabs that require deliberate release angles.
Remove the nine P5 Pentalobe screws securing the lower case with your driver and keep them grouped.
Slide a plastic pry tool under the left and right side seams, pushing upward until both internal clips snap free.
Pull the lower plate slightly toward the front edge to disengage the upper locking tabs and lift the cover away.
Cutting battery voltage prevents shorting logic board power rails when disconnecting micro flex lines later.
Remove the one T3 screw holding the trackpad flex cable cover and gently pry the cable off its socket.
Pry up the adhesive strip covering the battery daughter flex latches, unlock the tabs, and pull the flex cable free.
Use a T5 Torx driver to remove the battery pancake screw securing the power terminal, then flip up the tab.
Open the laptop display slightly and hold down the power button for 10 seconds to fully discharge any remaining capacitor energy.
Lifting the battery terminal tab cuts all DC power before you begin disconnecting internal logic board cables.
Phase 2: Clearing the Chassis for the A2918 Keyboard Replacement (Antenna, Cables & Logic Board)
The A2918 keyboard replacement requires removing every major internal module and protecting delicate display cables first.
Step 1: Detach the Antenna and Tape Display Cables
The wireless antenna assembly sits directly over the display lines and sleep sensor connectors.
Remove the display cable bracket screws using a T3 screwdriver and disconnect the coaxial lines.
Switch to a T5 Torx driver and remove the four center antenna screws and the two corner hinge bracket screws.
Disconnect the lid angle sleep sensor flex connector gently using your plastic pry tool.
Remove the nine PL1 screws across the center antenna channel with your precision bit and lift the antenna bar out.
Peel the protective rubber cable boots away, fold the display flex cables back, and secure them down with electronics tape.
TEKDEP Expert Warning: The PL1 antenna screws are tiny and magnetic. If a loose screw adheres to the chassis magnets near the display hinge, closing the lid will puncture the screen panel instantly. Keep them isolated.
Step 2: Remove the M3 Logic Board
The logic board connects to multiple perimeter ribbons that must be gently released before sliding the board free.
Step 3: Remove the Touch ID Sensor and Cooling Fan
Clearing the remaining corner hardware provides completely flat access to the backlight plate.
Loosen the left display hinge using a Torx 7 driver to create enough clearance for the bracket.
Remove the six T3 screws securing the Touch ID metal plate, then feed the delicate sensor flex ribbon through the gap.
Remove the three T3 screws and one T5 screw securing the cooling fan and lift the fan unit out.
Slide the board toward the right to clear the HDMI and SD card ports without stressing the circuit board.
Step 3: Install the New Keyboard and Backlight Plate
Installing the new keyboard during an A2918 keyboard replacement requires precise alignment before driving screws into the aluminum frame.
Seat the new keyboard into the chassis, making sure all perimeter holes align with screw mounts.
Reinstall the single larger PL1 screw on the left side first, then reinstall all remaining perimeter PL1 screws.
Peel the protective film from the pre-applied adhesive around the power button cutout, top edge, and perimeter of the new backlight.
Align the backlight plate starting from the right side, press firmly along all perimeter glue zones, and peel off the blue outer film.
Phase 4: Reassembly & Functionality Test After Your A2918 Keyboard Replacement
To finish the A2918 keyboard replacement, return everything to the chassis in reverse sequence with careful cable routing at every corner.
Step 1: Reinstall Internal Hardware and Logic Board
Reinstalling the board requires verifying that no elastic ribbon cables remain pinched underneath.
Reinstall the two pancake screws into the chassis center, then reinstall the cooling fan with its three T3 and one T5 screws.
Slide the Touch ID sensor through the hinge gap, install its bracket with six T3 screws, and verify the physical click action.
Tighten the left display hinge screws with your Torx 7 driver.
Angle the M3 logic board beneath the left HDMI and SD card lip, then gently lower the right side into place.
Use your plastic pry tool to lift all flex ribbons and rubber heatsink gaskets above the board surface before seating it flat.
Secure the logic board with its three T6 Torx screws, center T3 screws, and perimeter T5 screws.
Step 2: Reinstall Antenna, Battery Power, and Lower Case
Reconnecting internal data lines and terminal screws completes the mechanical reassembly.
Reinstall the rubber display cable guards, align the antenna bar, and reconnect both antenna snap connectors.
Secure the antenna bar using the nine PL1 screws and drive all remaining T5 screws and hinge covers.
Fasten all cable bracket plates with their T3 screws and plug in the fan flex connector.
Reinstall the battery terminal T5 pancake screw, latch the battery flex cable, and reconnect the trackpad flex with its T3 screw.
Slide the lower case into the top case hinge tabs, press firmly to engage perimeter snap clips, and reinstall the nine P5 screws.
Ensure only a sliver of gold contacts shows before pressing the latch down to confirm a complete connection.
Step 3: Function Test
Because the battery was disconnected, connect your MagSafe or USB-C charger to wake the MacBook from storage mode. Power on the system, confirm key travel across all rows, test trackpad haptic feedback, and verify wireless connections, just as we cover in our diagnostic reviews on the TEKDEP blog.
Congratulations! You have successfully completed the A2918 keyboard replacement on your 2023 MacBook Pro 14-inch M3.
🛑 Not Comfortable Tearing Out Rivets or Logic Boards? If handling microscopic PL1 screws, fragile display ribbons, and full motherboard removal feels overwhelming, don’t worry. The TEKDEP experts are here to help.
We offer clean, professional, and affordable Mail-In repair services for the entire Apple MacBook Pro lineup.
Why is an A2918 keyboard replacement more difficult than on older laptops?
Apple rivets the keyboard switches into the chassis beneath the logic board, cooling fans, and antenna array. The entire computer must be dismantled down to the bare aluminum shell before you can mechanically separate the riveted keyboard frame.
Do I have to replace the entire top case for spilled liquid on an A2918?
No, you do not. Official Apple service replaces the entire palmrest assembly, trackpad, and battery as a single costly part. Installing an aftermarket keyboard and new backlight diffuser saves the original enclosure and cuts repair costs substantially.
What should I do if the Touch ID button feels stiff after reassembly?
Loosen the six T3 bracket screws slightly. If overtightened, the metal retention bracket binds the spring mechanism and eliminates the mechanical click feel. Loosening the screws slightly restores proper switch tactile feedback.
Will performing this DIY repair void my Apple warranty?
Yes. Opening your MacBook Pro and replacing the keyboard yourself will void any active Apple limited warranty or AppleCare+ coverage. If your device is still under warranty, it is highly recommended to check your official repair options before attempting this DIY guide.
Do I need special software to calibrate the new keyboard?
No, you do not. The replacement keyboard for the A2918 model is plug-and-play. As long as all ribbon cables are seated correctly and the original Touch ID sensor is transferred safely, your new keys and backlight will work immediately without any software configuration.
🛑 IMPORTANT: SAFETY & LIABILITY DISCLAIMER TEKDEP®️TEKDEP.com assumes no liability for property damage or injury incurred as a result of any information in this blog post or associated videos. Dealing with internal computer components, specifically Lithium-Ion batteries, carries inherent risks including fire, toxic gas exposure, and irreversible device failure. Any injury, damage, or loss from improper use of tools, mishandling of components, or misinterpretation of this information is the sole responsibility of the user. Perform repairs at your own risk. If you are unsure of your capabilities, please utilize our professional Mail-In Repair Service.
Don't lose Face ID during your iPhone 14 Pro Max screen replacement! Learn how to safely transfer the fragile upper sensor assembly with our step-by-step DIY guide. Restore your display without sacrificing essential features.
Cracked glass or a dead touch screen on your iPad Pro 11? This iPad M4 screen replacement guide shows you how to soften the adhesive, disconnect the sensors safely, and fit a new display without damaging Face ID.
Hinges pulling out of the casing? A Dell Inspiron 14 5410 LCD back cover replacement is the exact fix you need. Follow our expert guide to safely transfer your fragile display and hinges without causing further damage.
Jherick
October 29, 2026
Official TEKDEP Tutorials
Subscribe for expert tutorials, pro tech tips, and teardowns.