


















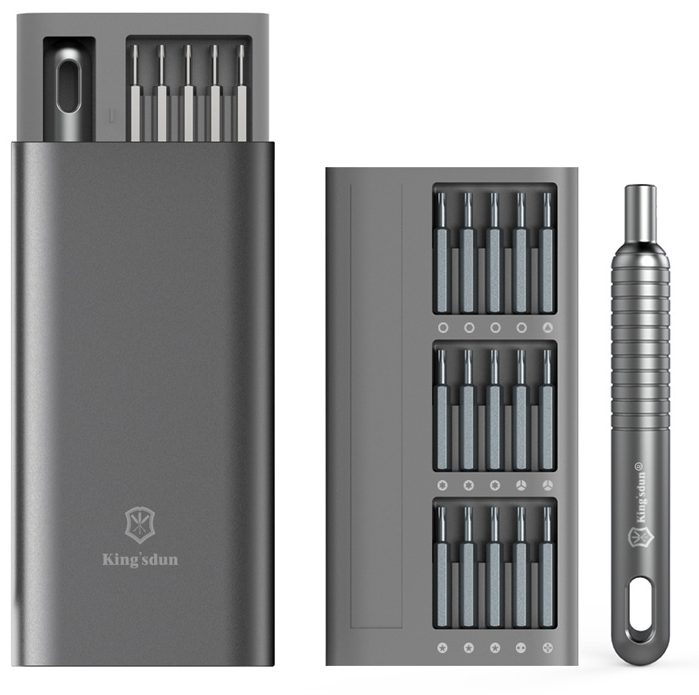













Model: Asus ZenBook Duo 14 (UX482) | Level: Advanced | Tools: T5 Torx screwdriver, Phillips screwdriver, plastic pry tool
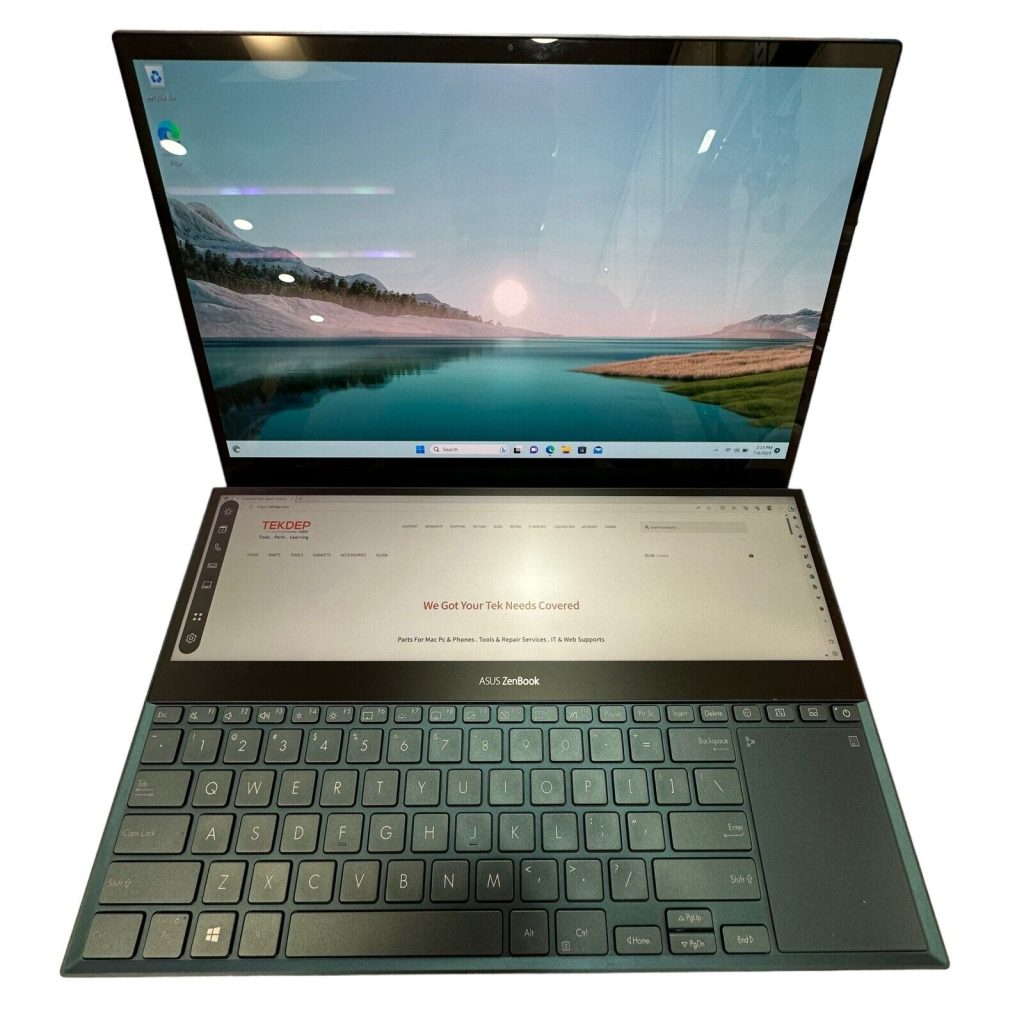
An Asus ZenBook Duo 14 teardown requires a bit more care than a standard laptop because of the secondary ScreenPad Plus display mounted in the top case.
If you are experiencing random shutdowns, a failing motherboard, or simply need to clean the cooling fans, this disassembly procedure gives you access to every internal component.
Our lead TEKDEP Technician walks you through the entire process in the video below. Let’s get started.
How to Perform an Asus ZenBook Duo 14 Teardown (Quick Overview)
- Pop the covers and remove the backplate screws to get inside the chassis.
- Disconnect and extract the battery to safely discharge the computer.
- Reroute the speaker cables and pull out the speaker modules.
- Detach the cooling fans and SSD to clear room around the logic board.
- Disconnect every display and keyboard cable running across the motherboard.
- Locate the hidden taped screw and lift the motherboard out from the HDMI side.
- Undo the hinge screws on both displays to separate the top case from the ScreenPad Plus.
🛠️ Required Tools & Preparation
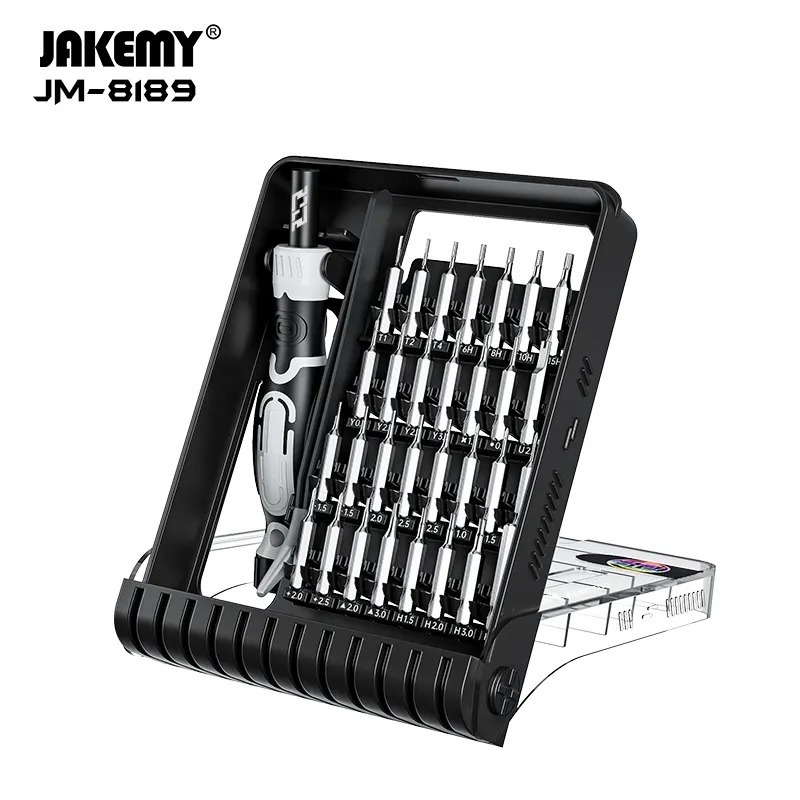
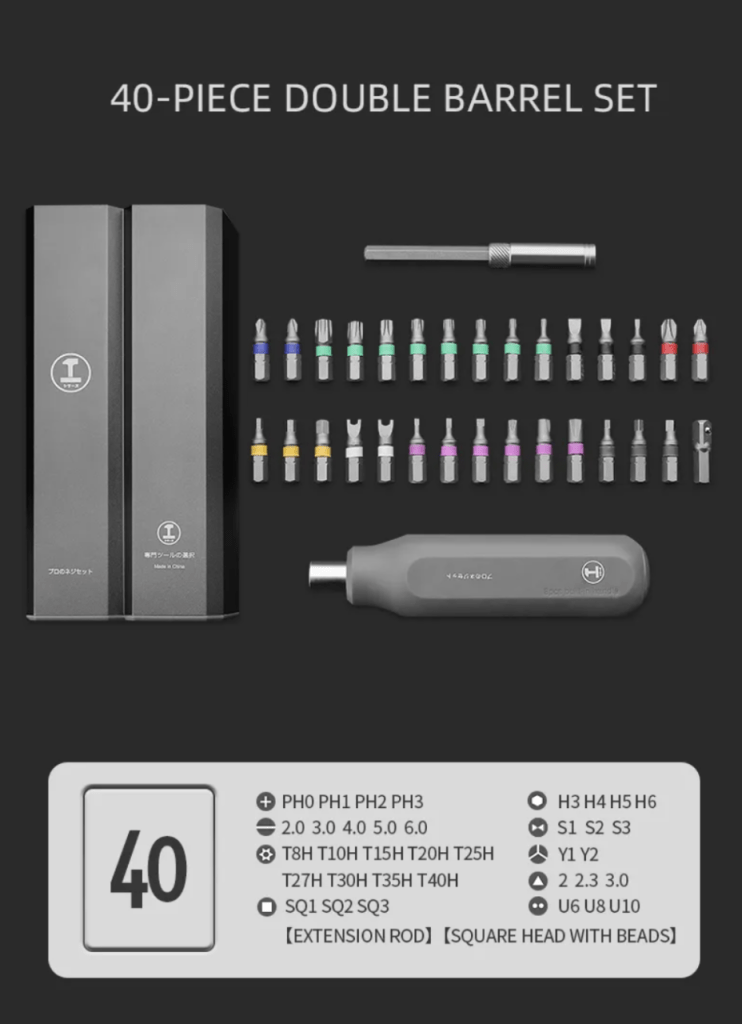
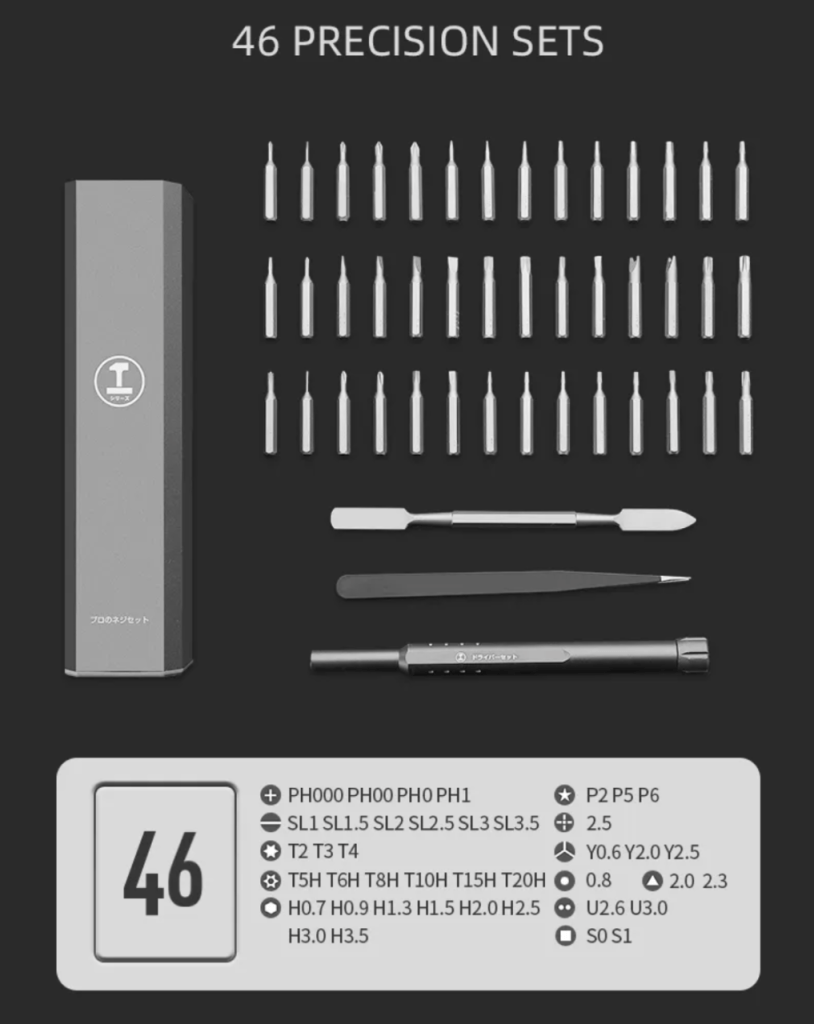
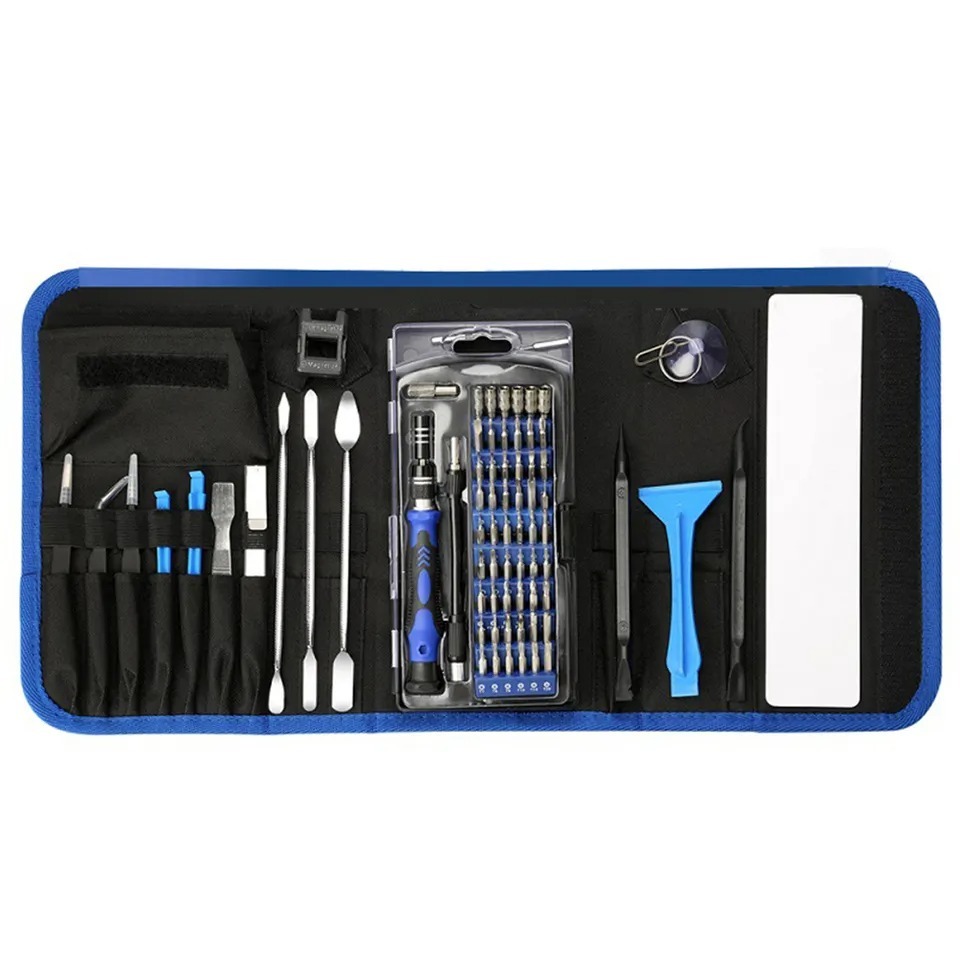
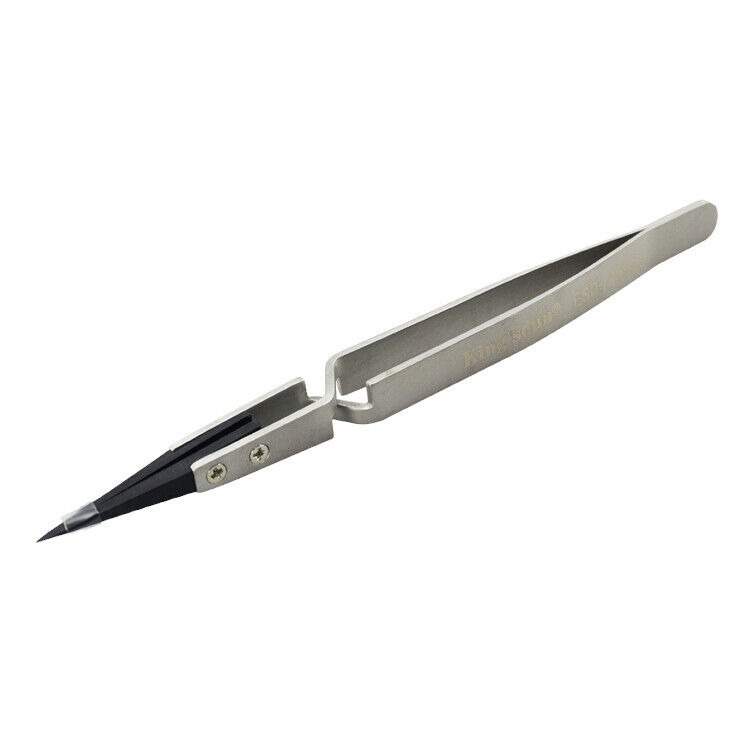
A safe teardown on the Asus ZenBook Duo 14 needs standard precision tools; power off and unplug first.
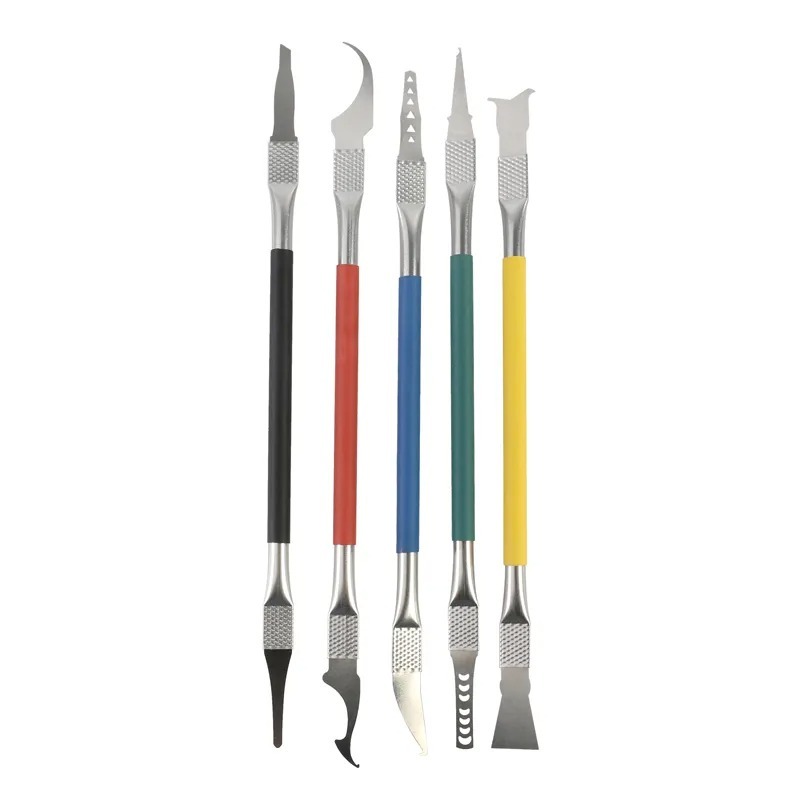
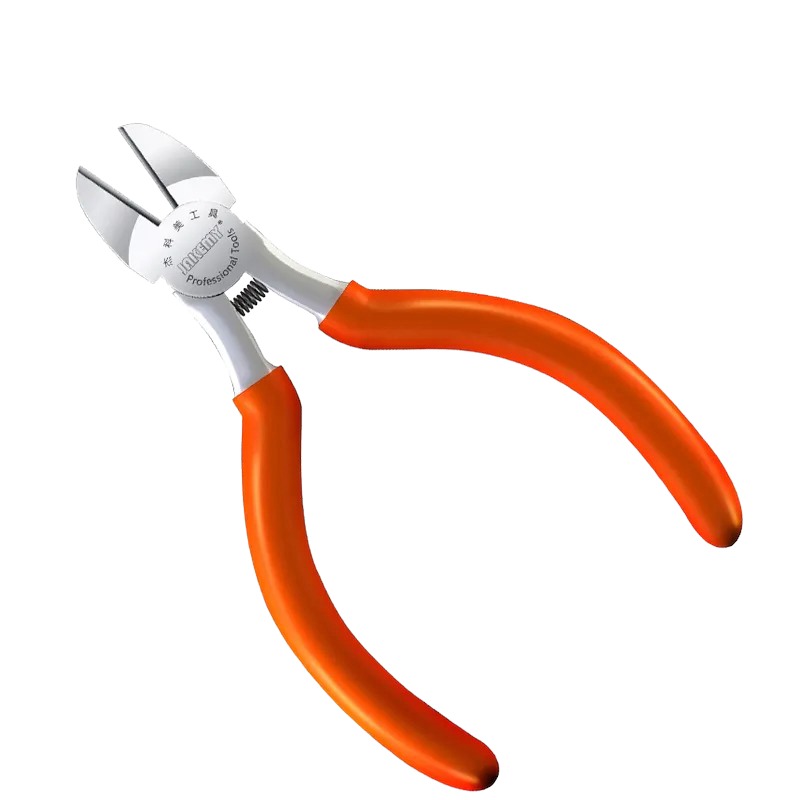
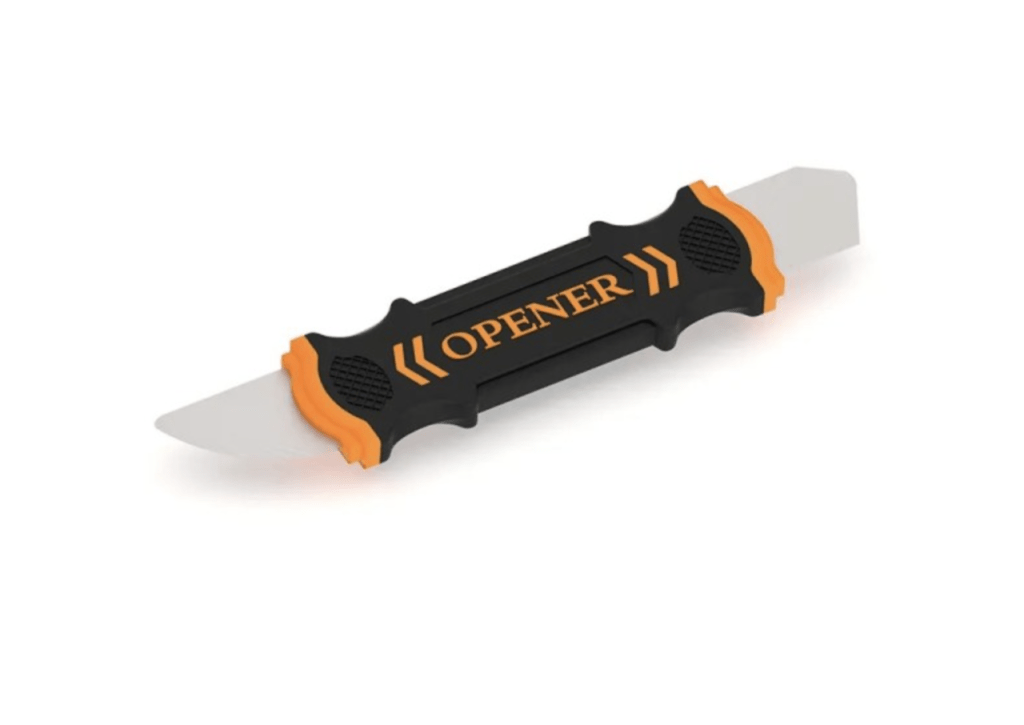
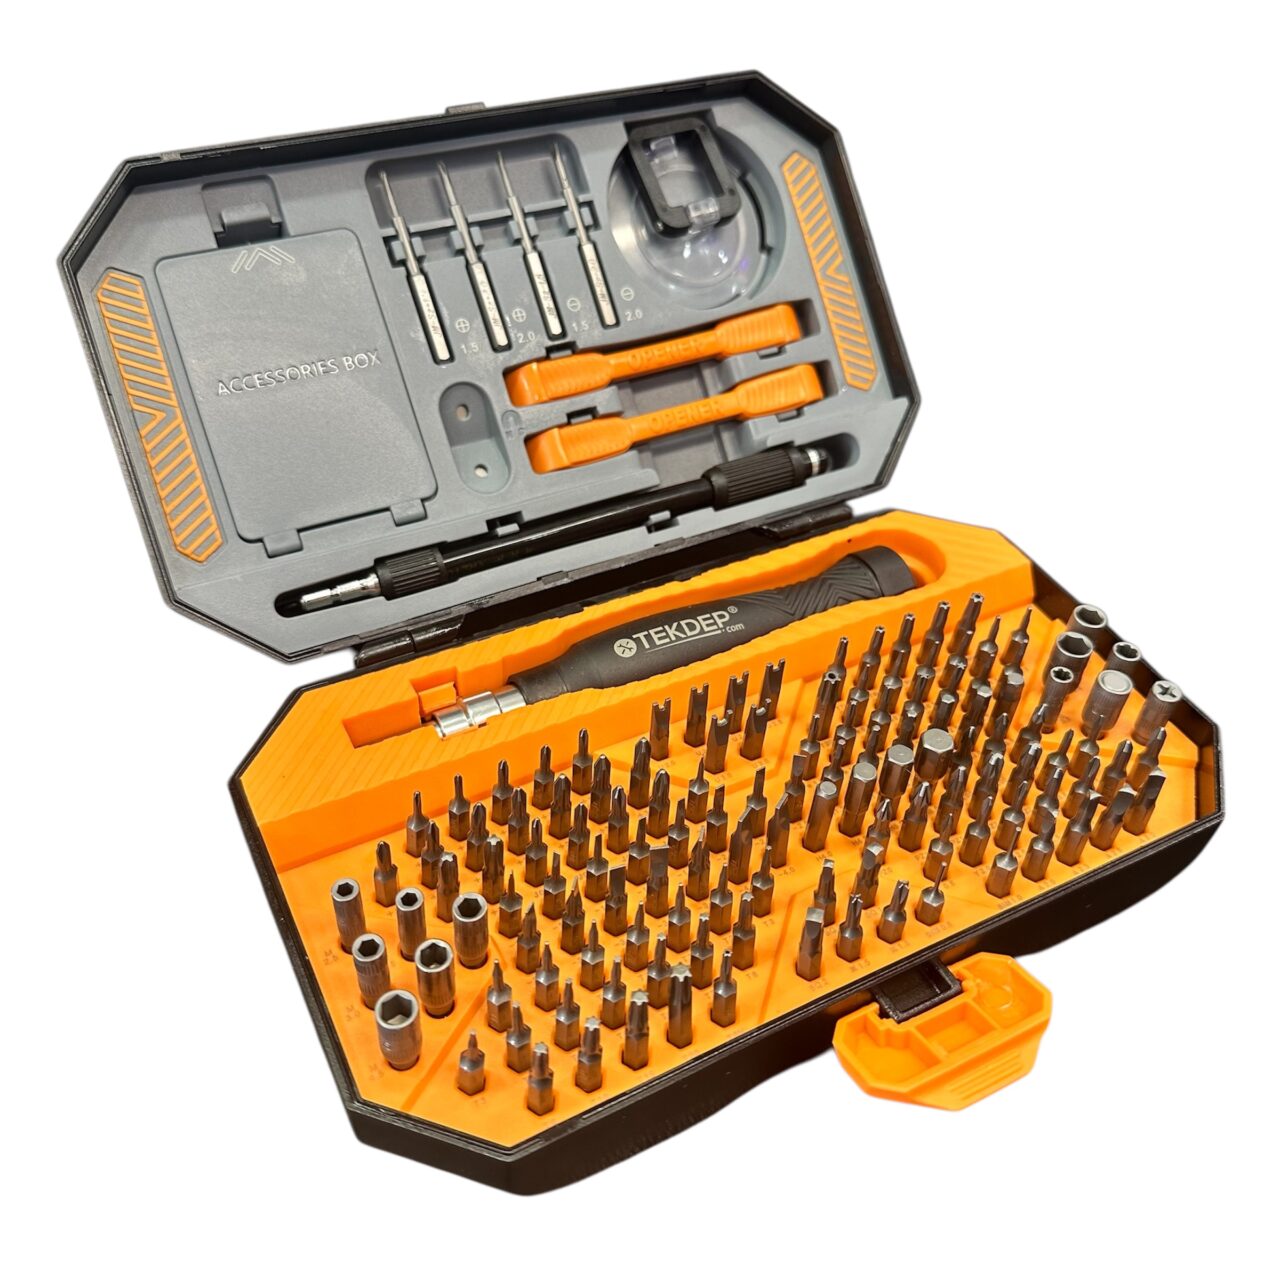
- Plastic pry tool: undoes the backplate latches and unclips delicate connectors without causing shorts.
- T5 Torx screwdriver: removes the external fasteners securing the backplate.
- Phillips screwdriver: used for the battery, internal components, hinges, and the logic board.
Get the Exact Tools Used by Our Techs:
⚠️ Before you start: Disconnect the battery before you touch any connector. Work on an anti-static mat and keep each group of screws together. This dual-screen device has extra display cables that are easy to tear if pulled incorrectly.
Phase 1: Getting Inside (Backplate & Battery)
The first step in your Asus ZenBook Duo 14 disassembly is uncovering the hidden fasteners and safely discharging the device.
Step 1: Remove the Backplate
Several screws are hidden beneath cosmetic covers that must be removed first.
- Pop off the small covers hiding the top fasteners and unscrew all the T5 Torx screws, including the four on the bottom edge.
- Slide your plastic pry tool across the bottom seam of the backplate.
- Push the tool in and up to undo the internal latches, then lift the backplate away.

Step 2: Disconnect and Remove the Battery
The battery must be fully disconnected before you unscrew it to prevent shorting the motherboard.
- Click the small latch on the battery connector and push it to the side.
- Get under the battery strap and detach it so the computer is fully discharged.
- Remove the Phillips head screws securing the outside of the battery.
- Pull up on the speakers to move the routing cables out of the way on both sides.
- Lift the battery up and out without ripping the speaker wires.


Phase 2: Removing Peripherals (Speakers, SSD & Fans)
Clear out the modular components of your Asus ZenBook Duo 14 to free up space around the delicate motherboard.
Step 1: Remove the Speakers
The speakers share a single connector and have wires routed intricately along the bottom edge.
- Use your pry tool to gently lift off the single speaker connector on the right side.
- Undo and reroute the long speaker cables through the channels along the bottom edge.
- Lift both speaker modules out of the chassis.

Step 2: Remove the SSD and Cooling Fans
The fan cables are fragile; pulling on the wires directly can rip them from their sockets.
- Undo the one Phillips screw holding down the M.2 SSD and pull the drive out.
- Remove the Phillips head screws securing both cooling fans along the outside edges.
- Grab the fan cables gently by the little black tape side and pull to disconnect them from the board.

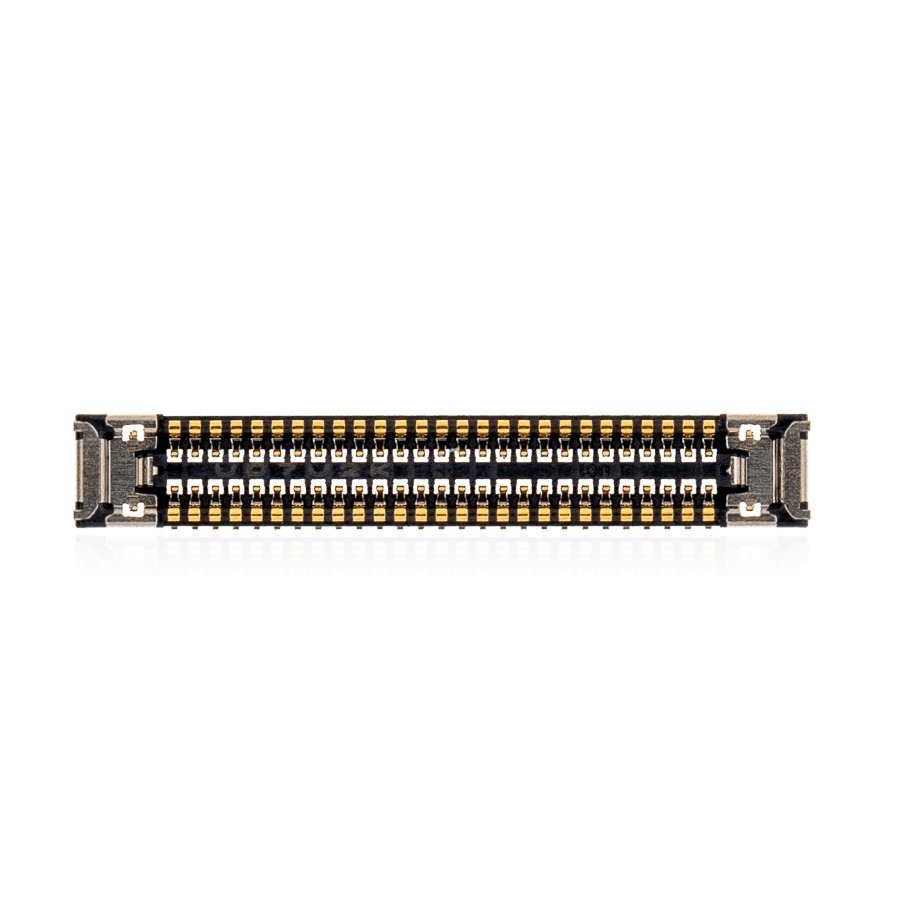
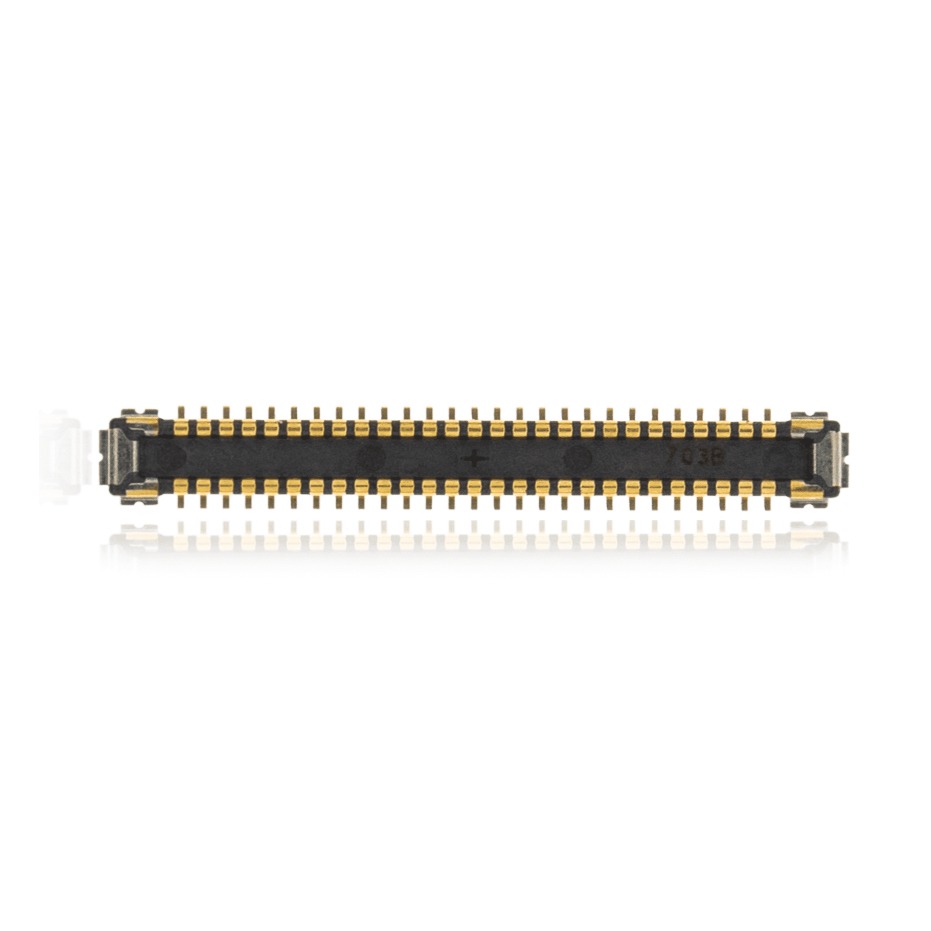
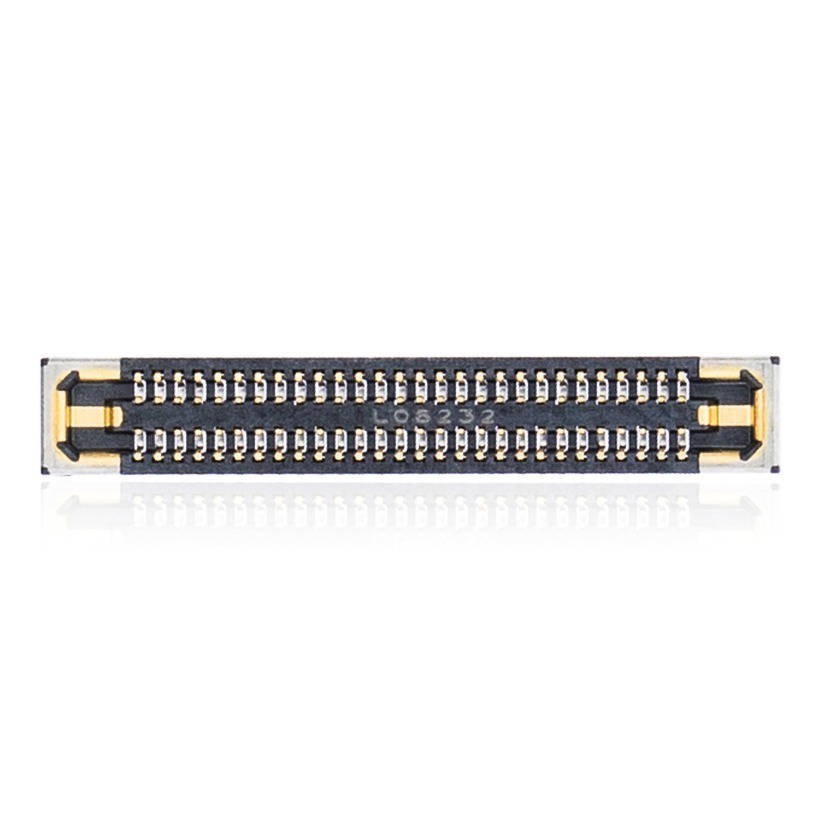
Get the replacement parts featured in this guide:


Phase 3: Extracting the Logic Board
The logic board is the most fragile portion of the Asus ZenBook Duo 14, featuring hidden screws and multiple display cables.
Step 1: Disconnect the Cables
There are several distinct display and keyboard ribbons connected directly to the logic board.
- Pull backwards on the display cable feeding through the top hinges to disconnect it.
- Pull in the middle to detach the secondary display cable routing through the feet on the other side.
- Disconnect the cable running to the top display underneath the unit.
- Remove the two Phillips screws securing the keyboard cable bracket and pull the cable off.

Step 2: Remove the Motherboard
Use a smaller bit to avoid stripping the logic board fasteners.
- Use a smaller Phillips screwdriver to remove all visible screws holding the board down.
- Crucial Note: locate and remove the one hidden screw covered by a piece of tape.
- Gently lift the logic board from the HDMI side first, navigating the auxiliary indent on the left.
- Pull the rest of the board out slowly and set it safely aside.
TekDep Expert Warning: Forgetting the hidden taped screw is the fastest way to snap your logic board in half when you attempt to lift it. Always double-check under the tape before prying.

Phase 4: Separating the Displays (Main & ScreenPad Plus)
With the motherboard out, you can now separate the Asus ZenBook Duo 14‘s main display and the complex top case assembly.
Step 1: Remove the Main LCD Display
The main display comes off using the same hinge tricks we detailed in our HP Victus 15 screen replacement guide, starting with the heavy outer screws.
- Remove the six Phillips screws securing the outer display hinges on both sides.
- Open up the hinges just a tad to give yourself clearance.
- Undo the little latch connecting it to the top case and lift the main display away.

Step 2: Detach the Secondary Display
The secondary ScreenPad Plus operates on its own daughterboard and two-part hinge system.
- Undo the inner hinges located on the left and right sides of the top case.
- Remove the remaining associated Phillips screws securing the hinge mechanism.
- Lift up firmly on the top case to pop it right off.
- The keyboard and trackpad are now fully separated from the secondary display.


Get the replacement parts featured in this guide:


Step 3: Reassembly Notes & Testing
Reassemble the Asus ZenBook Duo 14 in reverse order, being extremely careful to route the speaker wires through their channels exactly as they were to prevent crushing them beneath the backplate. Hook up the battery connector last, then power the machine on to ensure both the main and secondary displays function normally.
Congratulations! You have completed the Asus ZenBook Duo 14 teardown on your device.
🛑 Not Comfortable Handling the Dual Displays? If reading about hidden screws and delicate pull-tabs has you second-guessing your DIY skills, don’t worry. The TEKDEP experts are here to help.
We offer clean, professional, and affordable Mail-In repair services for the entire Asus ZenBook lineup.
Frequently Asked Questions
Is it hard to perform an Asus ZenBook Duo 14 teardown?
The secondary ScreenPad Plus makes this model look daunting, but the internal layout is surprisingly routine. If you follow the steps, keep your screws organized, and handle the logic board gently, you can safely dismantle the computer.
Can you upgrade the RAM in the Asus ZenBook Duo 14 (UX482)?
No, the RAM is soldered directly onto the logic board, meaning memory upgrades or repairs are not available for this model. However, you can easily upgrade the storage by swapping the M.2 SSD for a 1TB drive.
Where is the hidden screw on the logic board?
There is a single, smaller Phillips head screw hidden under a piece of tape near the display cables. You must locate and remove this hidden screw before attempting to lift the logic board, or you risk breaking it.
Will opening my Asus ZenBook Duo 14 void the warranty?
Yes, opening the chassis or breaking factory seals typically voids the manufacturer’s warranty. Only perform this teardown if your device is out of warranty or you accept the risk.
🛑 IMPORTANT: SAFETY & LIABILITY DISCLAIMER TEKDEP®️ TEKDEP.com assumes no liability for property damage or injury incurred as a result of any information in this blog post or associated videos. Dealing with internal computer components, specifically Lithium-Ion batteries, carries inherent risks including fire, toxic gas exposure, and irreversible device failure. Any injury, damage, or loss from improper use of tools, mishandling of components, or misinterpretation of this information is the sole responsibility of the user. Perform repairs at your own risk. If you are unsure of your capabilities, please utilize our professional Mail-In Repair Service.