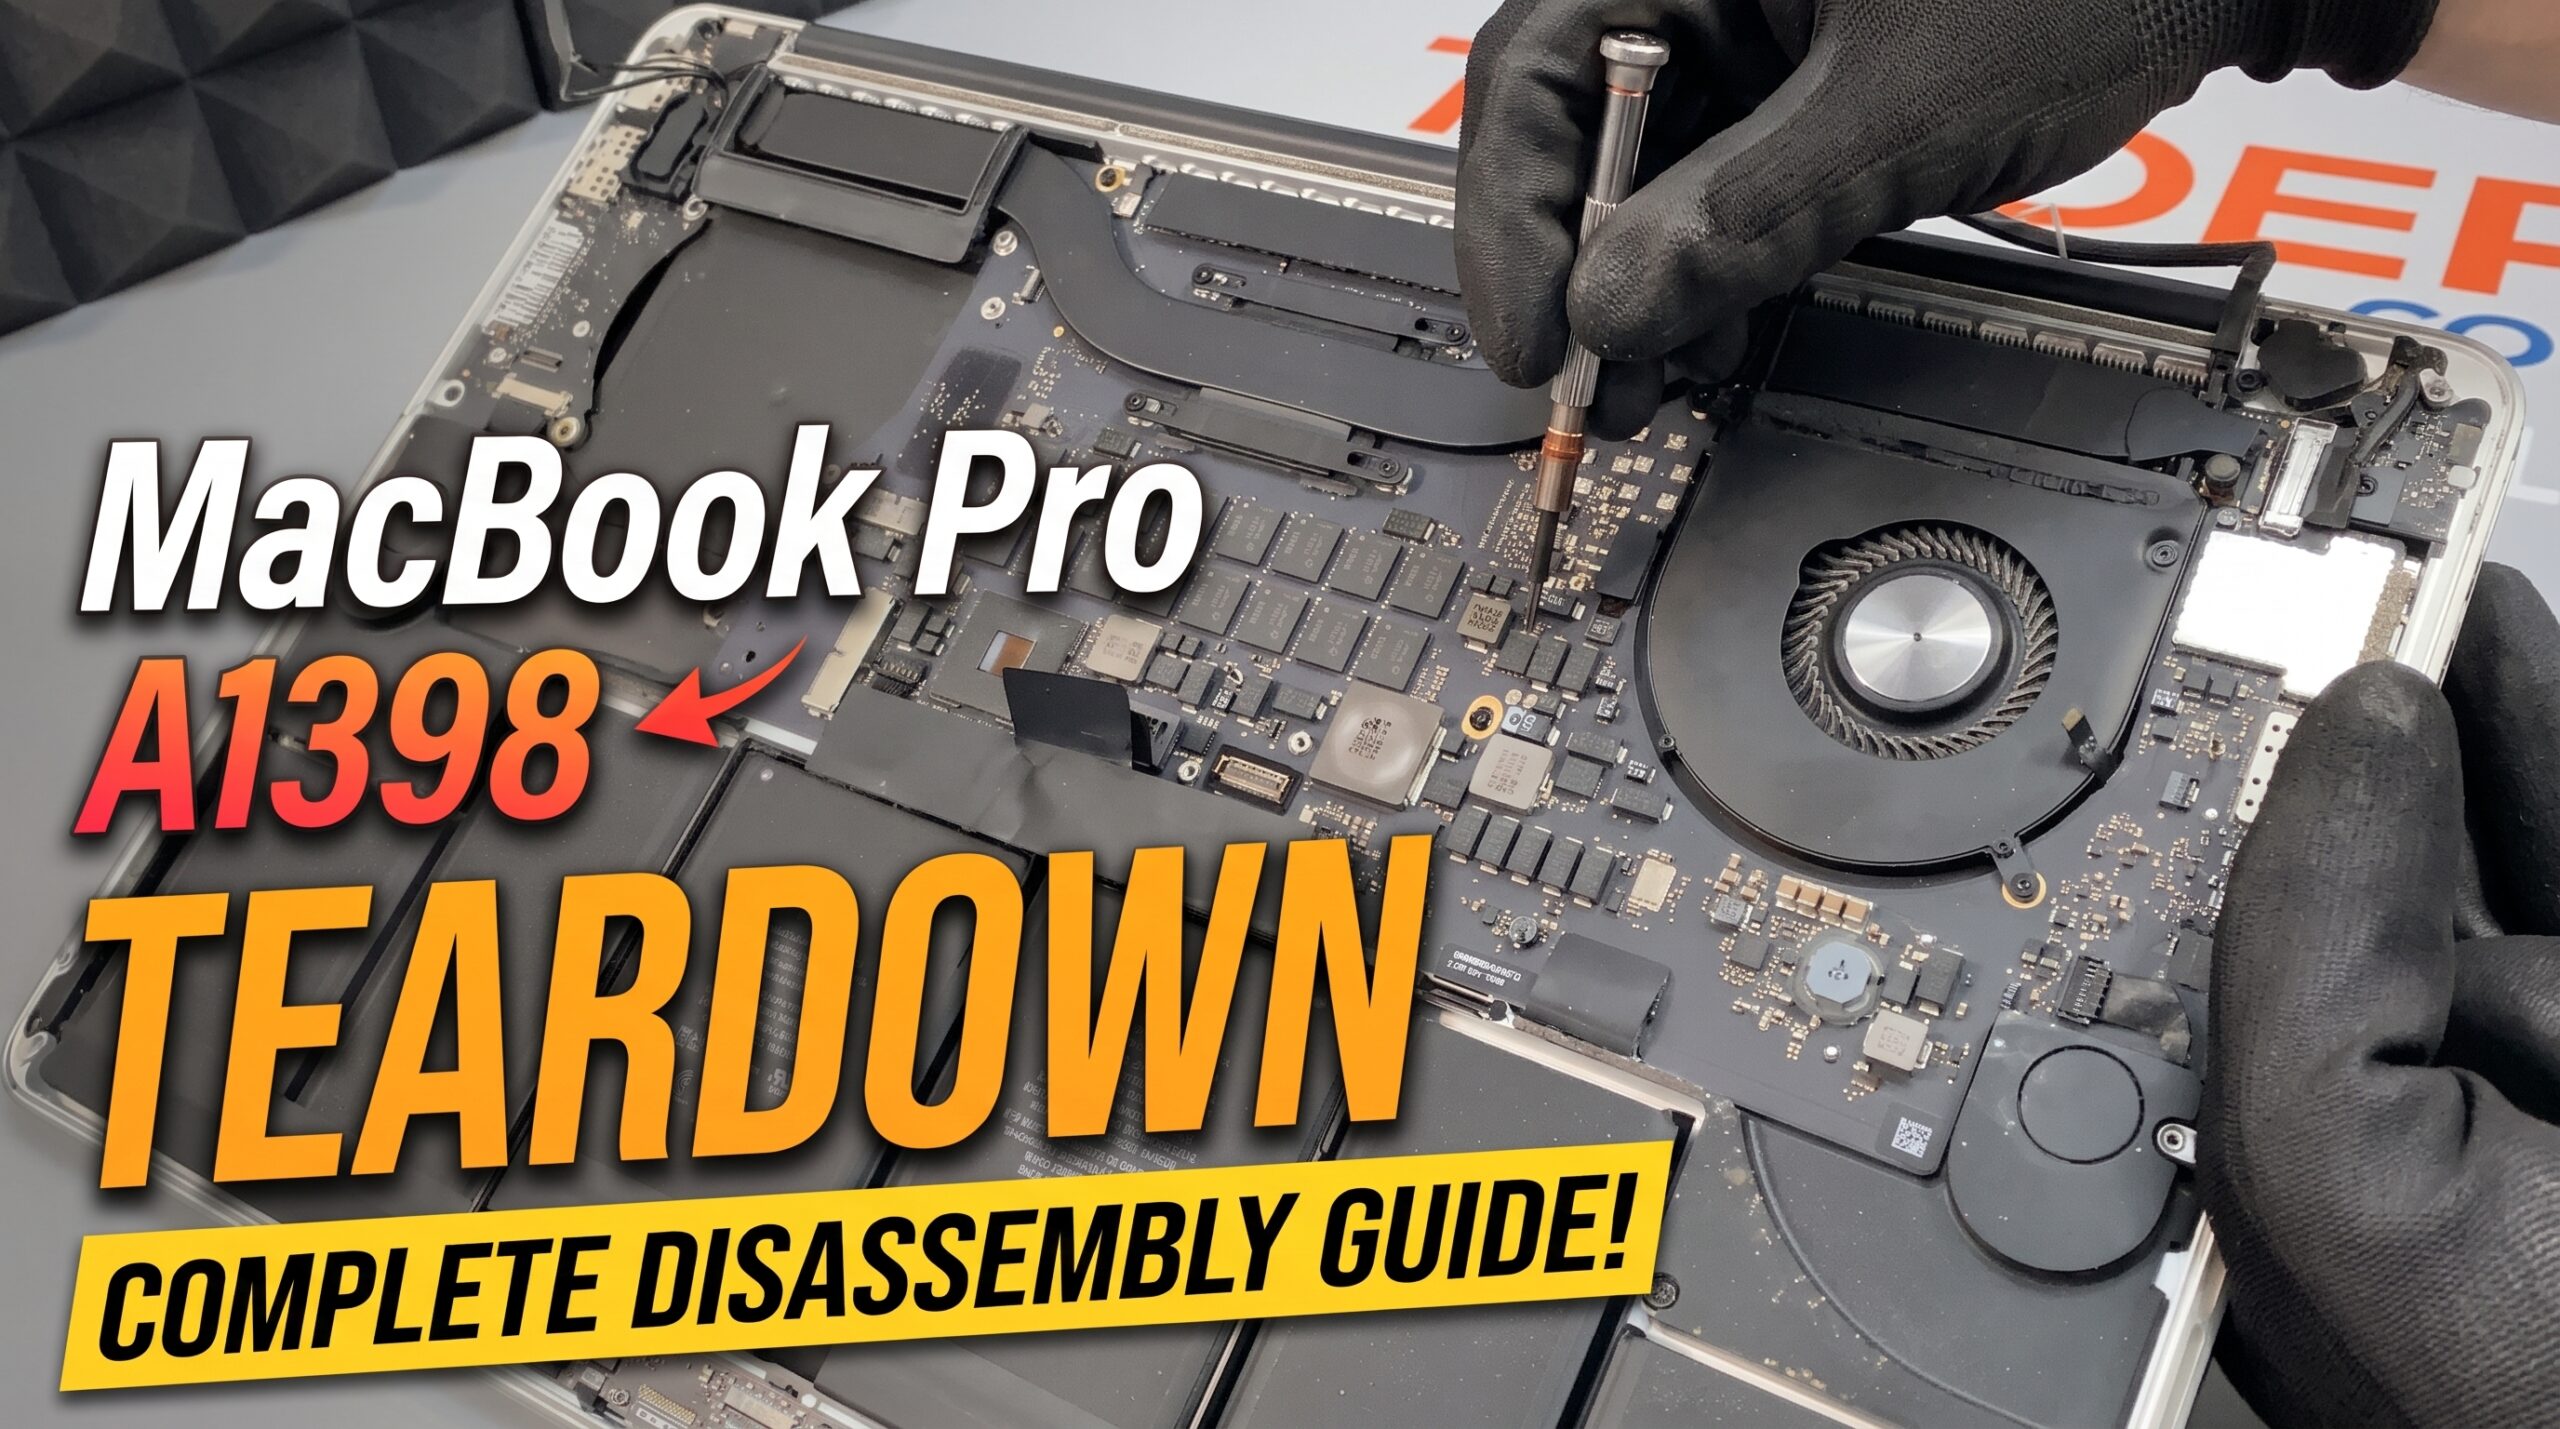




















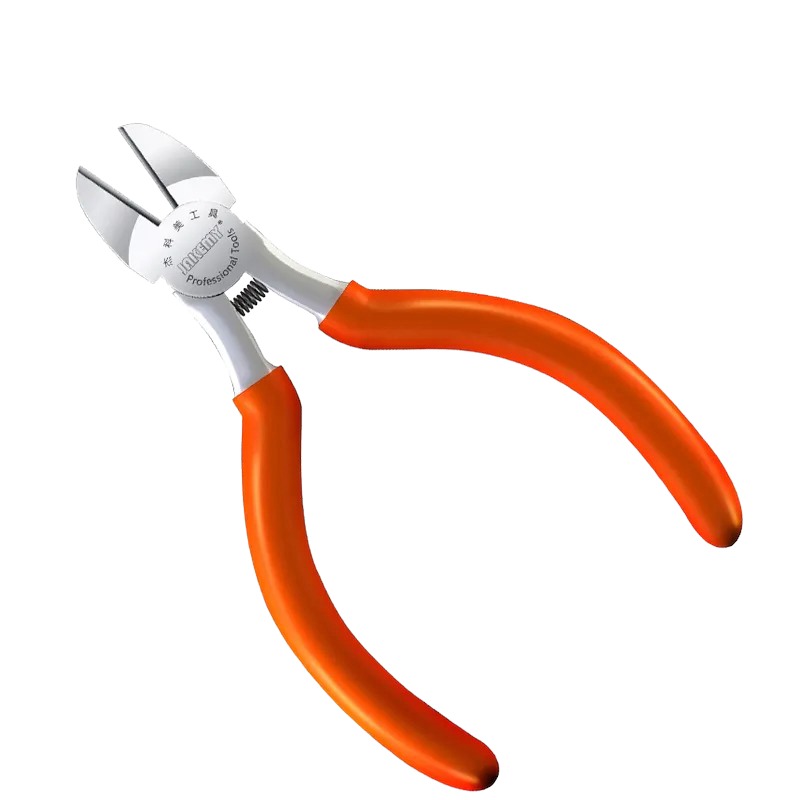

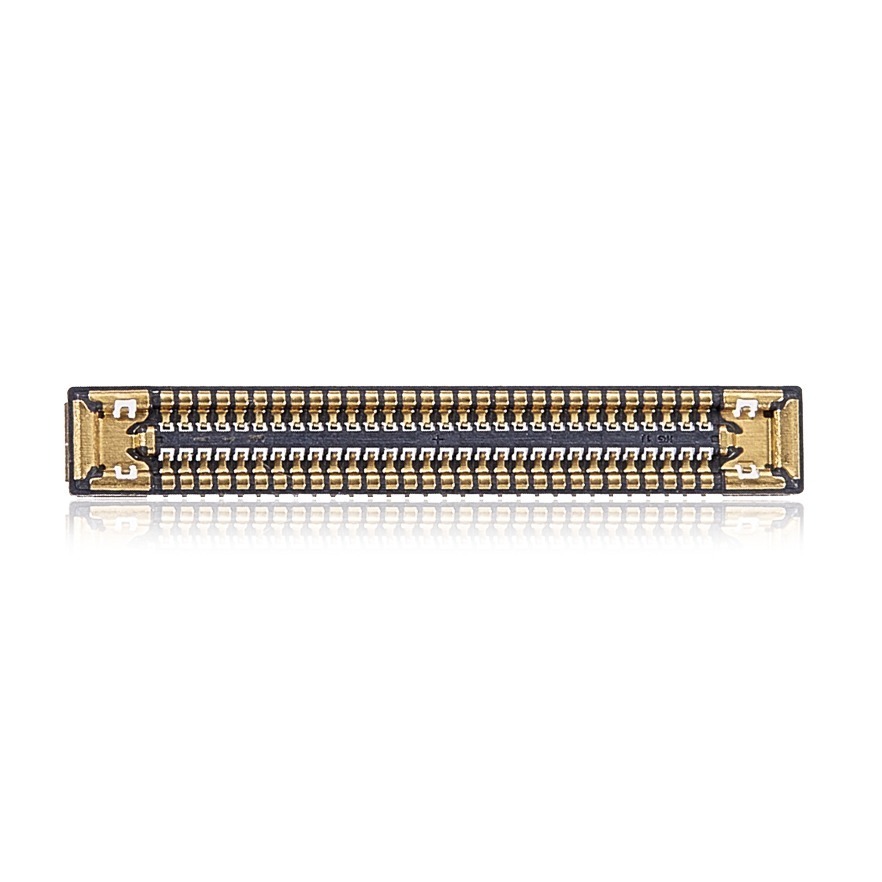
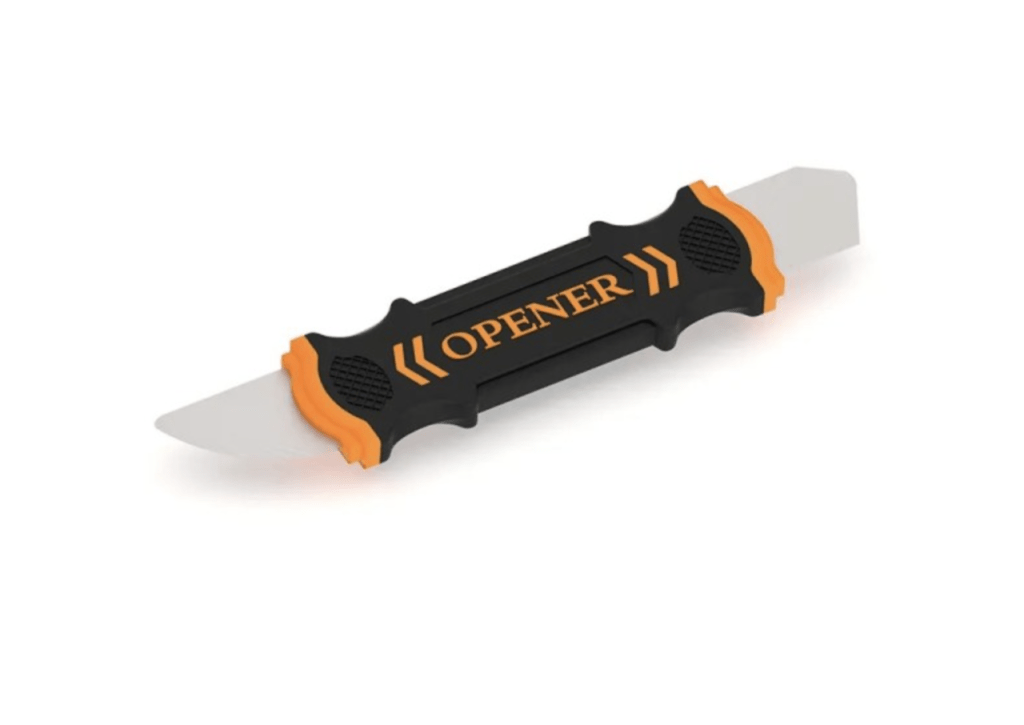

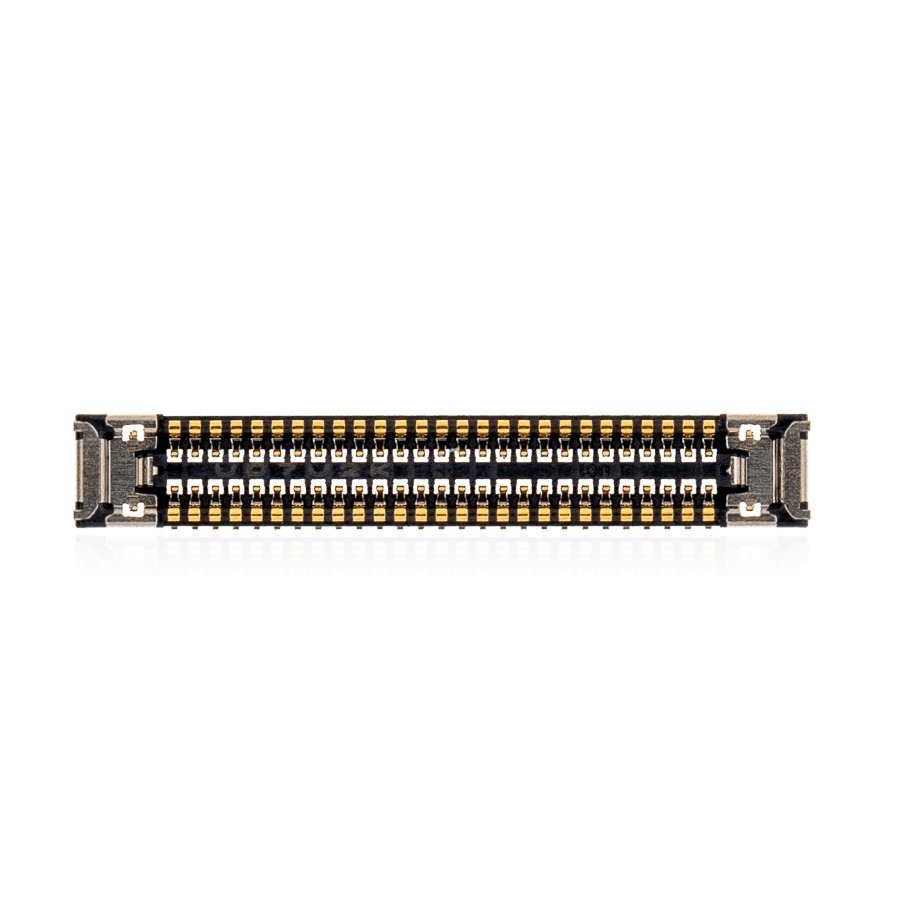




Model: 15-inch Apple MacBook Pro (2016–2017 models, A1707) | Level: Advanced | Tools: P5 Pentalobe screwdriver, T5 Torx screwdriver, plastic pry tool
An exact A1707 teardown requires precision, but breaking down the 2016-2017 15-inch MacBook Pro is completely manageable if you follow the right order. Apple packed an incredible amount of hardware into this slim chassis.
If your Mac is suffering from a dead logic board, failing Thunderbolt ports, or severe liquid damage, a full disassembly is the first step to diagnosing and fixing it.
Our lead TEKDEP Technician walks you through every flex cable and bracket. Let’s get started.
How to Perform a MacBook Pro A1707 Teardown (Quick Overview)
- Remove the bottom case and disconnect the battery to prevent electrical shorts.
- Disconnect the trackpad flex cable located over the battery area.
- Remove internal brackets and securing screws shielding the logic board.
- Extract the logic board and cooling fans carefully from the top case.
- Remove the Thunderbolt ports and Wi-Fi antenna from the chassis.
- Detach the display assembly to finish the full disassembly.
🛠️ Required Tools & Preparation for MacBook Pro A1707 Teardown
A complete A1707 teardown requires a full precision toolkit. Power the laptop off and unplug it before you start.
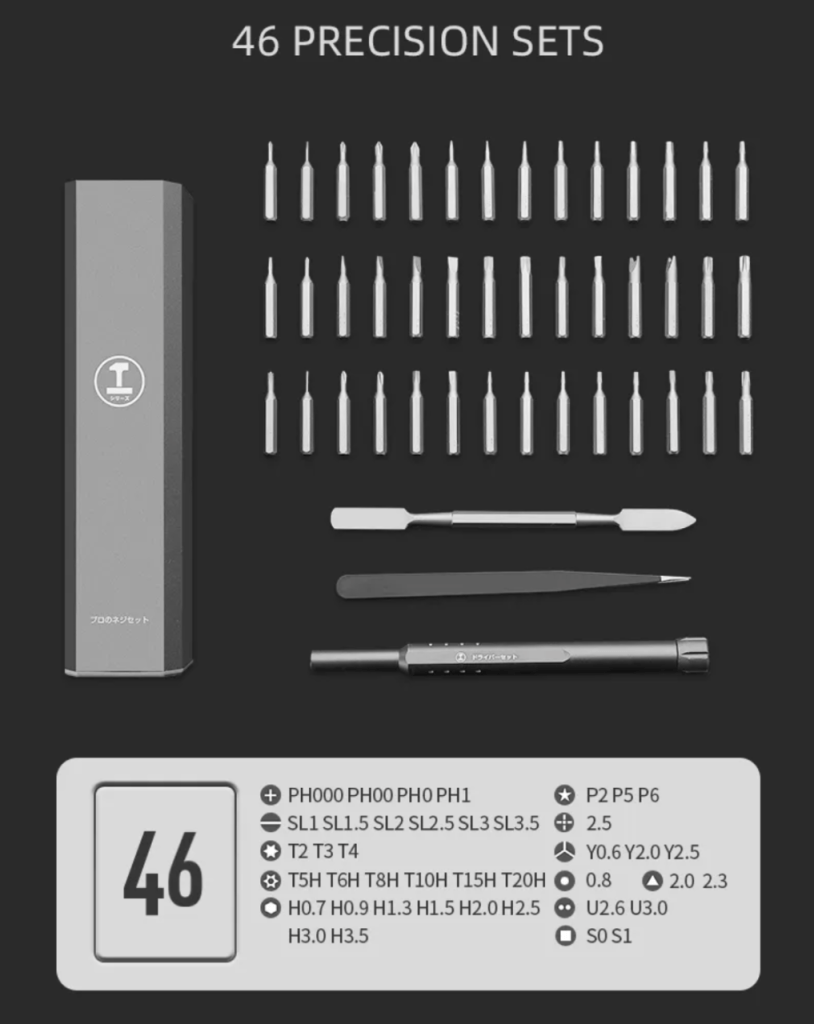
- Plastic pry tool: safely releases internal connectors without scratching the logic board.
- P5 Pentalobe screwdriver: required for the proprietary exterior bottom case screws.
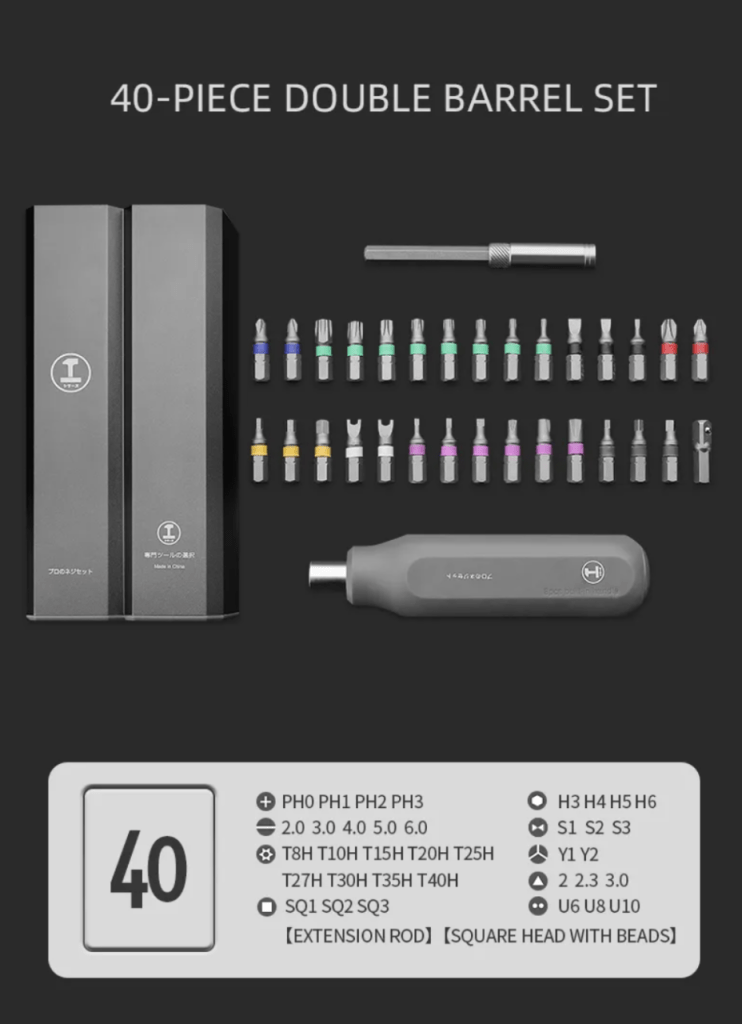
- Torx screwdriver set: you will need T3, T4, T5, and T8 bits for various internal components.
Get the Exact Tools Used by Our Techs:
-
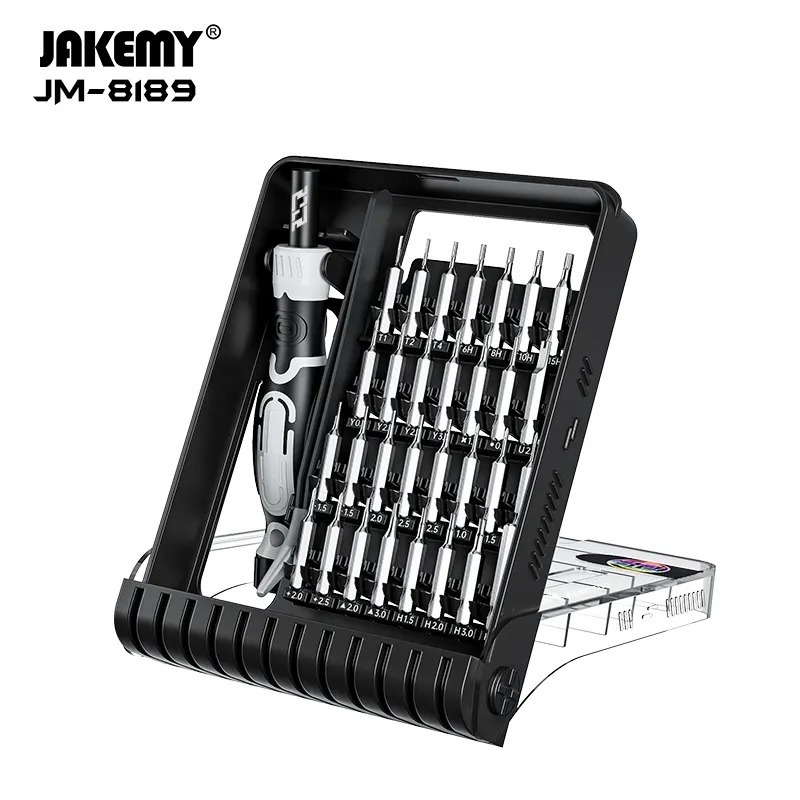
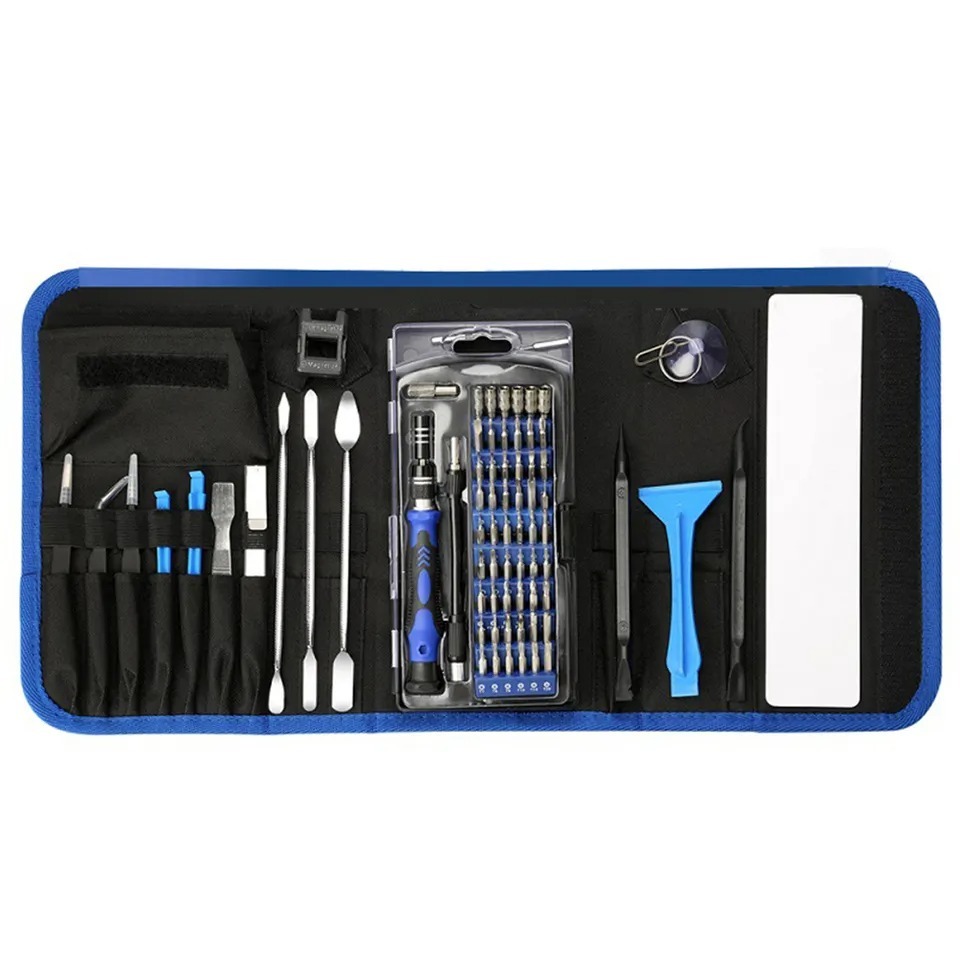
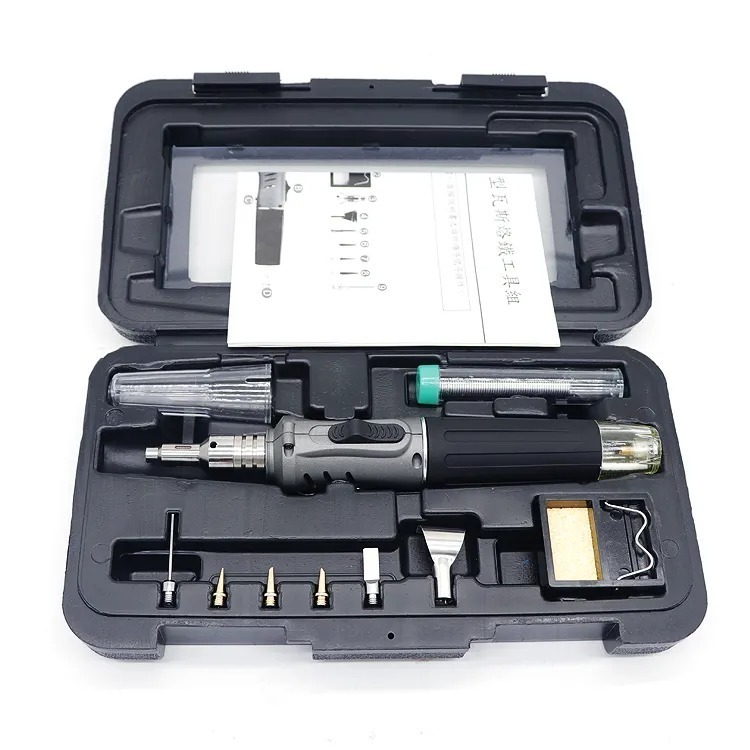
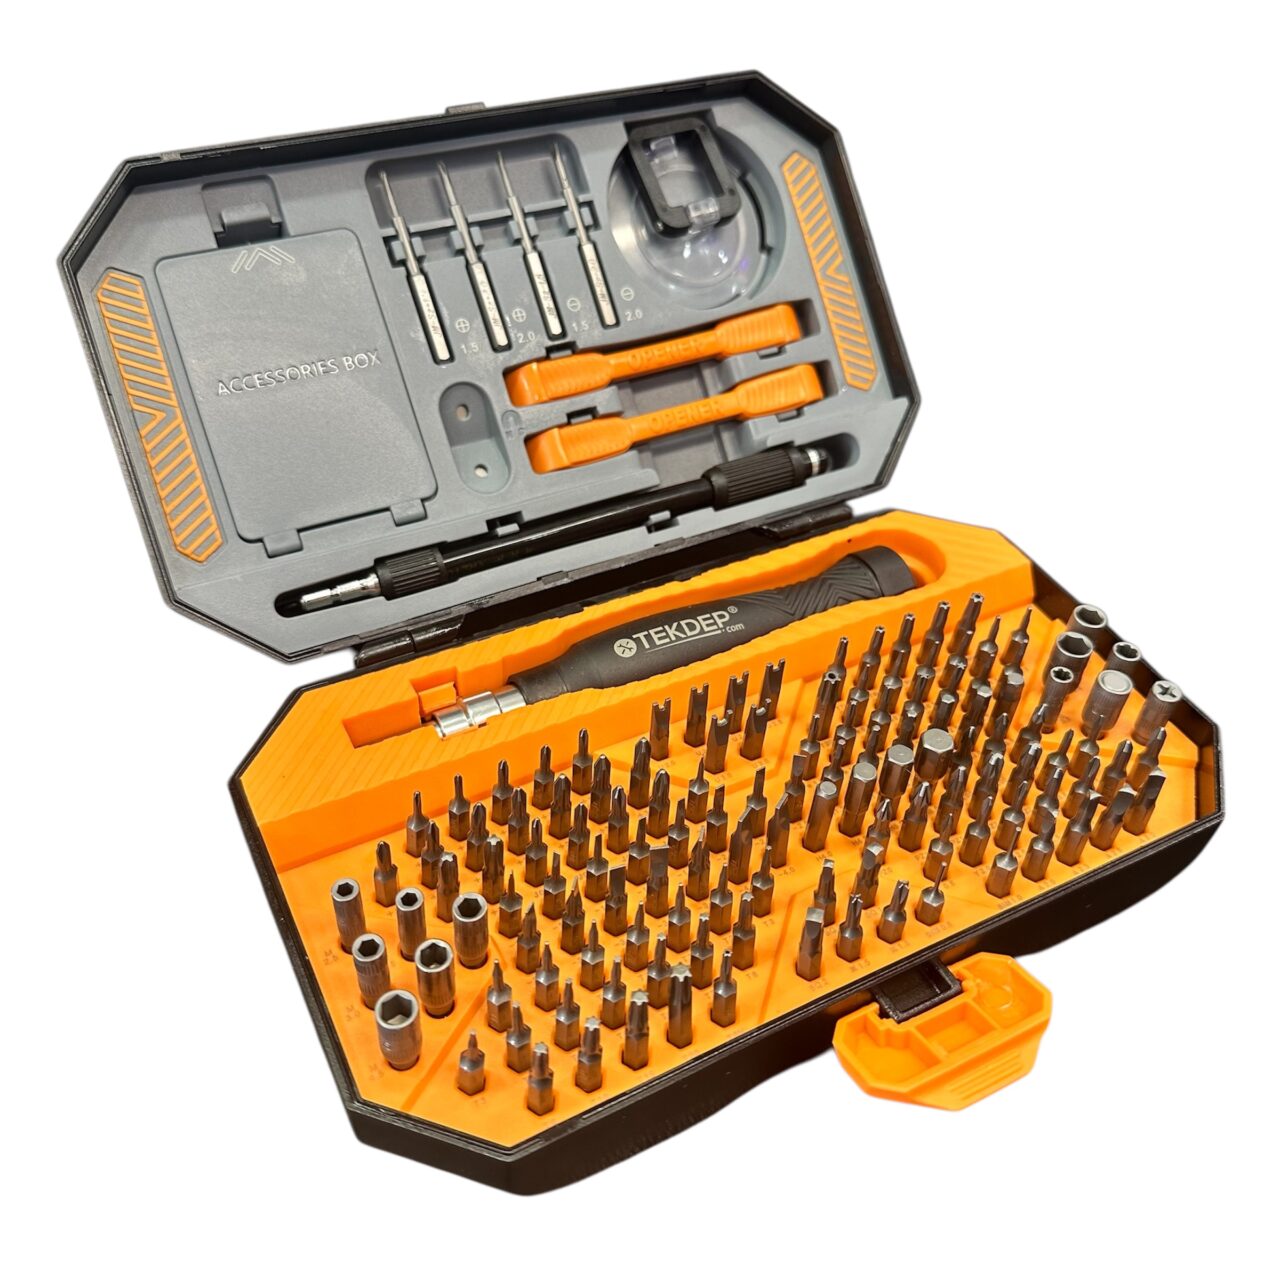
TEKDEP Professional Tool Set 145-in-1 For Electronics, iPhone, Laptop, PC Repairs
-
9 in 1 Disassemble Multi Opening Repair Tools Kit Metal Pry Bar
-
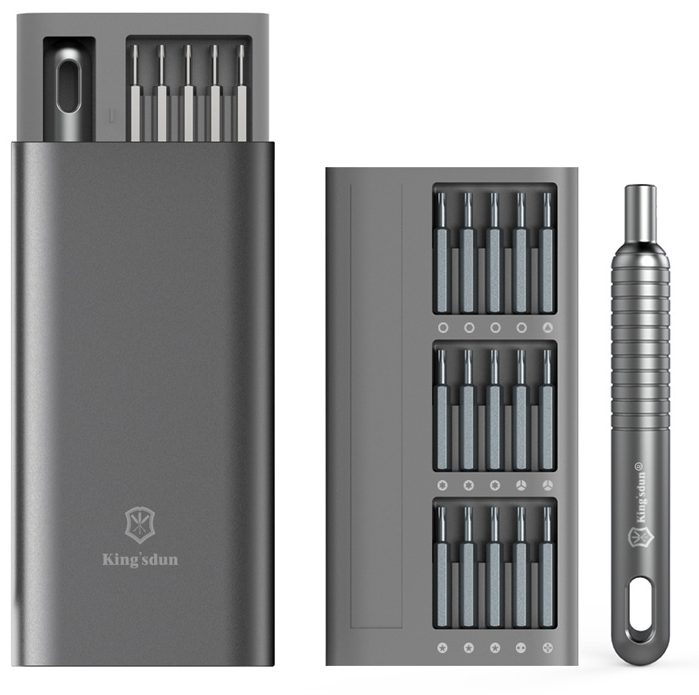
6 in 1 Steel Bit Precision Magnetic Screwdriver Tool Set with Case for Phone PC Electronics
-

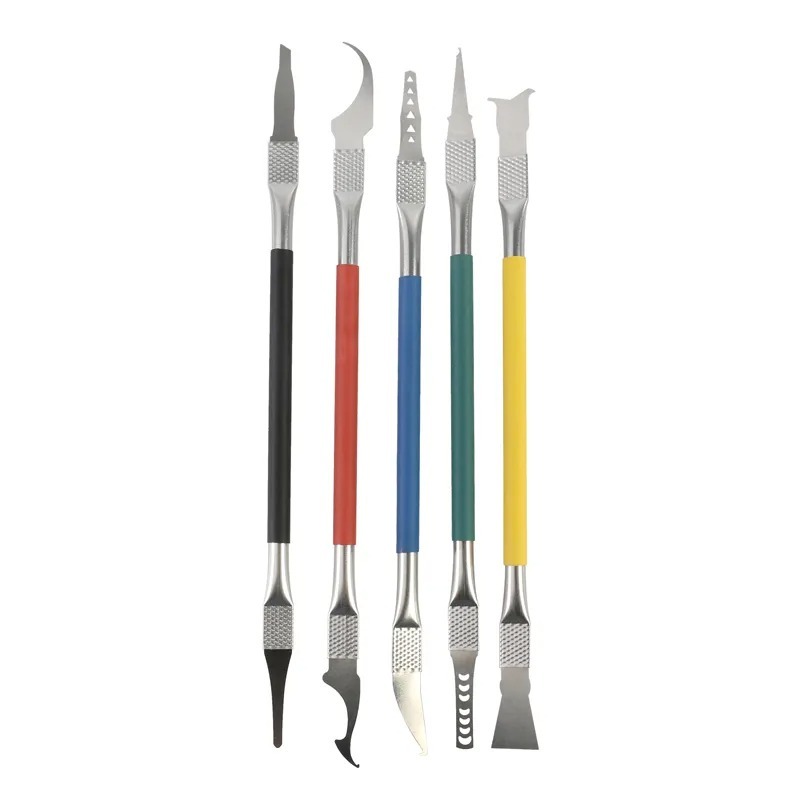
Curved LCD Screen Spudger – Pry Tool for Mobile Devices & Electronics
We stock every part for this model if you need replacement hardware.
⚠️ Before you start: Disconnect the battery before you touch any connector. Work on an anti-static mat and keep each group of screws together. The tiny flex cables are extremely fragile and will tear if forced.
Phase 1: Getting Inside & Disconnecting Power
The very first step in any MacBook Pro A1707 teardown is removing the bottom panel to access the internal hardware and isolate the power delivery.
Step 1: Remove the Bottom Case
- Use your P5 Pentalobe screwdriver to remove the six screws securing the bottom case.
- Insert your plastic pry tool along the edge to pop the hidden retention clips free.
- Pull the cover firmly down toward the trackpad to clear the rear anchors, then set it aside.

Step 2: Disconnect the Battery & Drain Power
Working on the logic board while it still has power is a guaranteed way to cause irreversible short circuits.
- Peel back the black adhesive sticker covering the main battery connection on the logic board.
- Remove the single T5 Torx screw securing the battery flex cable to the board.
- Lift the connector with your pry tool, then hold the laptop power button for ten seconds.
TekDep Expert Warning: Do not use metal tweezers near the battery connector. A spark here will permanently destroy your logic board and require a costly replacement.
Step 3: Disconnect the Trackpad Flex Cable
- Locate the wide trackpad flex cable routed directly over the battery area.
- Remove the two T5 screws securing the small metal shield over its connector.
- Pop the flex cable straight up off the board using the flat end of your pry tool.

Phase 2: Logic Board & Cooling Fans
The central hub of the MacBook Pro A1707 is secured by multiple brackets and delicate flex cables.
Step 1: Remove Internal Brackets & Securing Screws
- Remove the various T3 and T5 screws securing the small metal shields over the display, audio, and keyboard connections.
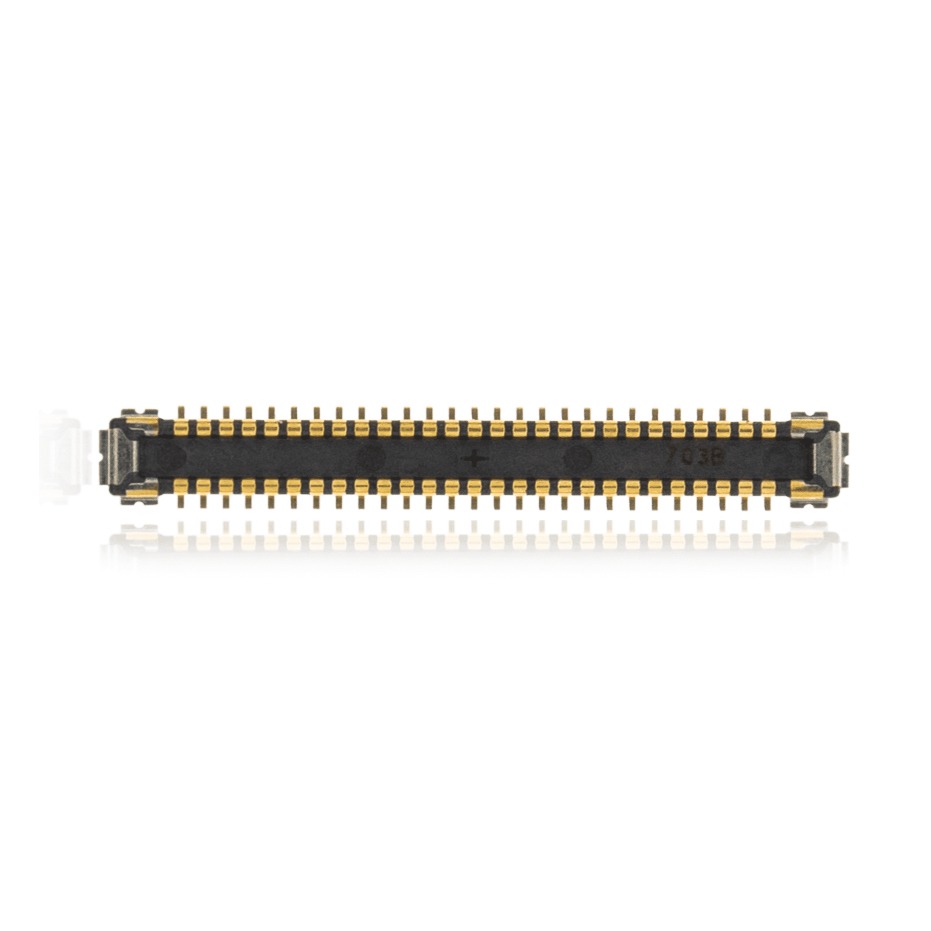
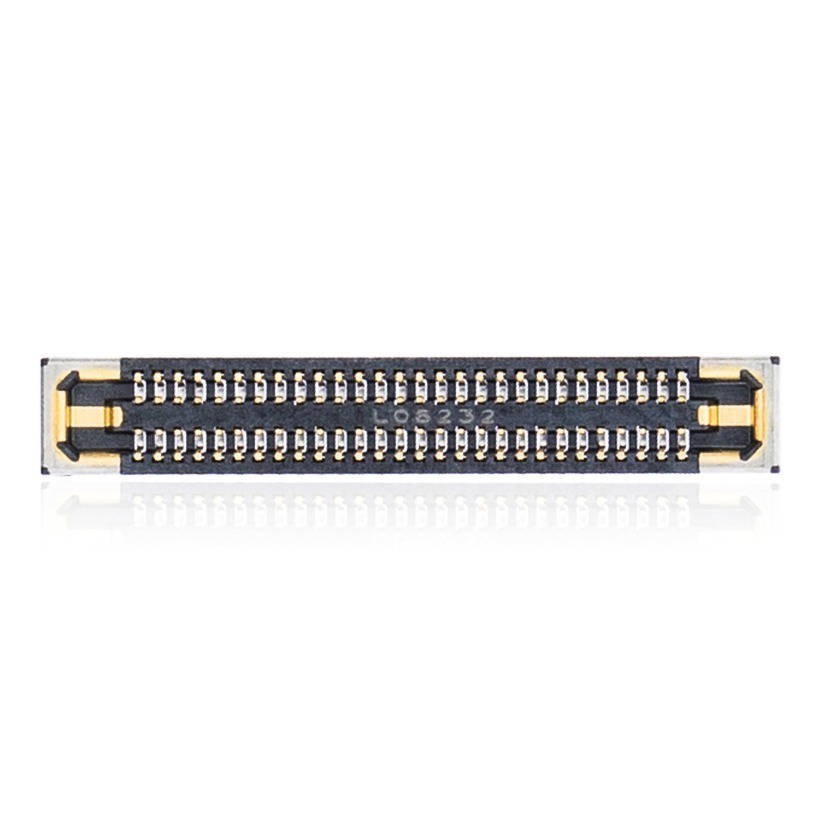
- Carefully lift the locking flaps on the ZIF connectors and slide the flex cables out.
- Disconnect the display flex cable by prying it straight up from its socket.

Step 2: Remove the Logic Board (Motherboard)
Ensure absolutely every flex cable and antenna wire is fully disconnected before pulling the board.
- Remove all remaining T5 Torx screws anchoring the logic board to the aluminum top case.
- Lift the logic board carefully from the edges, checking underneath for any snagged cables.
- Pull the logic board clear of the chassis and place it safely on your anti-static mat.

Step 3: Remove the Internal Cooling Fans
- Peel back the adhesive tape securing the fan flex cables and disconnect them.
- Remove the three T4 Torx screws securing each cooling fan to the chassis.
- Lift both fans completely out of the laptop housing.
Get the replacement MacBook Pro A1707 parts featured in this guide!
-
2017 Apple 15″ MacBook Pro Touch-Bar Logic Board 2.9Ghz i7 16Gb A1707 1TB
-
A1707 A1990 Original Bottom Case Screw Set Gray for 2016-2019 MacBook Pro 15″
-
A1707 A1990 Original Bottom Case Screw Set Silver for 2016-2019 MacBook Pro 15”
-
A1707 A1990 Original Display Short Flex Cable 923-01465 for 2016-2019 MacBook Pro 15″
-

A1707 A1990 Original Touch ID Power Button Flex Cable 821-00920 for 2016-2019 MacBook Pro 15″
-

A1707 Aftermarket Keyboard + Backlit for 2016-2017 MacBook Pro 15″
-

A1707 Keyboard Flex Cable Replacement NEW for 2016-2017 MacBook Pro 15″
-

A1707 Keyboard US Layout Replacement NEW for 2016-2017 Apple MacBook Pro 15″


Phase 3: Ports, Antennas & Display
The remaining peripheral components include the IO ports and the entire top display assembly.
1st Step: Extract the Thunderbolt (USB-C) Ports
- Unscrew the T5 fasteners holding the small metal retention brackets over the ports.
- Slide the Thunderbolt port modules straight back out of their slots in the aluminum frame.

2nd Step: Remove the Wi-Fi Antenna Assembly of MacBook Pro A1707
- Remove the T3 screws securing the antenna cable bundles to the hinge area.
- Slide the long black plastic antenna bar laterally to slide it off its retention pegs.
- Lift the entire antenna assembly away from the chassis.

3rd Step: Detach the Display (LCD) Assembly of MacBook Pro A1707
The final major component in a MacBook Pro A1707 teardown is the display.
- Open the MacBook Pro lid to a 90-degree angle and hang the screen off the edge of your desk.
- Remove the six heavy T8 Torx screws securing the left and right hinges to the top case.
- Support the display panel with one hand and separate it cleanly from the rest of the laptop.
Get the replacement MacBook Pro A1707 parts featured in this guide!
-
A1707 LCD Bezel Replacement for MacBook Pro 15-inch 2016-2017 (Front Frame Cover)
-

A1707 Original Bottom Case Silver 923-01457 for 2016-2017 MacBook Pro 15″
-

A1707 Original Heatsink 076-00383 for 2016-2017 MacBook Pro 15″
-
A1707 Original Left Fan 923-01459 for 2016-2017 MacBook Pro 15”
-
A1707 Original Logic Board 2.9GHz i7 16GB 256GB with Touch ID 820-0028-A for 2016 MacBook Pro 15″
-
A1707 Original Right Fan 923-01471 for 2016-2017 MacBook Pro 15”
-
A1707 Original Trackpad Silver 821-00665-A for 2016-2017 MacBook Pro 15″
-
A1707 Original WiFi Antenna Vent Module 923-01460 for 2016-2017 MacBook Pro 15″


Step 4: Reassembly Notes & Testing of MacBook Pro A1707
To reassemble, follow all steps in reverse order. Ensure the display hinges sit perfectly flush before fully tightening them down.
Congratulations! You have completed the A1707 teardown on your 15-inch Apple MacBook Pro.
🛑 Not Comfortable Handling Fragile Logic Boards? If reading about hidden screws and delicate flex cables has you second-guessing your DIY skills, don’t worry. The TEKDEP experts are here to help.
We offer clean, professional, and affordable Mail-In repair services for the entire Apple MacBook Pro lineup.
Frequently Asked Questions
Can I upgrade the SSD during a MacBook Pro A1707 teardown?
Unfortunately, no. The 2016-2017 15-inch MacBook Pro features a solid-state drive that is permanently soldered directly to the logic board. You cannot swap it out for a larger internal drive later.
Is the battery glued down in the A1707 model?
Yes, the battery cells are heavily secured to the top case with industrial adhesive. Removing them requires a specialized solvent and careful prying with plastic tools to avoid puncturing the lithium-ion cells.
Why do I need Pentalobe and Torx bits for this repair?
Apple utilizes proprietary P5 Pentalobe screws for the exterior bottom case to discourage tampering. Once inside the chassis, you will find a mix of standard T3, T4, T5, and T8 Torx screws holding everything together.
Do I need to reapply thermal paste during reassembly?
Yes. If your teardown involves detaching the heatsink from the logic board, you must clean off the old compound and apply a fresh, high-quality thermal paste to ensure proper heat dissipation.
What is the safest way to remove the internal battery?
Drain the battery below 25% before starting to minimize fire risk. Always use a specialized adhesive solvent and plastic tools; never use sharp metal objects, as puncturing a lithium-ion cell can cause thermal runaway.
🛑 IMPORTANT: SAFETY & LIABILITY DISCLAIMER: TEKDEP®️ TEKDEP.com assumes no liability for property damage or injury incurred as a result of any information in this blog post or associated videos. Dealing with internal computer components, specifically Lithium-Ion batteries, carries inherent risks including fire, toxic gas exposure, and irreversible device failure. Any injury, damage, or loss from improper use of tools, mishandling of components, or misinterpretation of this information is the sole responsibility of the user. Perform repairs at your own risk. If you are unsure of your capabilities, please utilize our professional Mail-In Repair Service.