



































Model: Dell Latitude 14 7440 (5G) | Level: Advanced | Tools: SIM popper, plastic pry tool, precision screwdriver. This guide provides a Dell Latitude 7440 Teardown for advanced users.
A complete Dell Latitude 14 7440 teardown reveals a highly repairable machine with a few unique challenges. Because this model supports full 5G cellular connectivity, navigating its internal layout requires handling specialized networking boards.
If your laptop is suffering from random shutdowns, thermal throttling, a dying battery, or a failing display, getting inside is the first step to a fix.
Our lead TEKDEP technician walks you through safely disassembling the major components. Let’s get started.
How to Complete a Dell Latitude 14 7440 Teardown (Quick Overview)
- Eject the physical SIM card tray and loosen the captive backplate screws.
- Disconnect the battery using the top pull-tab.
- Remove the heat sink and separate the cooling fan.
- Extract the 5G cellular card and carefully detach the interboard bridge.
- Unplug the display cables and unseat the hinges to separate the screen.
- Reassemble the components in reverse order and test the power.
🛠️ Required Tools & Preparation
A Dell Latitude 14 7440 teardown needs only three tools; power off and unplug first.
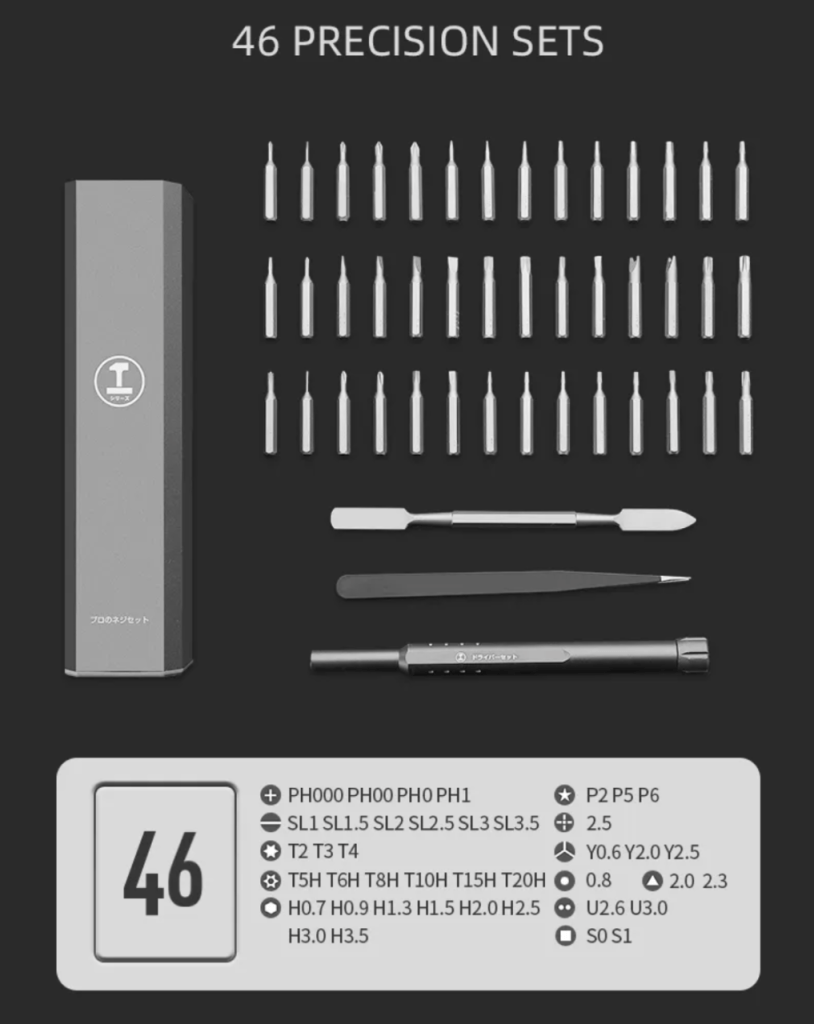
- SIM popper: ejects the cellular tray before opening the chassis.
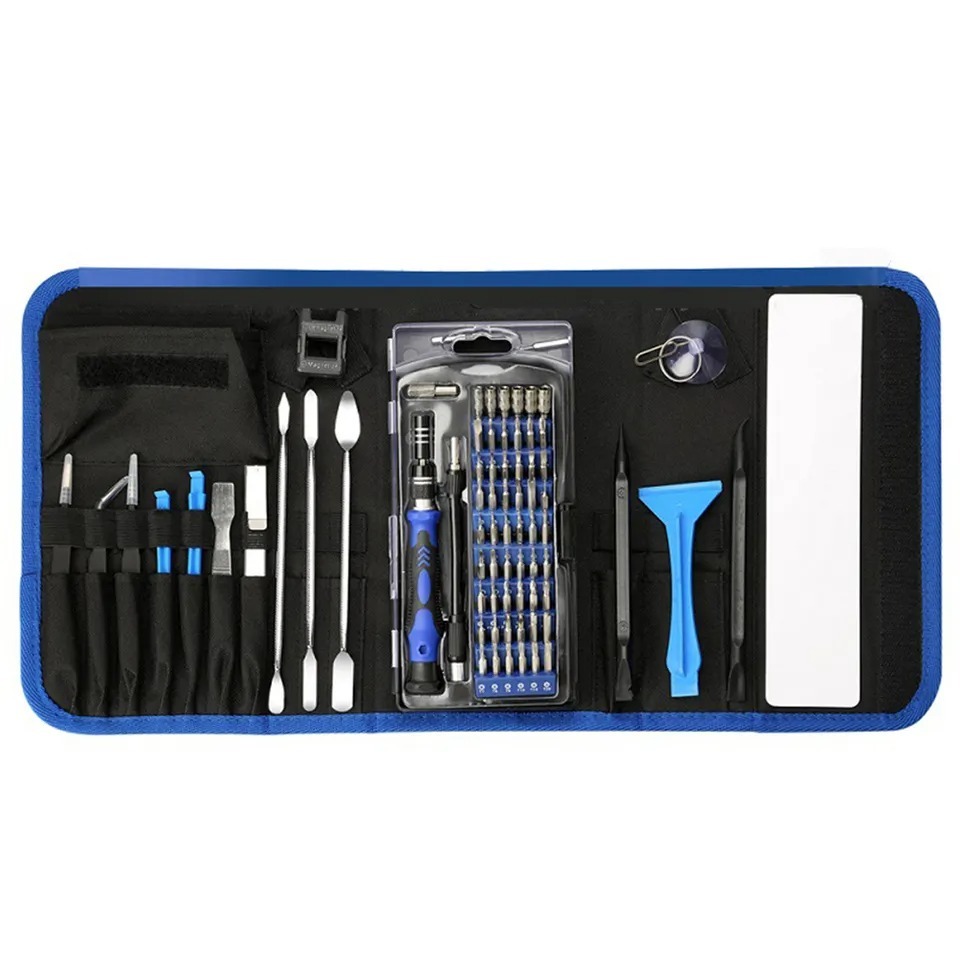
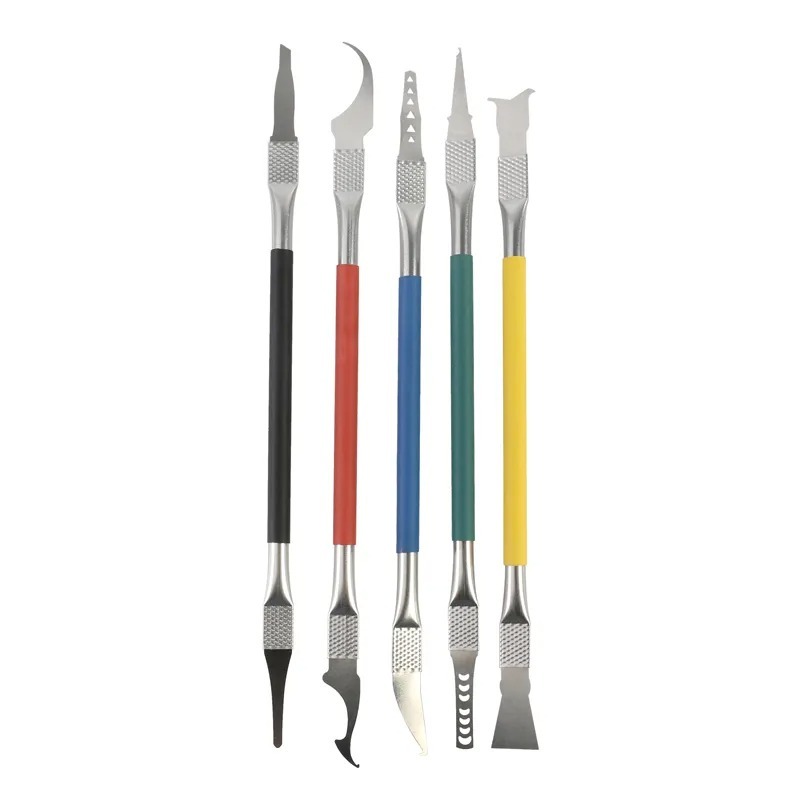
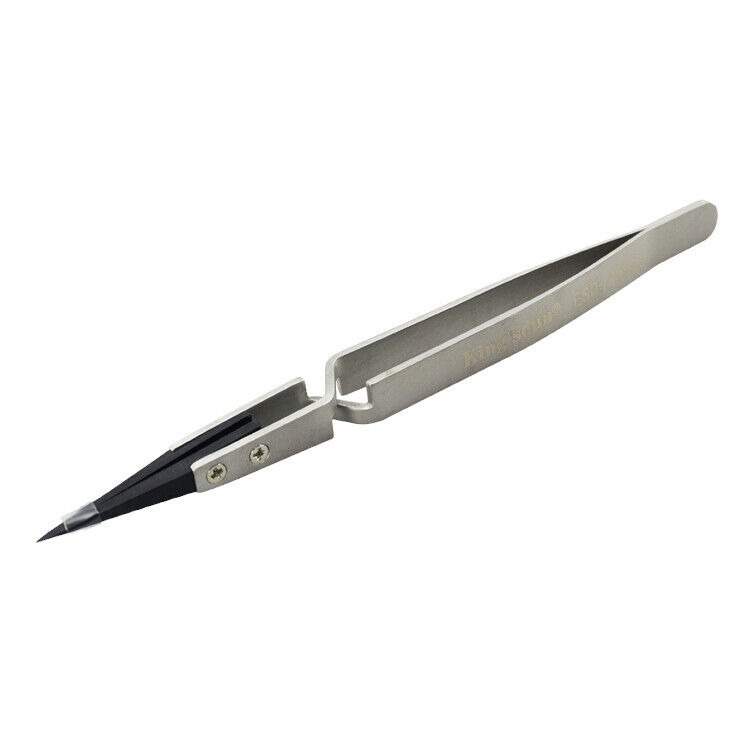
- Plastic pry tool: releases the battery tab and lifts delicate clips without causing damage.
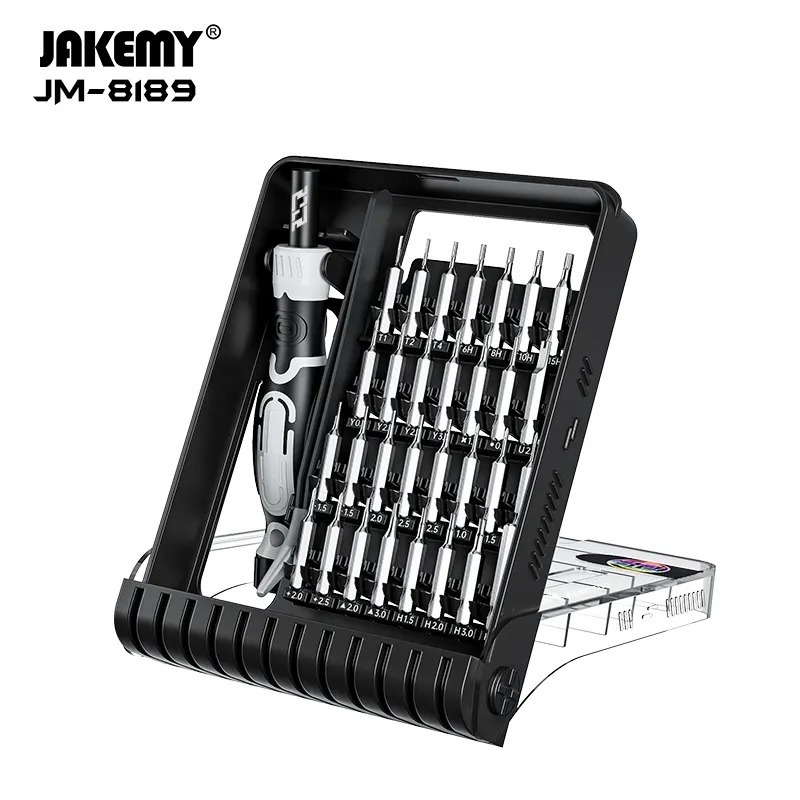
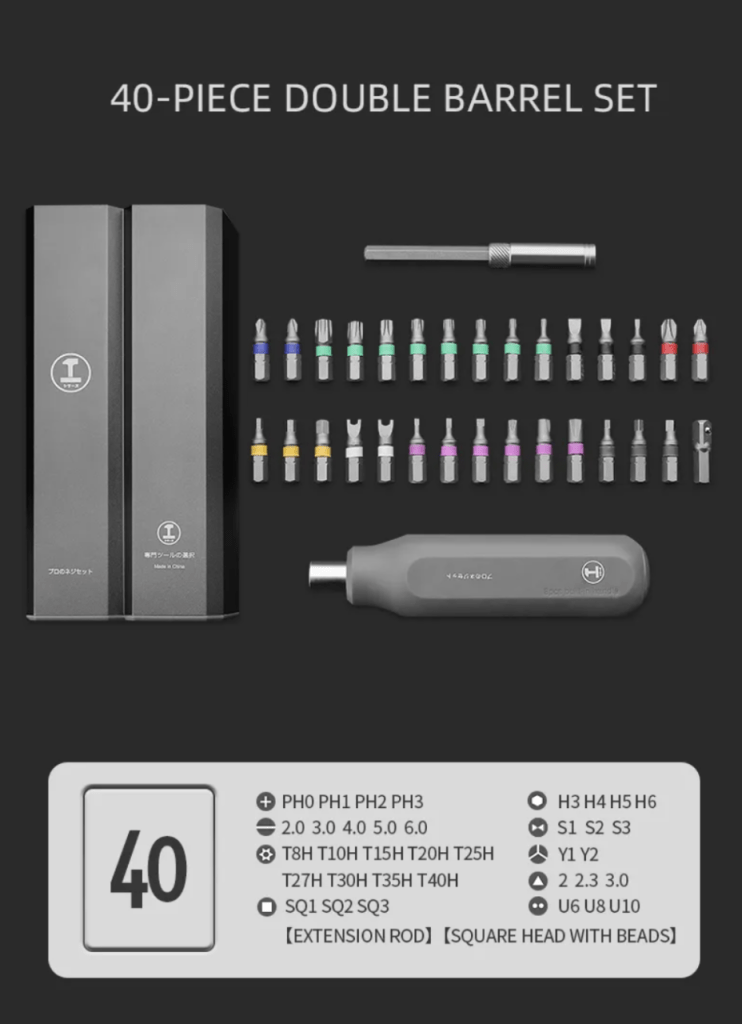
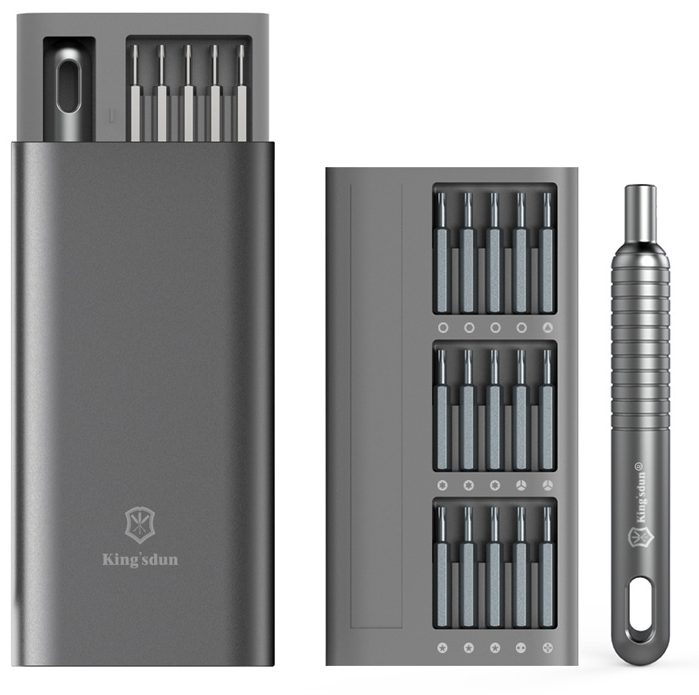
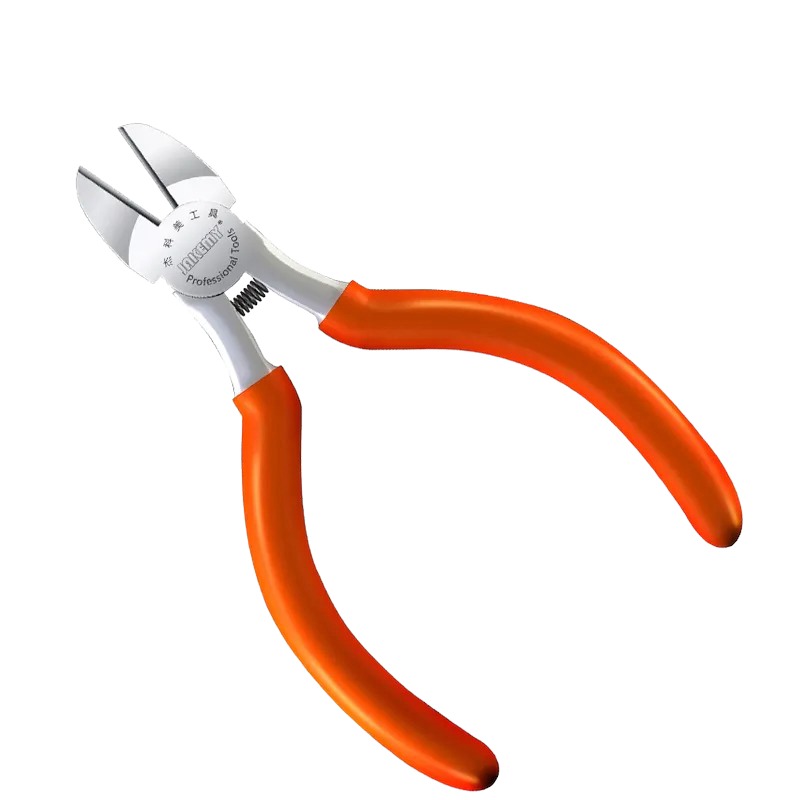
- Precision screwdriver: handles the internal cooling, bridge, and hinge screws.
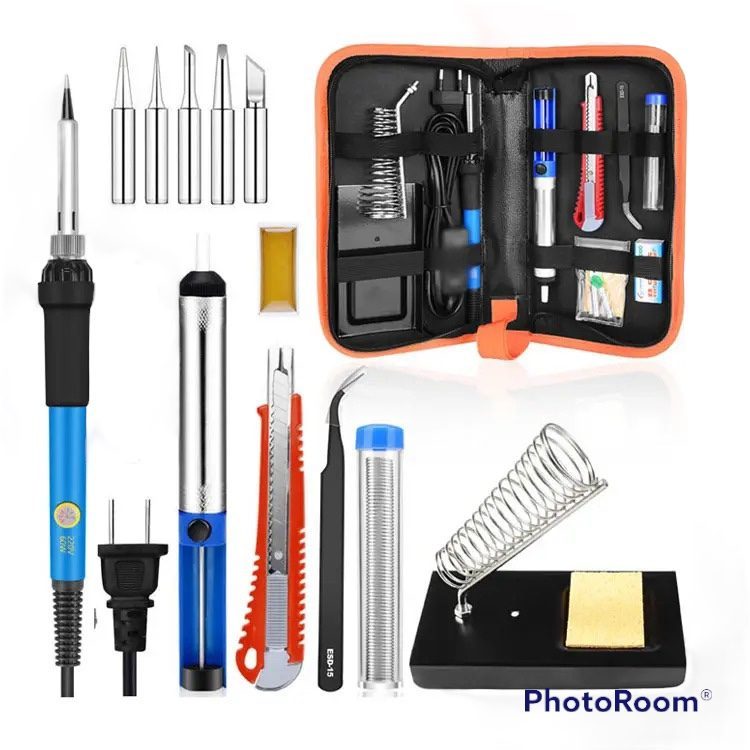
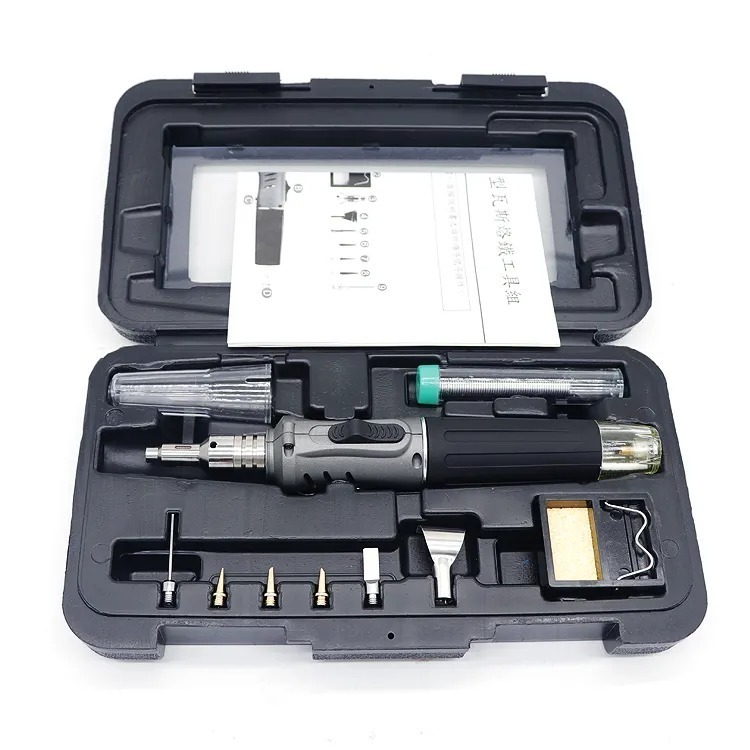
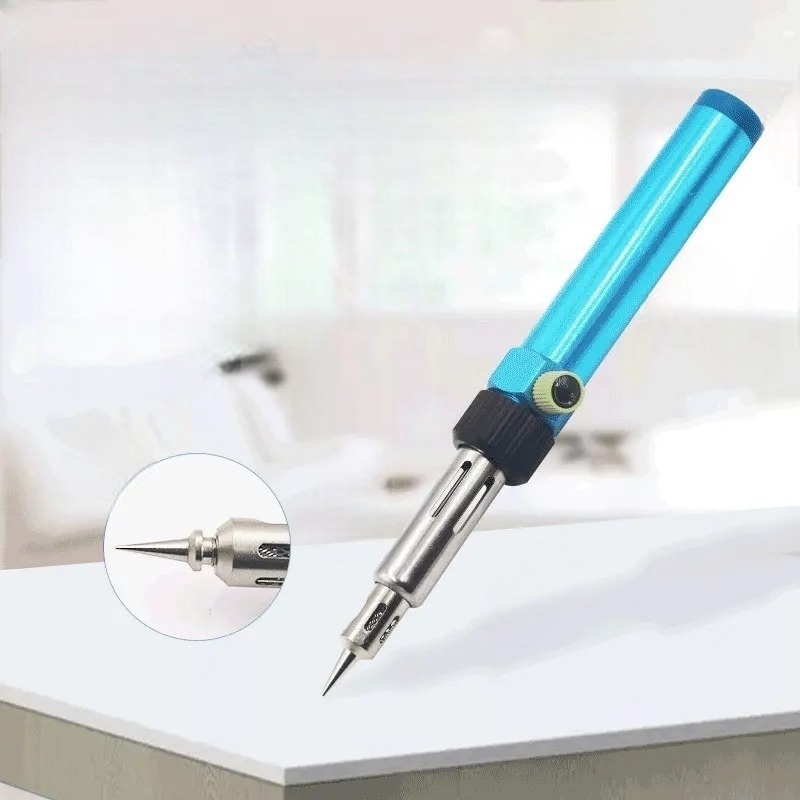
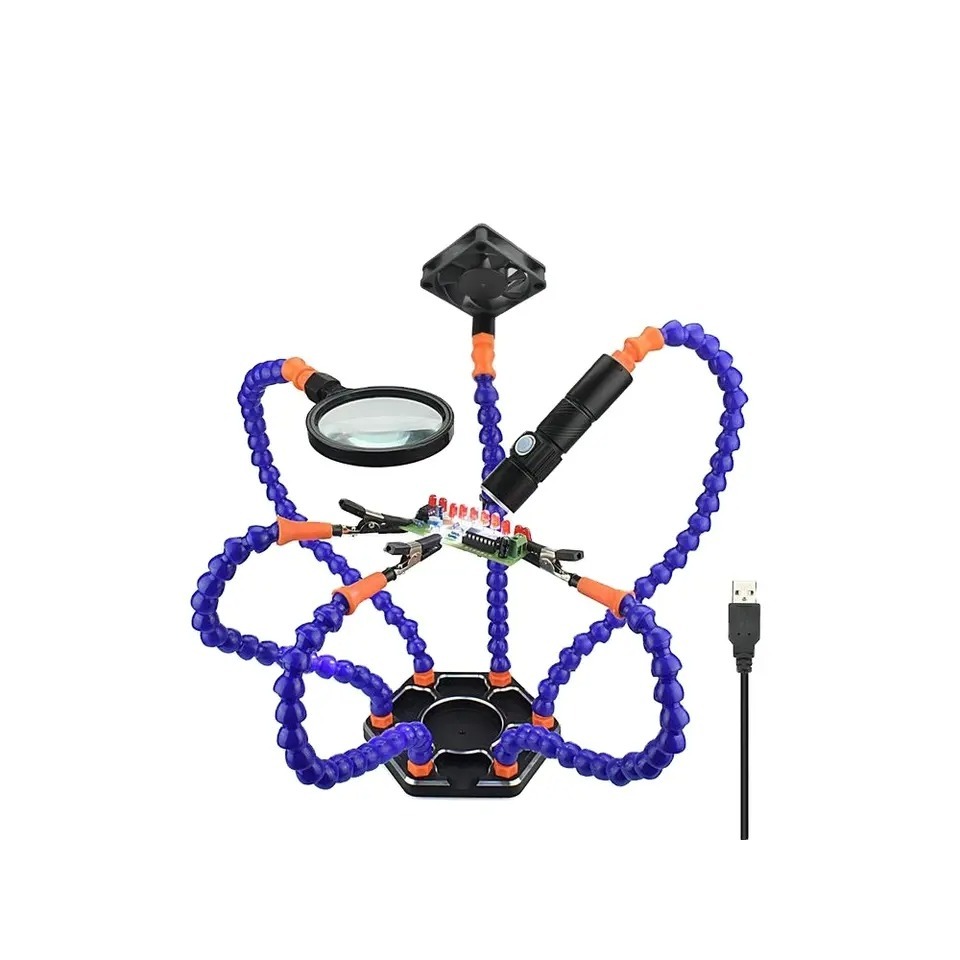
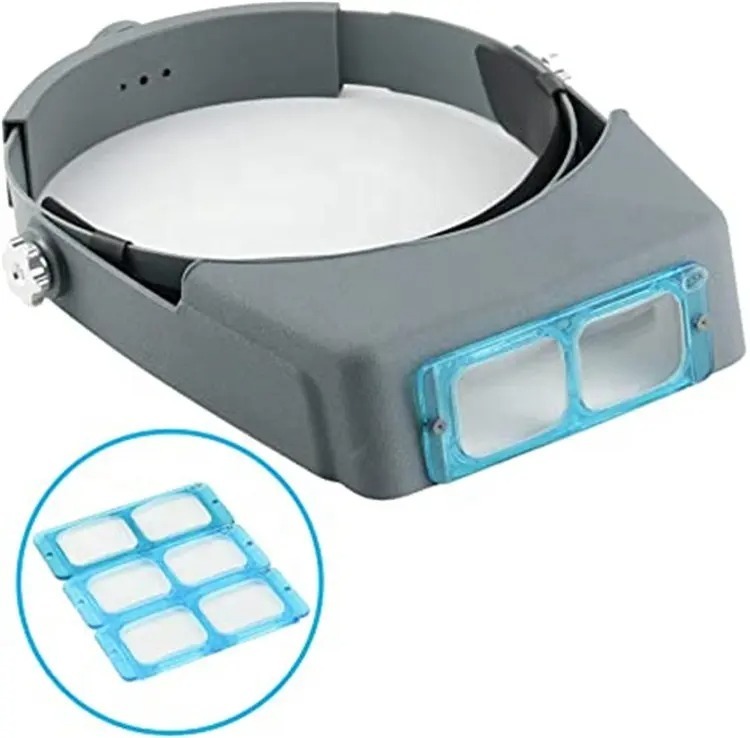
Get the Exact Tools Used by Our Techs:
-
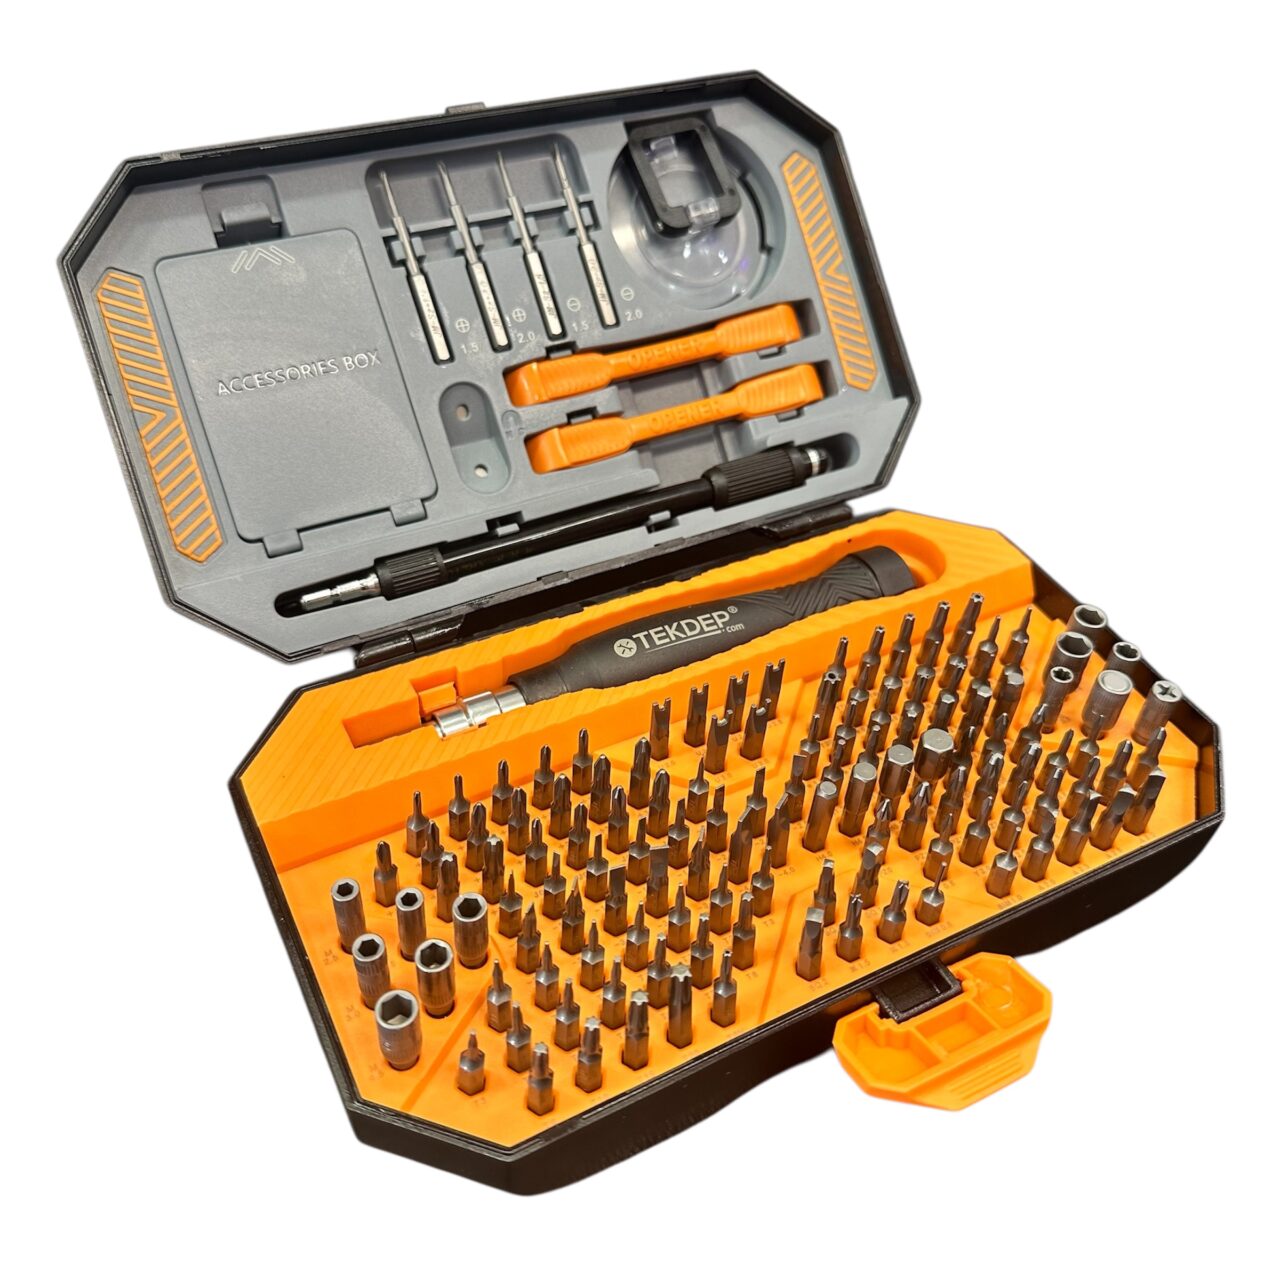
TEKDEP Professional Tool Set 145-in-1 For Electronics, iPhone, Laptop, PC Repairs
-
9 in 1 Disassemble Multi Opening Repair Tools Kit Metal Pry Bar
-
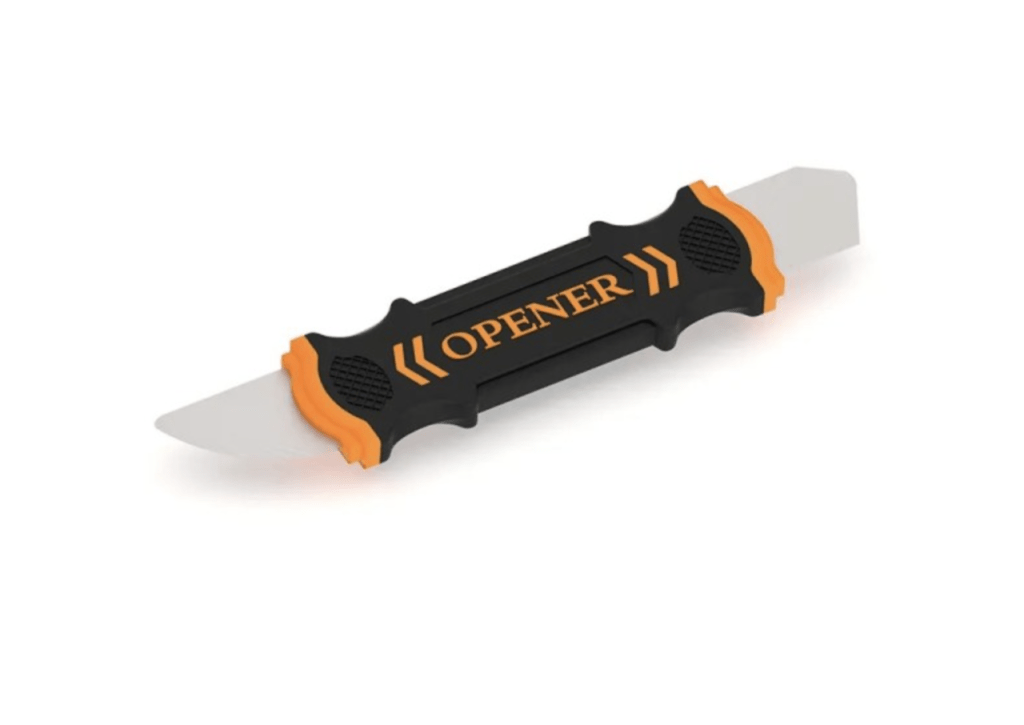
Flexible Pry Tool, Metal 2 Sided Screen Separator Electronics Repair Tool
-

Professional Spudger Kit, 10 in 1, Anti Static Pry Tools For Electronics and Display Repair
⚠️ Before you start: Disconnect the battery before you touch any connector. Work on an anti-static mat and keep each group of screws together.
Phase 1: Getting Inside (SIM Tray & Bottom Plate)
Getting into the chassis is straightforward during this Dell Latitude teardown thanks to captive screws that never get lost.
Step 1: Remove the SIM Card Tray
Since this model supports 5G, you must remove the SIM tray before taking off the back cover.
- Insert a SIM popper into the small hole on the front edge of the laptop.
- Push straight in to eject the physical SIM card tray and set it aside safely.

Step 2: Loosen the Backplate Screws
- Loosen the screws across the bottom cover using your precision screwdriver.
- Leave them in the cover; they are physically connected to the backplate.
- Lift the bottom plate away to expose the internals.

Phase 2: Disconnecting Power & Cooling Assembly
As you continue with this Dell Latitude 7440 teardown, always neutralize the power before touching the cooling system or any delicate networking components.
Step 1: Disconnect the Battery
The battery has a designated pull-tab, but it requires some gentle leverage from behind to remove safely.
- Locate the pull-tab on top of the main battery connector.
- Slide a plastic pry tool under the back edge to apply gentle upward pressure.
- Pull the tab straight up to disconnect it without ripping the front area.

TekDep Tip: The battery model number is printed right in the corner, making it easy to order an exact replacement if your cells are failing.
Step 2: Remove the Heat Sink and Fan
The fan does not come out on its own; you must remove the entire heat sink assembly first to access the parts below.
- Remove the two screws securing the fan housing side.
- Undo the four numbered screws over the processor in order (1 through 4) to apply even pressure.
- Lift the entire heat sink and fan assembly out together.

Step 3: Separate the Cooling Fan
If your fan is grinding but the heat sink is fine, you can separate the two components once they are out of the laptop.
- Remove the three screws holding the fan to the top of the heat sink.
- Pull the fan directly away from the cooling block.
Phase 3: Network Cards & Interboard Connector
A unique challenge in a Dell Latitude 7440 teardown is the dedicated daughterboard for cellular connectivity, which communicates via a fragile rigid bridge
Step 1: Extract the 5G Cellular Card
- Unscrew the single screw securing the 5G card to the chassis.
- Disconnect the speaker cable that routes directly over the card.
- Slip a pry tool under the card and pull it directly forward out of its slot.

Step 2: Remove the Interboard Connector
This solid connector transfers data better than a flex cable, but it is extremely fragile.
- Follow the printed numbers on the bridge and loosen the screws in order.
- Follow the printed arrow to carefully lift the bridge connector away from both boards.

TekDep Expert Warning: Ripping this bridge out unevenly will destroy the sockets on both the motherboard and the daughterboard. Always follow the numbered sequence to maintain even pressure.
Phase 4: Display, Logic Boards & Reassembly
With the networking components out of the way, the final phase of this Dell Latitude 7440 teardown involves separating the display and main logic boards.
Step 1: Disconnect the Display Assembly
Because laptop displays are very fragile, Dell sells the screen, camera, and hinges as a single unified display assembly.
- Pull straight up on the pull tabs for both the camera and LCD connections on the motherboard.
- Remove the two screws holding down each side of the hinge.
- Open the laptop slightly to separate the display assembly from the top case.

Step 2: Remove the Daughterboard and Main Motherboard
- Unplug the trackpad and power button flex cables from the board.
- Remove the three screws holding the daughterboard and lift it out.
- Remove the remaining screws on the main motherboard to free it from the chassis.

Step 3: Reassembly Notes & Power Test
Because the RAM is soldered, you cannot upgrade it. You can upgrade the storage, but a normal M.2 SSD will not fit; you must purchase a smaller M.2 form factor. When reassembling, reverse these steps precisely, apply fresh thermal paste, and ensure all numbered screws are tightened in sequence.
Plug in the charger before you press the power button to wake the new components.
Congratulations! You have completed a teardown on your Dell Latitude 14 7440.
🛑 Not Comfortable Handling Delicate Connectors? If reading about hidden screws and fragile interboard bridges has you second-guessing your DIY skills, don’t worry. The TEKDEP experts are here to help.
We offer clean, professional, and affordable Mail-In repair services for the entire Dell Latitude lineup.
Frequently Asked Questions
Is a Dell Latitude 14 7440 teardown difficult?
Opening the chassis is very easy thanks to captive screws, but navigating the internal boards requires patience. You must carefully remove the rigid interboard connector and handle delicate flex cables to safely expose the internal components.
Can I upgrade the RAM on the Dell Latitude 14 7440?
Unfortunately, no. The RAM is soldered directly to the main motherboard. However, you can upgrade the storage, provided you purchase a smaller M.2 SSD rather than a standard size.
How do I replace the cooling fan?
You cannot remove the fan directly from the motherboard on its own. You must unscrew and extract the entire heat sink assembly first, then remove the three screws separating the fan from the cooling block.
🛑 IMPORTANT: SAFETY & LIABILITY DISCLAIMER TEKDEP®️ TEKDEP.com assumes no liability for property damage or injury incurred as a result of any information in this blog post or associated videos. Dealing with internal computer components, specifically Lithium-Ion batteries, carries inherent risks including fire, toxic gas exposure, and irreversible device failure. Any injury, damage, or loss from improper use of tools, mishandling of components, or misinterpretation of this information is the sole responsibility of the user. Perform repairs at your own risk. If you are unsure of your capabilities, please utilize our professional Mail-In Repair Service.


