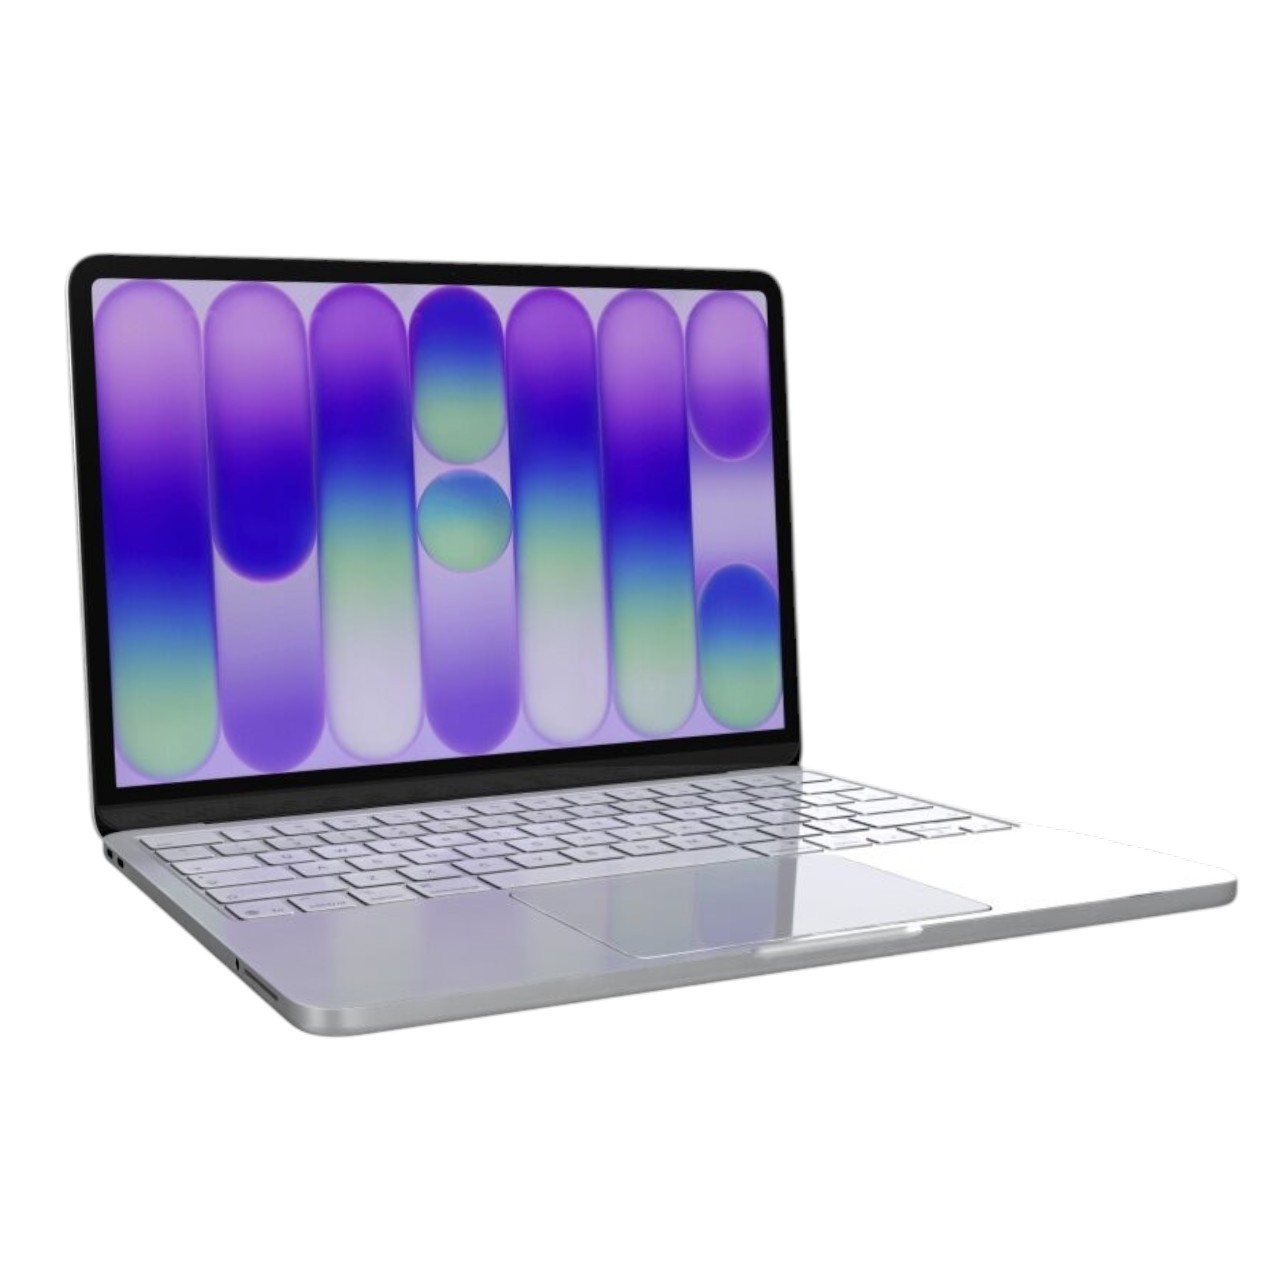















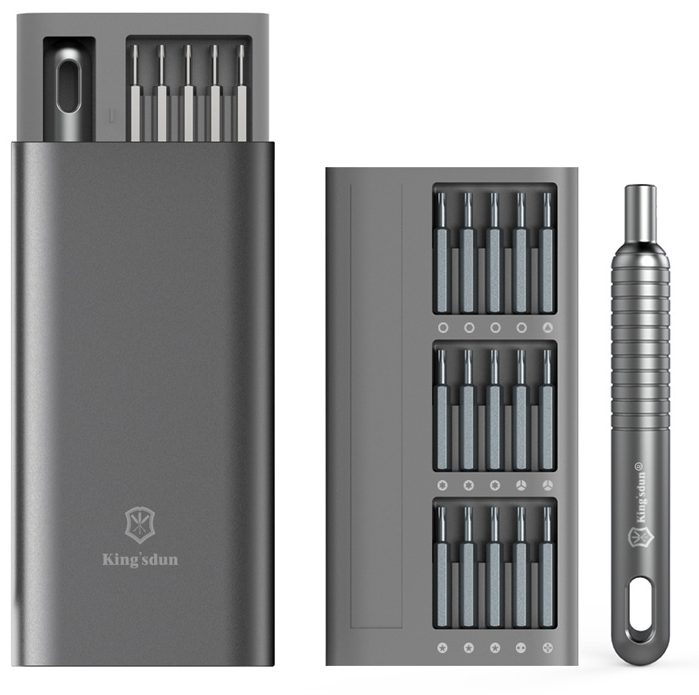


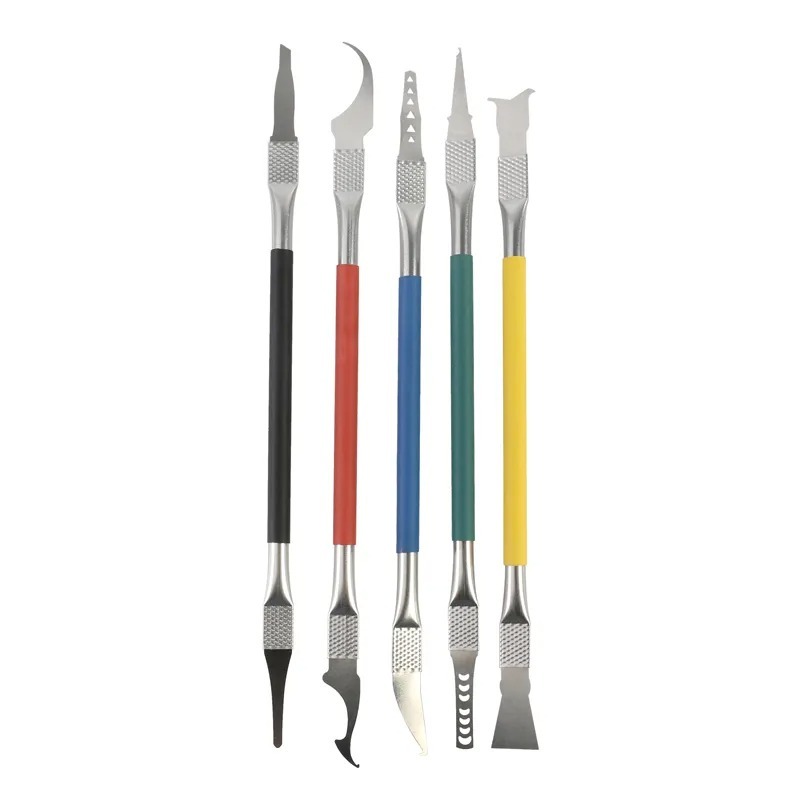








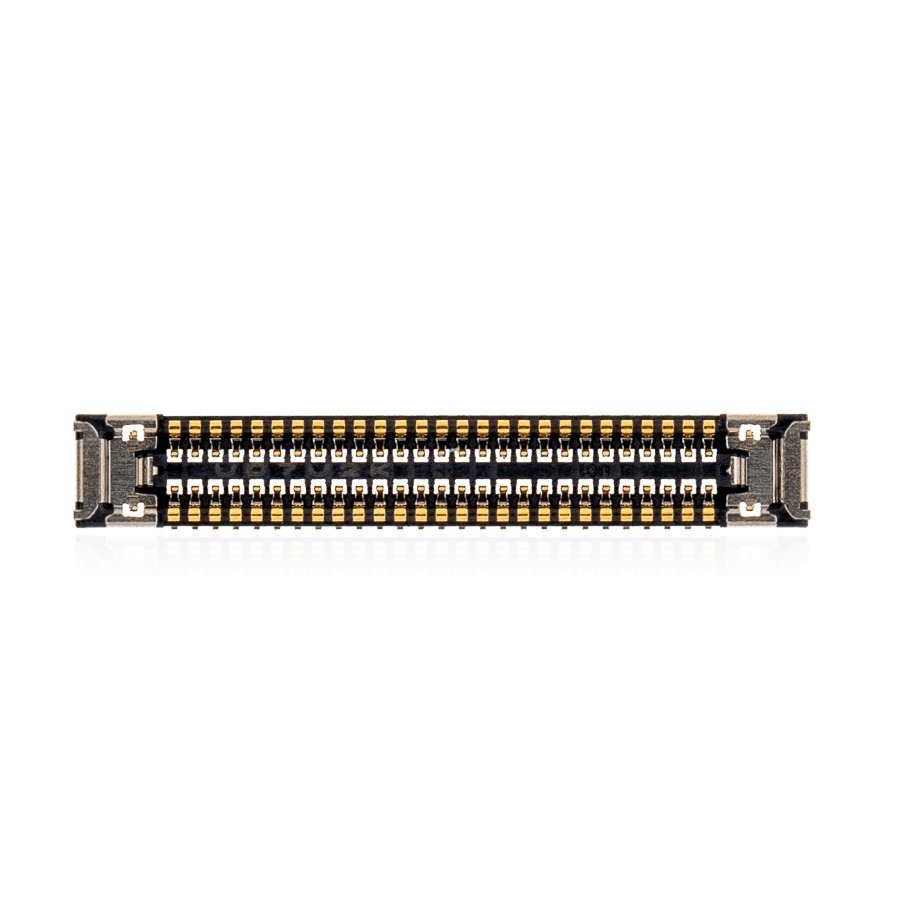
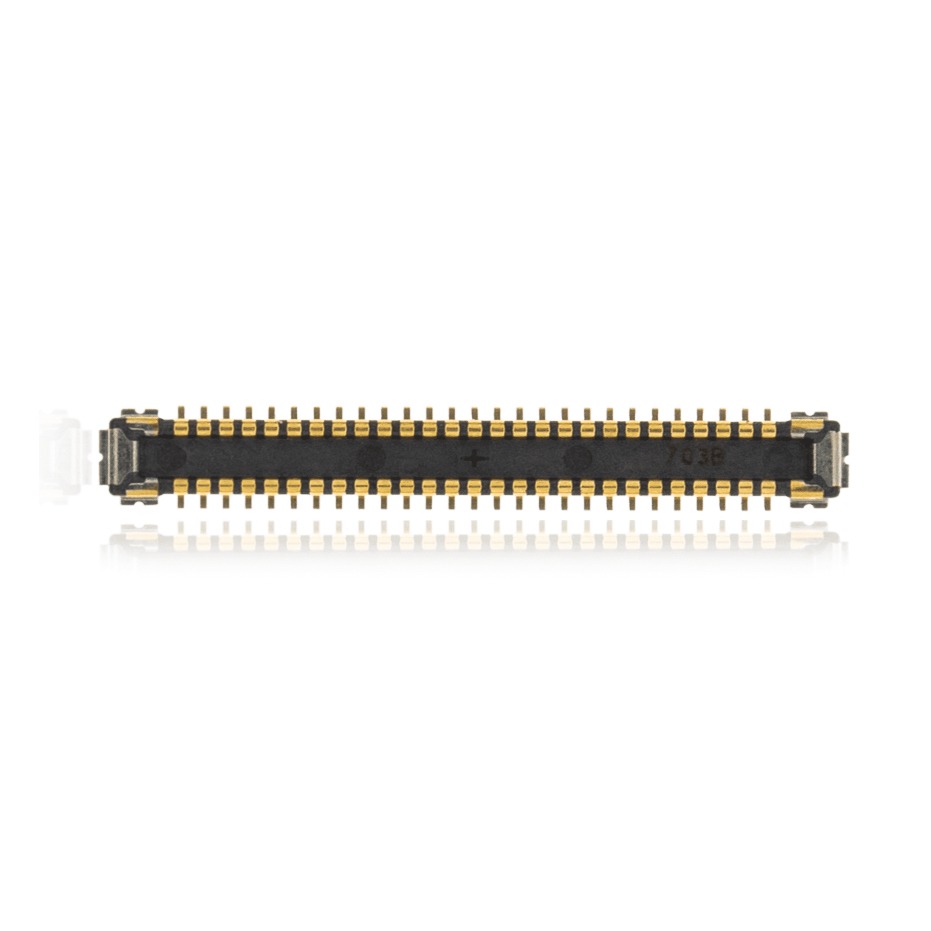
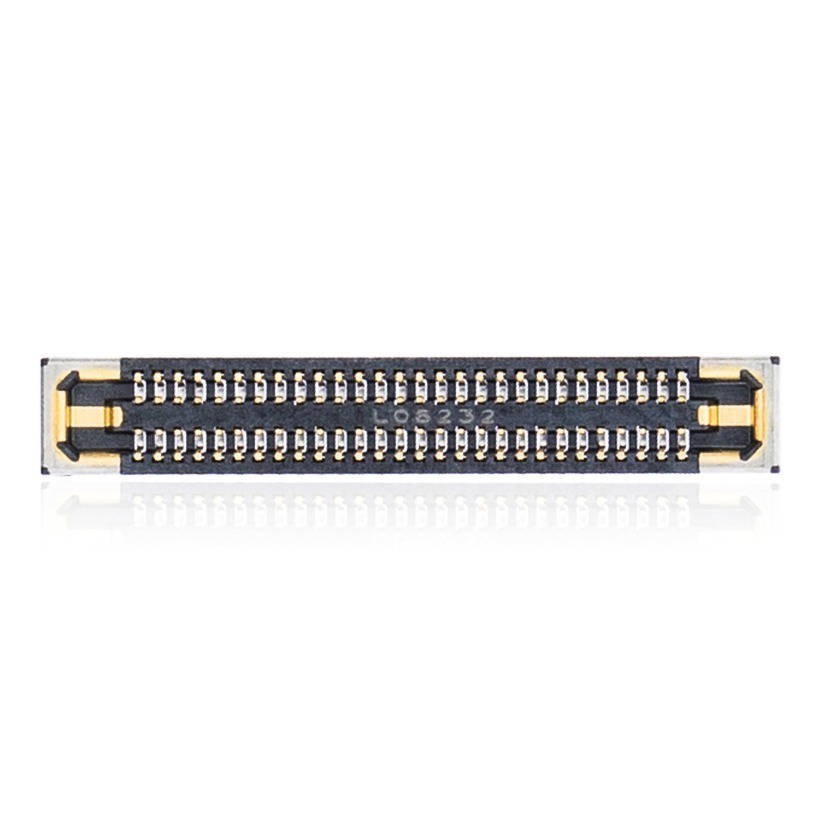




Model: 13-inch MacBook Air M3 (2024 Model A3113) | Level: Intermediate | Tools: Plastic pry tool, Pentalobe screwdriver, T3 Torx, T1 Torx, large Torx. This guide covers the A3113 Display Replacement process step by step.
An exact A3113 display replacement requires careful hands, but Apple made the back plate on the M3 easier to remove than older generations. You just need to navigate a few fragile ribbon cables and keep your screws strictly organized.
If your MacBook has a cracked screen, dead pixels, or a flickering backlight, a new panel fixes the issue. The hinge mechanism is exactly like the one in our A2941 display replacement.
Our lead technician Nicholas walks you through the entire process in the video below. Let’s get started.
How to do an A3113 Display Replacement (Quick Overview)
- Pry the back plate and detach the latches to expose the internals.
- Disconnect the battery and hold the power button to discharge the board.
- Pop off the speaker and antenna tabs to free up the display brackets.
- Disconnect the fragile ribbon cables and remove the hinge screws.
- Open the MacBook to 45 degrees and lift the old screen away.
- Seat the new display on the edge of a table to align the hinges flush.
- Reconnect the display cables and speakers, then test the power.
🛠️ Required Tools & Preparation
An A3113 Display Replacement requires several different bit sizes; power off and unplug the laptop first. You can find every part we stock for this model in our store.
- Plastic pry tool: pops the back plate clips and safely lifts delicate ribbon connectors.
- Pentalobe screwdriver: required for the specific Apple display cable bracket screws.
- Torx screwdrivers (T3, T1, Large): needed for the battery, speakers, tiny ribbon cables, and heavy hinge screws.
Get the Exact Tools Used by Our Techs:
-
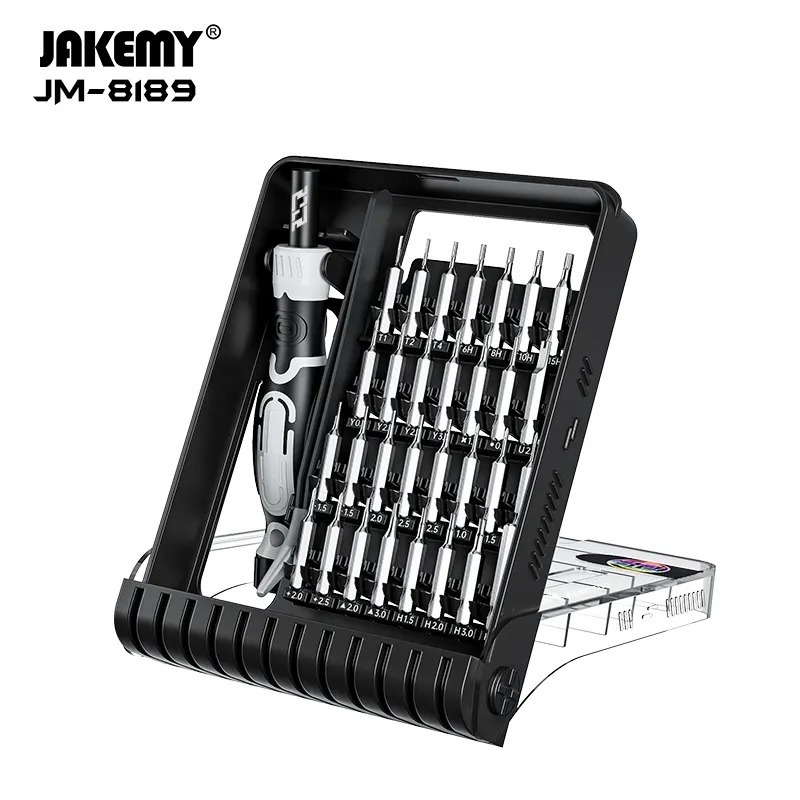
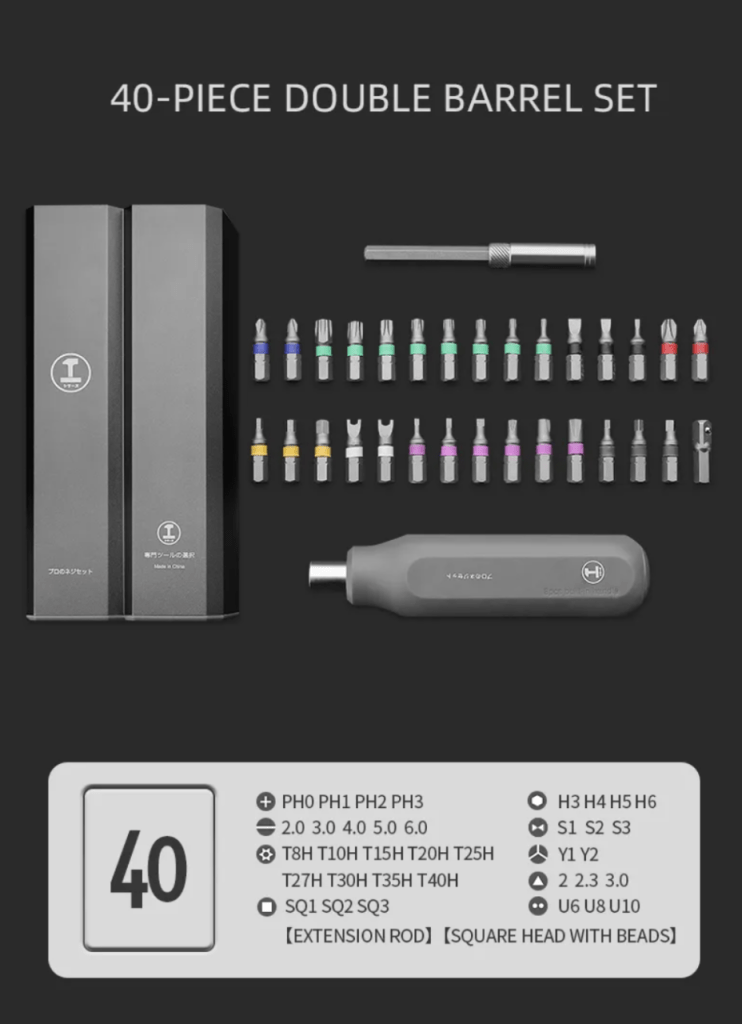
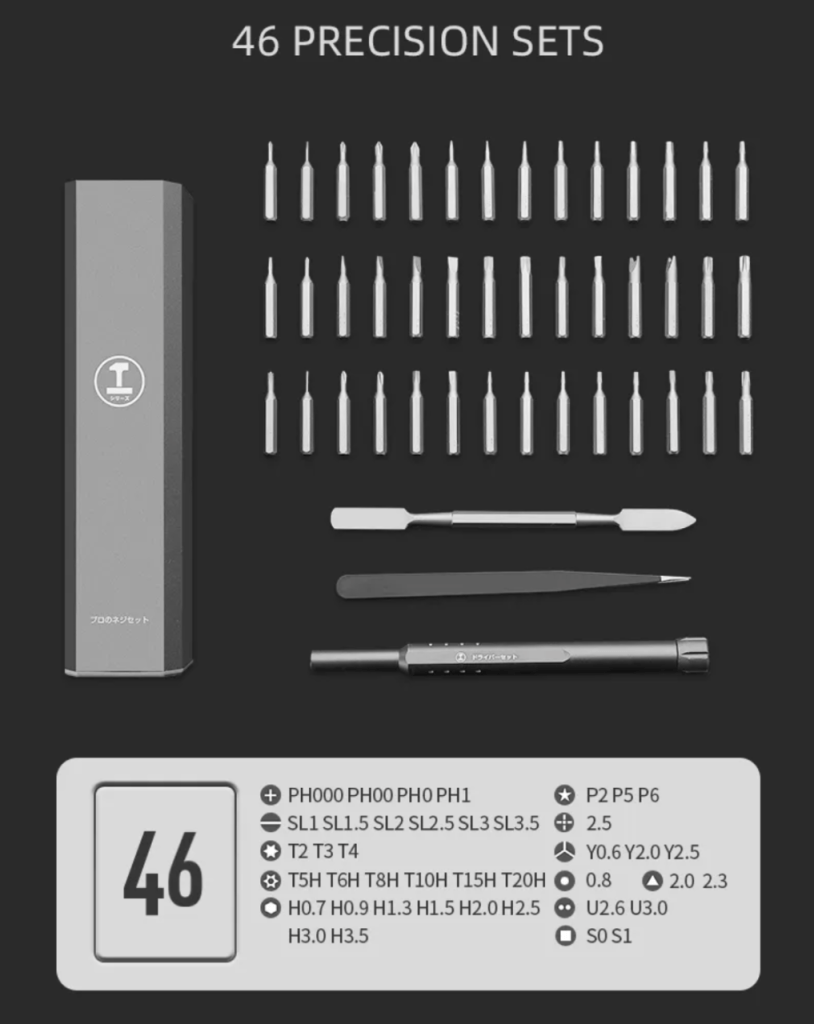
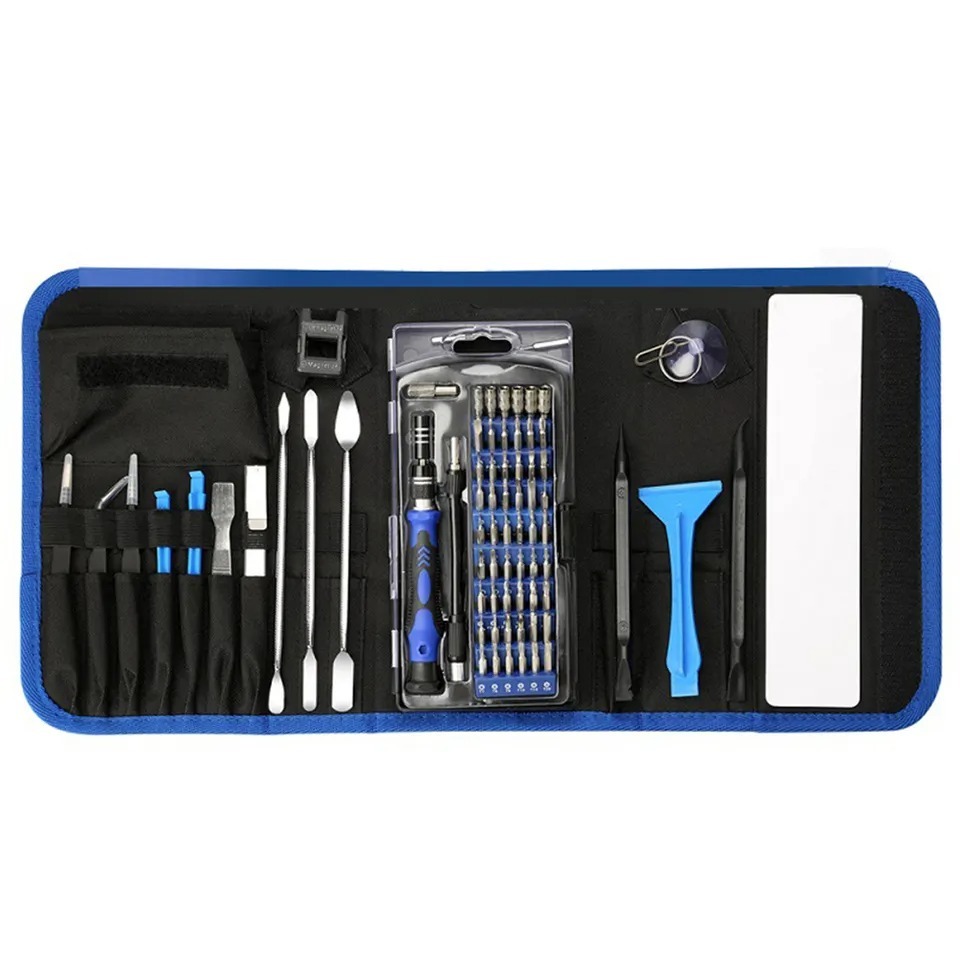
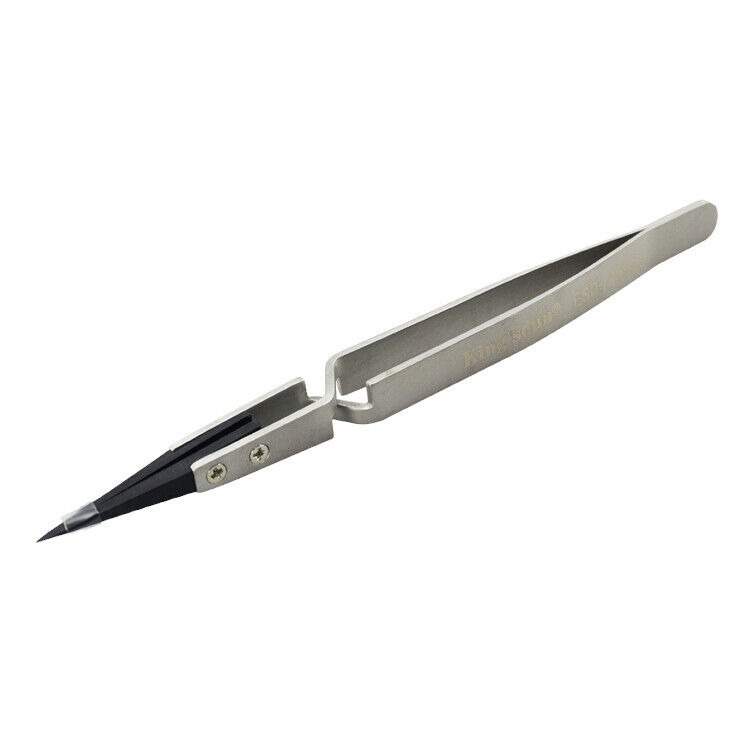
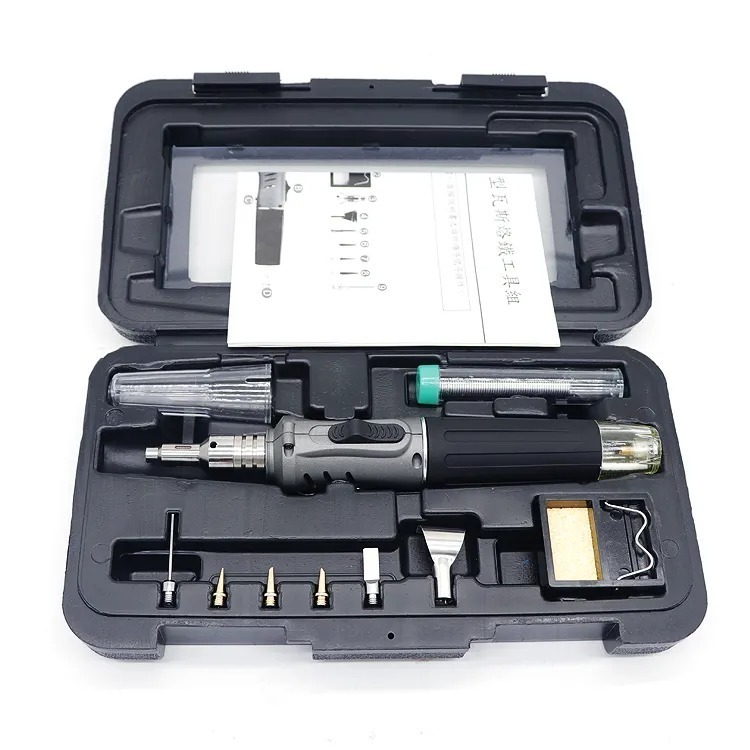
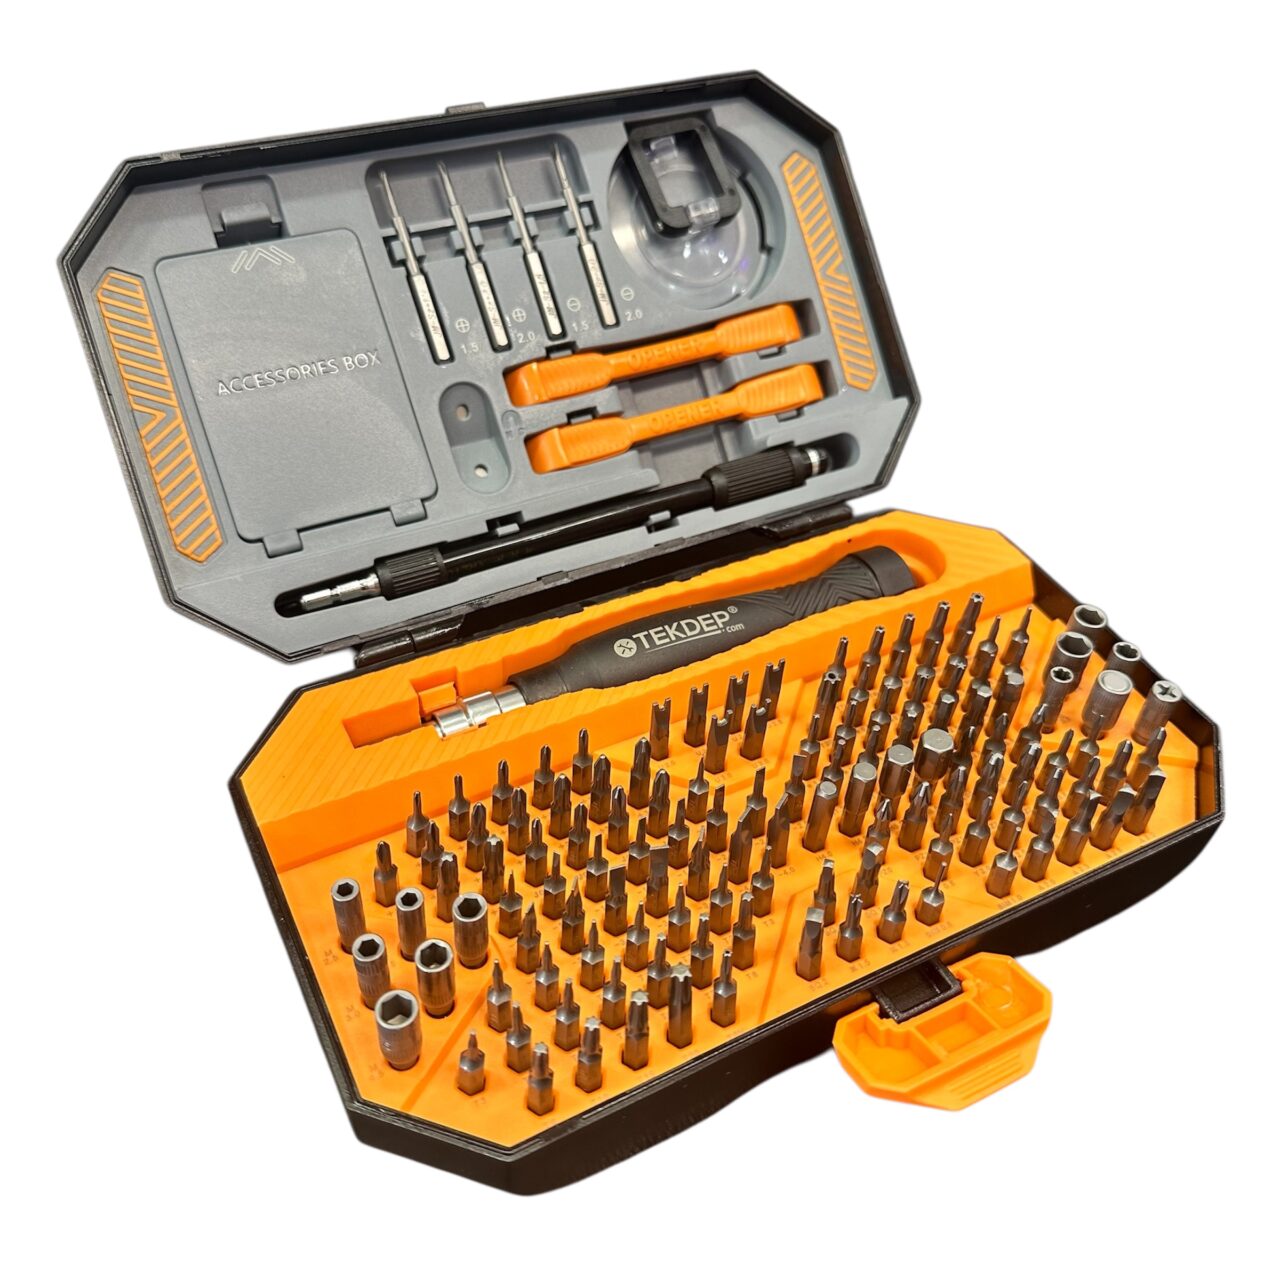
TEKDEP Professional Tool Set 145-in-1 For Electronics, iPhone, Laptop, PC Repairs
-
9 in 1 Disassemble Multi Opening Repair Tools Kit Metal Pry Bar
-
6 in 1 Steel Bit Precision Magnetic Screwdriver Tool Set with Case for Phone PC Electronics
-
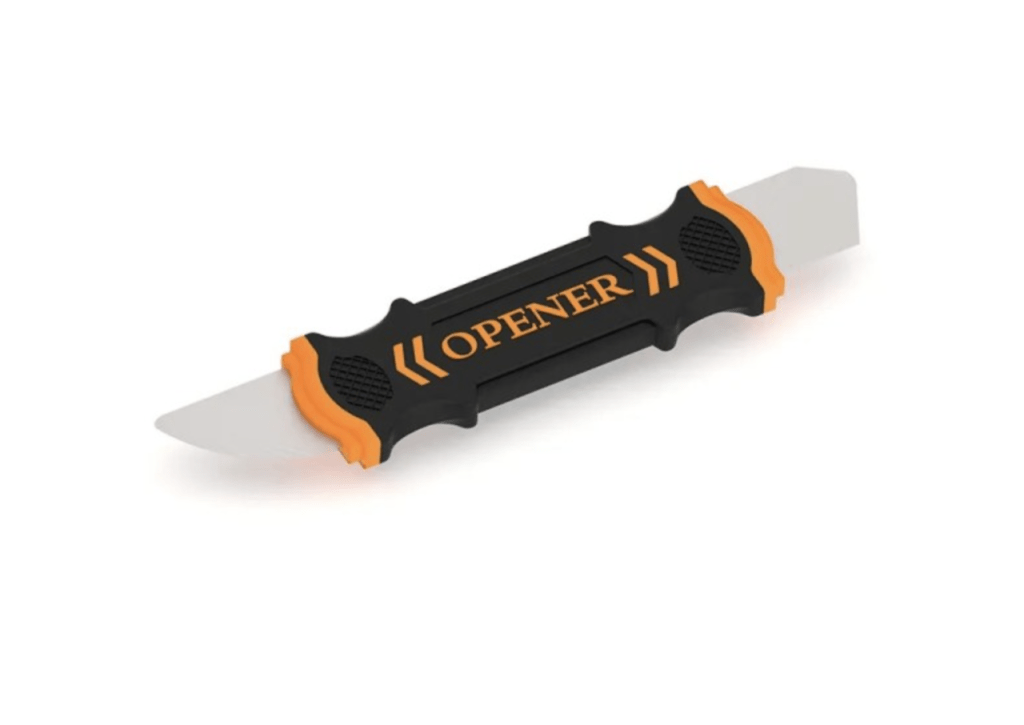
Flexible Pry Tool, Metal 2 Sided Screen Separator Electronics Repair Tool
⚠️ Before you start: Disconnect the battery before you touch any connector. Work on an anti-static mat and keep each group of screws together. The M3 screws use varying rivet heights that must go back into their exact holes.
Phase 1: Getting Inside & Disconnecting Power
The M3 chassis opens differently than older MacBooks, relying on deep latches after the screws are out.
Step 1: Remove the Back Plate
The four back plate screws look identical but have different rivet heights underneath. Organize them carefully on your bench.
- Remove the four back plate screws and lay them out in a matching pattern.
- Use your fingers to pry up the back edge slightly, then slide a plastic pry tool down the left and right sides to pop the side clips.
- Place one hand flat on the top case. Use your other hand to push the back plate down with your thumb while pulling with your fingers to detach the center latches.

Step 2: Disconnect and Discharge the Battery
The M3 battery connector is separate from the physical battery pack. Unplugging it is not enough; you must drain the remaining capacitor charge.
- Unscrew the two T3 screws holding the battery connector hatch and lift the metal shield off.
- Slide the pry tool under the battery connector and pop it straight up off the motherboard.
- Open the laptop and hold the power button for 10 seconds to fully discharge the computer.
Phase 2: Freeing the Speakers and Antennas
The display cables run underneath the speakers and Wi-Fi antennas, so those components must be detached first.
Step 1: Disconnect the Antennas and Speakers
These connectors pop off vertically. Do not force them or you will tear the logic board pads.
- Get under both speaker tabs with your pry tool and lift them off the logic board.
- Disconnect the Wi-Fi and Bluetooth antennas the same way. Give them slight tension and they will pop right off.
Step 2: Remove the Speaker Brackets and Covers
- Remove the two screws holding the display bracket, and the four screws holding down the speakers and Wi-Fi antennas.
- Pry out the corner protective covers over the hinges with your hand and pry tool. They pop off easily.
- Remove the four screws on the left side speaker bracket (two are under the black protector) and lift the bracket out.

Phase 3: Removing the Old Display
With the speakers out of the way, you can finally unscrew the heavy hinges and the delicate LCD flex cables.
Step 1: Disconnect the Display Cables
You will reuse the main display cable bracket on the new screen, so set it safely aside.
- Unscrew the four Pentalobe screws and two T3 screws connected to the main display cables.
- Pull the main display cables up nice and soft with your pry tool.
- Pry up the very fragile ribbon cable on the left side. Once freed, remove the one T1 screw hiding underneath it.
TekDep Expert Warning: The left-side ribbon cable is the easiest thing to tear during an A3113 display replacement.. Pry it up slowly and do not drop the tiny T1 screw into the chassis.
Step 2: Remove the Hinge Screws and Screen
The hinges take substantial force to unscrew, just like in our A2141 motherboard swap.
- Grab your largest Torx screwdriver and remove the heavy hinge screws along the bottom left and right. Apply steady pressure so you do not strip them.
- Lift the display and extend the hinges to a 45-degree angle.
- Place the MacBook on its back and push the hinges as far back as they go. The old display will detach cleanly from the top case.

👉 13-inch MacBook Air M3 (Model A3113) Display Panel
Phase 4: Installing the New Display & Reassembly
Keep the protective film on your new screen during installation so you do not scratch the glass against the aluminum body.
Step 1: Seat and Align the New Screen
For a successful A3113 display replacement, the hinges must sit perfectly flush. If one side extends past the casing, the lid will not close properly.
- Hang the display over the edge of a table to keep the correct angle, making sure the cables drop inside the unit and the hinges slide under the lip.
- Thread the heavy hinge screws in loosely. Bend the display flat.
- Feel the edges with your finger. If it is uneven, unscrew it a tad, push the panel across to flush it on both the front and back, and tighten the screws firmly.
Step 2: Reconnect the Cables
Never force a ribbon cable. If the pins bend, you must replace the entire logic board.
- Reattach the fragile small ribbon cable first and secure it with its one T1 screw.
- Press down gently on the main display ribbon cables until they click.
- Reinstall the display cable bracket using the two T3 screws.
Step 3: Reinstall Speakers and Back Plate
- Seat the left and right speakers, reinstalling the protective holder over the display connectors. Secure them with their screws, putting the four tall-rivet screws on top.
- Reconnect the speaker and antenna ribbons. The darker portion points down. Press from the top until they pop into place, and secure them with their two small Torx screws.
- Plug the battery connector back in and screw down its final protective cover.
- Slide the back plate on, push from the bottom to latch the clips, and secure the four case screws. Remember the smaller rivet screws go into the top holes.

Step 4: Power Test
Plug the MacBook into its charger and hold the power button to wake it from the discharged state. Verify the Apple logo appears, and the backlight is even.
Congratulations! You have successfully completed your A3113 display replacement on the 13-inch MacBook Air M3.
🛑 Not Comfortable Handling Fragile Ribbon Cables? If reading about deep motherboard latches and tiny flex connectors has you second-guessing your DIY skills, don’t worry. The TEKDEP experts are here to help.
We offer clean, professional, and affordable Mail-In repair services for the entire Apple MacBook lineup.
Frequently Asked Questions
Does the A3113 display replacement require soldering?
No. The display assembly connects to the logic board with ribbon cables and is physically bolted down by Torx hinge screws. You only need the correct screwdrivers and a plastic pry tool to complete the swap.
Why won’t my MacBook Air M3 back plate come off?
Apple secures the back plate with hidden internal latches even after the four screws are removed. You must pry up the edges, place your hand flat on the top case, and pull the plate firmly towards yourself to disengage the center clips.
What happens if I mix up the case screws?
The four case screws look identical on top but have different rivet heights underneath. If you force a large-rivet bottom screw into a top hole, you will permanently damage the screw threading and potentially the chassis.
🛑 IMPORTANT: SAFETY & LIABILITY DISCLAIMER TEKDEP®️ TEKDEP.com assumes no liability for property damage or injury incurred as a result of any information in this blog post or associated videos. Dealing with internal computer components, specifically Lithium-Ion batteries, carries inherent risks including fire, toxic gas exposure, and irreversible device failure. Any injury, damage, or loss from improper use of tools, mishandling of components, or misinterpretation of this information is the sole responsibility of the user. Perform repairs at your own risk. If you are unsure of your capabilities, please utilize our professional Mail-In Repair Service.