

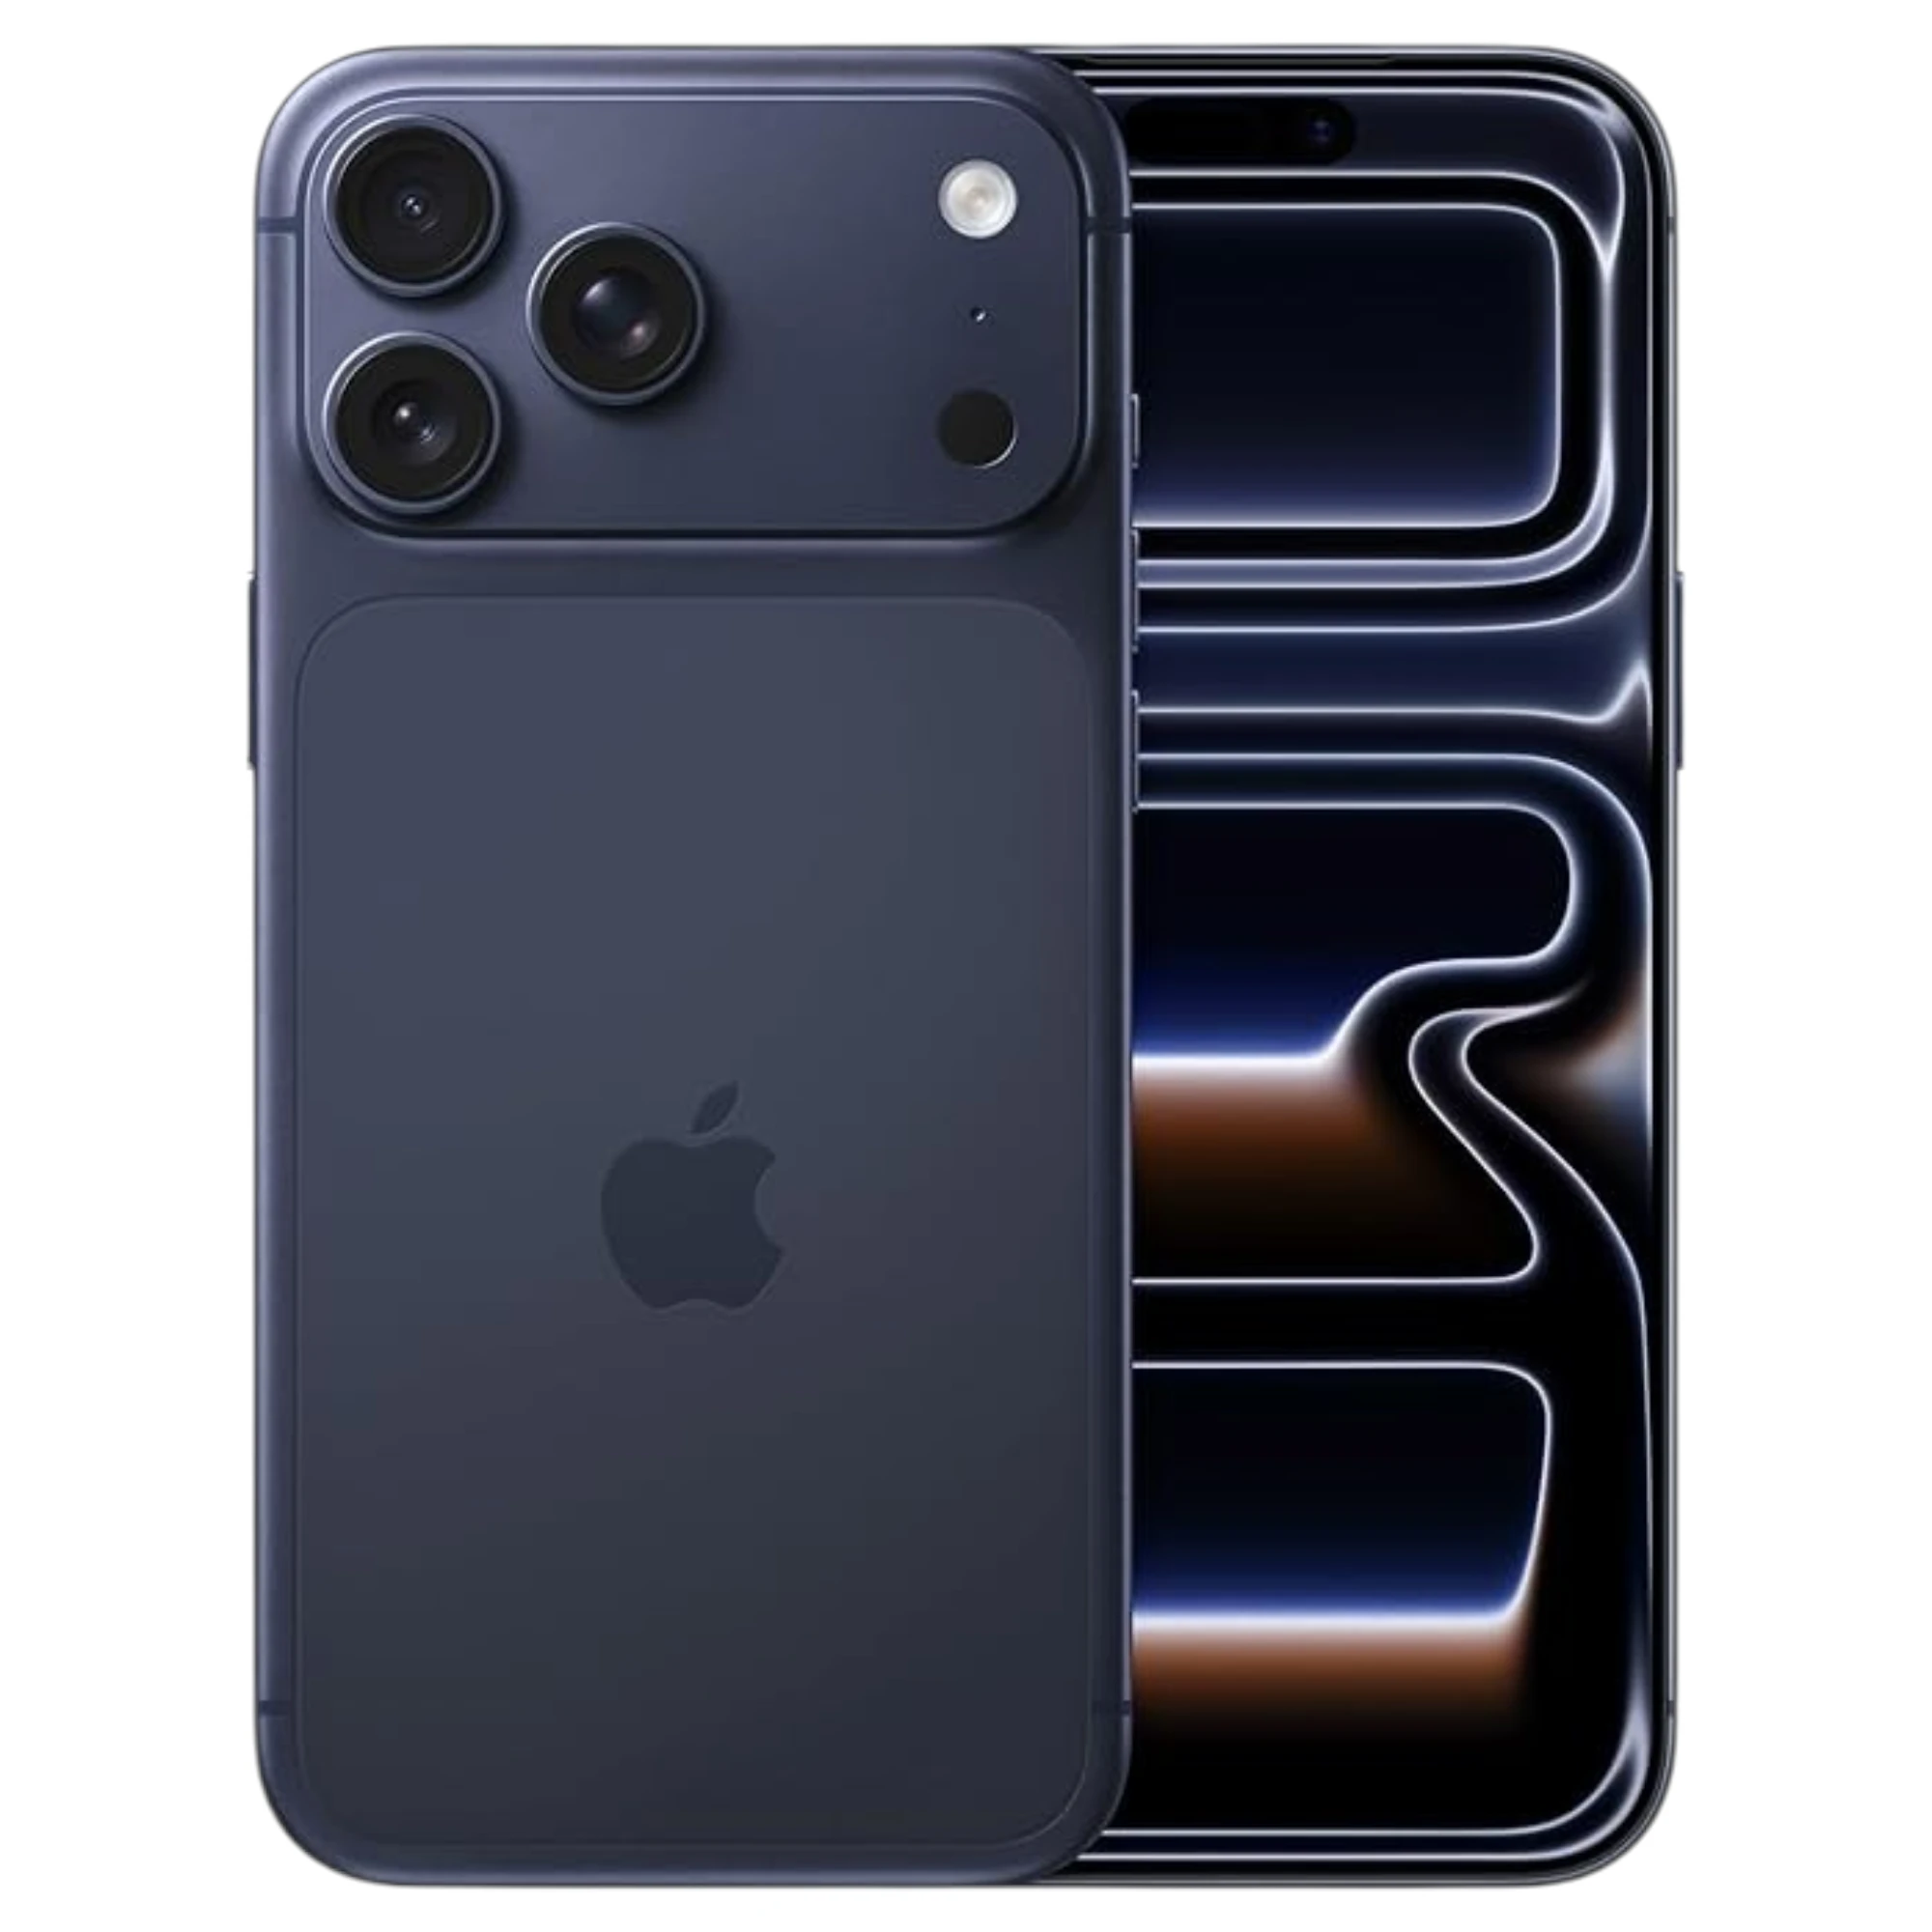
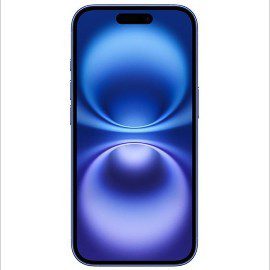
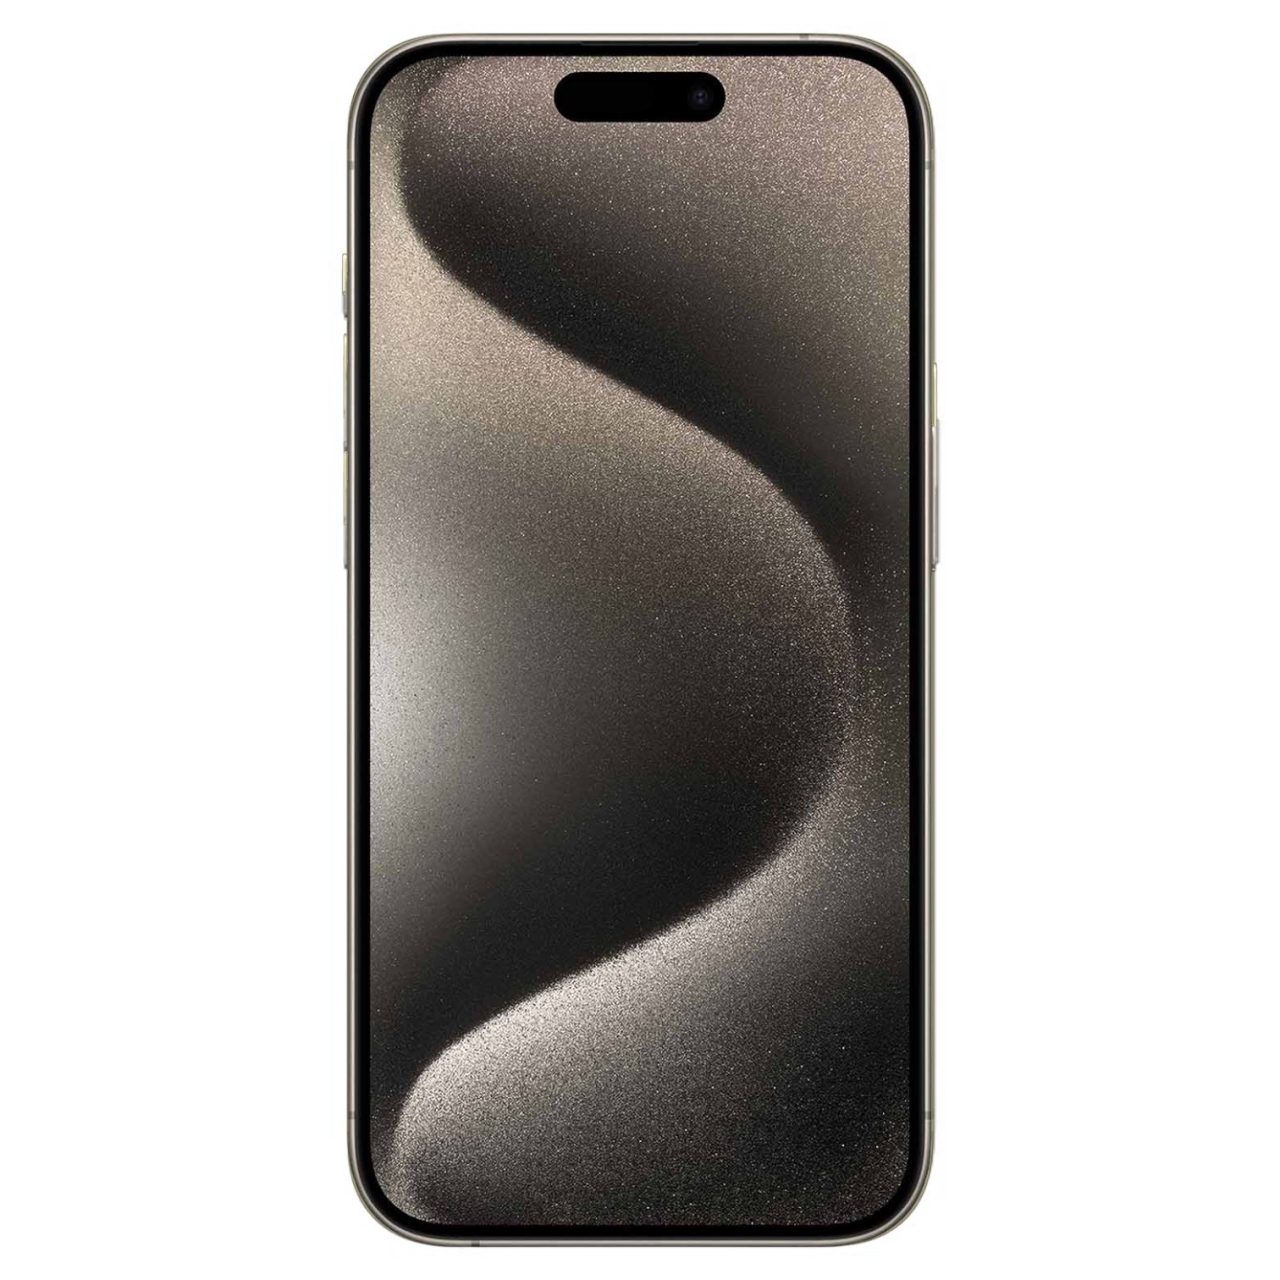














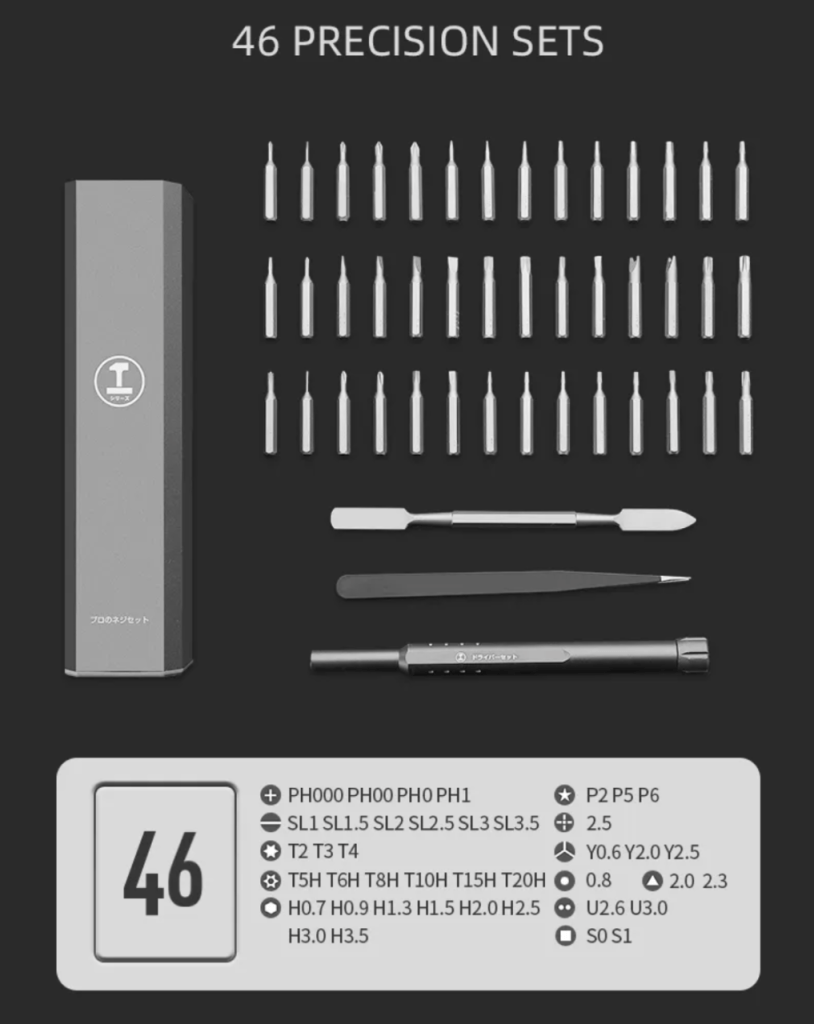
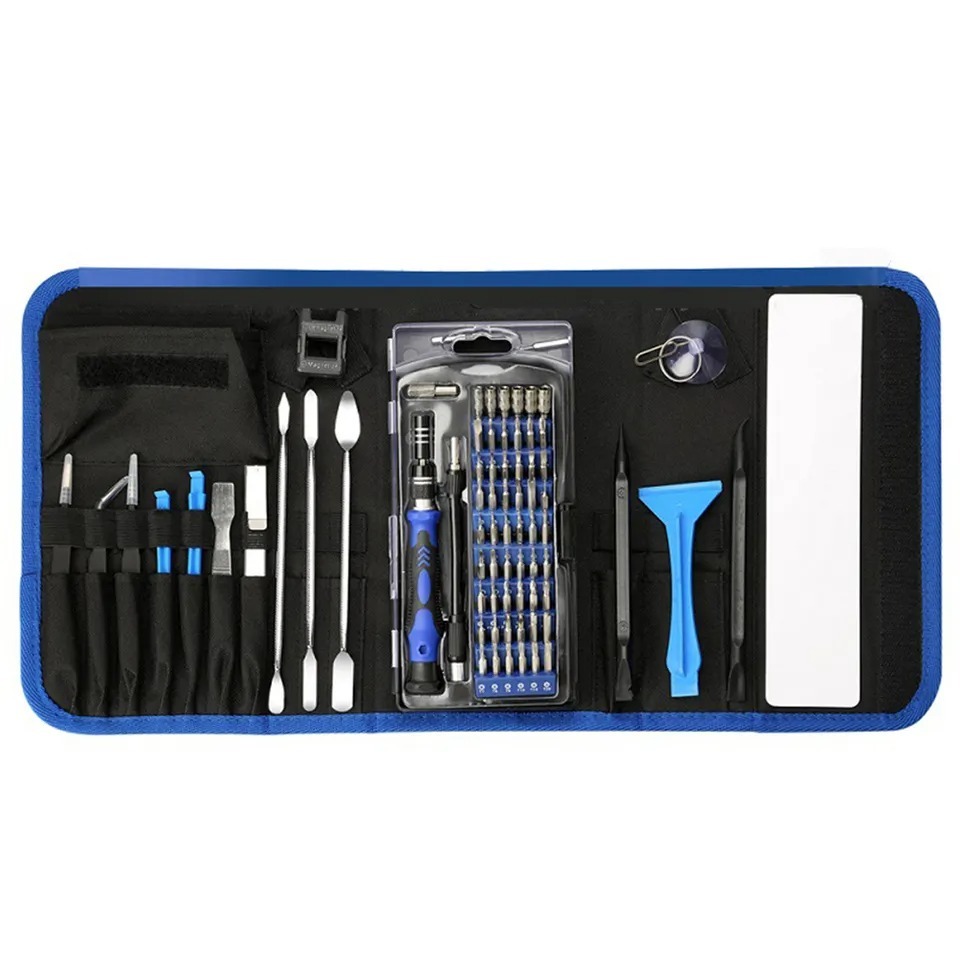


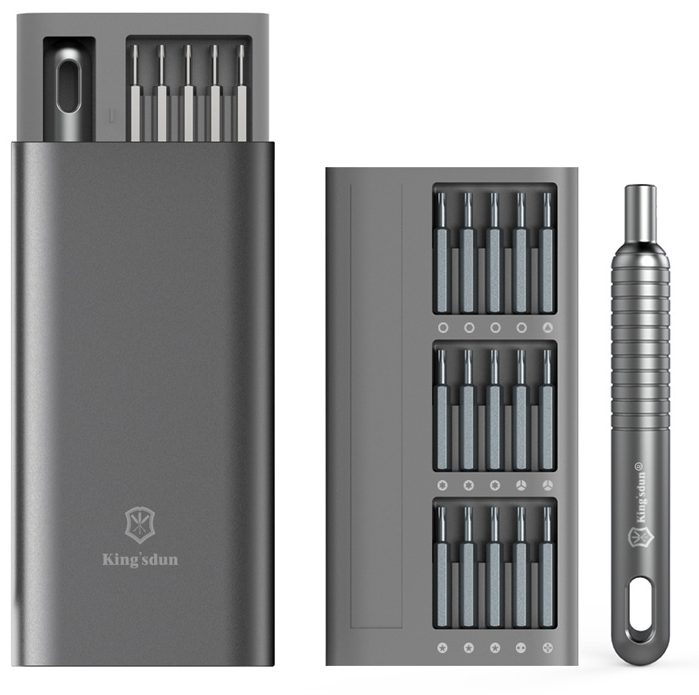


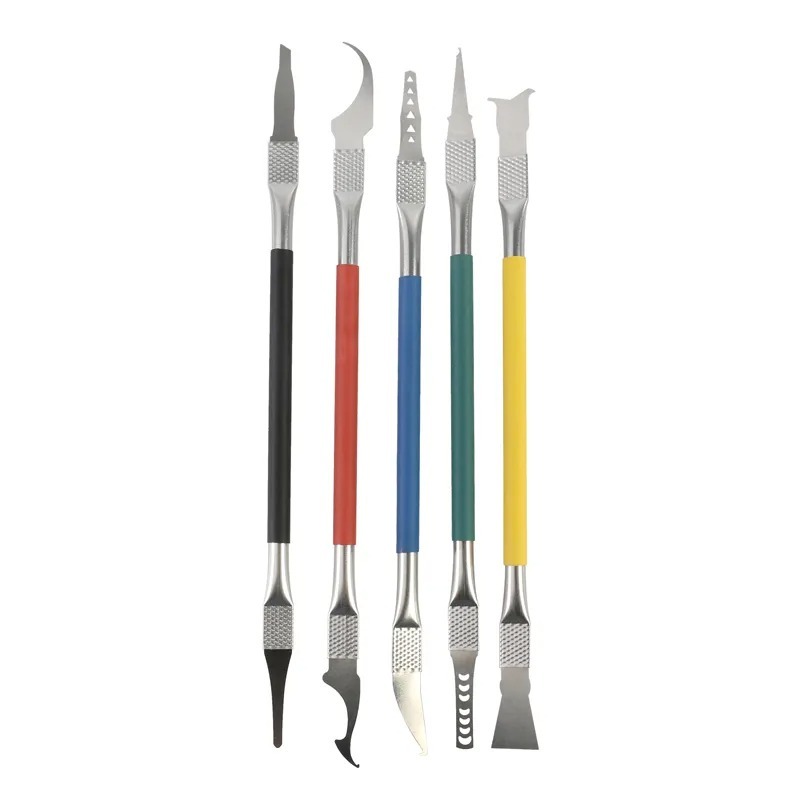


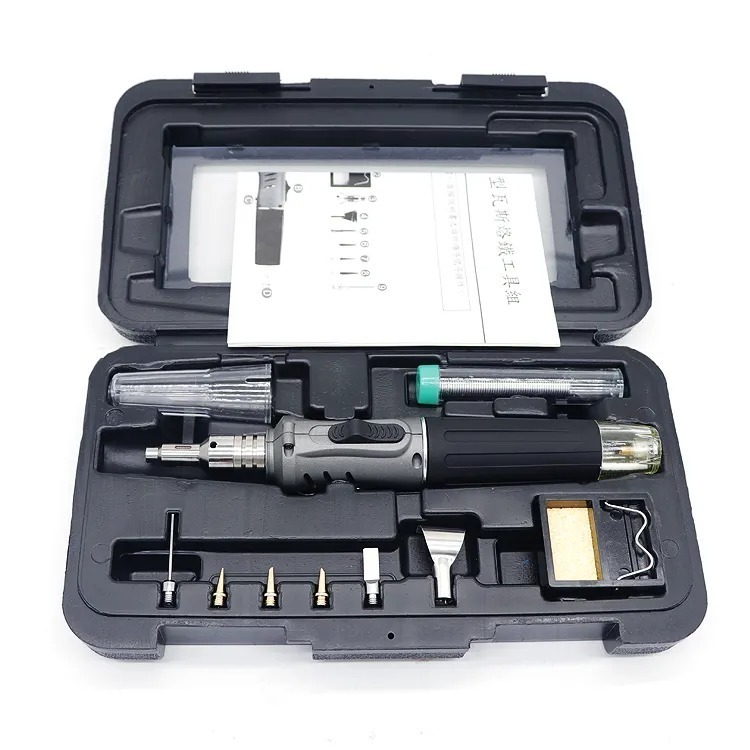
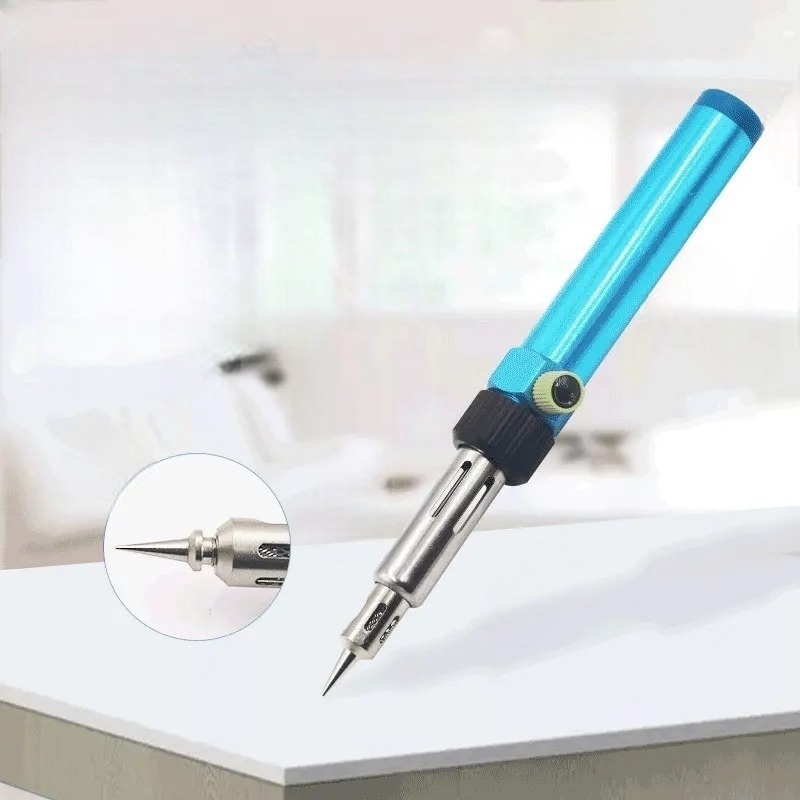
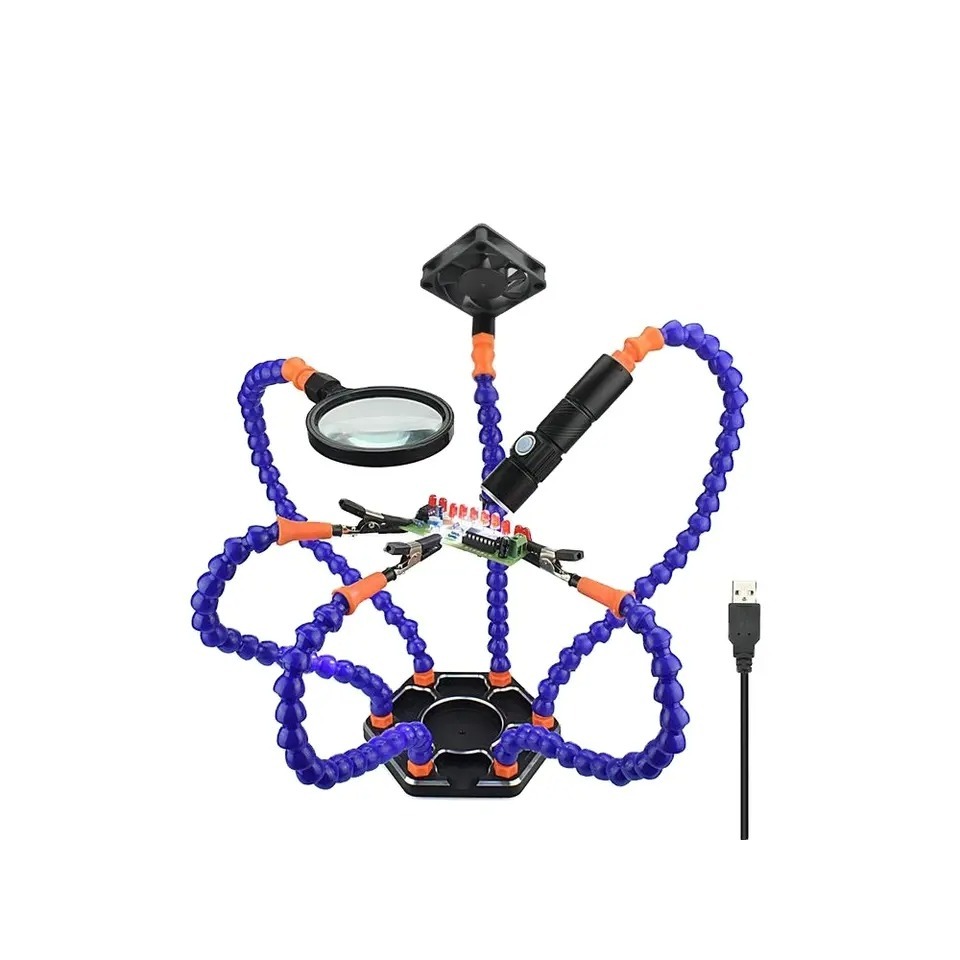


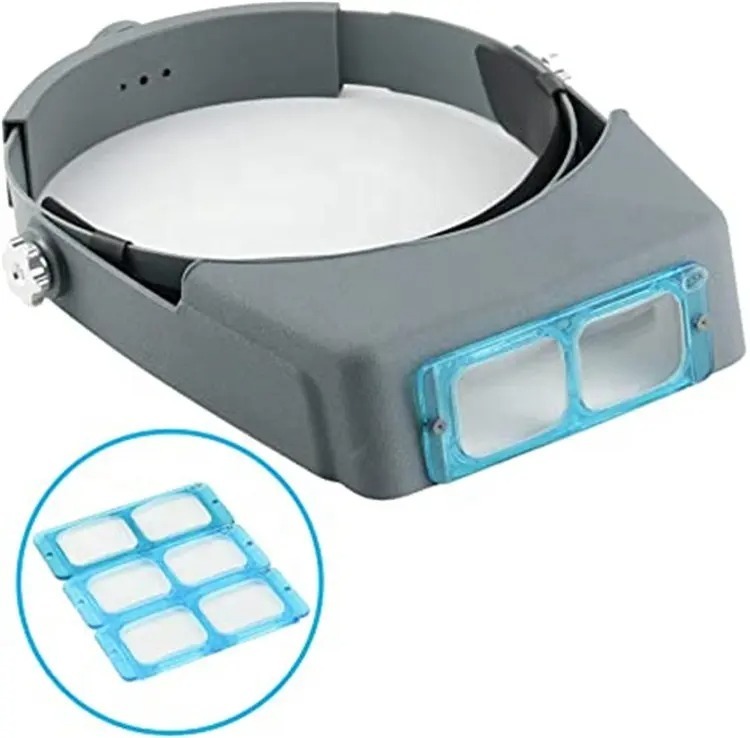

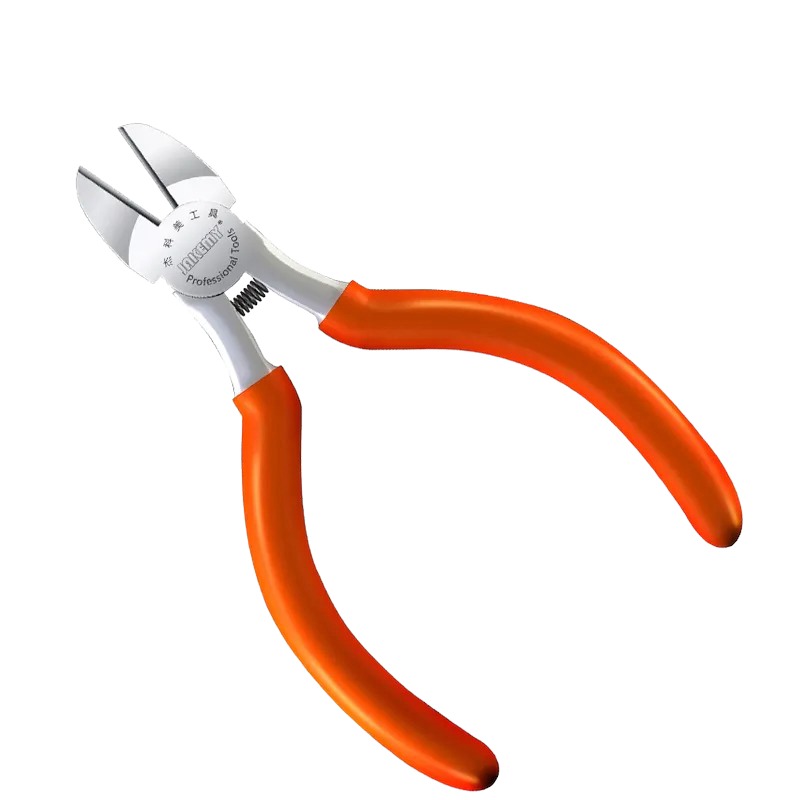

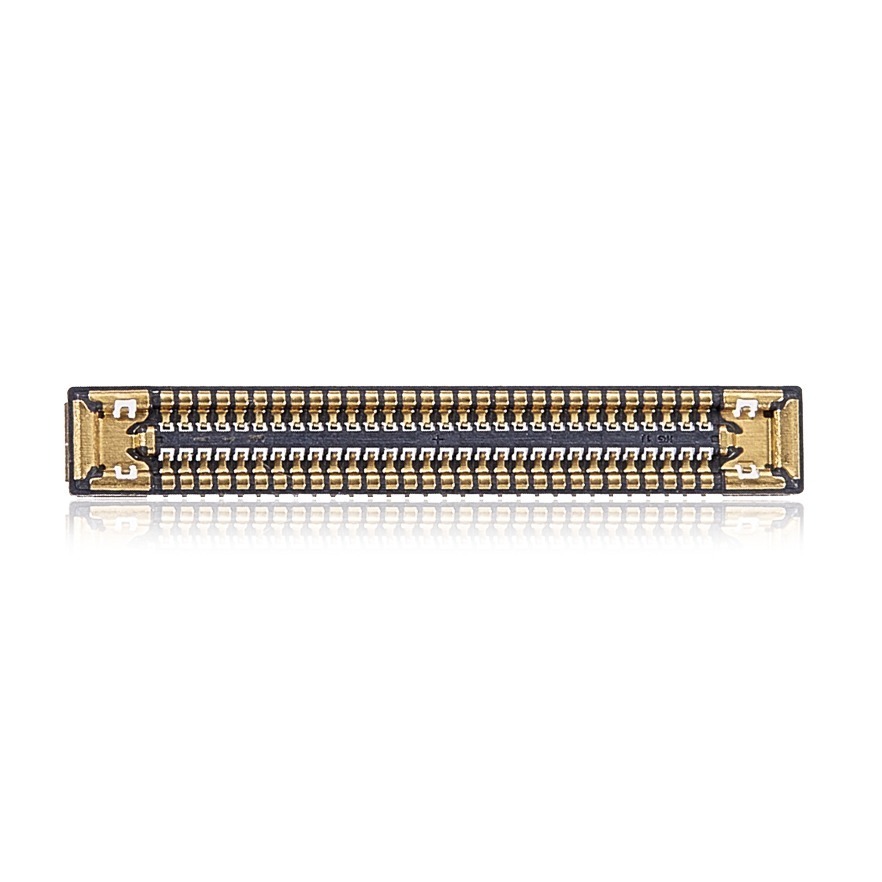

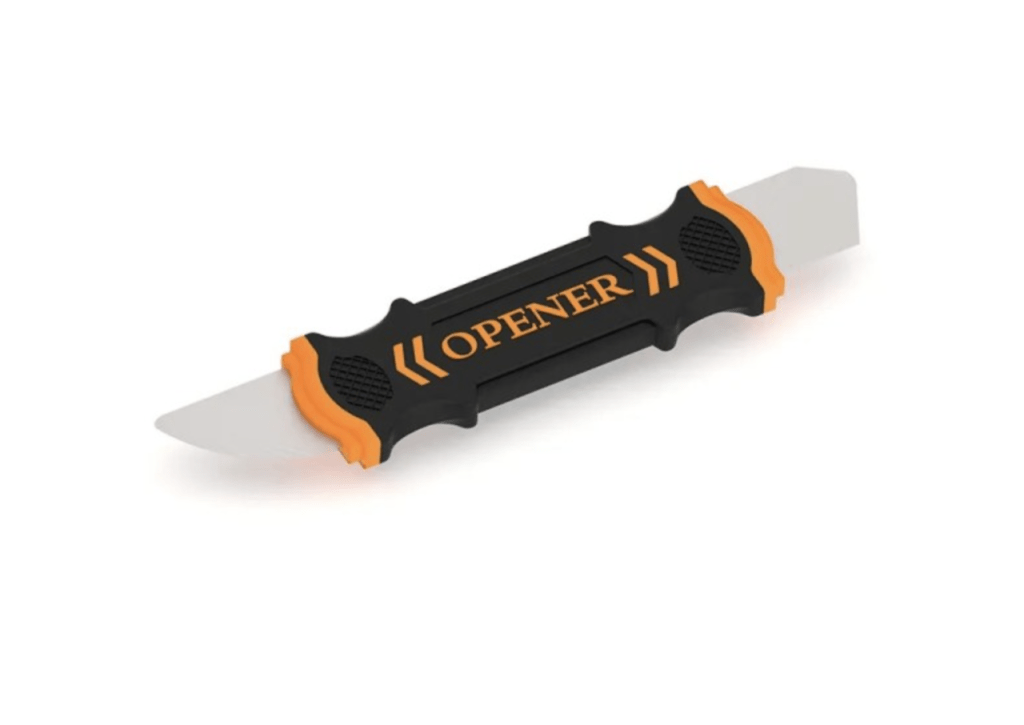

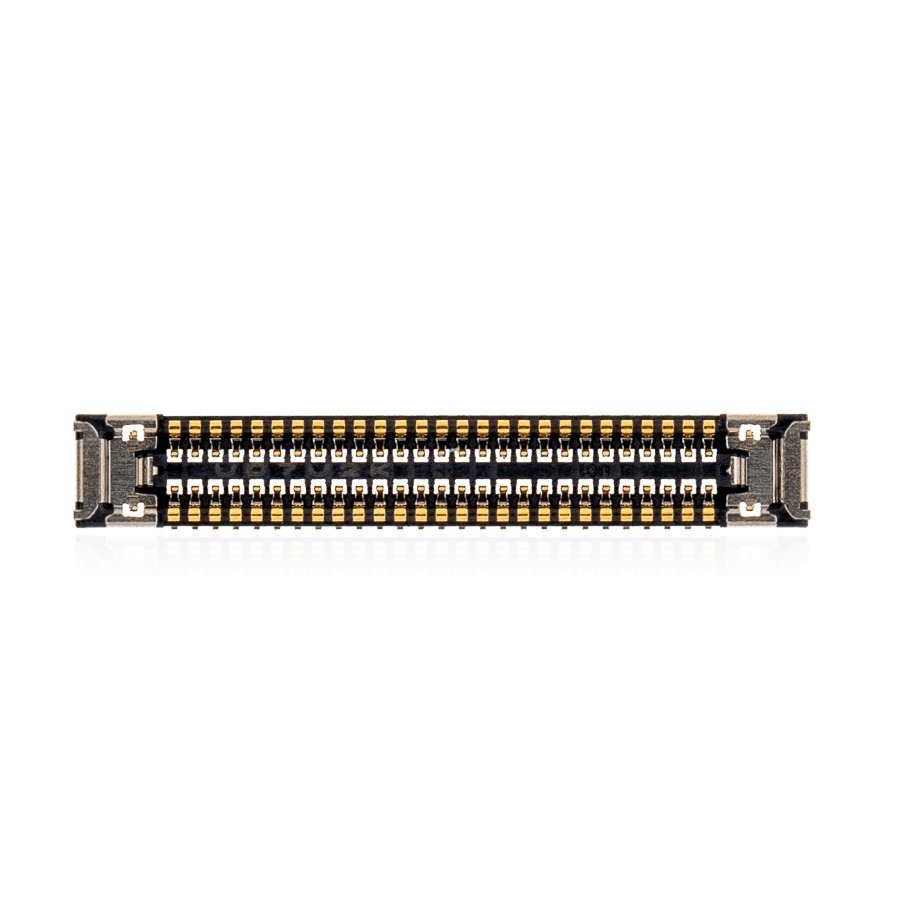




Model: Apple iPhone 17 Pro Max | Level: Intermediate | Tools: Plastic pry tool, Phillips screwdriver, Tri-wing screwdriver, Pentalobe screwdriver, precision tweezers, heating mat, 99% isopropyl alcohol. This guide will help you with replacing or handling the iPhone 17 Pro Max screen using the appropriate tools listed.
An iPhone 17 Pro Max screen replacement is slightly easier than older generations thanks to a thicker screen profile that resists breaking during removal. However, the delicate proximity sensor still requires patience to transfer safely.
If you dropped your brand-new phone and are dealing with a shattered display, dead pixels, or unresponsive touch, a fresh display panel will restore it to factory condition.
Our lead TEKDEP technician walks you through the entire process in the video below. Let’s get started.
How to Replace the iPhone 17 Pro Max Screen (Quick Overview)
- Remove the bottom pentalobes and slice the screen adhesive carefully.
- Disconnect the battery terminal and discharge the board.
- Remove the screen flex cable bracket and detach the broken display.
- Unscrew and heat the delicate proximity sensor on the old display.
- Pry the sensor flex cable free using alcohol and tweezers.
- Transplant the sensor to the new screen and reconnect all cables.
- Snap the screen into the frame hooks and secure the bottom screws.
🛠️ Required Tools & Preparation
An iPhone 17 Pro Max screen replacement demands specific bit sizes and controlled heat. Power off your phone and unplug it before you start.
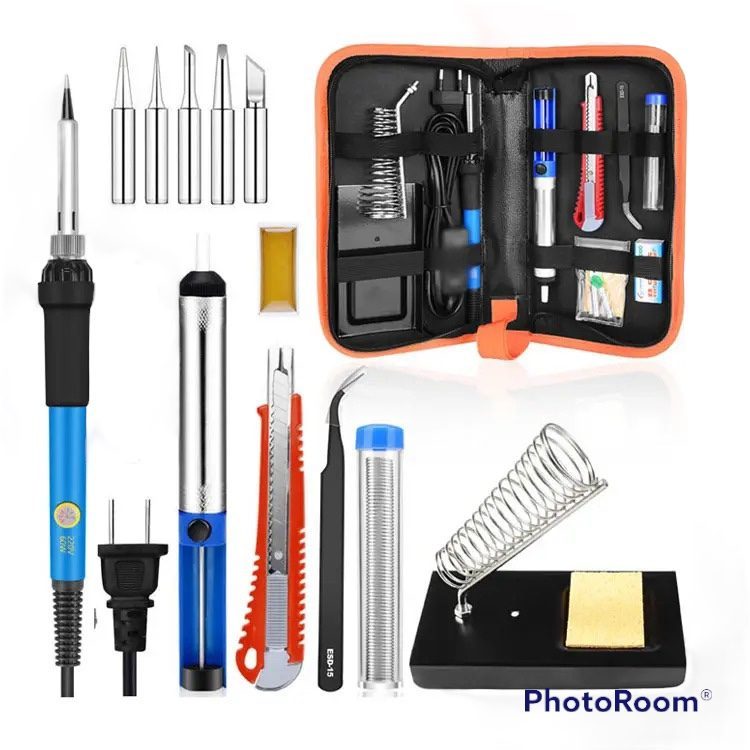
- Plastic pry tool: slices the waterproof adhesive without breaking internal cables.
- Heating mat: softens the strong adhesive holding the proximity sensor.
- 99% isopropyl alcohol: releases the flex cable glue safely.
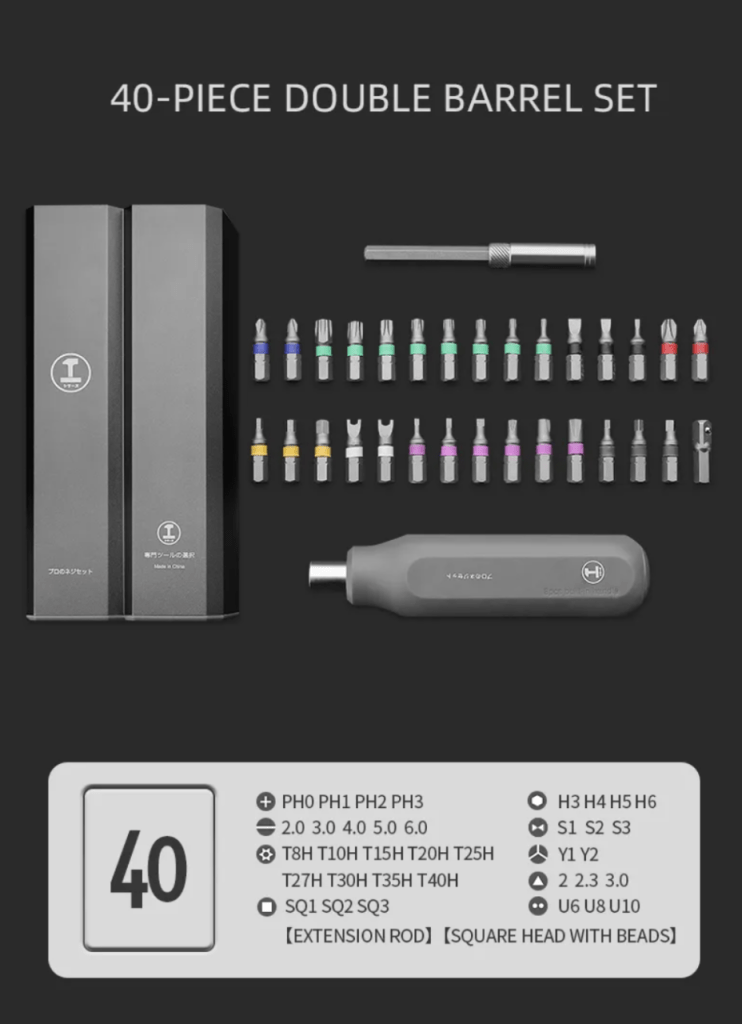
- Pentalobe, Phillips, and Tri-wing screwdrivers: required for the external chassis and internal brackets.
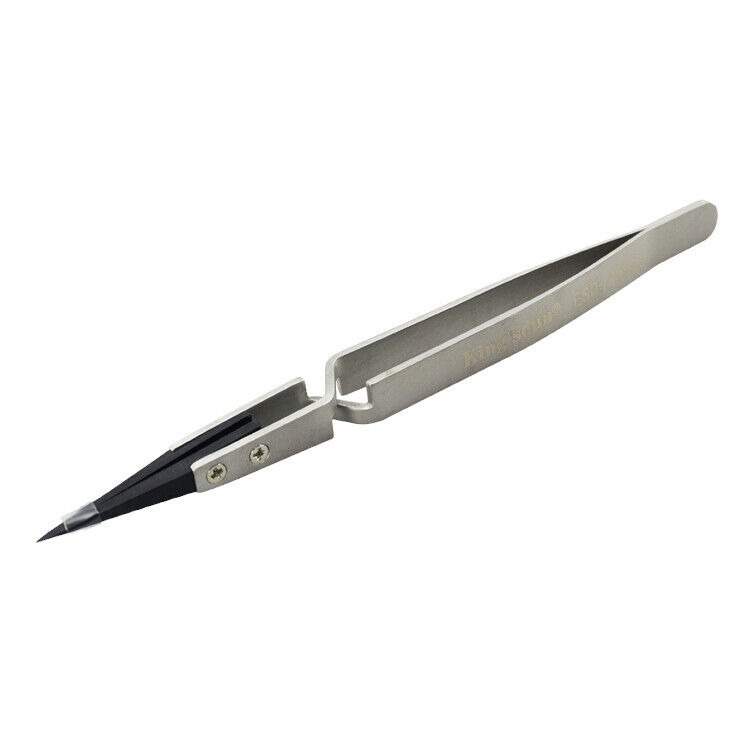
- Precision tweezers: handle the fragile flex cable edges.
Get the Exact Tools Used by Our Techs:


⚠️ Before you start: Disconnect the battery before you touch any flex cable connector. Work on an anti-static mat and keep each group of screws organized, as mixing up bracket screws can pierce the motherboard.
Phase 1: Getting Inside (Prying the Screen & Disconnecting Power)
Modern iPhones feature sandwich boards with their own filter fuses, but disconnecting the power is still your mandatory first line of defense against short circuits.
Step 1: Pry the Screen Edges
After removing the two bottom Pentalobe screws next to the charge port, you must cut the waterproof adhesive holding the display to the frame.
- Slide your plastic pry tool around the edges of the screen. Apply a little 99% alcohol if you feel strong resistance.
- Avoid pushing the tool too deep into the right portion of the phone, as the screen flex cable sits facing the back panel.
- Pop the two metallic fasteners at the upper left and upper right corners.

TekDep Expert Warning: Do not over-pry the top metallic fasteners more than five to seven millimeters. Prying too far will rip the delicate proximity sensor cable hiding right beneath them.
Step 2: Disconnect the Battery Terminal
- Open the screen carefully and locate the battery terminal bracket.
- Remove the Phillips screws holding the retaining bracket and lift it away.
- Disconnect the battery connector with your plastic pry tool.
- Crucial Note: Press and hold the phone’s power button for at least 10 seconds to fully discharge the motherboard.
Step 3: Remove the Screen
- Remove the Phillips screws securing the retaining bracket for the screen flex cables.
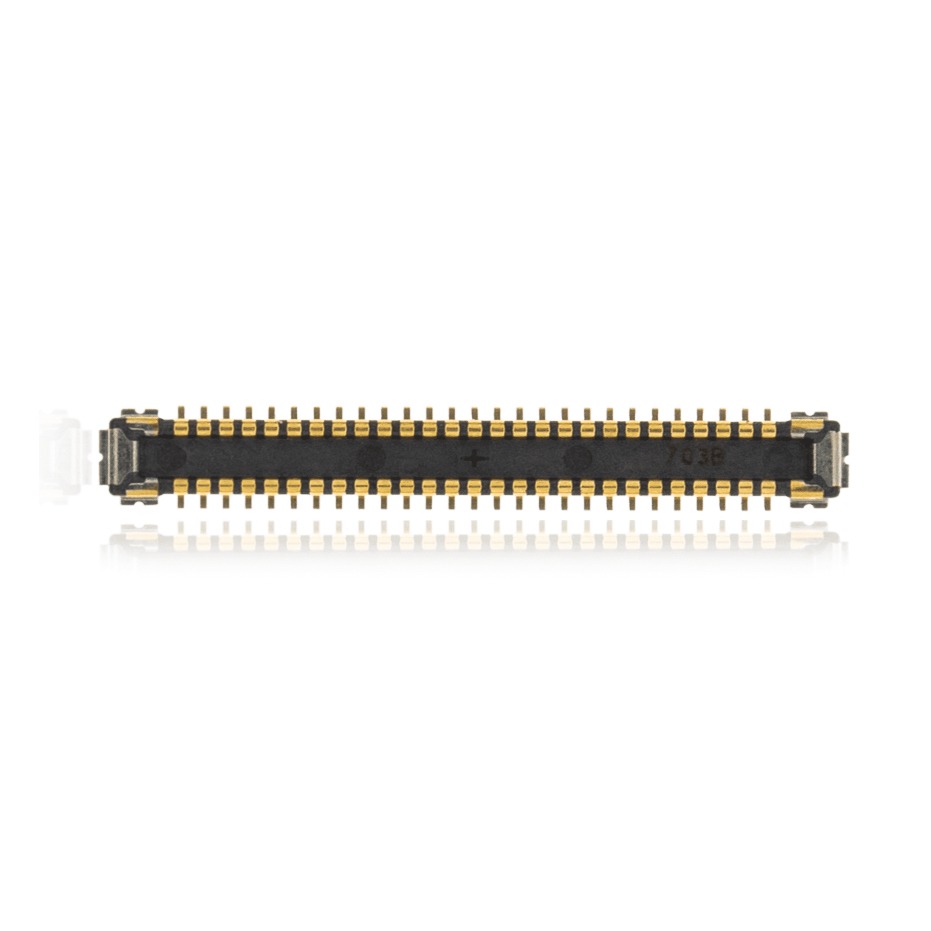
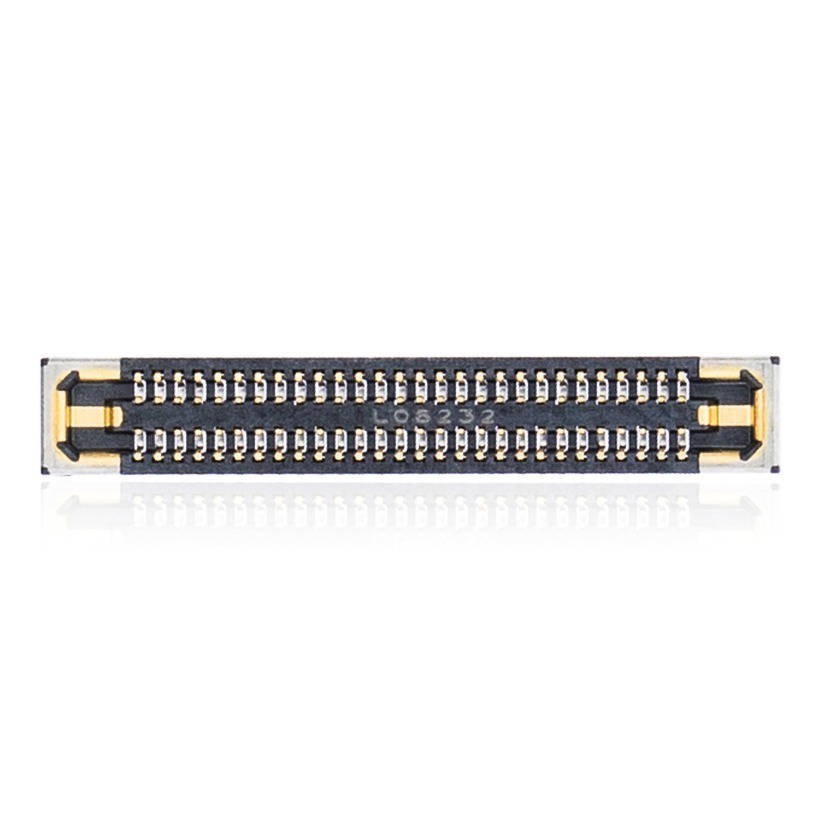
- Disconnect the screen connector and the proximity sensor cable.
- Pull the old screen entirely away from the chassis.

Phase 2: Transferring the Proximity Sensor
This is the most critical part of an iPhone 17 Pro Max screen replacement, as tearing this cable breaks Face ID permanently.
Step 1: Remove the Sensor Screws and Heat
- Remove the two Tri-wing screws fastening the proximity sensor to the old display.
- Place the screen on a heating mat set between 80°C and 85°C (176°F to 185°F).
- Leave it to preheat for 4 to 6 minutes.
Step 2: Pry the Flex Cable Slowly
The flex cable is glued tightly to the glass. If you feel harsh resistance, stop and put it back on the heat.
- Drip a little 99% isopropyl alcohol onto the tip of a thin plastic prying tool.
- Use precision tweezers to very gently pry the fine edges of the flex cable upwards.
- Switch to a larger pry tool for the lower, wider part of the flex cable to distribute the force evenly.
- Lift the entire proximity sensor assembly free.

Get the replacement iPhone 17 Pro Max LCD we installed:

Phase 3: Reassembly & Testing
With the tricky sensor transfer complete, it is time to put the phone back together in reverse order.
Step 1: Transplant and Reconnect Cables
- Seat the proximity sensor onto your new screen and reinstall the retaining bracket with its screws.
- Hold the new display near the chassis and snap the proximity sensor and screen flex cables onto the motherboard.
- Crucial Note: Reconnect the battery terminal only after the screen cables are securely seated.
Step 2: Secure the Brackets and Frame
- Place the metal retaining brackets back over the connectors and fasten them with their Phillips screws.
- Align the top edge of the screen first, making sure the two metallic hooks are properly fastened to the frame.
- Press down along the edges to seal the display into the chassis.

Step 3: Power Test
Put the bottom two Pentalobe screws back into the base of the phone. Power the device on and confirm that touch, display brightness, and Face ID all function perfectly.
Congratulations! You have successfully replaced the screen on your iPhone 17 Pro Max.
🛑 Not Comfortable Handling Delicate Flex Cables? If reading about heated proximity sensors and discharging the board has you second-guessing your DIY skills, don’t worry. The TEKDEP experts are here to help.
We offer clean, professional, and affordable Mail-In repair services for the entire Apple iPhone lineup.
Frequently Asked Questions
Is it hard to do an iPhone 17 Pro Max screen replacement?
The repair is considered intermediate. The display itself features a thicker profile than older models, making it easier to pry off without breaking. However, the proximity sensor flex cable requires precise heat and careful tweezer work to transplant safely.
Why do I need to press the power button after unplugging the battery?
Pressing the power button for 10 seconds discharges any residual electricity left in the motherboard’s capacitors. This prevents accidental shorts and blown backlight fuses when you disconnect or reconnect the screen cables.
What should I do if the proximity sensor cable won’t peel off?
Stop pulling immediately. Place the display back on your heating mat at 80°C to 85°C for a few more minutes, and apply a tiny drop of 99% isopropyl alcohol to the edge of the glue. Let the heat do the work.


