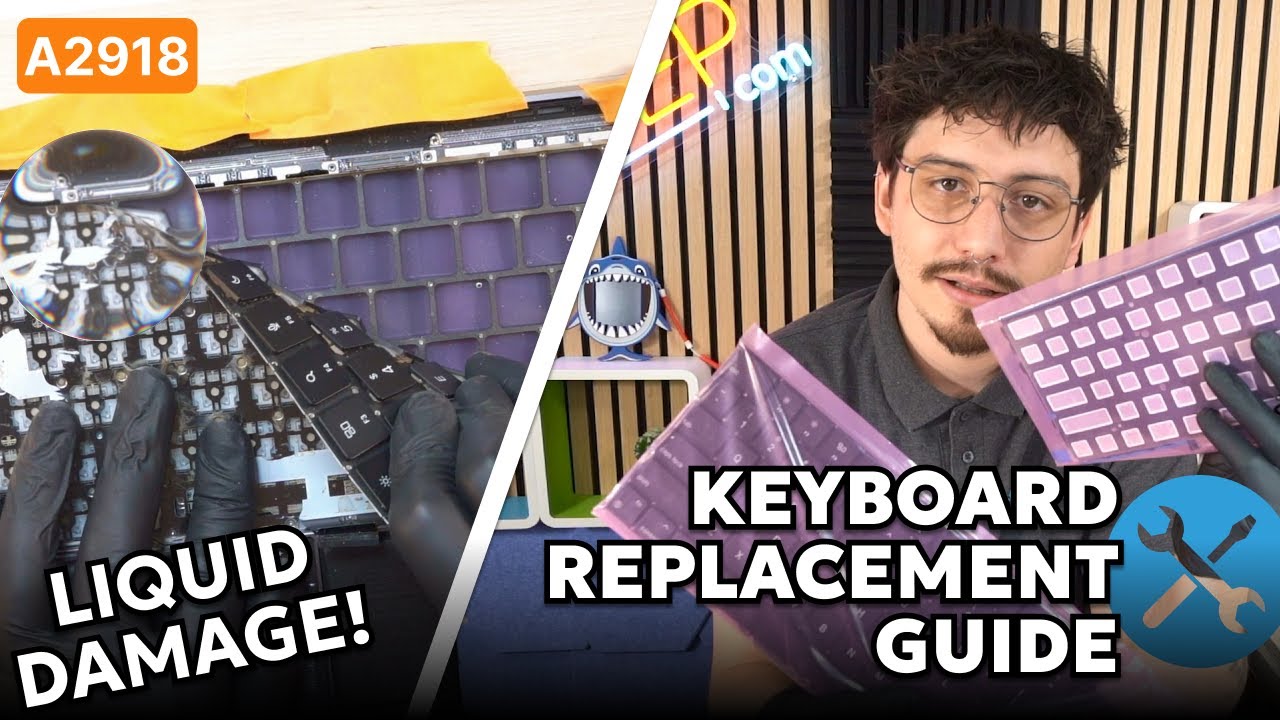
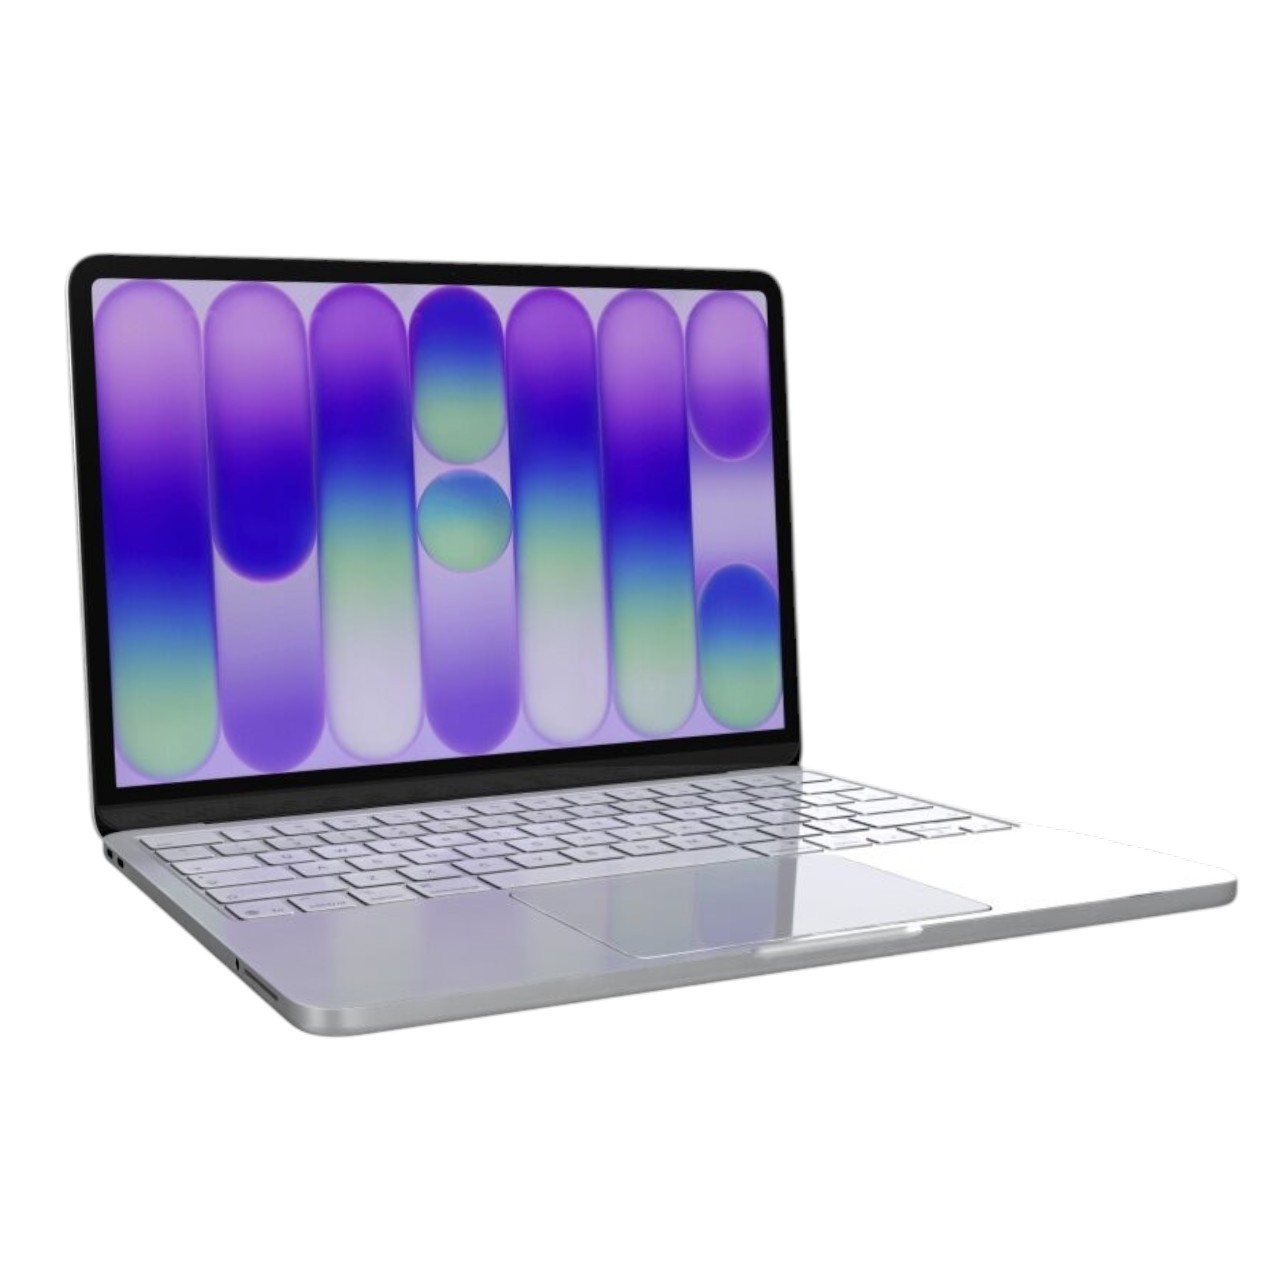























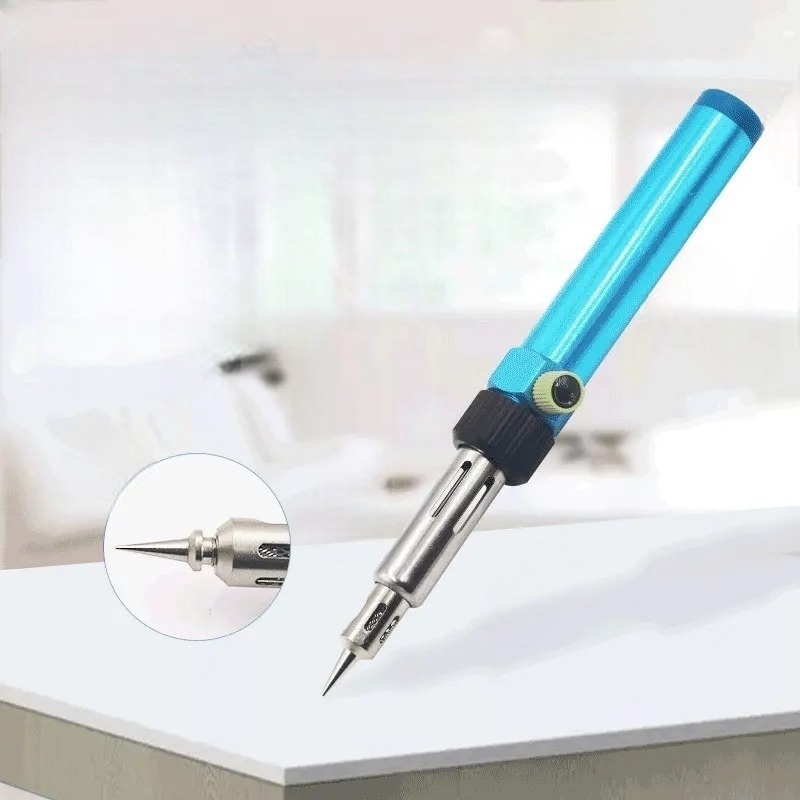









Model: Huawei MateBook D 14 (NBL-WAP9R) | Level: Intermediate | Tools: T5 Torx screwdriver, plastic pry tool, flush cutters. This guide will walk you through the NBL-WAP9R Keyboard and Battery Replacement process.
The Huawei MateBook D 14 is wildly popular overseas, but finding replacement parts in the US is notoriously difficult. Once you source the parts, an NBL-WAP9R keyboard and battery replacement requires a complete teardown and dealing with stubborn plastic rivets.
If your laptop is losing charge fast, shutting down randomly, or suffering from sticky keys, these fresh replacements will bring it back to life.
Our lead Tekdep Technician walks you through the entire process. Let’s get started.
How to do an NBL-WAP9R Keyboard and Battery Replacement (Quick Overview)
- Remove the back cover and take out the battery first.
- Remove all internal components to expose the back of the keyboard.
- Cut every plastic rivet individually to release the metal backplate.
- Peel the old keyboard out of the top case.
- Seat the new backlit keyboard and fold its adhesive backing.
- Reinstall the metal plate to give the keyboard structural integrity.
- Assemble the motherboard, plug in the new battery, and power on.
🛠️ Required Tools & Preparation
An NBL-WAP9R keyboard and battery swap requires plenty of patience; power off and unplug first.
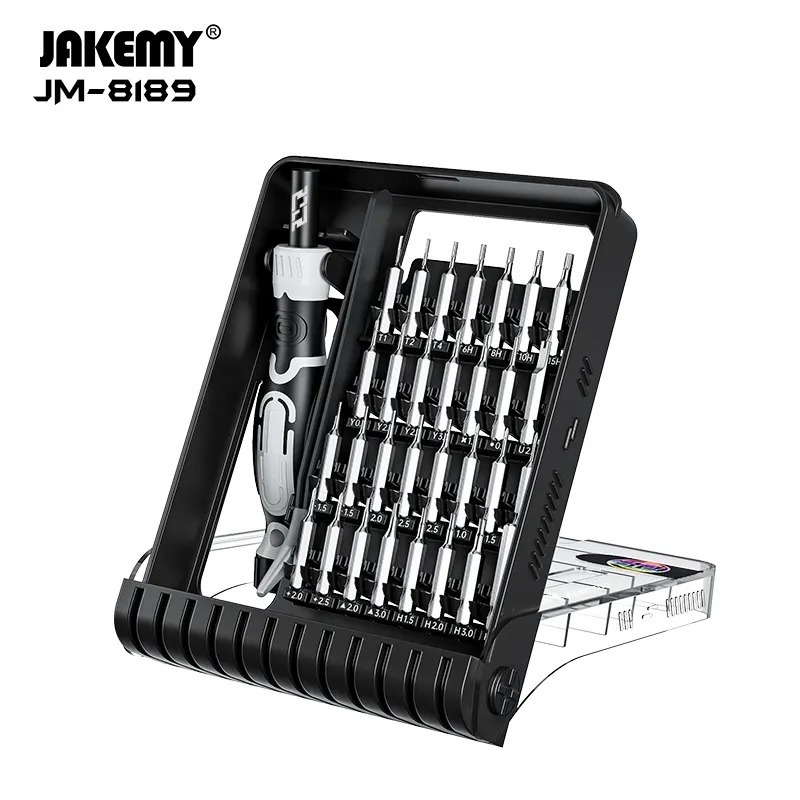
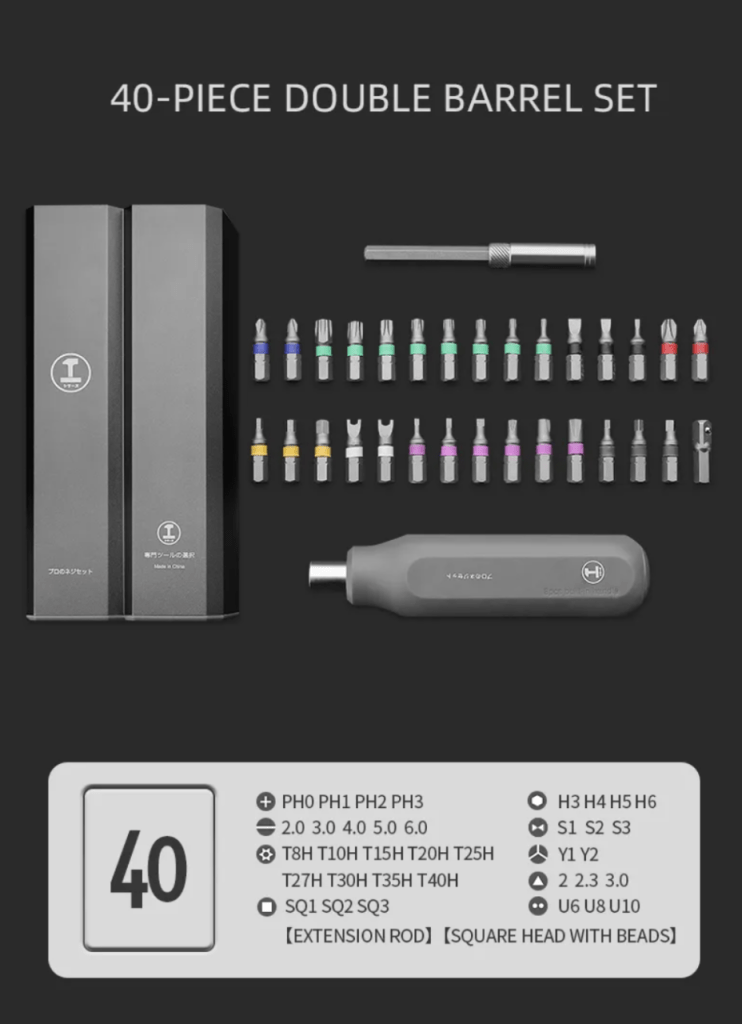
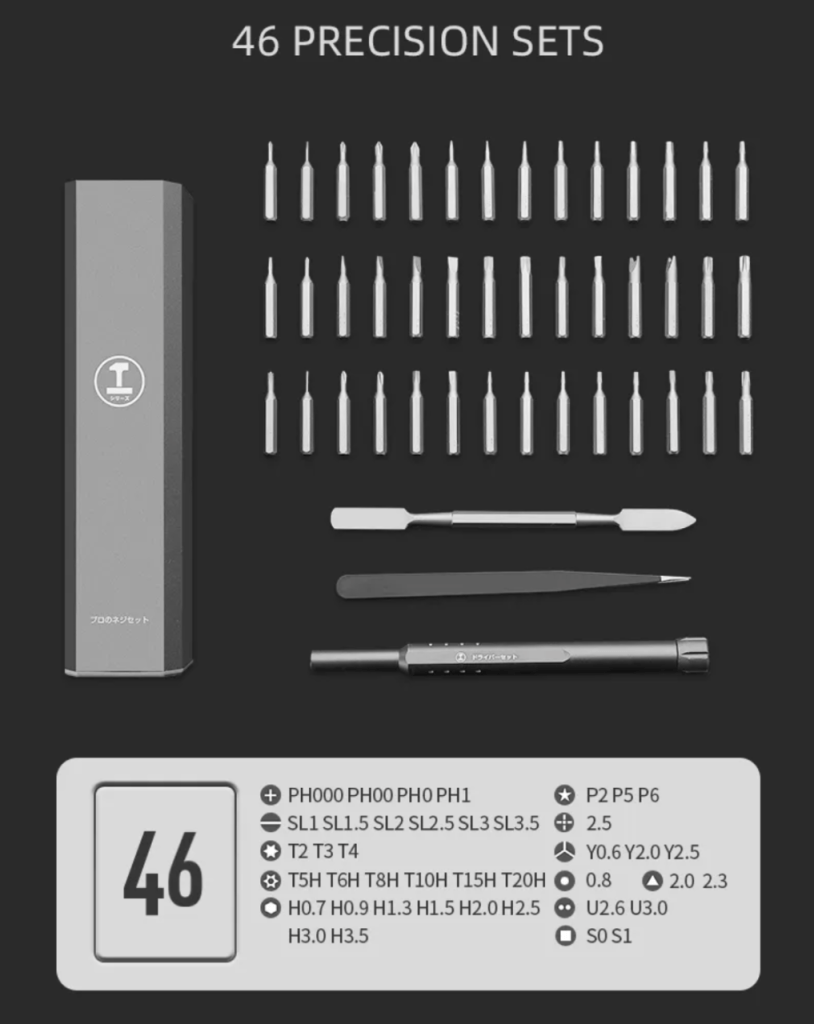
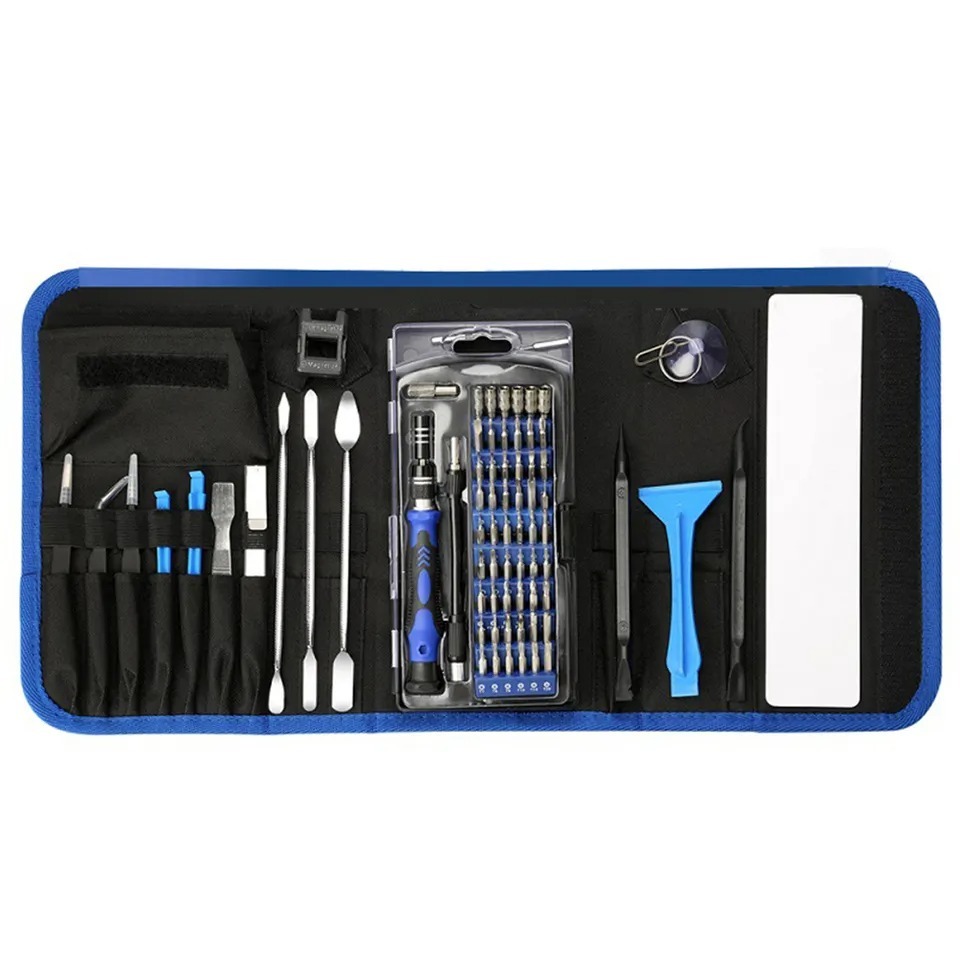
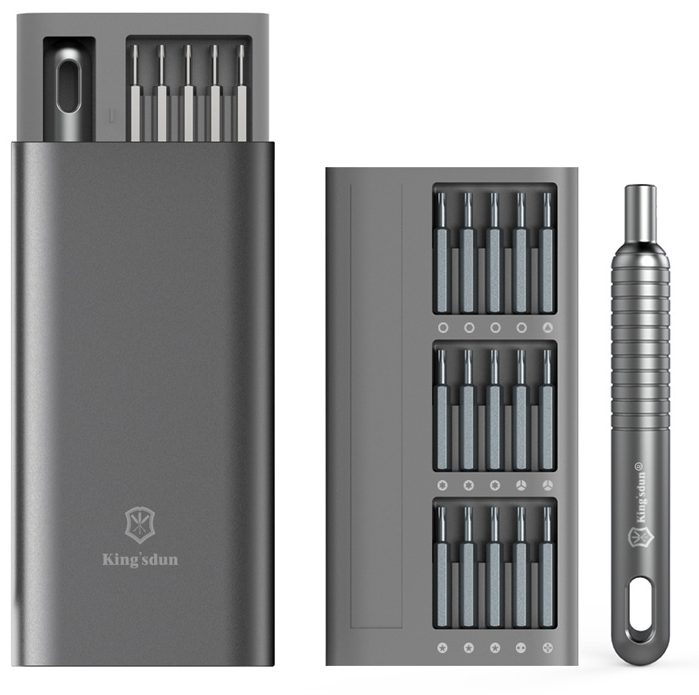
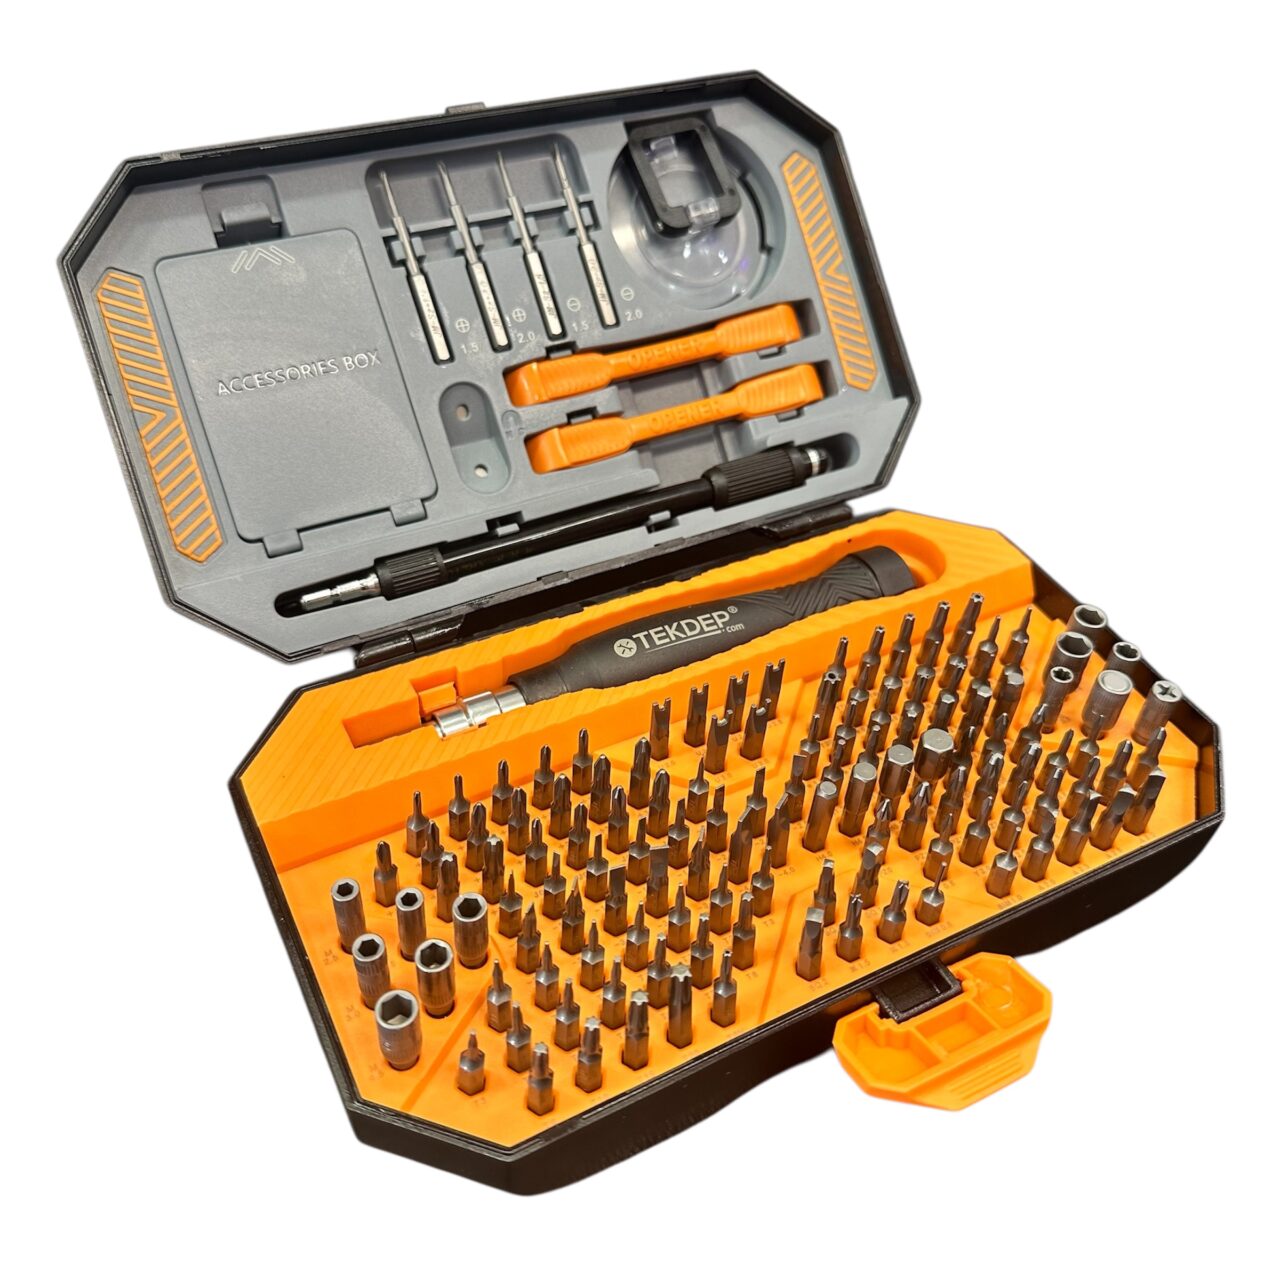
- T5 Torx screwdriver: used for the back plate, just like most PC laptops.
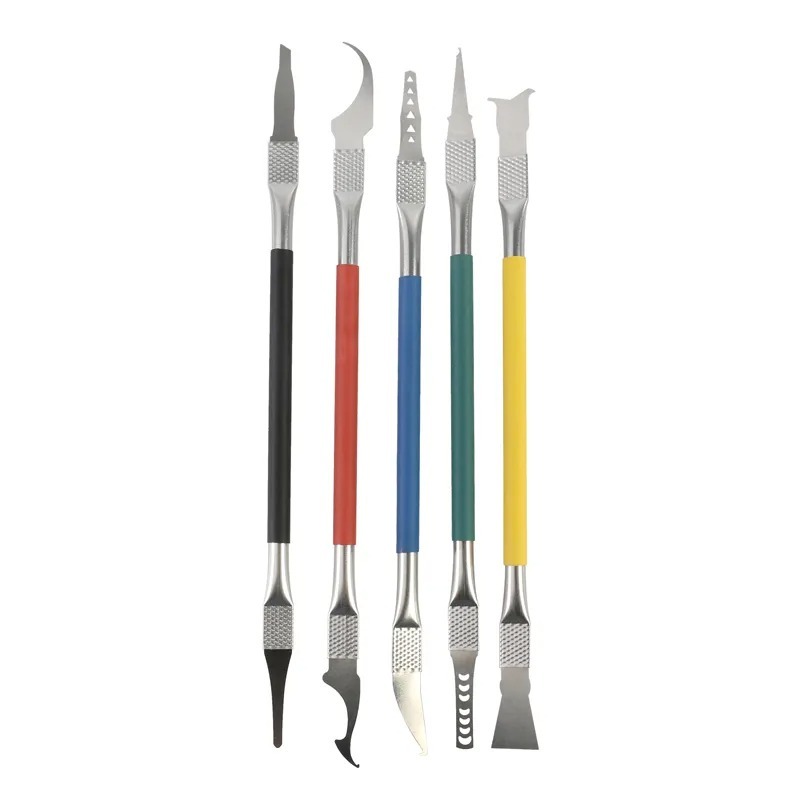
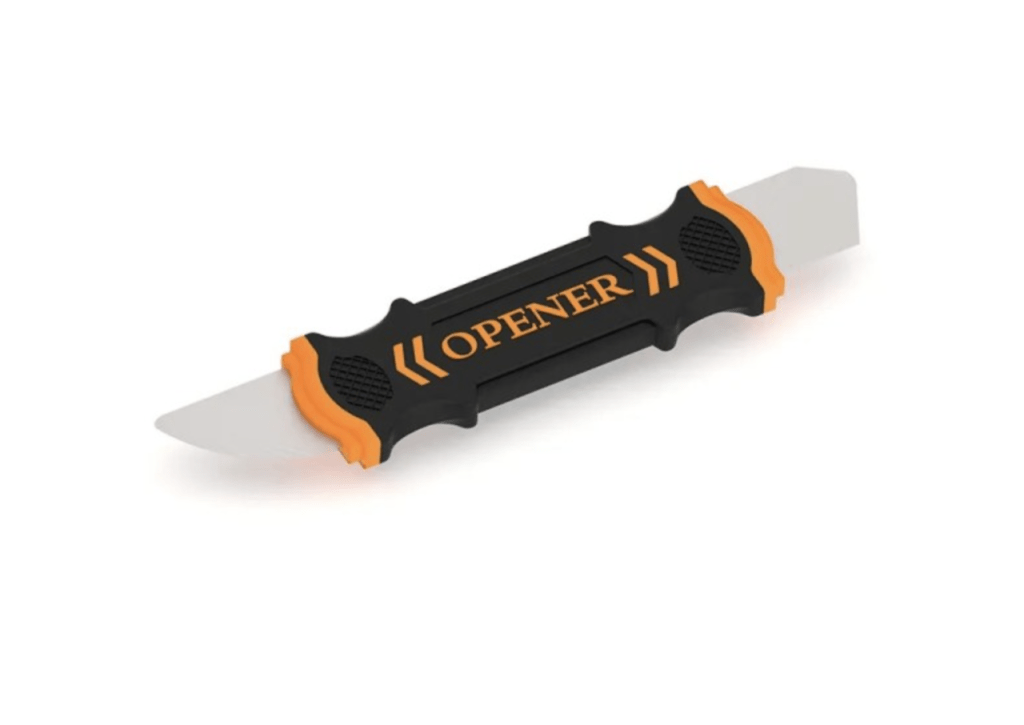
- Plastic pry tool: safely lifts internal connectors and corner pieces.
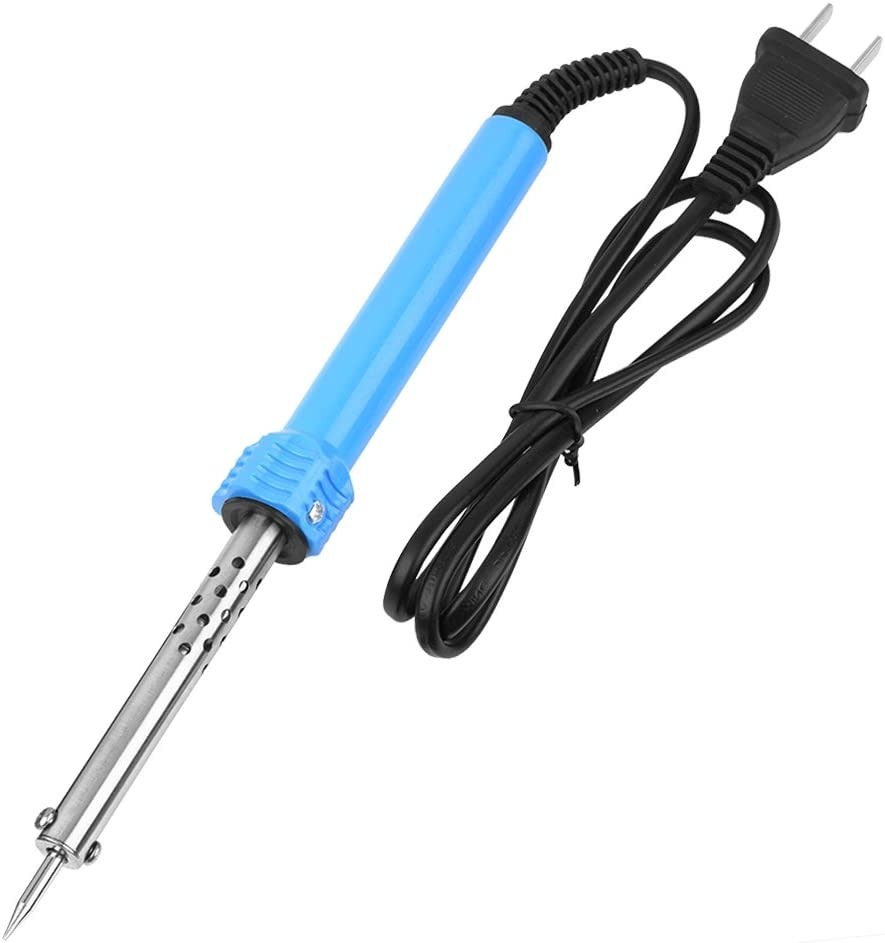
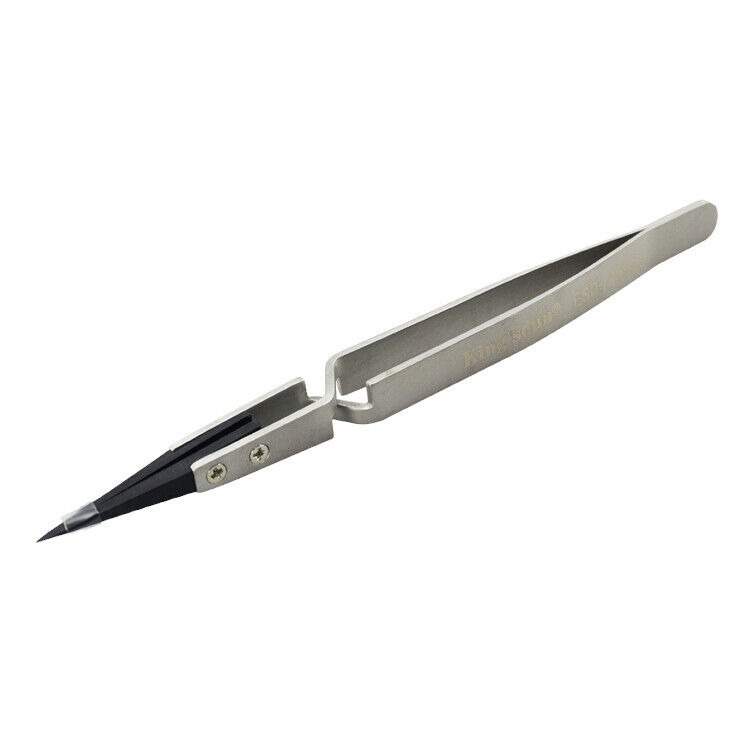
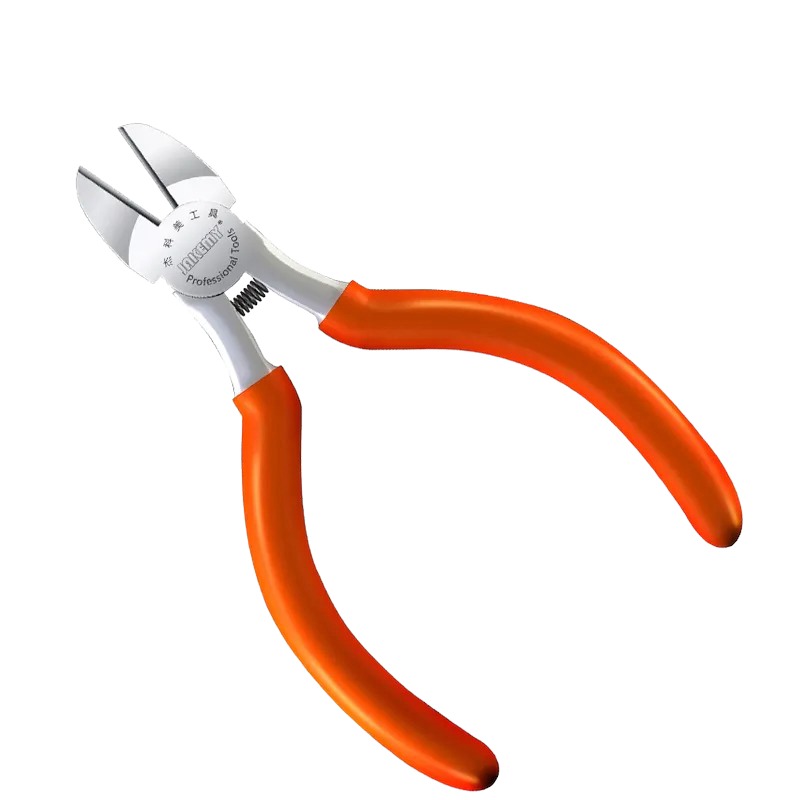
- Flush cutters: necessary for individually cutting the tiny plastic rivets holding the keyboard.
Get the Exact Tools Used by Our Techs:
⚠️ Before you start: Disconnect the battery before you touch any connector. Work on an anti-static mat and keep each group of screws organized, as this repair removes nearly every internal component.
Phase 1: Teardown & Component Removal
Because the parts for an NBL-WAP9R keyboard and battery replacement sit at the very bottom of the top case, everything else has to come out first.
Step 1: Remove the Back Plate
The Huawei MateBook uses standard fasteners for its exterior shell.
- Remove all of the T5 screws securing the back plate.
- Lift the plate away to expose the internals.
Step 2: Disconnect the Old Battery
Like any computer repair, isolating power is the very first internal step.
- Locate the battery connector attached to the motherboard.
- Pull back on both clips on the right and left sides of the connector.
- Pop the connector up and lift the old battery out of the chassis.

Step 3: Remove All Internal Hardware
The entire internal assembly blocks access to the keyboard’s metal shield.
- Disconnect and remove the daughterboard.
- Unscrew and remove the main motherboard and the SSD.
- Remove the speakers and set all components safely aside.

Phase 2: Removing the Old Keyboard (The Hard Part)
This is the most tiresome part of the NBL-WAP9R keyboard and battery replacement; the keyboard is locked down by melted plastic nibs rather than traditional screws.
Step 1: Cut the Plastic Connectors
Using your flush cutters or a sharp pry tool, you have to break the factory seal.
- Locate the tiny plastic rivets securing the metal backplate over the keyboard.
- Cut every single rivet individually.
Step 2: Lift the Metal Backplate
Once the rivets are cut, there are still a few standard fasteners holding the plate.
- Remove the three screws scattered around the backplate.
- Use your plastic pry tool gently around every corner to separate the plate from the chassis.

TekDep Expert Warning: Do not damage or bend this metal plate during removal. Once you put everything back in, this plate is very important for the overall structural integrity of the keyboard. Be patient.
Step 3: Peel Away the Keyboard
With the plate gone, peel apart the corners of the old keyboard and lift it entirely out of the top case.

Huawei Matebook parts we removed in this guide:


Phase 3: Installing the New Keyboard
Your new NBL-WAP9R keyboard and battery replacement starts coming together here.
Step 1: Seat the New Keyboard
- Take the adhesive backing off the new keyboard and fold it up.
- Drop the keyboard into the top case, ensuring it stays secure.
Step 2: Reinstall the Metal Backplate
Start with the top edge when reinstalling the plate. As you screw the motherboard and side pieces back in during the next phase, those connections will fold down the keyboard onto the top case, acting as anchors to replace the rivets you cut.

Phase 4: Reassembly & New Battery
Reinstalling the main components restores the laptop’s structural tension.
Step 1: Reinstall the Internal Components
- Seat the display and reconnect the power button.
- Install the daughterboard, motherboard, and SSD exactly as they were removed.
Step 2: Install the New Battery and Back Cover
- Drop the new battery into place and secure its connector into the motherboard.
- Lay the bottom plate back onto the chassis and reinstall the T5 screws.

Step 3: Power Test
Open the laptop and give it a little bit of charge. Verify the new NBL-WAP9R keyboard and battery function properly by testing every key and checking the charge.
Congratulations! You have successfully completed the NBL-WAP9R keyboard and battery replacement on your Huawei MateBook D 14.
🛑 Not Comfortable Handling Plastic Rivets? If reading about hidden screws and delicate pull-tabs has you second-guessing your DIY skills, don’t worry. The TEKDEP experts are here to help.
We offer clean, professional, and affordable Mail-In repair services for the entire Huawei MateBook lineup.
Frequently Asked Questions
Is it hard to do an NBL-WAP9R keyboard and battery replacement?
Yes, swapping the keyboard is a very tedious process. It requires taking out all of the internal components and individually cutting dozens of tiny plastic rivets to release the keyboard backplate.
Why are parts for the Huawei MateBook D 14 so hard to find?
Huawei is heavily restricted in the United States, meaning they cannot sell parts through normal channels. You generally have to rely on specialized suppliers like TEKDEP to source compatible replacements.
What tools do I need to remove the keyboard backplate?
The keyboard backplate is held by three standard screws and numerous plastic rivets. You will need a T5 Torx screwdriver, a plastic pry tool, and a set of flush cutters or a sharp blade to cut the rivet heads.
How long does this keyboard and battery replacement typically take?
For an intermediate DIYer, expect to spend between 1.5 to 2.5 hours on this repair. The most time-consuming steps are carefully removing all of the internal components and individually cutting the dozens of plastic rivets without bending the metal backplate.
🛑 IMPORTANT: SAFETY & LIABILITY DISCLAIMER TEKDEP®️ TEKDEP.com assumes no liability for property damage or injury incurred as a result of any information in this blog post or associated videos. Dealing with internal computer components, specifically Lithium-Ion batteries, carries inherent risks including fire, toxic gas exposure, and irreversible device failure. Any injury, damage, or loss from improper use of tools, mishandling of components, or misinterpretation of this information is the sole responsibility of the user. Perform repairs at your own risk. If you are unsure of your capabilities, please utilize our professional Mail-In Repair Service.