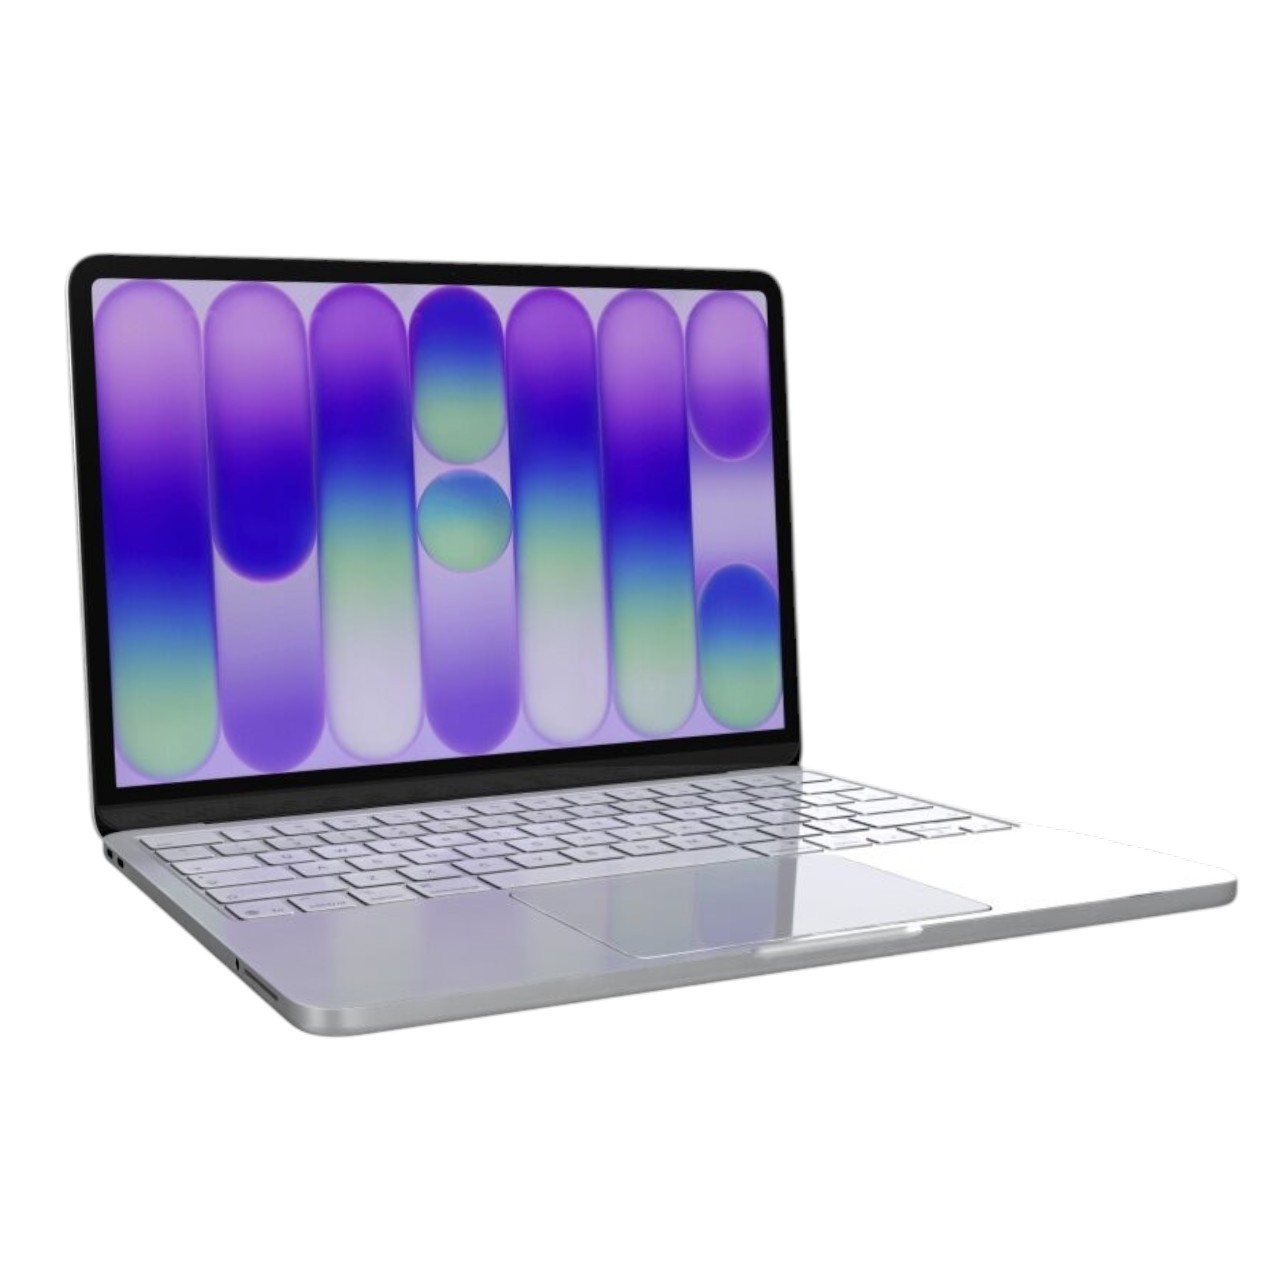



































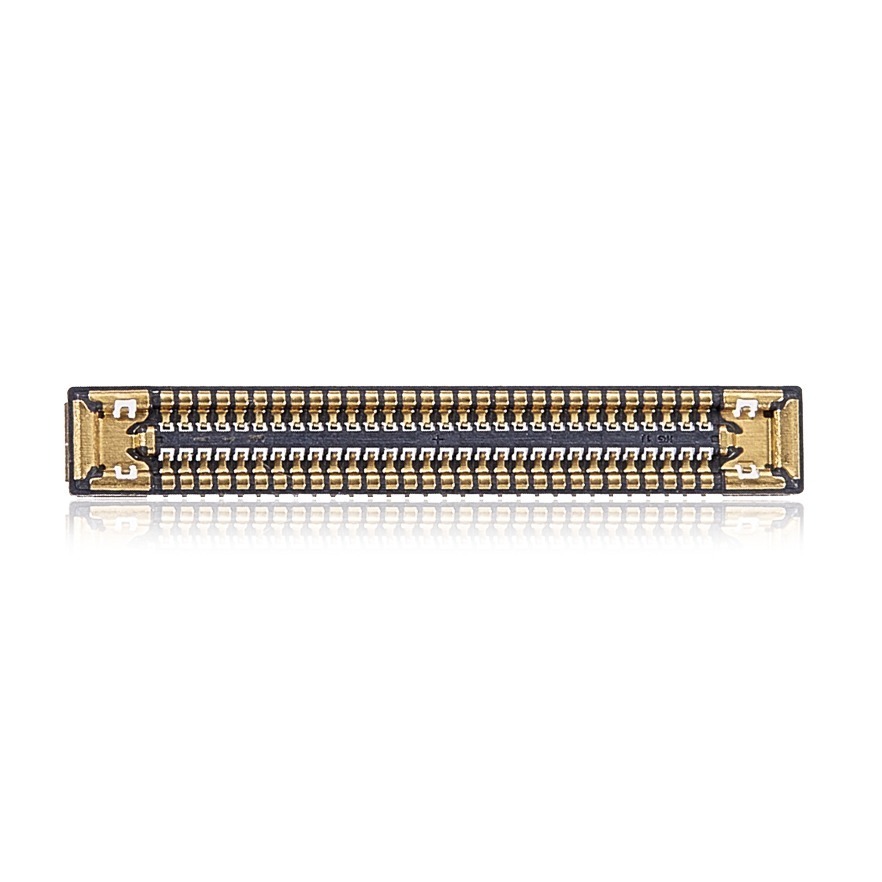


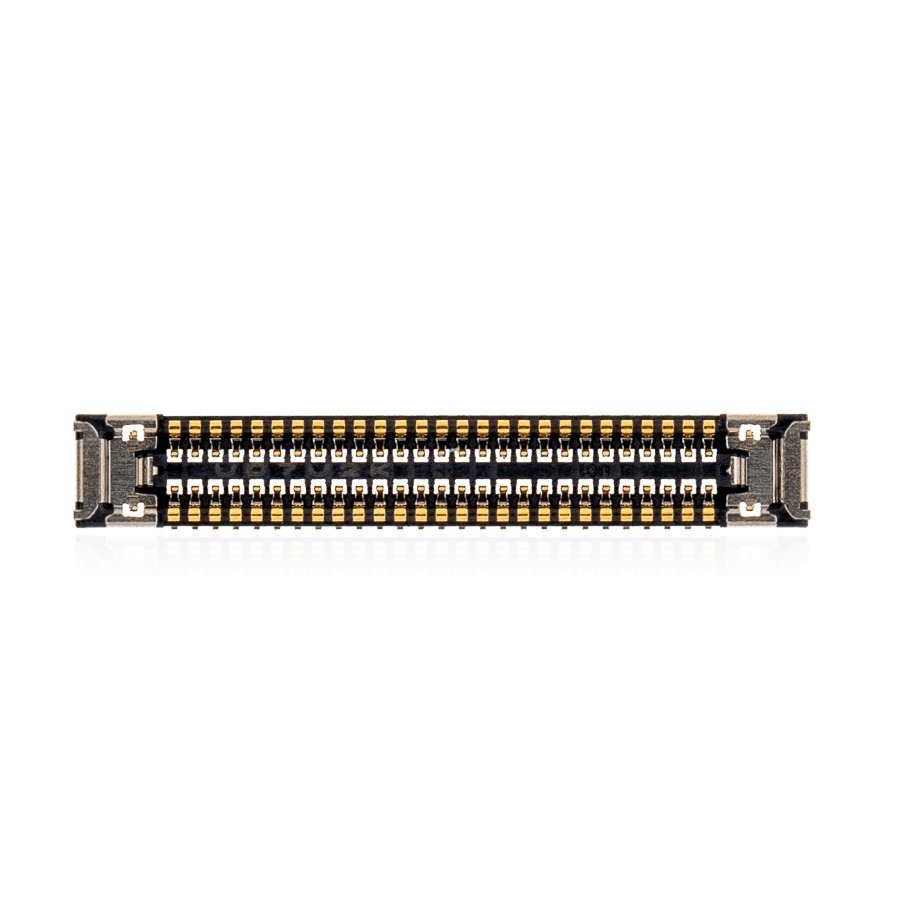
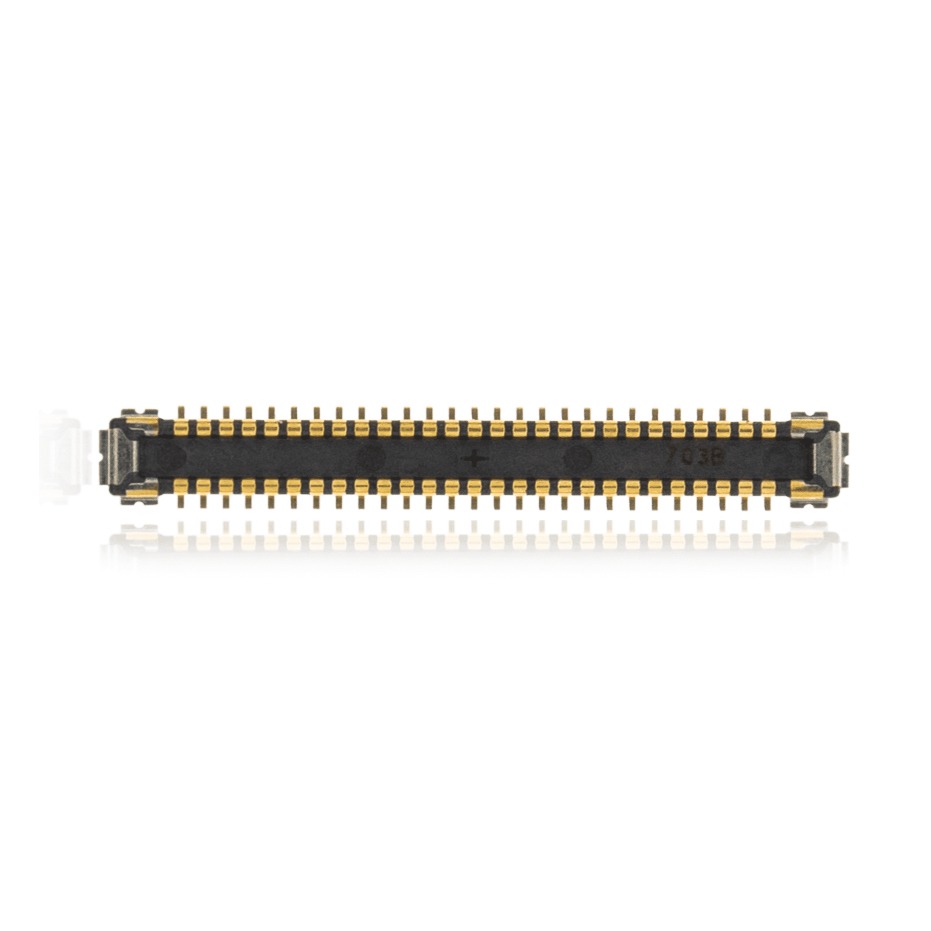
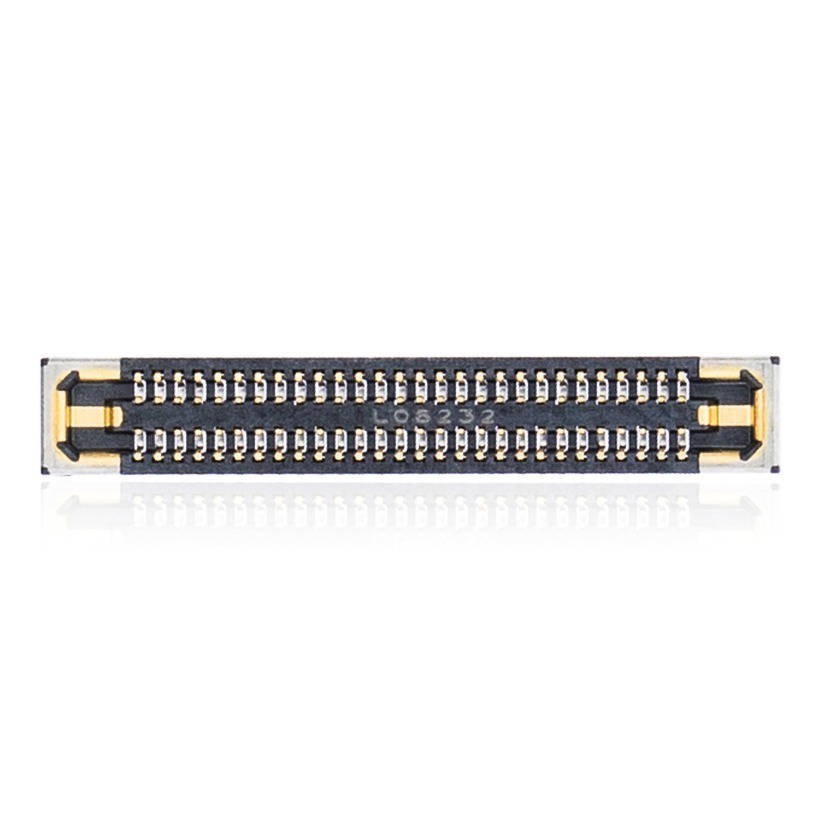




Model: 2024 MacBook Pro 14-inch M4 (A3112) | Level: Beginner | Tools: Pentalobe 1.2, Pentalobe 0.8, T3 Torx, T5 Torx, T8 Torx, plastic pry tool. This guide covers A3112 screen replacement for the MacBook Pro 14-inch M4 model.
Currently, an exact A3112 screen replacement is the only reliable way to fix a cracked display on the newest M4 MacBook Pro. While taking apart a new Mac can feel intimidating, the internal layout is, in fact, surprisingly straightforward
Replacing the entire display assembly will easily fix a shattered screen, dead pixels, vertical lines, or a broken backlight.
Our TEKDEP experts walk you through the entire repair process, including the critical battery discharge step. Let’s get started.
How to Replace the A3112 Screen (Quick Overview)
- Remove the eight backplate screws and pop the internal clips.
- Disconnect the battery and hold the power button to drain the logic board.
- Undo the tiny antenna screws and free the sleep sensor.
- Remove the six T8 hinge screws and separate the broken display.
- Slide the new LCD under the top case and secure the hinges.
- Reconnect the display cables carefully without bending the pins.
- Hook the battery flex cable into place and test the power.
🛠️ Required Tools & Preparation
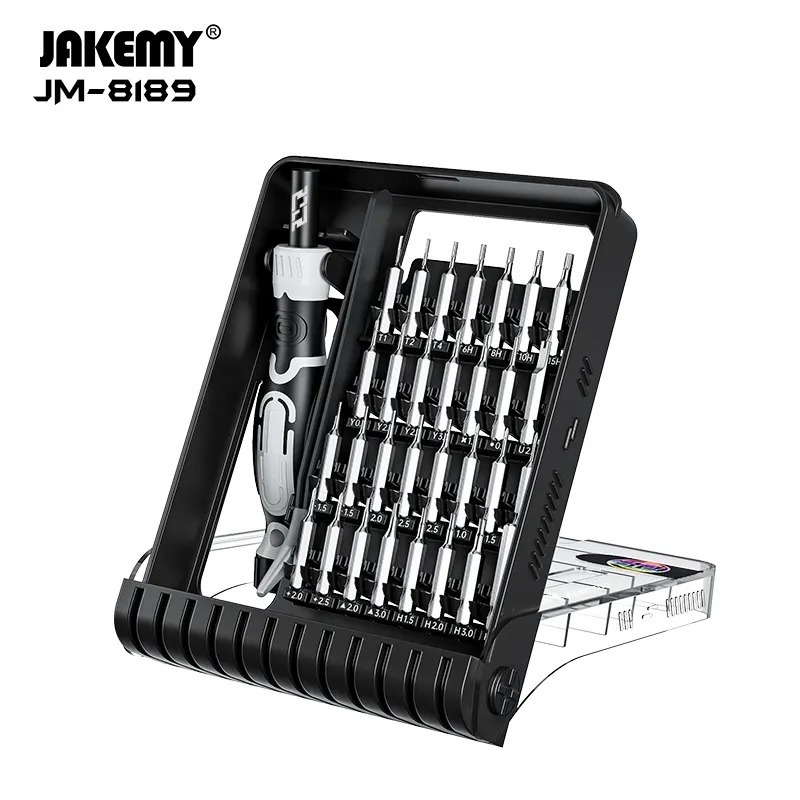
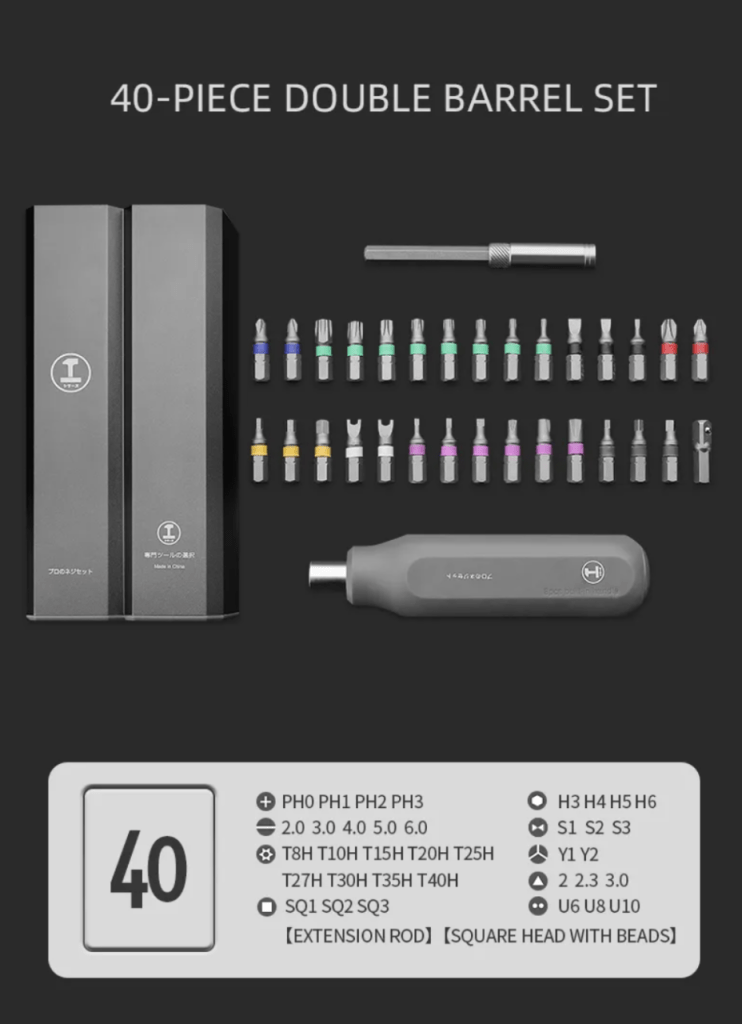
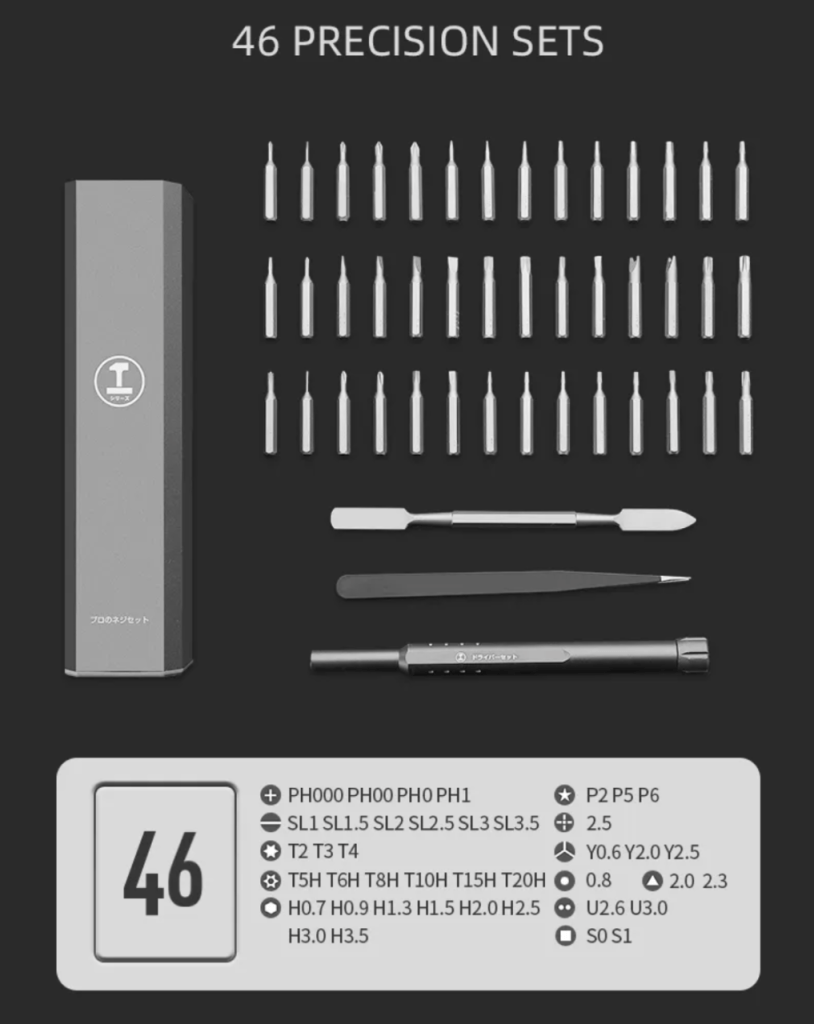
An A3112 screen swap requires a precision bit set; power off and unplug first.
- Pentalobe 1.2 (P5) bit: removes the outer backplate screws.
- Pentalobe 0.8 (P2) bit: handles the incredibly small Wi-Fi antenna screws.
- T3, T5, and T8 Torx bits: for the battery flex, antenna covers, and main display hinges.
- Plastic pry tool: safely lifts delicate flex cables and unclips the backplate.
Get the Exact Tools Used by Our Techs:
-
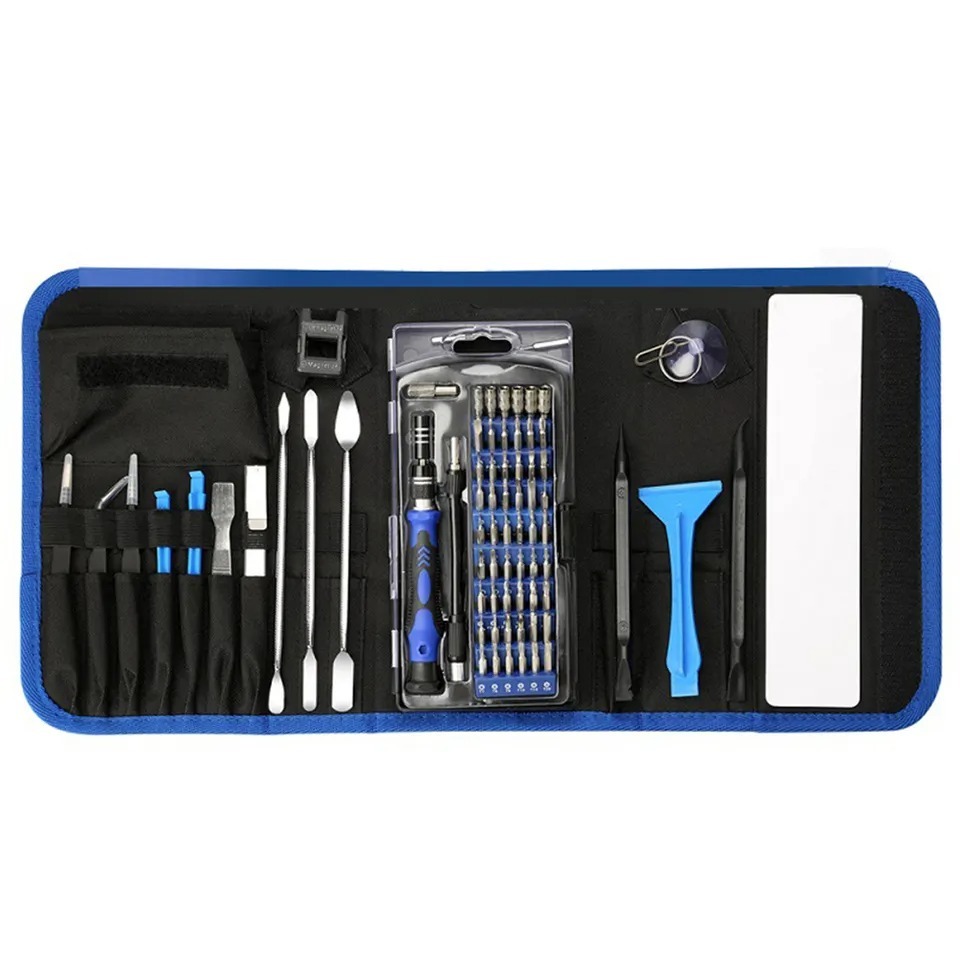
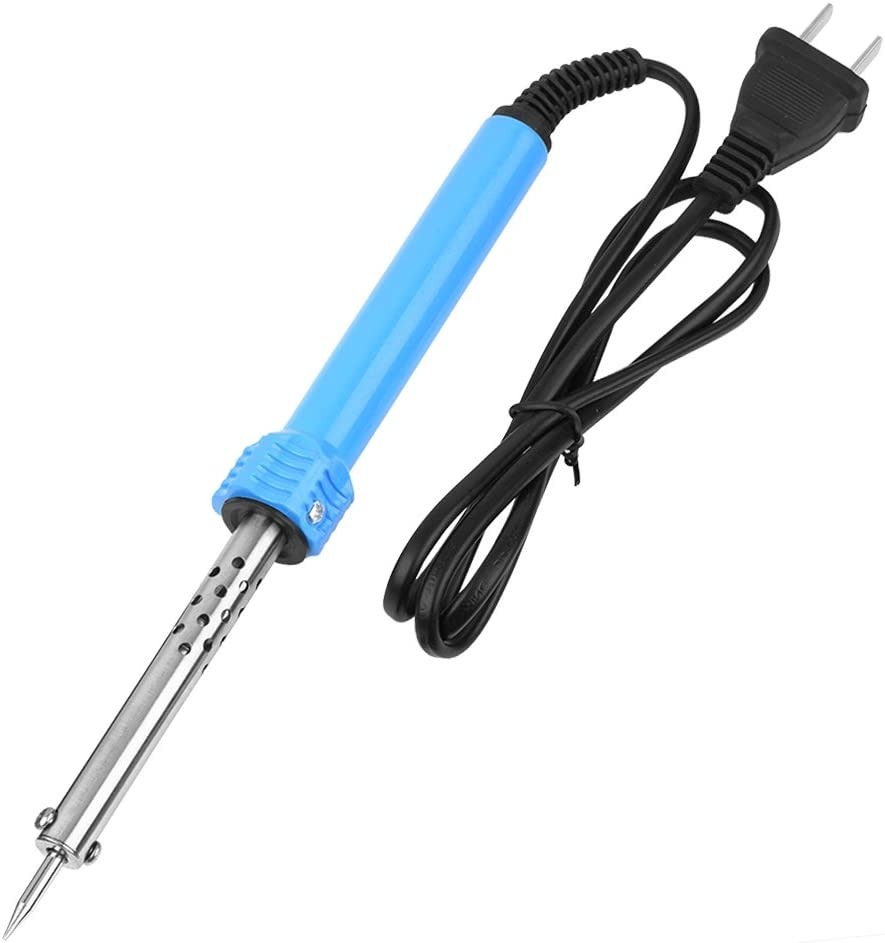
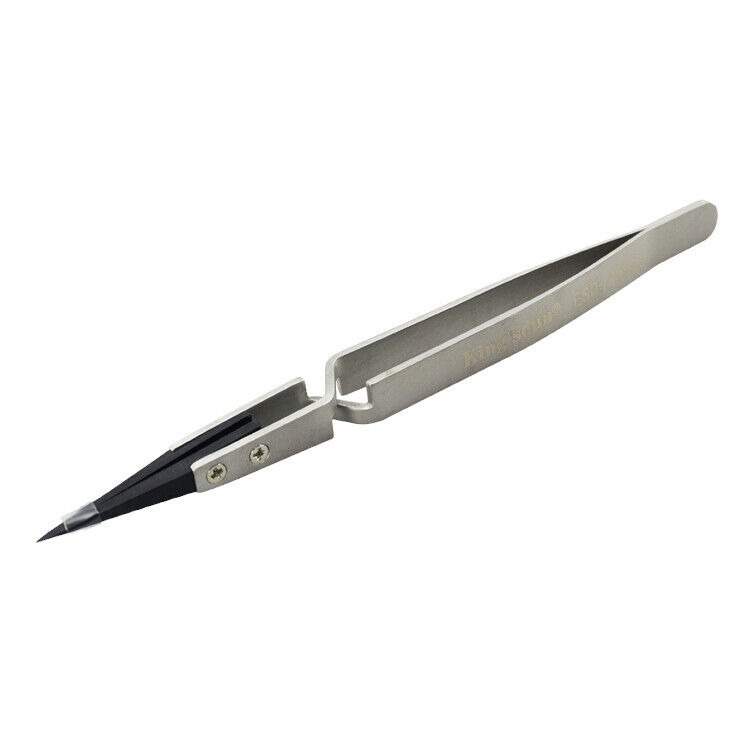
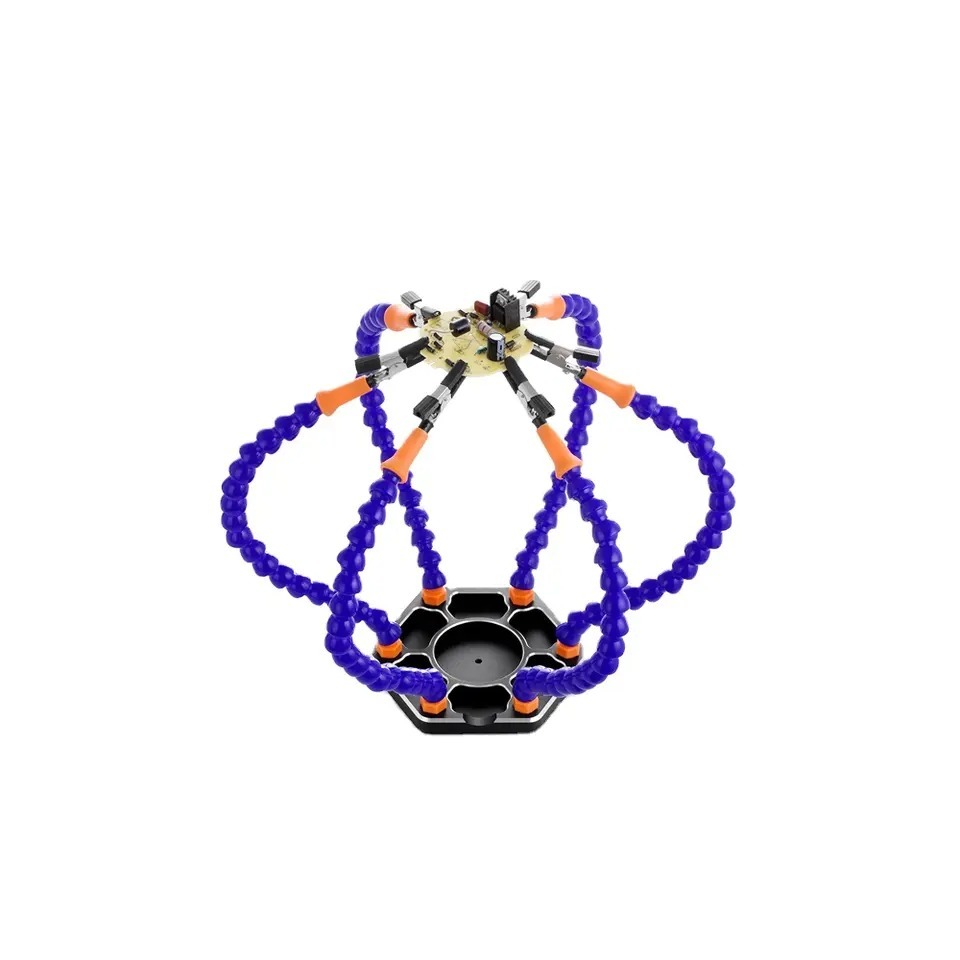
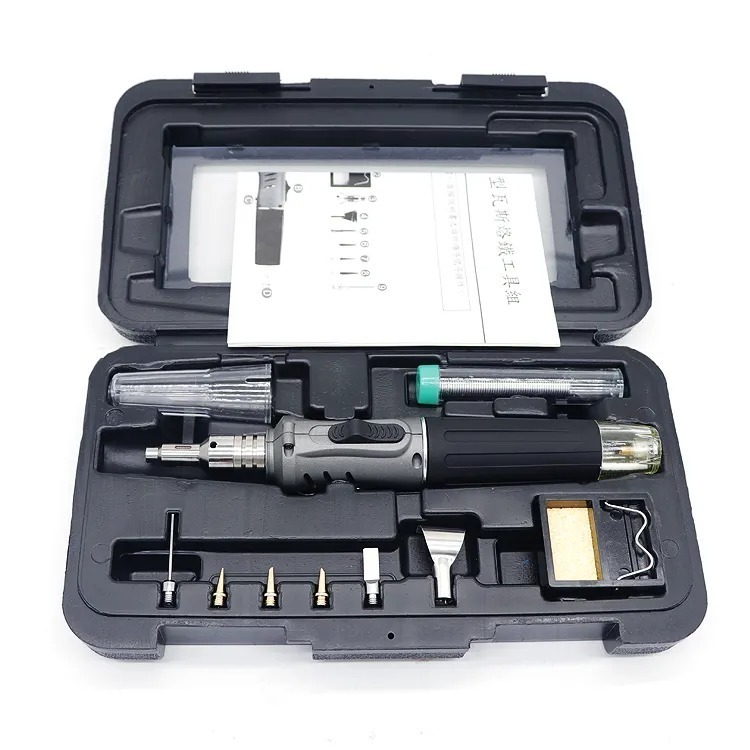
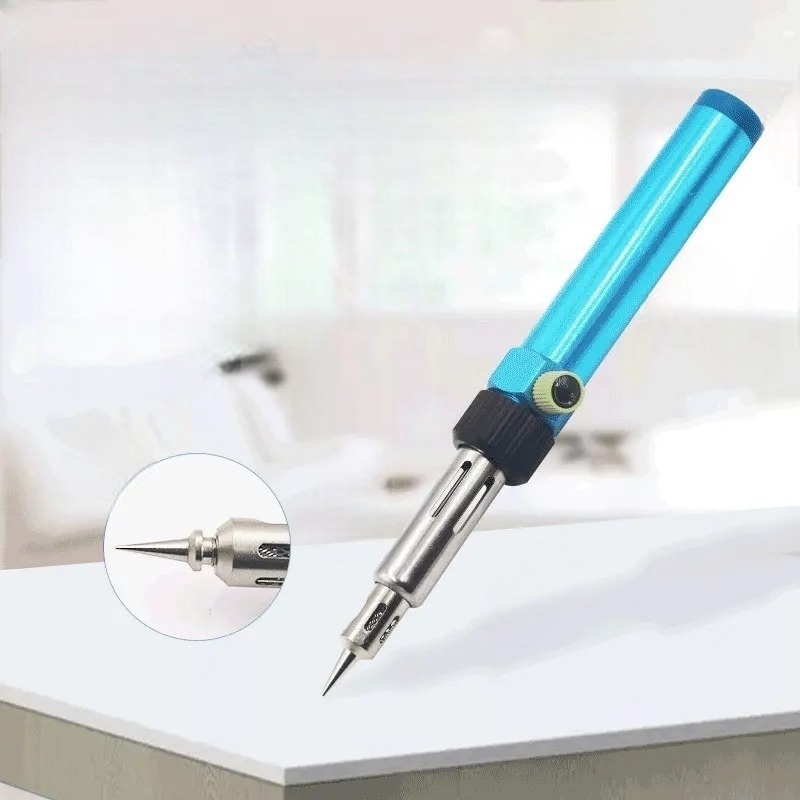
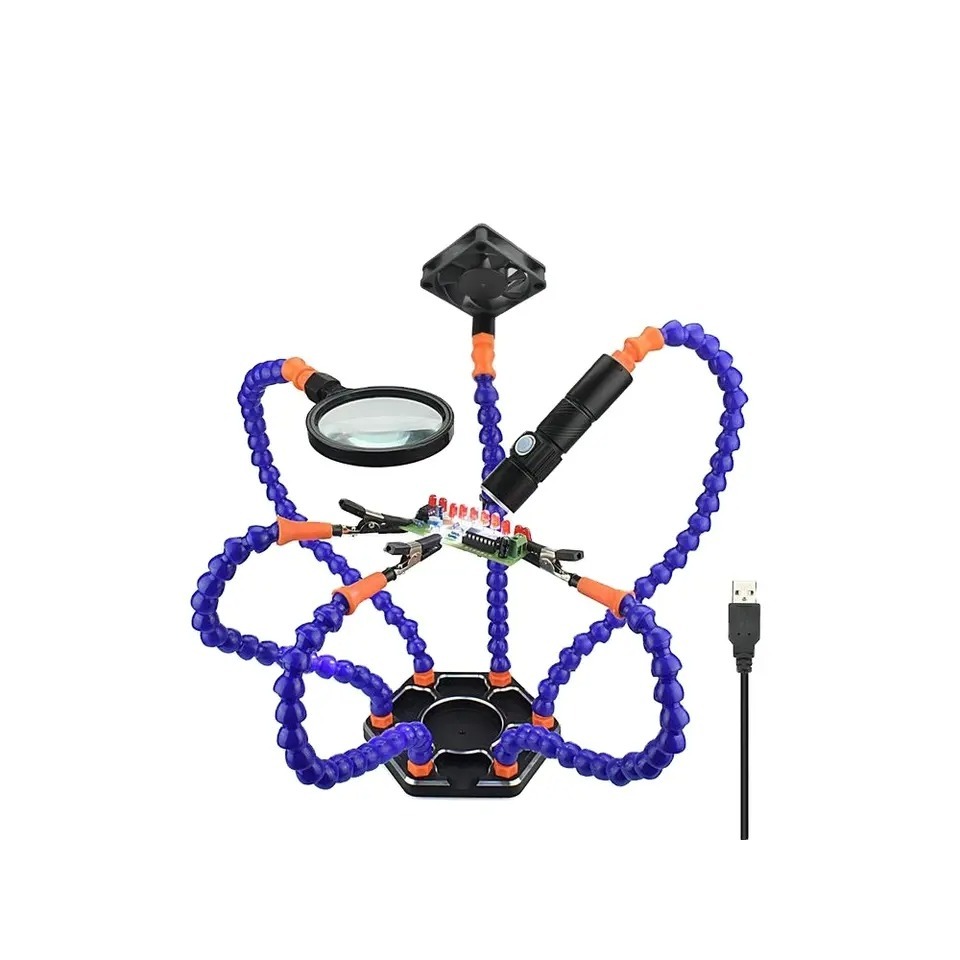
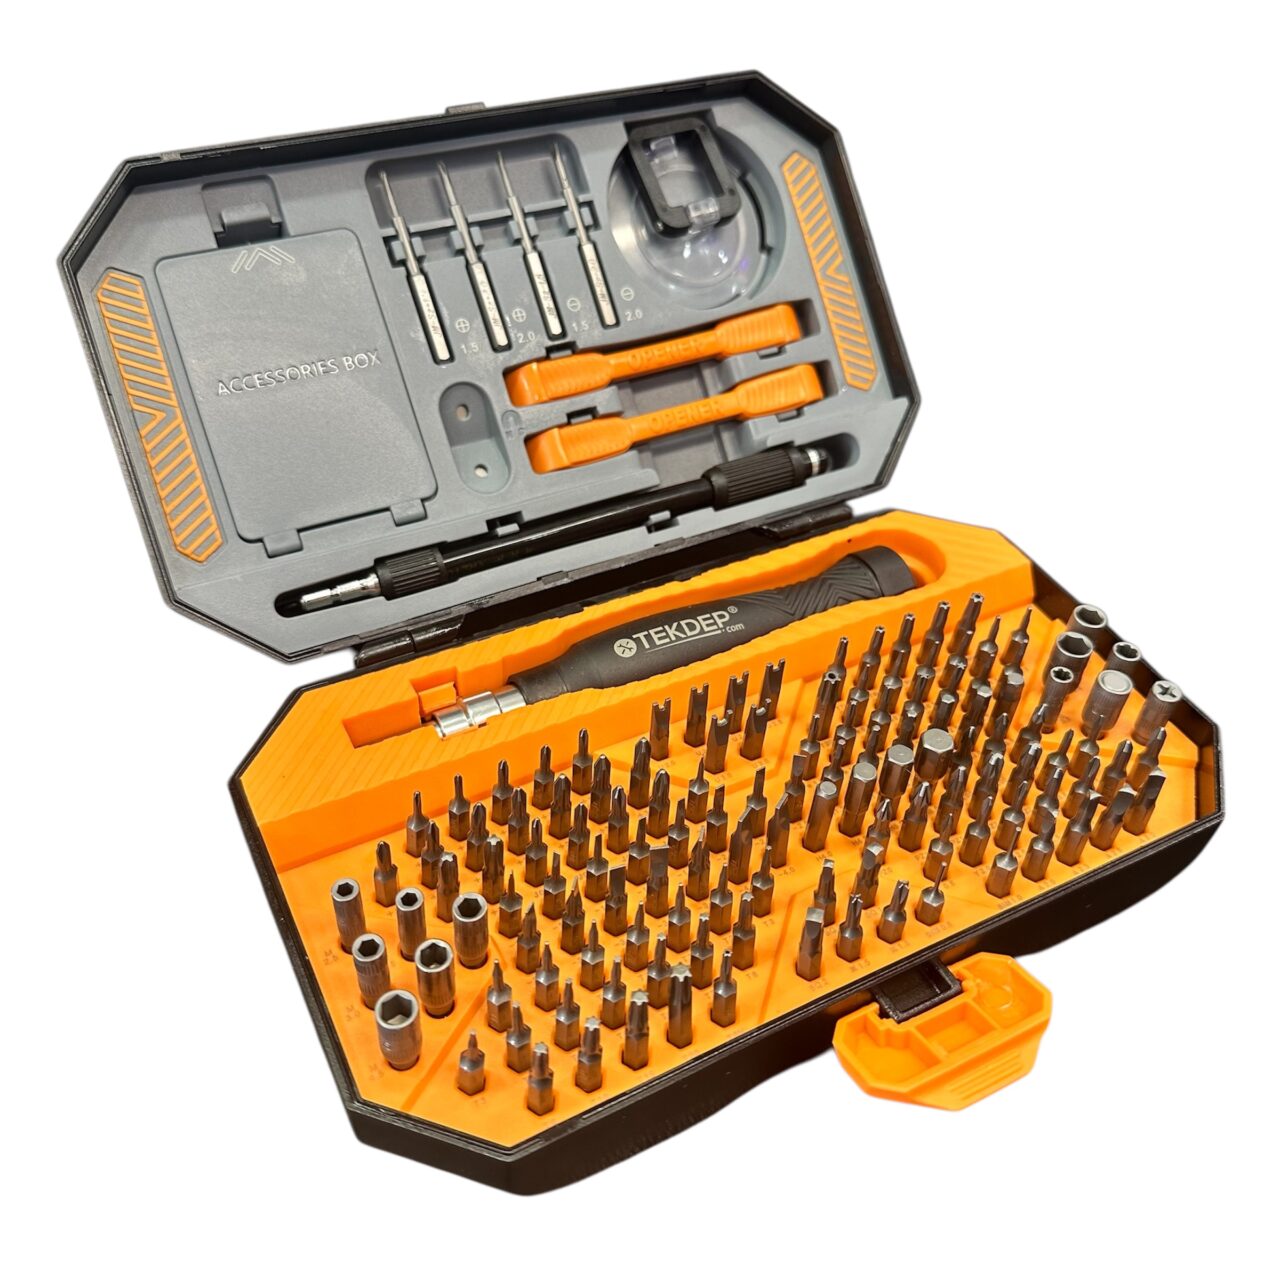
TEKDEP Professional Tool Set 145-in-1 For Electronics, iPhone, Laptop, PC Repairs
-
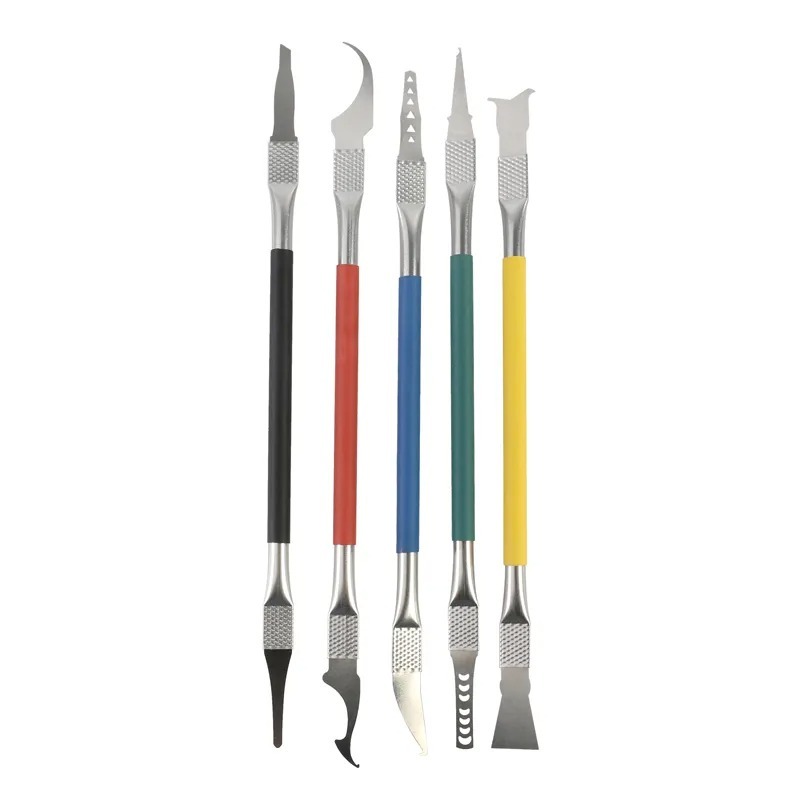
9 in 1 Disassemble Multi Opening Repair Tools Kit Metal Pry Bar
-
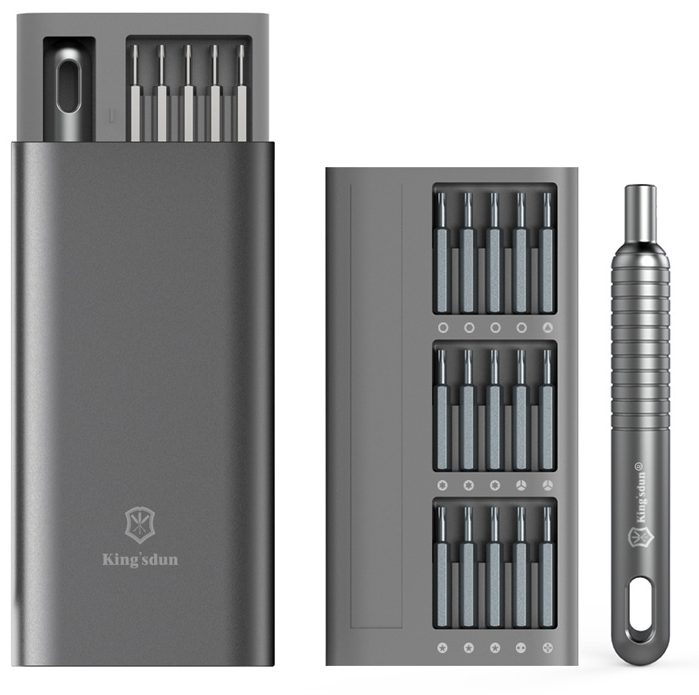
6 in 1 Steel Bit Precision Magnetic Screwdriver Tool Set with Case for Phone PC Electronics
-
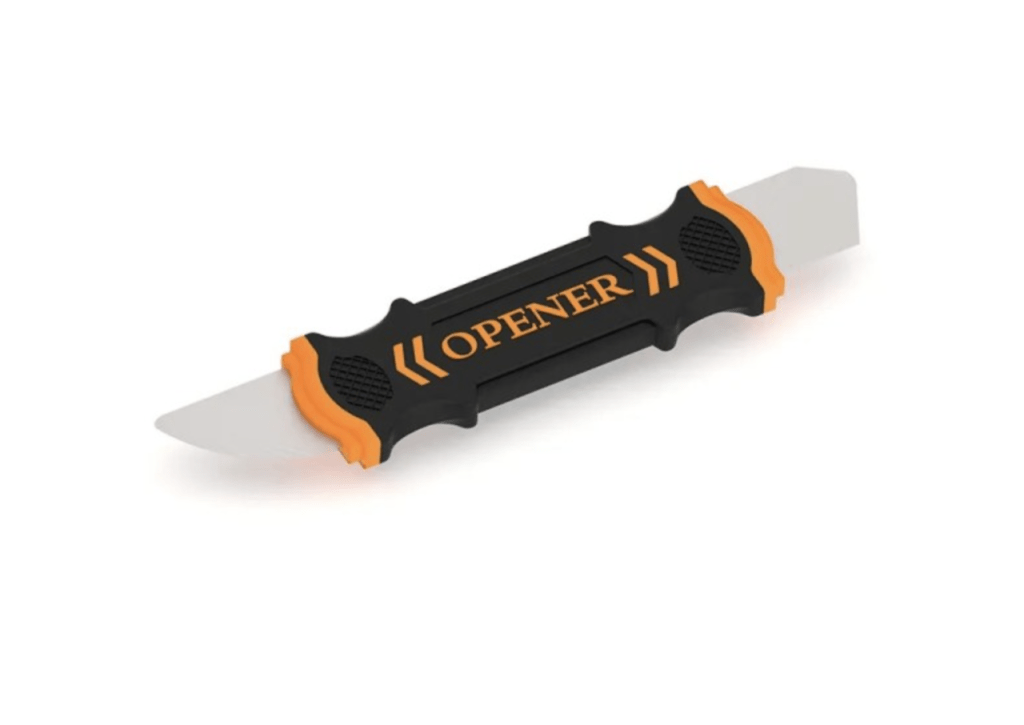
Flexible Pry Tool, Metal 2 Sided Screen Separator Electronics Repair Tool
Phase 1: Getting Inside for Your A3112 Screen Replacement
Crucially, before touching any display cables during your A3112 screen replacement, the logic board must be completely drained of electricity to prevent a short.
Step 1: Remove the Backplate
- First, use your Pentalobe 1.2 bit to remove the eight screws on the backplate (four on top, four on the bottom).
- Next, insert a plastic pry tool through the vent side and push up to pop the two internal clips.
- Finally, grab one side of the plate and push forward on the bottom with your thumb to slide it out.
Step 2: Disconnect the Battery Cables
The battery flex cable sits underneath the trackpad cable.
- First, take your T3 Torx driver and remove the trackpad flex cable cover, then disconnect it.
- Then, remove the battery flex cable cover underneath.
- Next, swap to a T5 Torx bit to remove the flat battery screw.
- Finally, flip up the connector to isolate the battery from the logic board.
Step 3: Discharge the Logic Board
To begin, open the laptop and hold down the power button for 10 seconds. As a result, this removes all leftover power from the board, making it safe to work on the display connections.

Phase 2: Removing the Broken Display During A3112 Screen Replacement
With the board safe, you can uncover the Wi-Fi antenna and hinge brackets.
1st Step: Uncover the Connections
- First, remove the two T5 screws on the right hinge and the middle antenna bracket.
- Next, swap to your T3 bit and remove the covers for the sleep sensor, camera, main LCD cable, and antenna cables.
- Finally, use your pry tool to gently pop off the sleep sensor, antenna connections, and the LCD cable.

2nd Step: Remove the Tiny Antenna Screws
- First, grab your Pentalobe 0.8 bit and carefully remove the nine tiny screws holding the antenna bar.
- Next, lift out the Wi-Fi and Bluetooth antenna.
- Finally, remove the two hinge protectors and flip up the LCD cables. Grab the protective padding underneath them.

TekDep Expert Warning: Keep track of those nine tiny screws throughout the A3112 screen replacement. They get pulled by the top case magnets.
3rd Step: Remove the Hinge Screws
- First, use a T8 Torx bit to remove the six large screws holding the hinges to the top case.
- Next, gently open the laptop so the display separates from the top case.
- Finally, pull the top case completely away from the broken LCD.

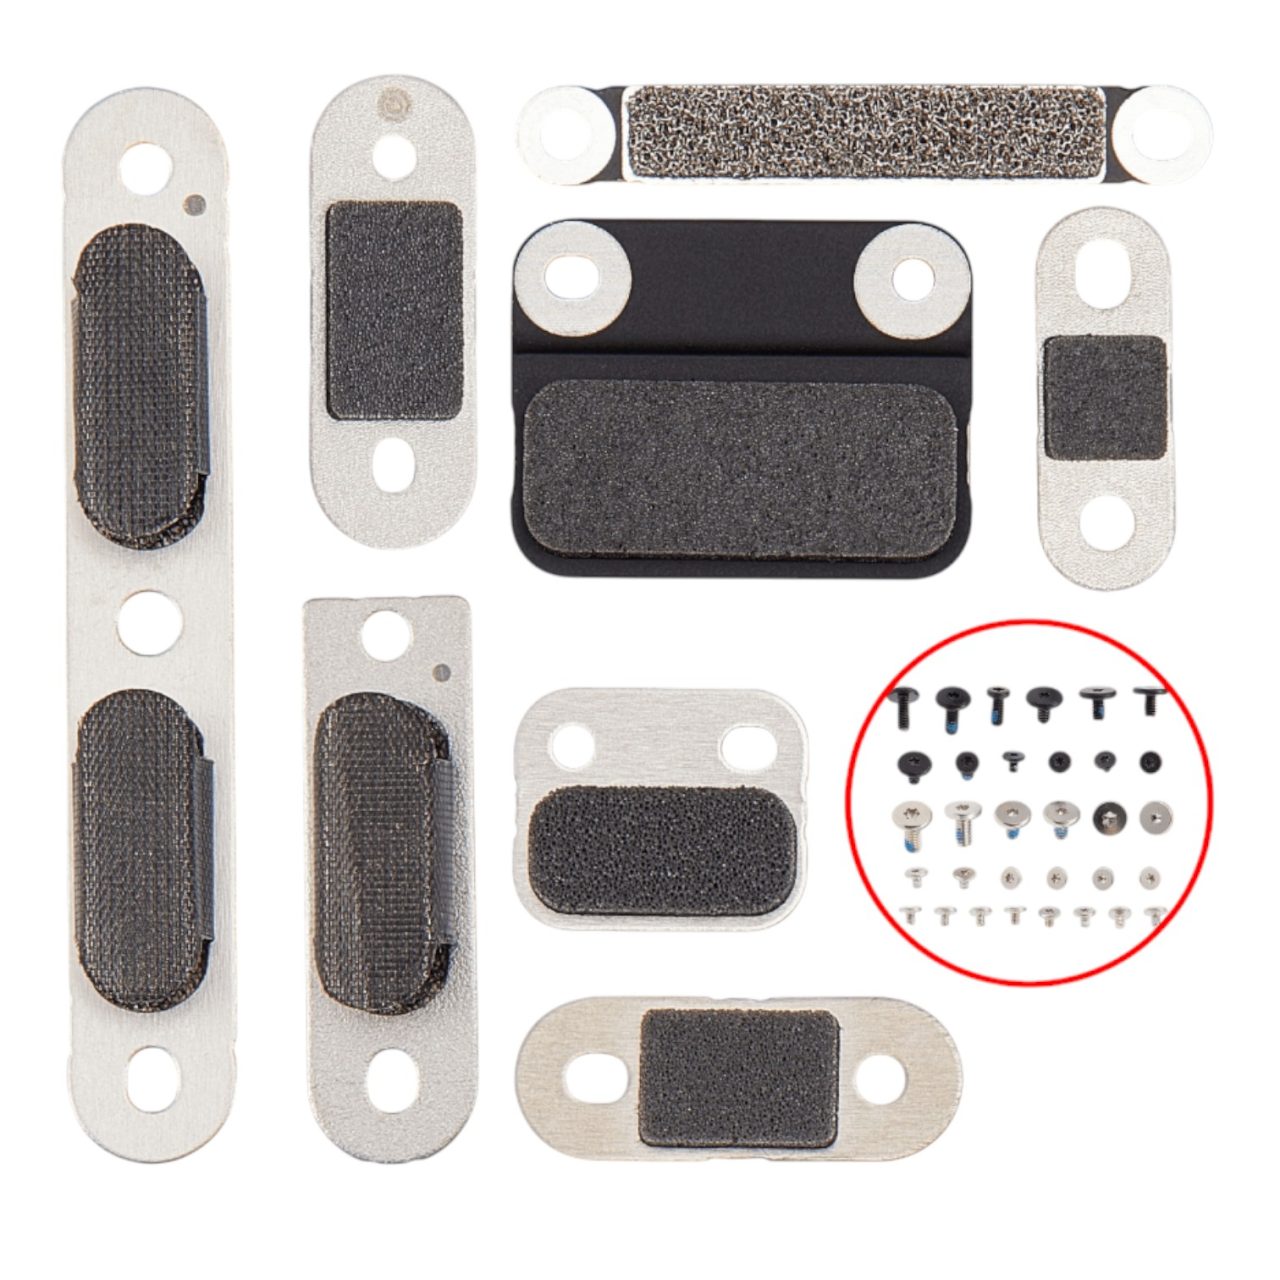
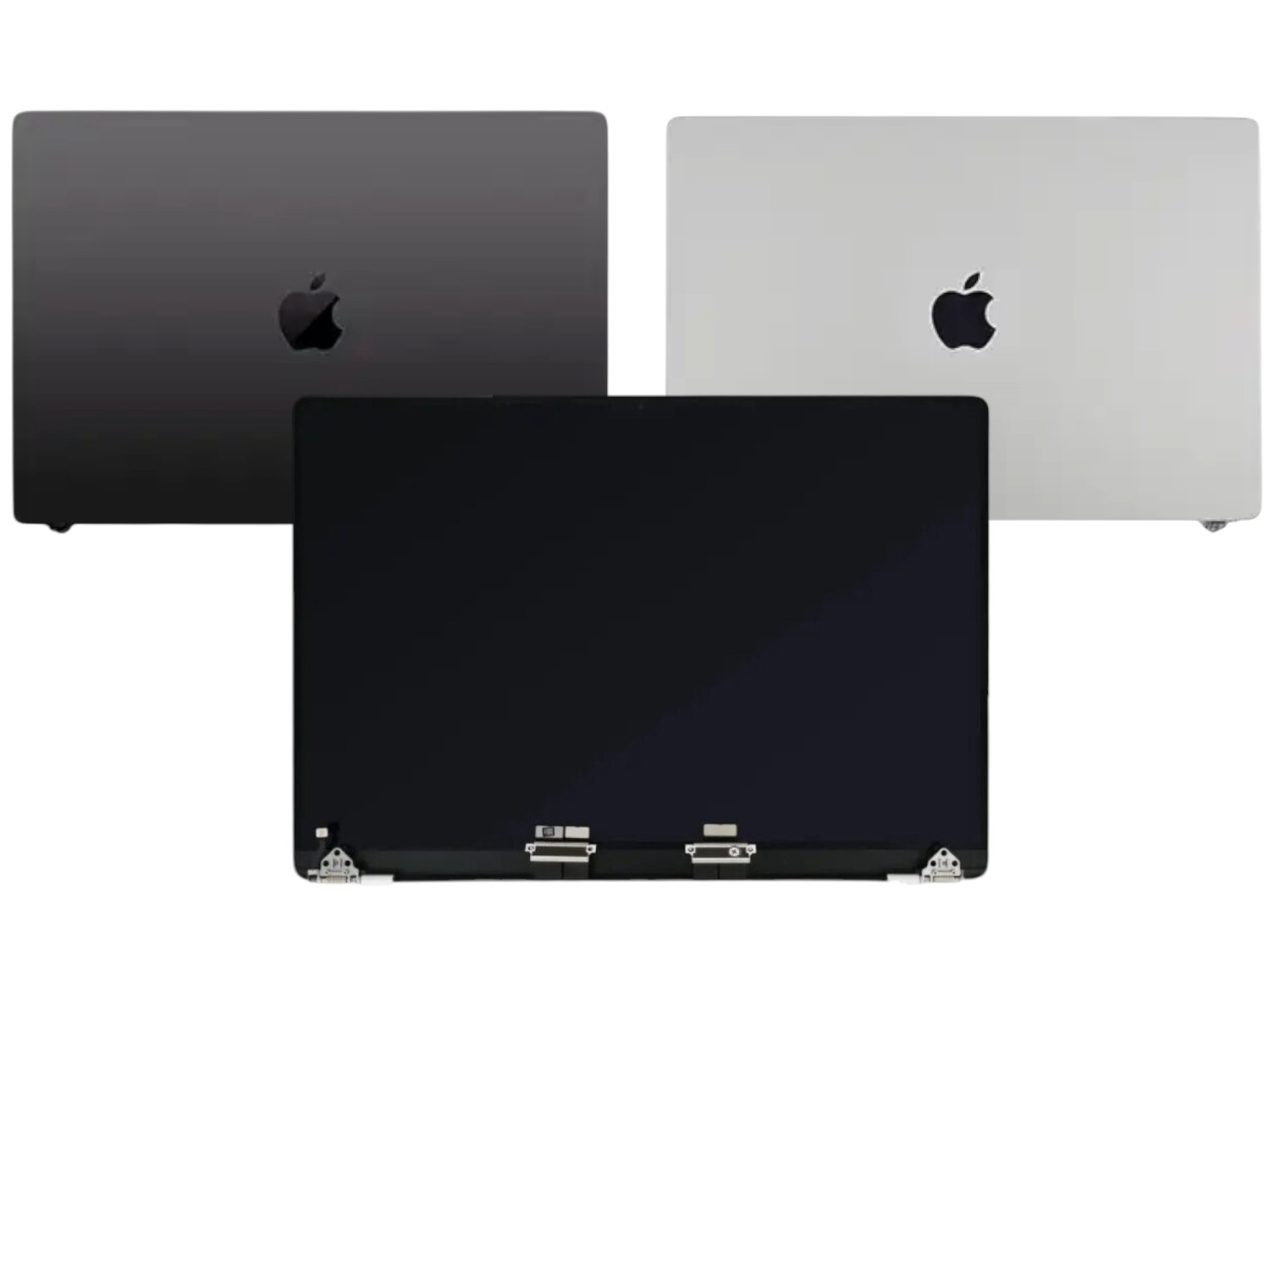
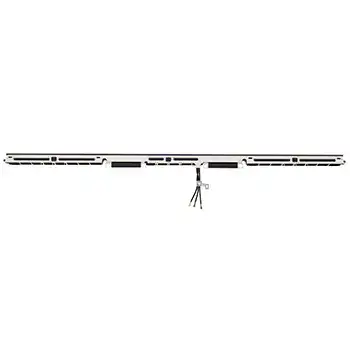
Shop the exact A3112 replacement parts featured in this repair guide:

Phase 3: Installing the New A3112 Screen Replacement
Mounting the new panel is simply a matter of sliding the chassis back into the hinges.
Step 1: Mount the New Display
- First, place the new LCD face down and slide the top case underneath the hinges.
- Then, fold the hinges down with your finger, ensuring the flex cables are not creased or pinched.
- Next, run your finger along the edges to confirm the display sits perfectly aligned with the case.
- Finally, install the six T8 hinge screws to secure the display.

Step 2: Reconnect the Display Cables
The main LCD flex cables have a row of fragile pins on the inside.
- First, seat the protective padding under the cables first (wider side facing the display).
- Then, reinstall the hinge protectors, followed by the Wi-Fi and Bluetooth antenna.
- Next, carefully position the LCD cables directly over their sockets. Do not force them. They should click in easily without much pressure.
- Then, reconnect the sleep sensor and the antenna cables.
- Finally, reinstall all securing brackets using your T3, T5, and Pentalobe 0.8 bits.

Step 3: Reconnect the Battery
The battery connector requires a specific angle to seat.
- Slide the battery flex cable under its lip and push it in until you can only see the very end of the gold contacts.
- Press down the clip to lock it into place.
- Reinstall the flat battery screw with your T5 bit.
- Reconnect the trackpad flex cable and secure it with the T3 screws.
Step 4: Close the Backplate and Test
To finish up, line up the backplate hinges, press forward until they slide in, and pop the two middle clips down. Afterward, secure the final eight Pentalobe 1.2 screws, plug the laptop in, and turn it on to verify the Apple logo appears.
Congratulations! You have successfully completed the A3112 screen replacement on your 2024 MacBook Pro M4.
🛑 Not Comfortable Handling Delicate LCD Cables? If reading about fragile pins and hidden screws has you second-guessing your DIY skills, don’t worry. The TEKDEP experts are here to help.
We offer clean, professional, and affordable Mail-In repair services for the entire Apple MacBook lineup.
A3112 Screen Replacement Frequently Asked Questions
Do I really need to hold the power button to discharge the MacBook?
Absolutely, this is mandatory. After all, the logic board holds leftover power even after the battery is disconnected. Therefore, if you touch a metal tool to the display pins while the board is charged, you will short the backlight circuit.
Is an A3112 screen replacement hard to do?
Surprisingly, no. Performing an A3112 screen replacement is very manageable because the M4 MacBook Pro is so modular. As long as you keep your tiny screws separated and you do not force the delicate display connectors into place, a beginner can successfully swap the panel with patience.
How do I avoid damaging the new display during installation?
First and foremost, account for all nine of your tiny Wi-Fi antenna screws. This is because the magnets around the display can pull a loose screw onto the top case, and closing the lid on a stray screw will immediately crack your brand-new glass.
Will I lose True Tone or get a display warning after the replacement?
Yes. Due to Apple’s parts pairing, a new display definitely triggers an “Unknown Part” warning and disables True Tone. The screen will function perfectly, but ultimately, restoring True Tone requires Apple’s calibration software
How long does it typically take to complete the A3112 screen replacement?
About 45 to 90 minutes for a beginner. The process is straightforward, but a clean, well-lit workspace is essential to organize the tiny screws and brackets without rushing.
🛑 IMPORTANT: SAFETY & LIABILITY DISCLAIMER TEKDEP®️ TEKDEP.com assumes no liability for property damage or injury incurred as a result of any information in this blog post or associated videos. Dealing with internal computer components, specifically Lithium-Ion batteries, carries inherent risks including fire, toxic gas exposure, and irreversible device failure. Any injury, damage, or loss from improper use of tools, mishandling of components, or misinterpretation of this information is the sole responsibility of the user. Perform repairs at your own risk. If you are unsure of your capabilities, please utilize our professional Mail-In Repair Service.