
































Model: Samsung Galaxy Book Pro 360 (NP950QDB) | Level: Intermediate | Tools: Phillips screwdriver, plastic pry tool, suction cup, precision tweezers. This guide covers a full Samsung Galaxy Book Pro teardown so you can follow each step with confidence.
A full Samsung Galaxy Book Pro 360 teardown reveals an incredibly compact layout. Because this 2-in-1 laptop is extremely thin and lightweight, taking it apart requires a very delicate touch to avoid snapping the chassis clips.
Whether you are opening the device to replace a degraded battery, upgrade the storage SSD, or perform advanced logic board micro-soldering, getting inside safely is the hardest part.
TEKDEP’s expert technicians walk you through the entire disassembly process. Let’s get started.
How to Perform a Galaxy Book Pro 360 Teardown (Quick Overview)
- Remove the rubber feet and hidden screws to free the bottom plate.
- Lift the backplate with a suction cup and unclip the edges.
- Disconnect the battery immediately to eliminate power from the logic board.
- Extract the left and right cooling fans by flipping the ribbon clips.
- Pop the speakers out of their clips from the front edges.
- Disconnect all flex cables and remove the motherboard along with the heatsink.
- Unscrew the hinges and separate the top case from the display assembly.
🛠️ Required Tools & Preparation
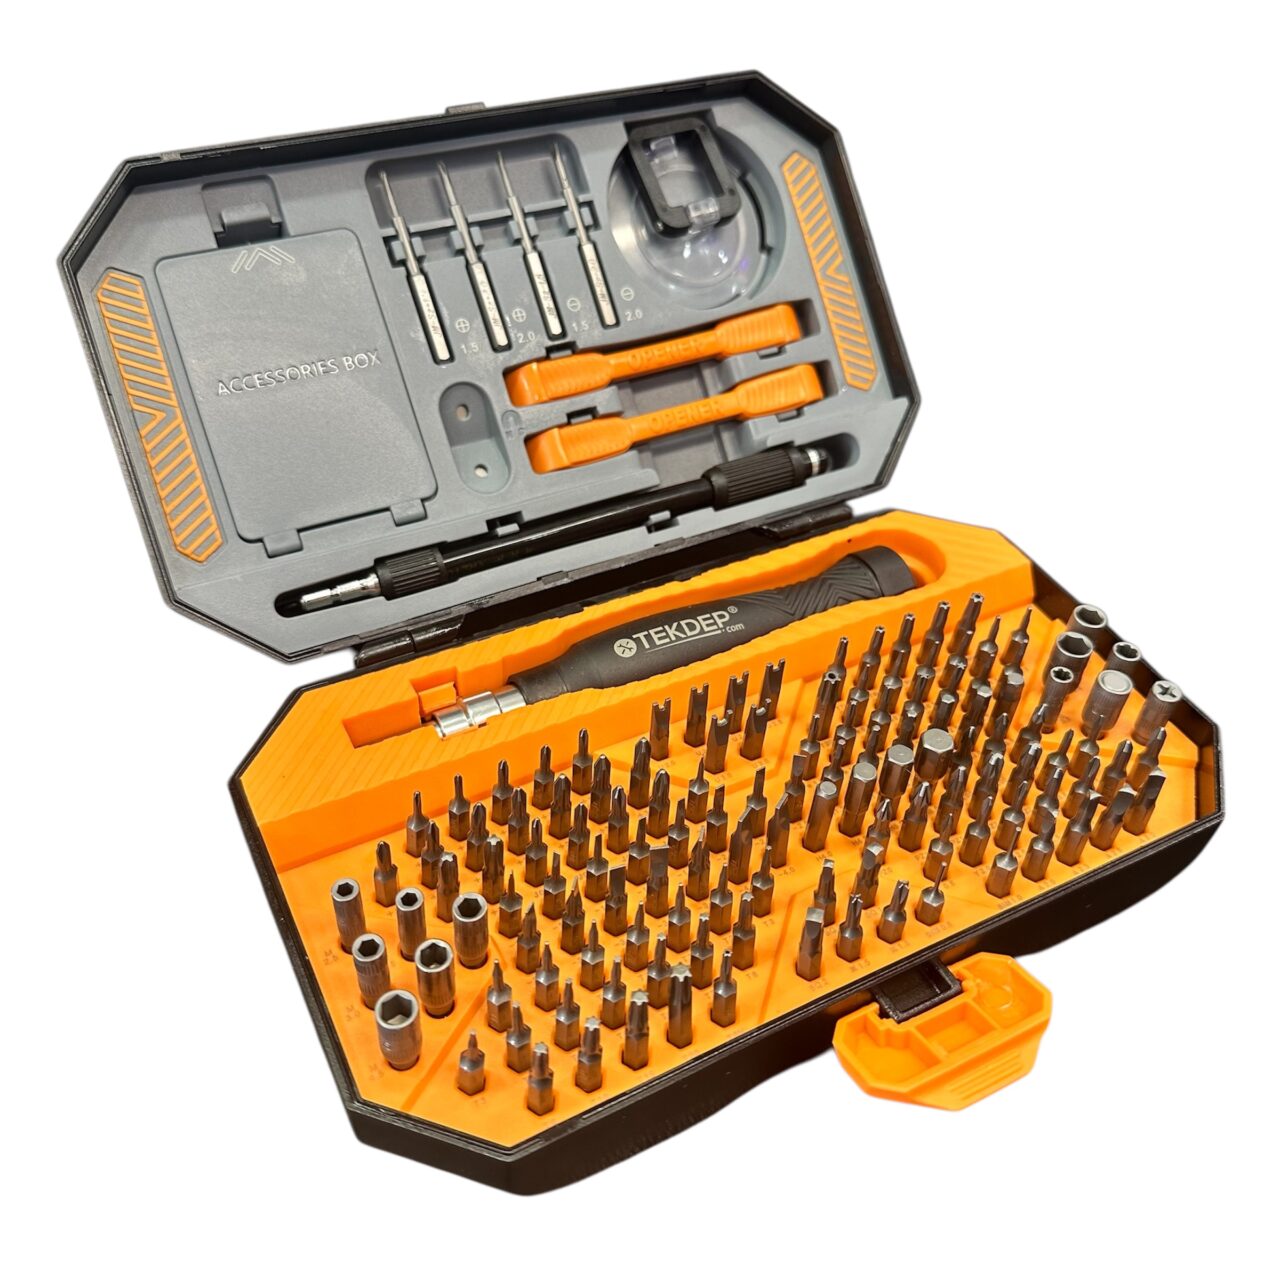
A safe NP950QDB disassembly requires a few basic tools; always power off and unplug the laptop first.
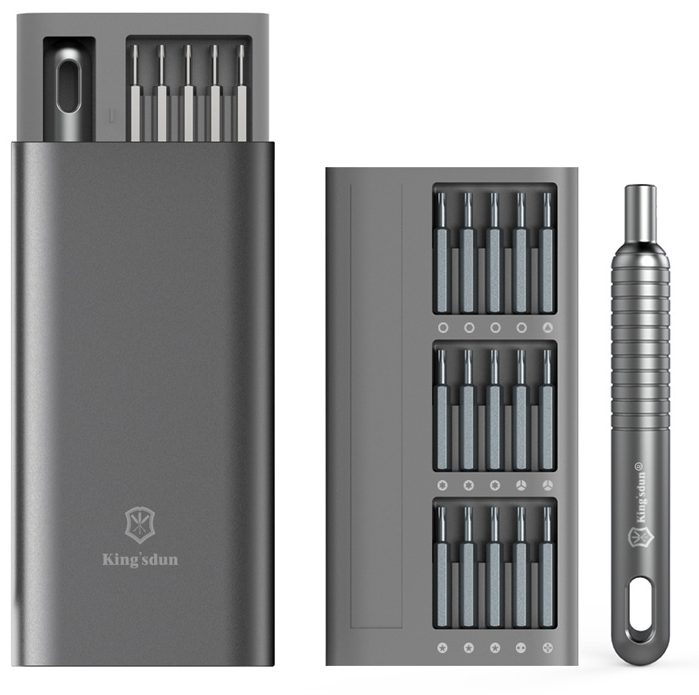
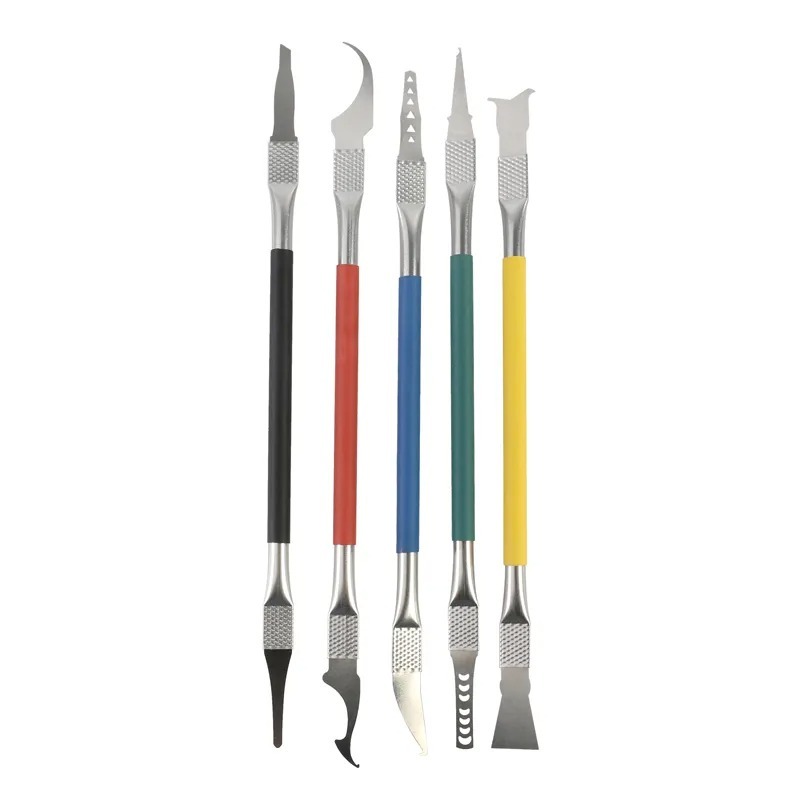
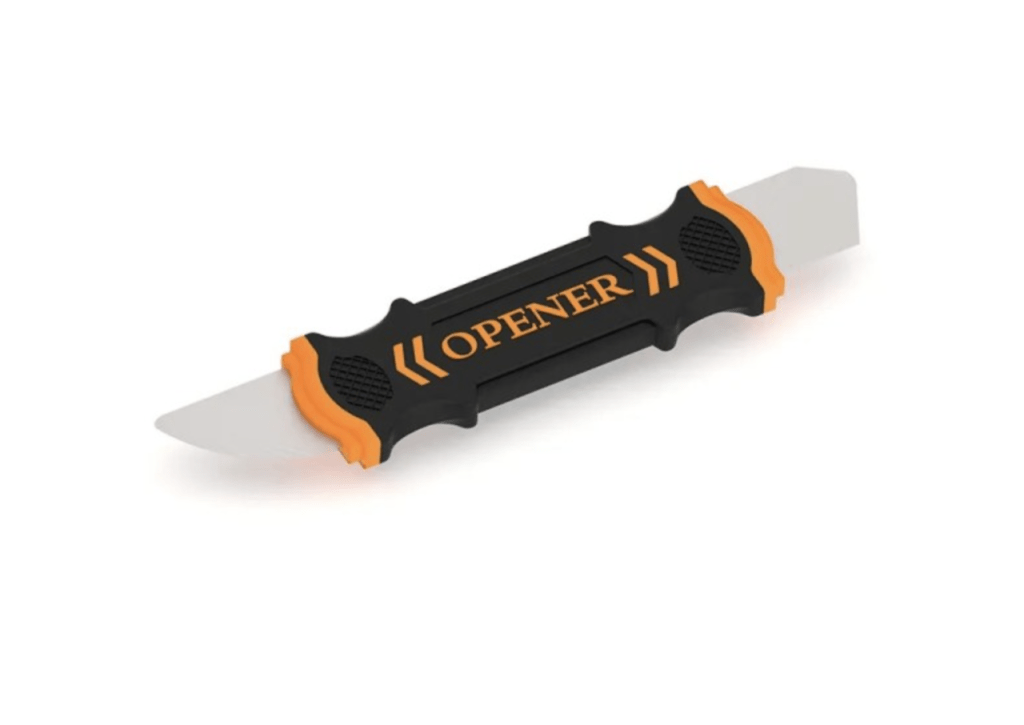
- Plastic pry tool: unclips the delicate ultra-thin backplate without denting the metal.
- Phillips screwdriver: use a small 1.5 or 2.0 bit for all internal and external screws.
- Suction cup: creates the initial gap needed to pry the bottom cover.
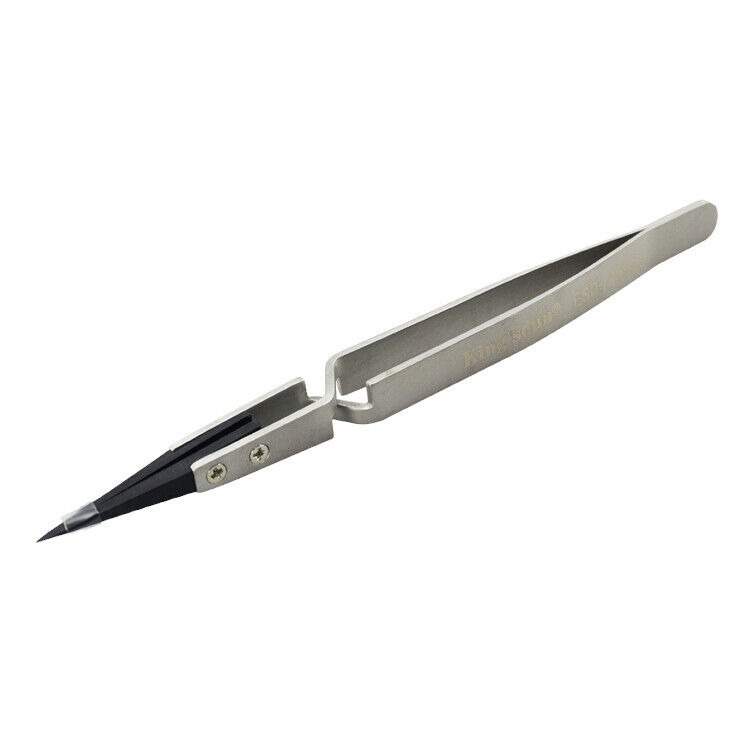
- Precision tweezers: lifts delicate ribbon cables and flex connector latches.
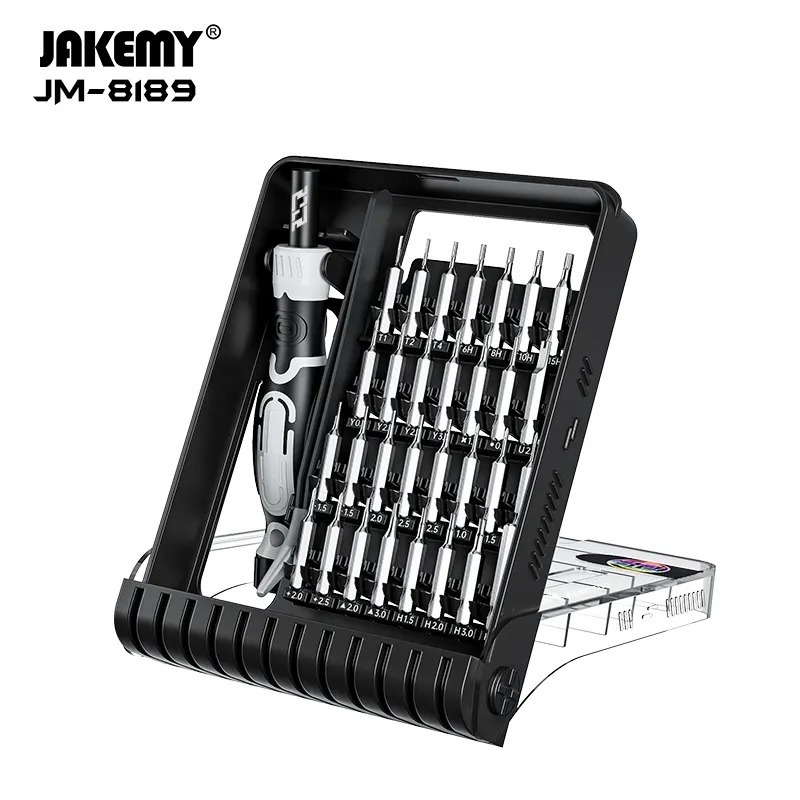
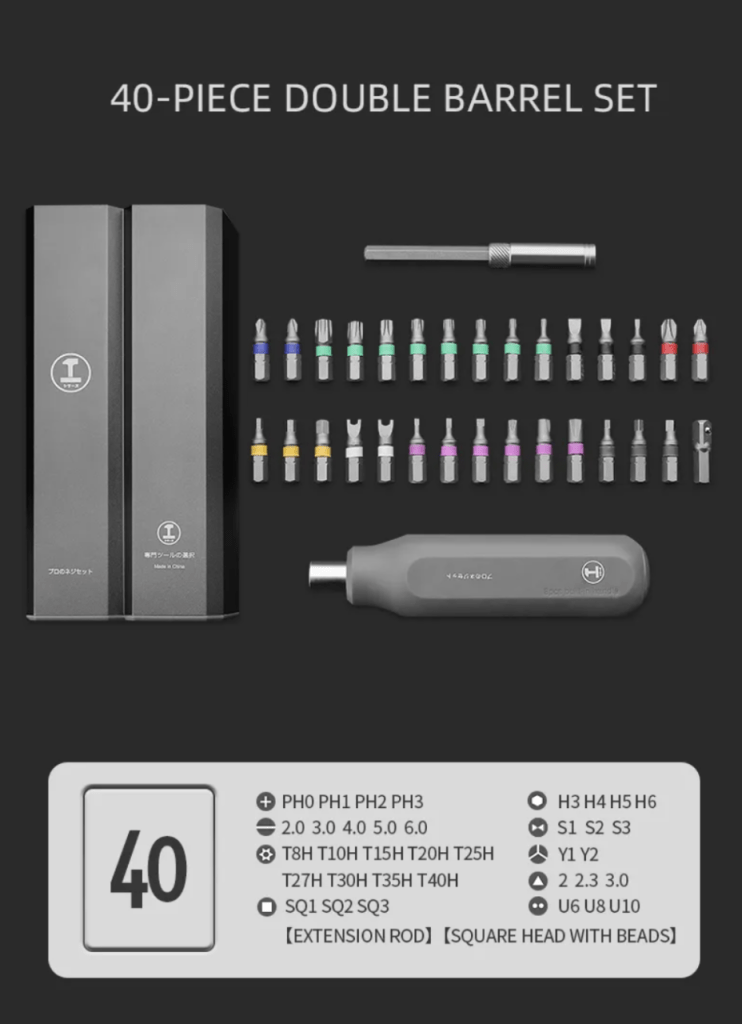
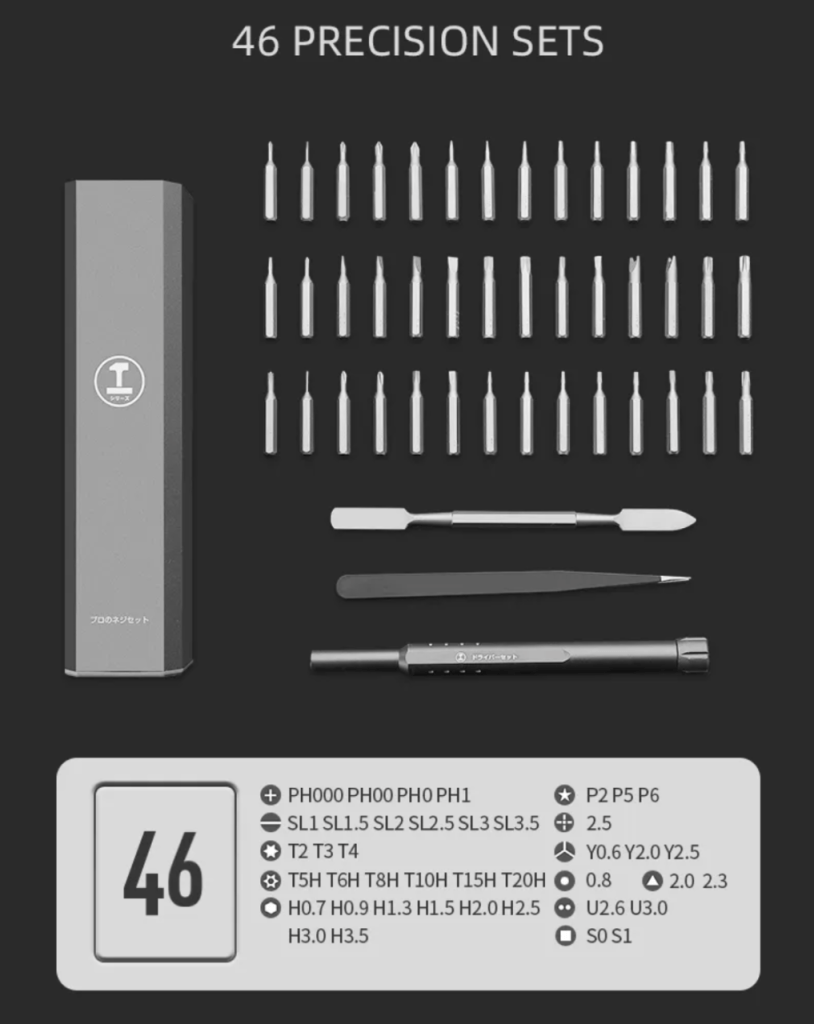
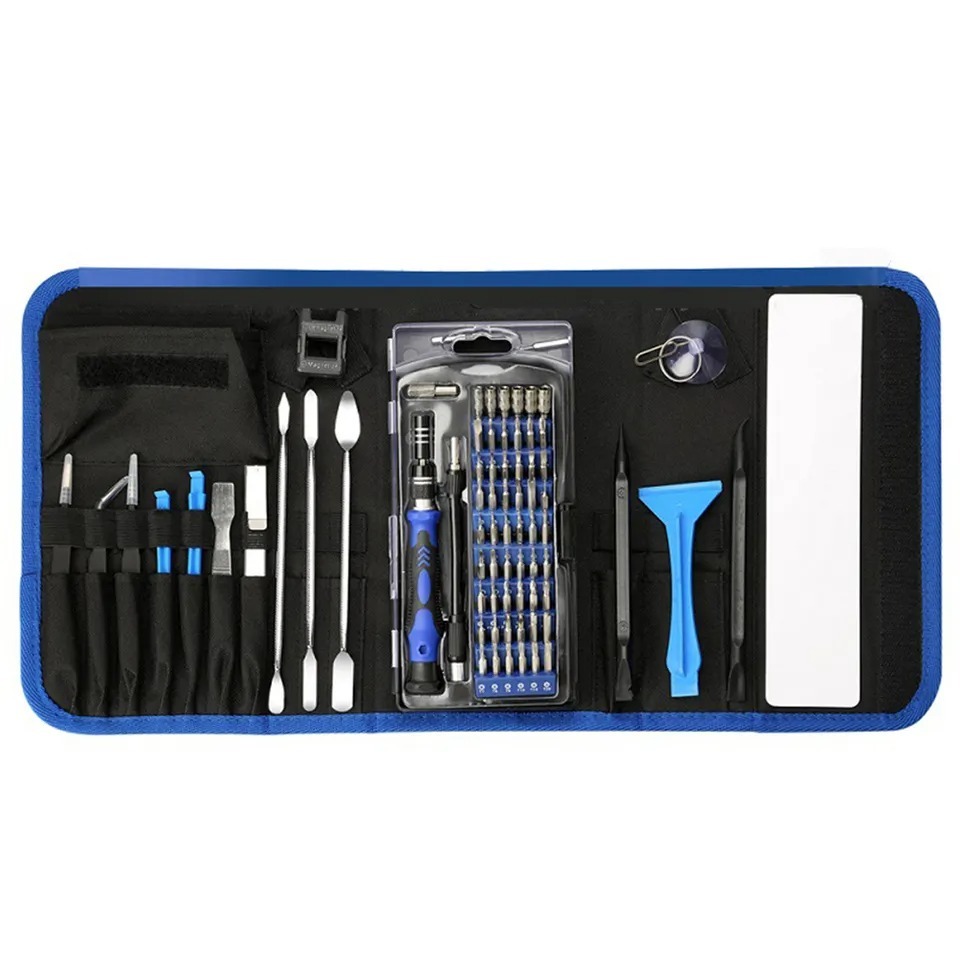
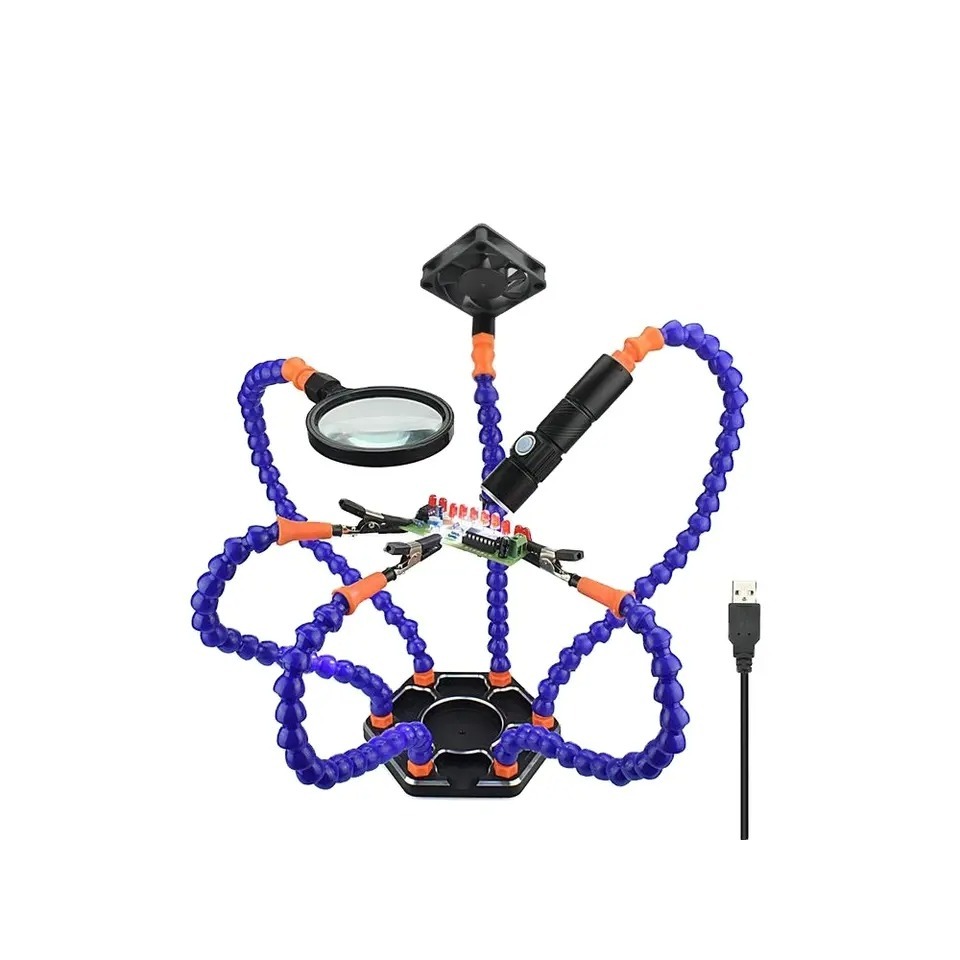
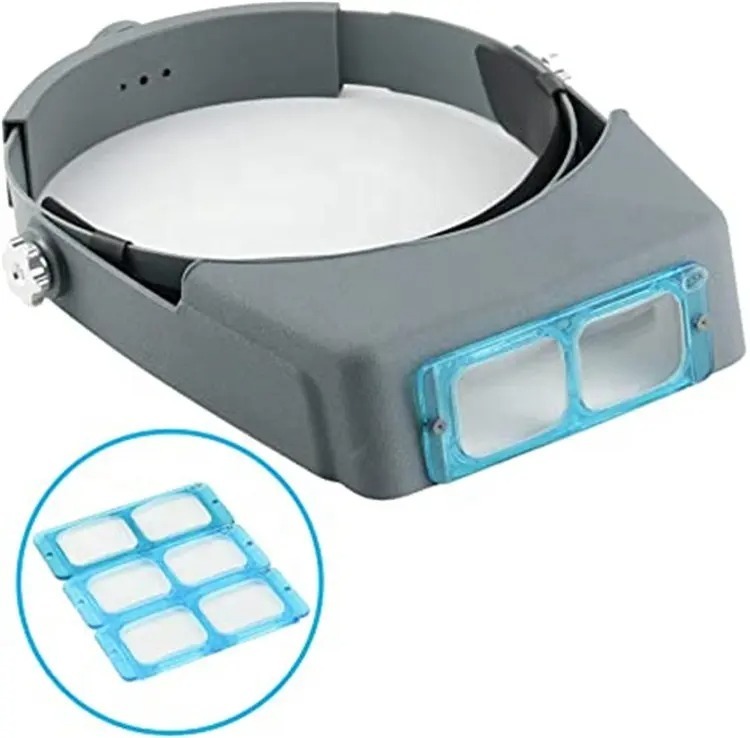
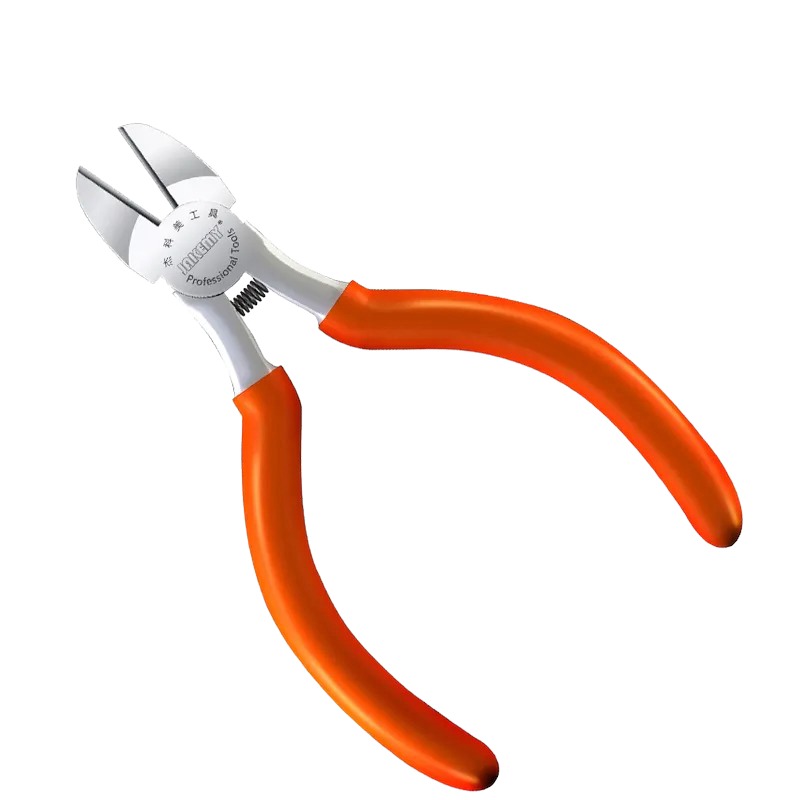
Get the Exact Tools Used by Our Techs:

⚠️ Before you start: Disconnect the battery before you touch any connector. Work on an anti-static mat and keep each group of screws together.
Phase 1: Samsung Galaxy Book Pro Teardown – Getting Inside (Backplate & Battery)
The bottom plate hides several screws under its rubber feet, and getting past the tight clips requires patience.
Step 1: Uncover the Hidden Screws
Samsung masks the entry points to keep the laptop looking seamless.
- Slide your plastic pry tool under the four rubber feet on the bottom of the laptop and peel them off.
- Remove the four hidden Phillips screws from beneath the feet.
- Unscrew the remaining four visible Phillips screws around the casing using a 1.5 or 2.0 bit.

Step 2: Pop the Backplate
The chassis is too thin to wedge a tool into right away, so you need suction to create a seam.
- Press a suction cup onto the bottom case and pull up firmly until a small gap appears.
- Insert your pry tool into the gap and slide it along the edges to unclip the backplate.
- Once both sides are free, the plate simply pops right off.

TekDep Expert Warning: The aluminum chassis on this model is incredibly thin. Twisting a metal tool in the seam will permanently warp the edges. Stick to plastic and take your time.
Step 3: Disconnect and Remove the Battery
Working on a live circuit can cause irreversible damage to the logic board or corrupt your data.
- Slide your pry tool under the main battery connector and pop it straight up.
- Remove the two Phillips screws on the bottom of the battery.
- Remove the two Phillips screws in the middle of the battery.
- Lift the battery gently out of the laptop and set it aside.

Phase 2: Removing the Cooling Fans & Speakers
With power completely removed, you can start extracting the modular cooling and audio components.
Step 1: Extract the Cooling Fans
During this Samsung Galaxy Book Pro teardown, be extra careful with both cooling fans—they use delicate ribbon cables that tear easily if pulled without unlatching
- Locate the latch on the left fan ribbon cable, use tweezers to flip the clip up, and pull the cable out gently.
- Remove the three Phillips screws holding the left fan down.
- Repeat for the right fan: flip the clip on the opposite side, slide the cable out, and remove its three Phillips screws.
- Lift both fans straight up and out of the chassis.

Step 2: Remove the Speakers
The speaker modules are held by tension clips on the left and right sides.
- Wedge your pry tool under the front edge of the left speaker module.
- Pop it up out of the retaining clips.
- Repeat on the right side, sliding the tool under the front to release it, then lift both speakers away.

Phase 3: Logic Board & Component Teardown
The primary logic board and the secondary I/O daughterboard are connected by several flex cables.
Step 1: Disconnect Flex Cables
As you proceed with the Samsung Galaxy Book Pro 360 disassembly, every cable bridging the top case to the boards must be safely detached
- On the daughterboard side, lift up the top case clip, power cable, and the two straps for Bluetooth and Wi-Fi.
- Disconnect the bridge cable connecting the daughterboard to the main logic board.
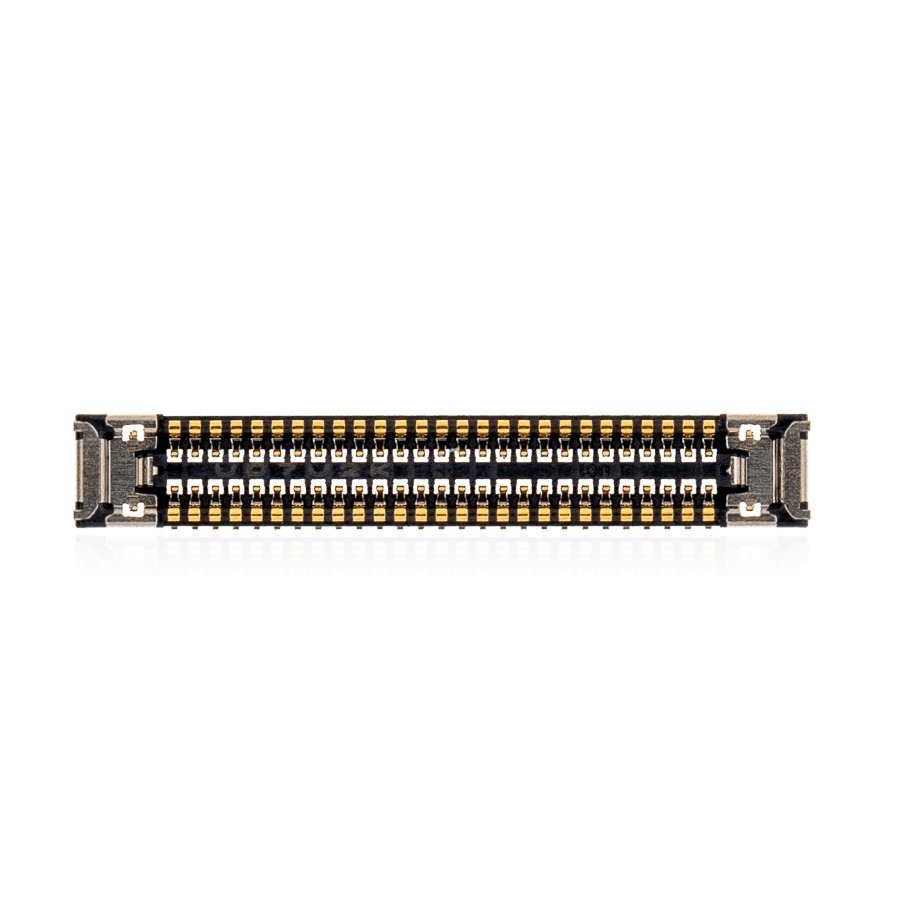
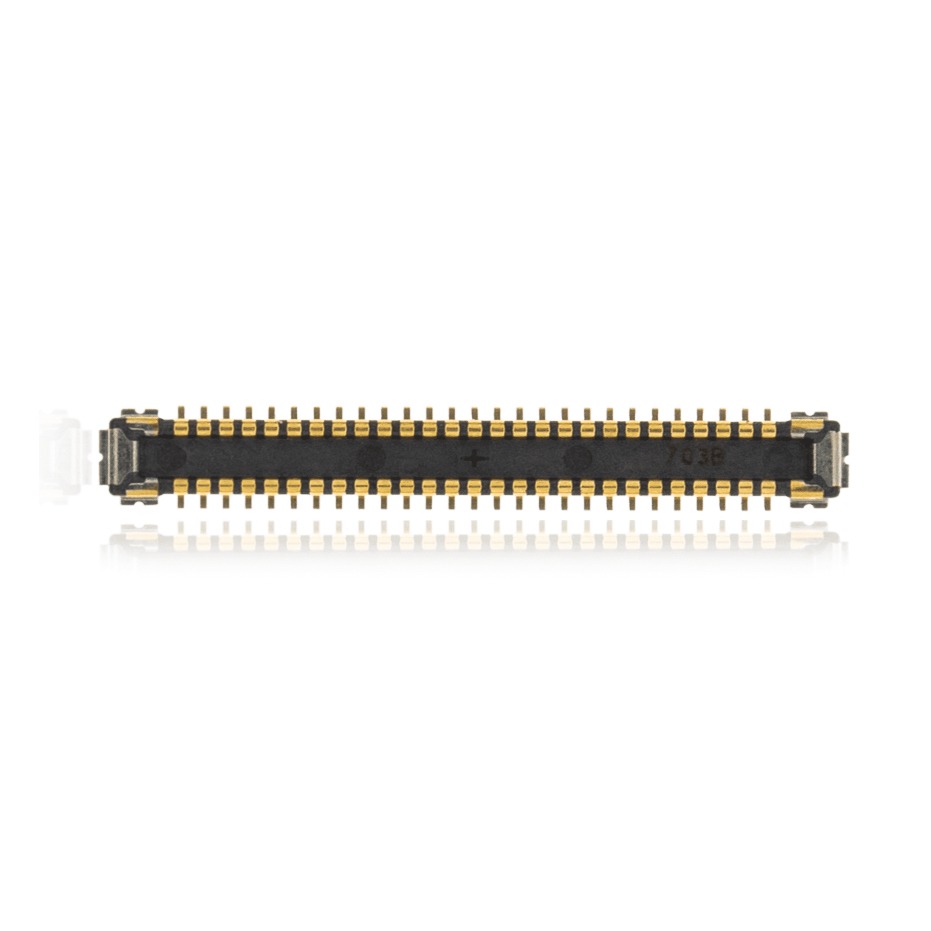
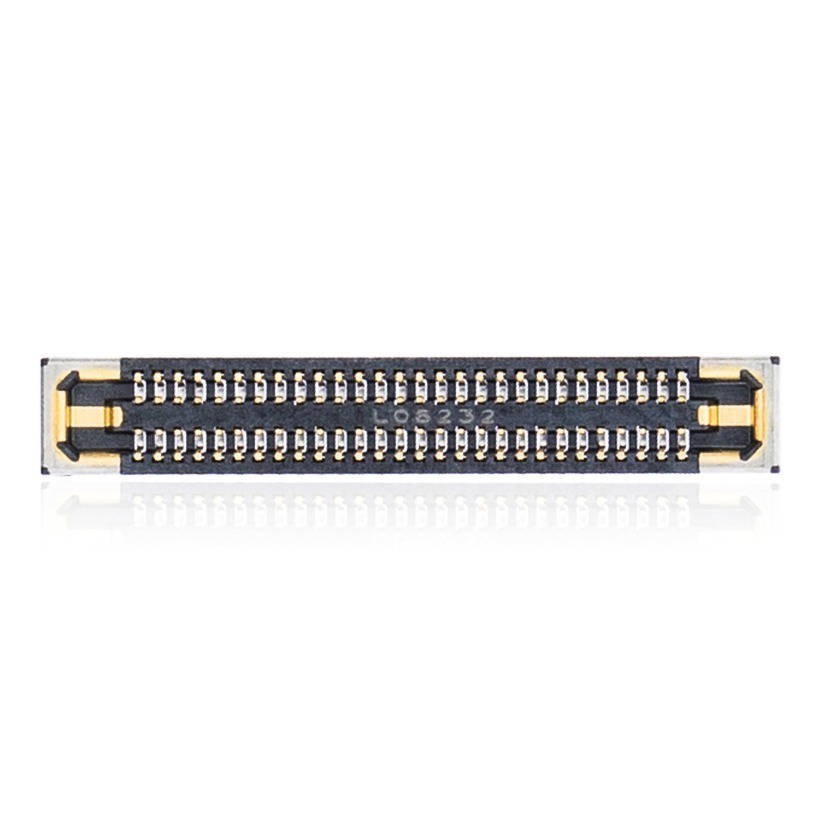
- On the main board, unplug the LCD connection, the keyboard flex at the bottom, and the trackpad cable in the middle.
- Remove the small flex strip located on the far right edge.
Step 2: Remove the I/O Daughterboard
This smaller board houses the USB-C ports and the microSD slot.
- Unscrew all remaining fasteners anchoring the daughterboard.
- Gently lift the board up and slowly lift it out to avoid snagging any loose cables.

Step 3: Extract the Motherboard
The processor heatsink stays attached to the logic board during removal.
- Undo the screws holding the heatsink down, and remove all remaining perimeter screws around the logic board.
- Gently lift the logic board up from the chassis.
- Pull away any trapped cables as you lift to avoid bending the board, then set it safely aside.

Phase 4: Detaching the Display Assembly
With the motherboard out of the way, the display can be fully separated from the keyboard top case.
Step 1: Undo the Hinge Screws
Detaching the display is one of the final major steps of the Samsung Galaxy Book Pro 360 teardown. The heavy hinges hold the two halves together securely.
- Undo the two final display cable connections at the top.
- Using the same Phillips driver, remove the heavy screws securing the top left hinge.
- Move over and remove the screws securing the top right hinge.

Step 2: Separate the Top Case
- Extend the top case slightly open from the display panel.
- Pull the chassis straight back to slide the hinges out, popping the display right off.

Step 3: Reassembly Notes & Testing
When you are ready to rebuild, follow these steps in reverse order. Seat the hinges first, connect all flex cables firmly, and plug the battery in last before replacing the backplate.
Congratulations! You have successfully performed a teardown on your Samsung Galaxy Book Pro 360.
🛑 Not Comfortable Prying Ultra-Thin Panels? If reading about hidden screws and delicate pull-tabs has you second-guessing your DIY skills, don’t worry. The TEKDEP experts are here to help.
We offer clean, professional, and affordable Mail-In repair services for the entire Samsung Galaxy Book lineup.
Frequently Asked Questions
Is it hard to do a Galaxy Book Pro 360 teardown?
The hardest part is safely bypassing the ultra-thin chassis clips without bending the metal. Standard Phillips screws make the internal disassembly straightforward, but patience and non-marring plastic pry tools are absolutely required.
Can I upgrade the RAM in the NP950QDB?
Unfortunately, no. The memory modules are permanently soldered directly to the logic board on this model. To upgrade the RAM, you have to replace the entire motherboard with a higher-spec version.
Where are the backplate screws hidden?
They are concealed underneath the four rubber feet glued to the bottom cover. You must peel those feet off to expose the hidden fasteners before the backplate will release.
Can I replace just the cracked glass on the Galaxy Book Pro 360 screen?
No, Samsung fuses the AMOLED display, touch digitizer, and front glass together into a single unit, meaning you cannot replace just the cracked glass—you must replace the entire upper display assembly. Routing the display and Wi-Fi cables through the 360-degree hinges complicates the repair, so we highly recommend using TEKDEP’s Mail-In Repair service if you aren’t comfortable handling delicate flex cables.
🛑 IMPORTANT: SAFETY & LIABILITY DISCLAIMER TEKDEP®️ TEKDEP.com assumes no liability for property damage or injury incurred as a result of any information in this blog post or associated videos. Dealing with internal computer components, specifically Lithium-Ion batteries, carries inherent risks including fire, toxic gas exposure, and irreversible device failure. Any injury, damage, or loss from improper use of tools, mishandling of components, or misinterpretation of this information is the sole responsibility of the user. Perform repairs at your own risk. If you are unsure of your capabilities, please utilize our professional Mail-In Repair Service.