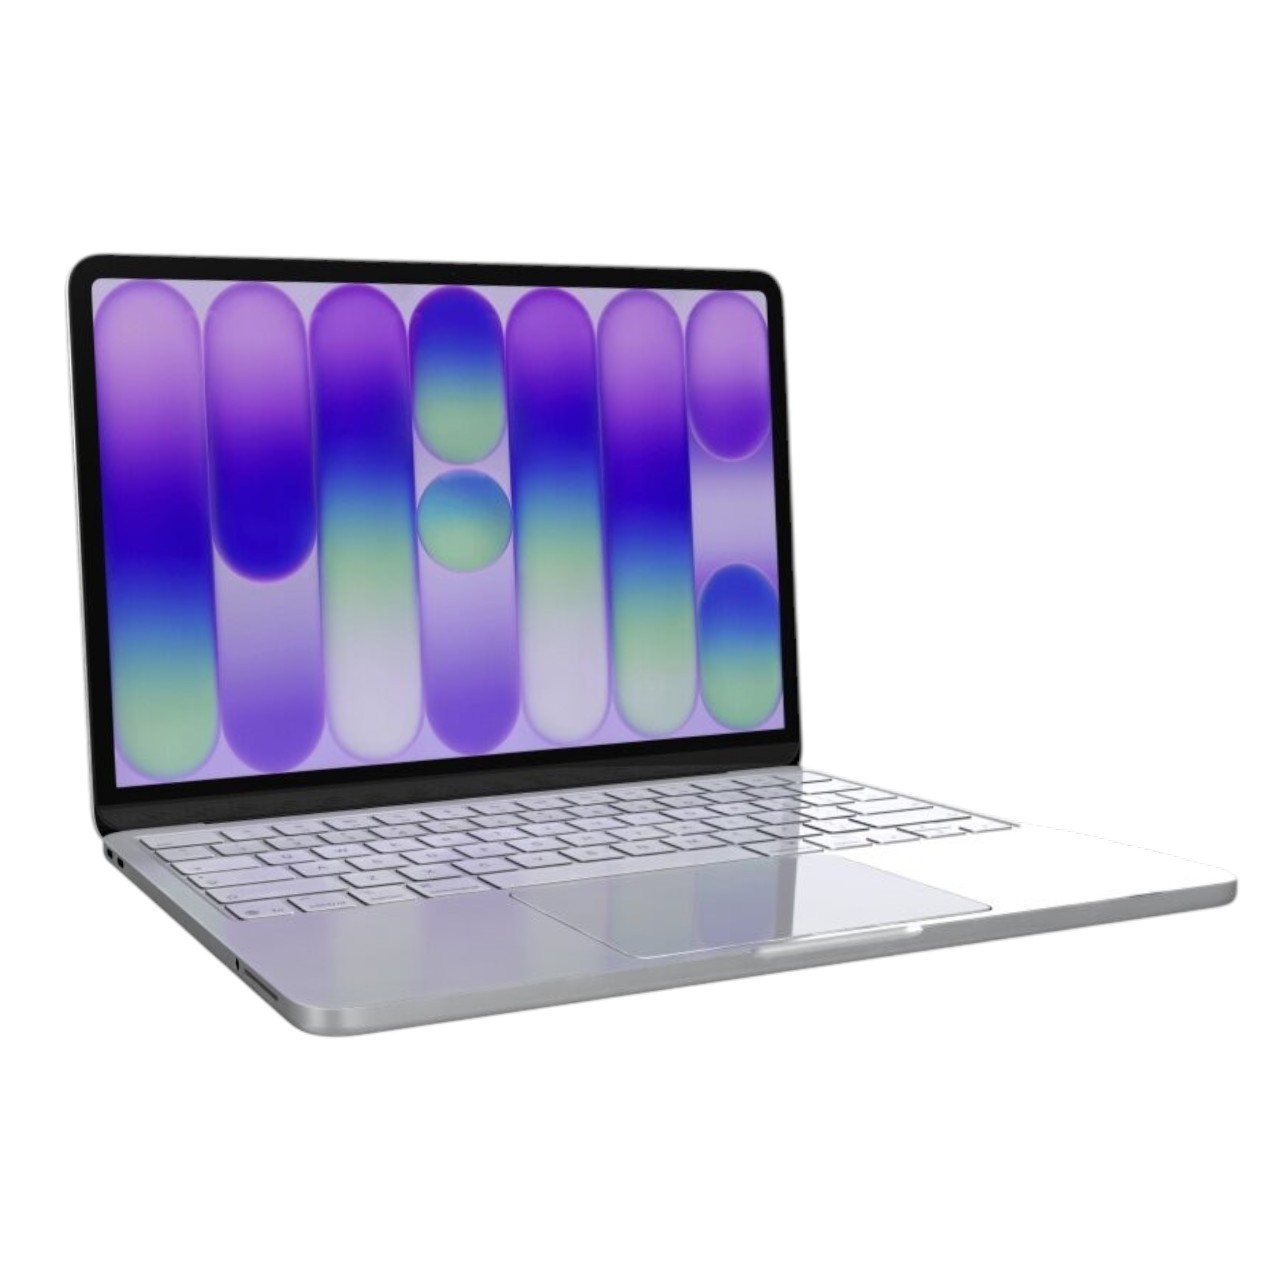



































Model: 2020 MacBook Air M1 (A2337) | Level: Intermediate / Advanced | Tools: Pentalobe P5 screwdriver, Torx T3/T4/T5 screwdrivers, plastic pry tool, precision tweezers. This guide covers an A2337 disassembly teardown for those interested in taking apart their MacBook Air M1 safely and effectively.
An A2337 disassembly teardown reveals exactly how easy to take apart Apple’s M1 laptops can be. You can remove everything from the logic board to the LCD screen assembly with just a few precision screwdrivers.
Whether you are dealing with a liquid-damaged board, sticky keys, or a cracked display, knowing how to strip the chassis down safely is the first step.
Our lead Tekdep Technician walks you through the whole A2337 disassembly teardown in the video below. Let’s get started.
How to Do an A2337 Disassembly Teardown (Quick Overview)
- Remove the bottom case screws and lift the aluminum backplate off.
- Disconnect the battery flex cable before touching any other component.
- Unscrew the component bracket to free the display and I/O flex cables.
- Extract the M1 logic board by lifting it straight up and out.
- Detach the USB I/O board and carefully remove the Touch ID module.
- Disassemble the trackpad by removing its perimeter screws and backing it out.
- Remove the LCD screen assembly by taking out the display hinge screws.
🛠️ Required Tools & Preparation
An A2337 disassembly tear-down requires a variety of precision bits. Power the laptop off and unplug it before you start.
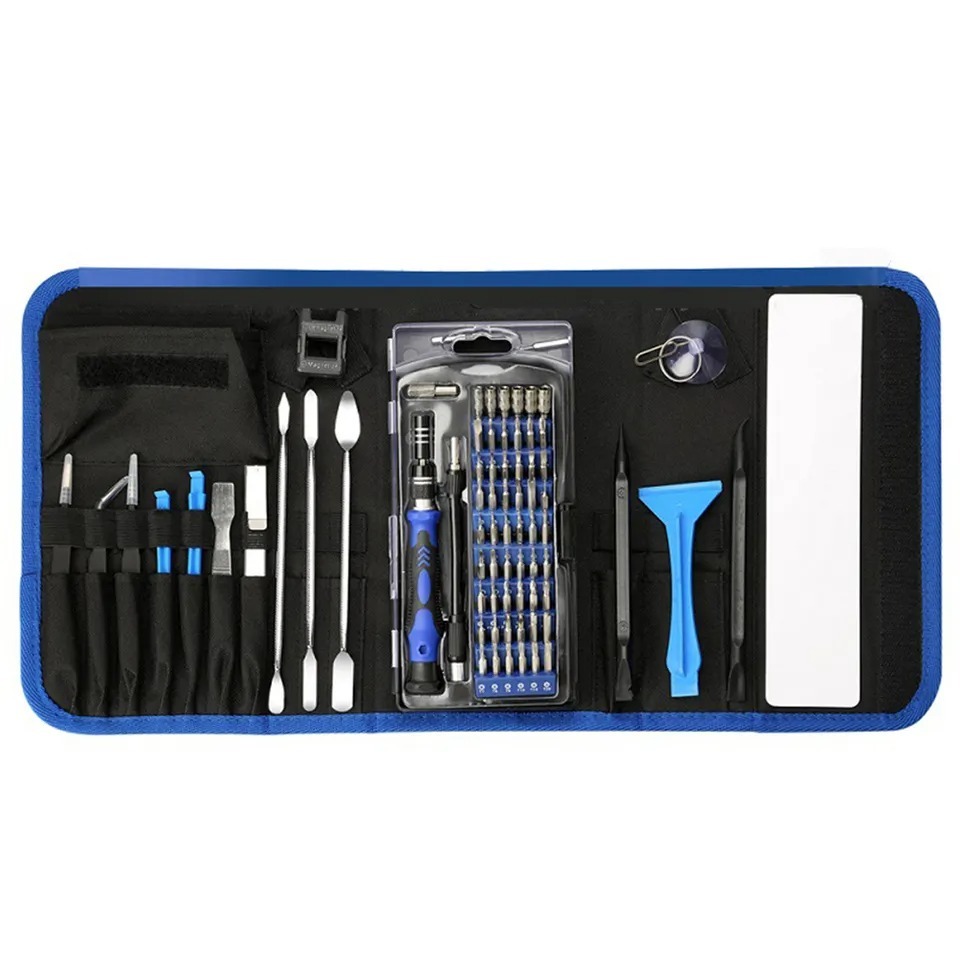
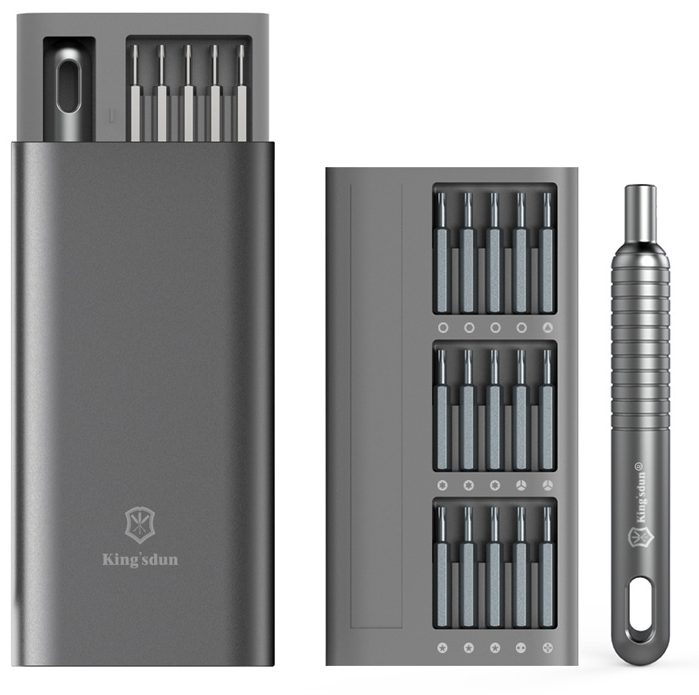
- Pentalobe P5 screwdriver: removes the exterior bottom case screws.
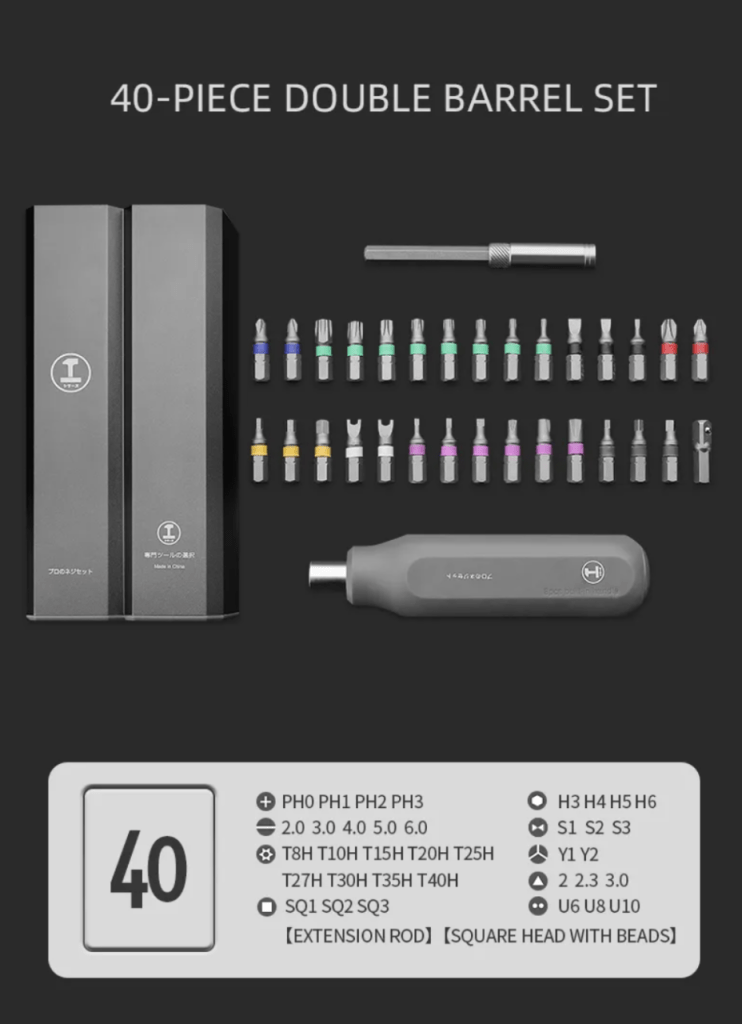
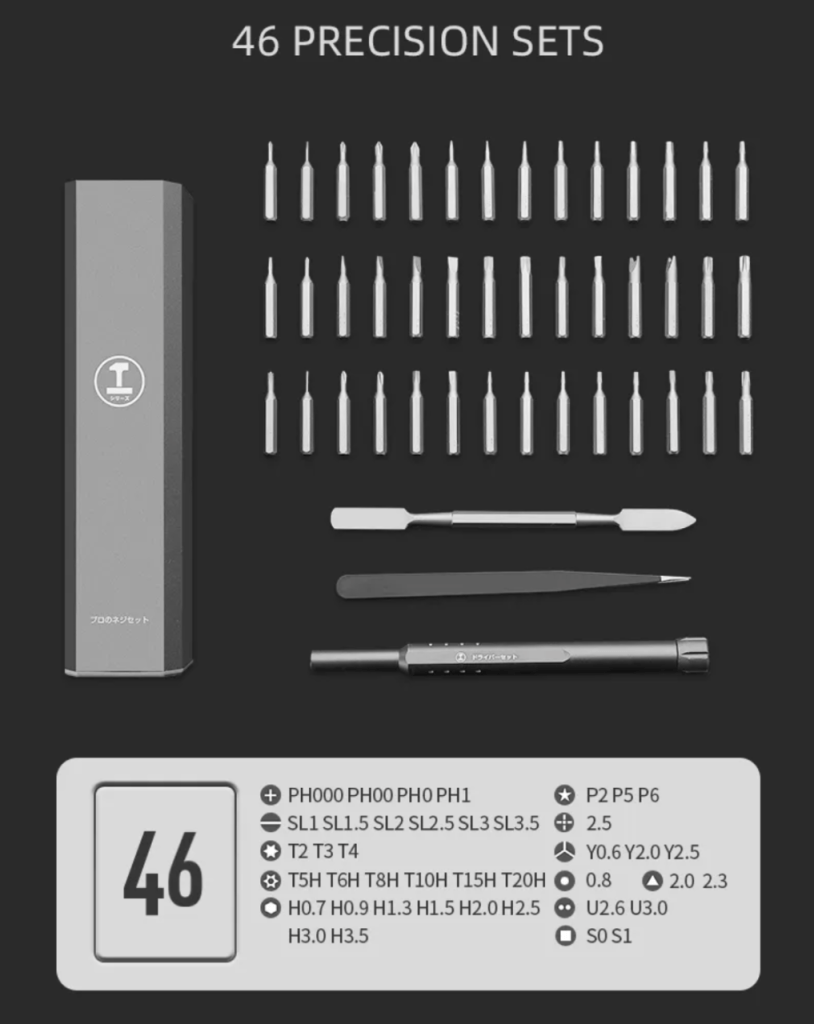
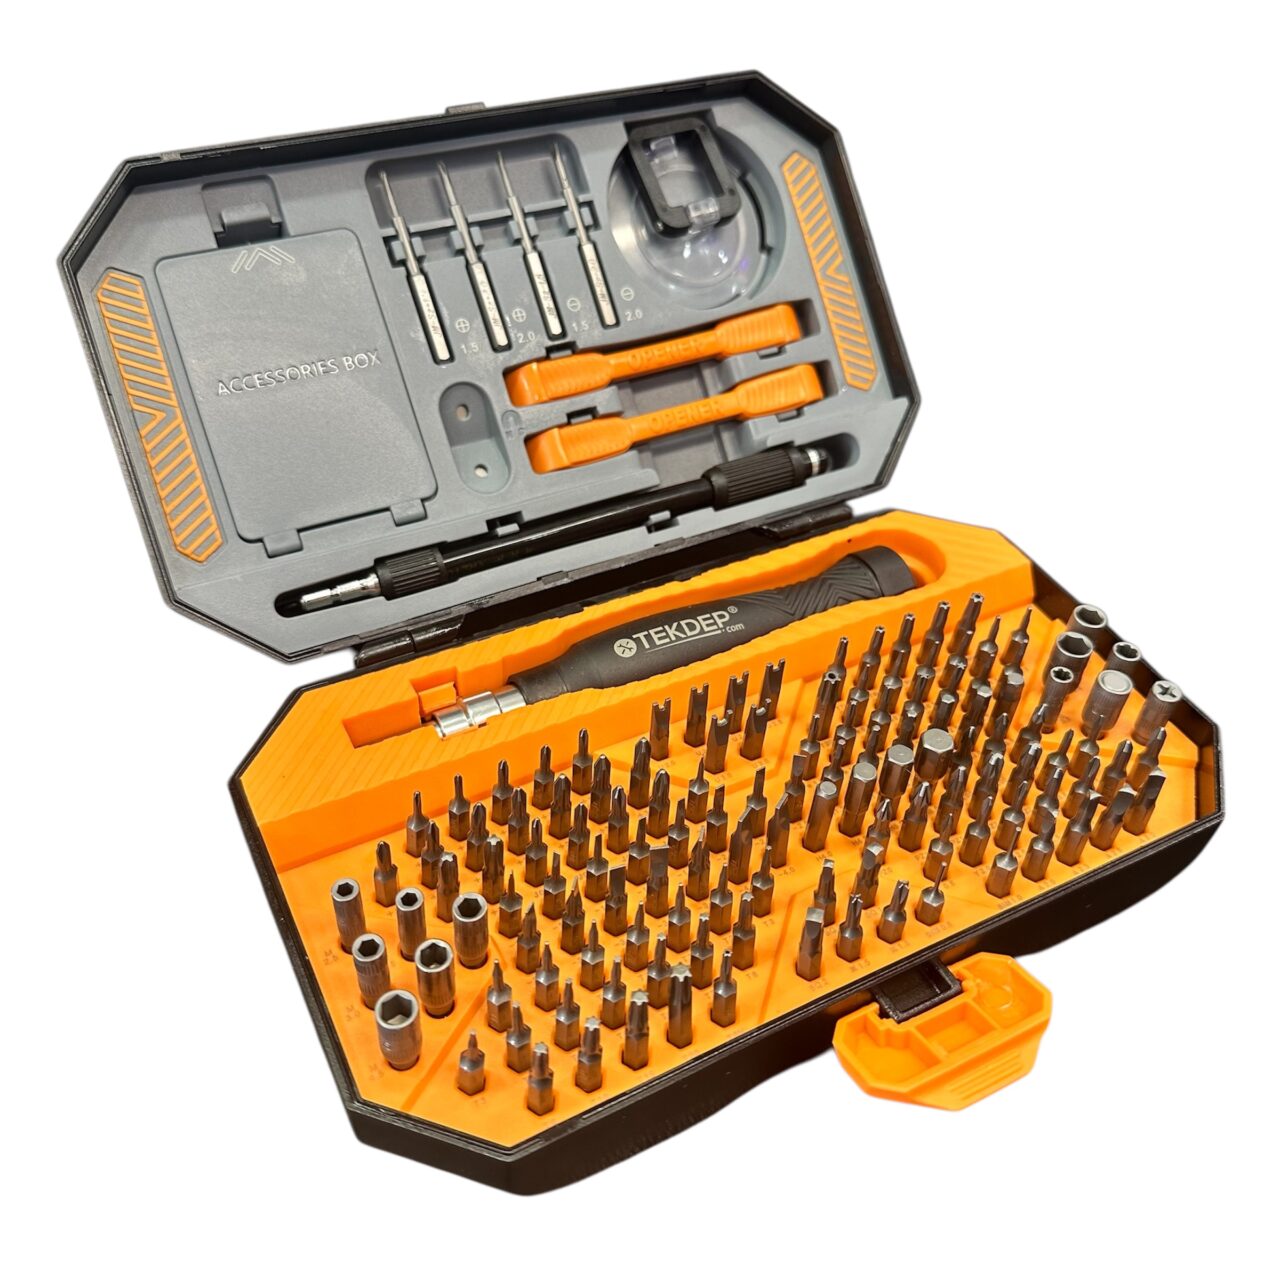
- Torx T3, T4, and T5 screwdrivers: required for the internal brackets, logic board, and hinges.
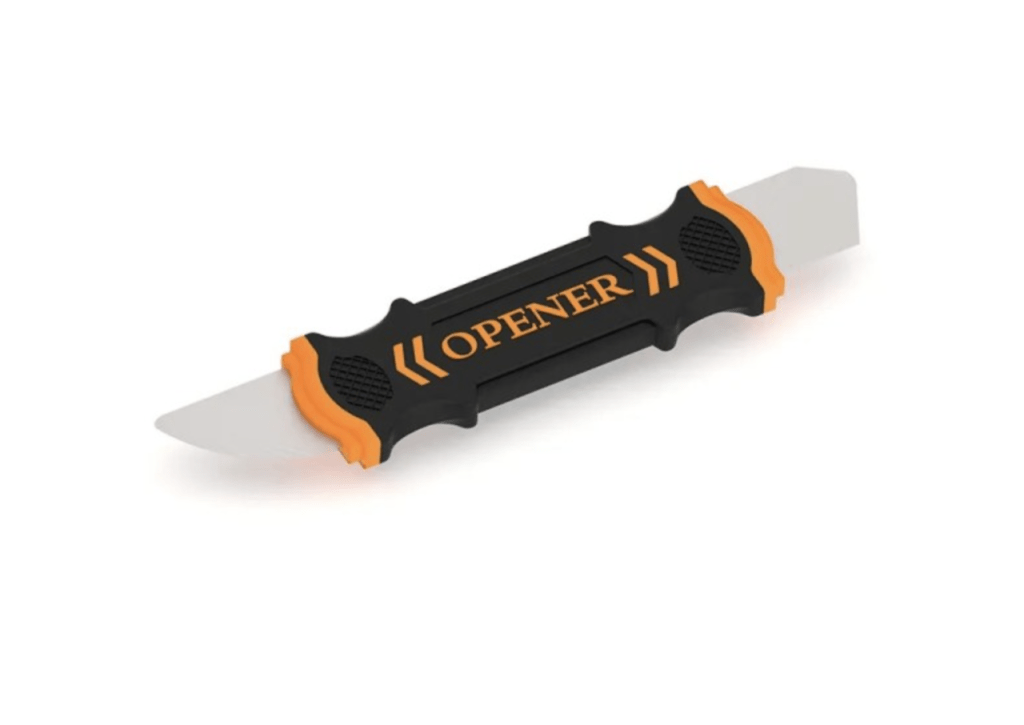
- Plastic pry tool: lifts delicate flex connectors and the battery cable safely.
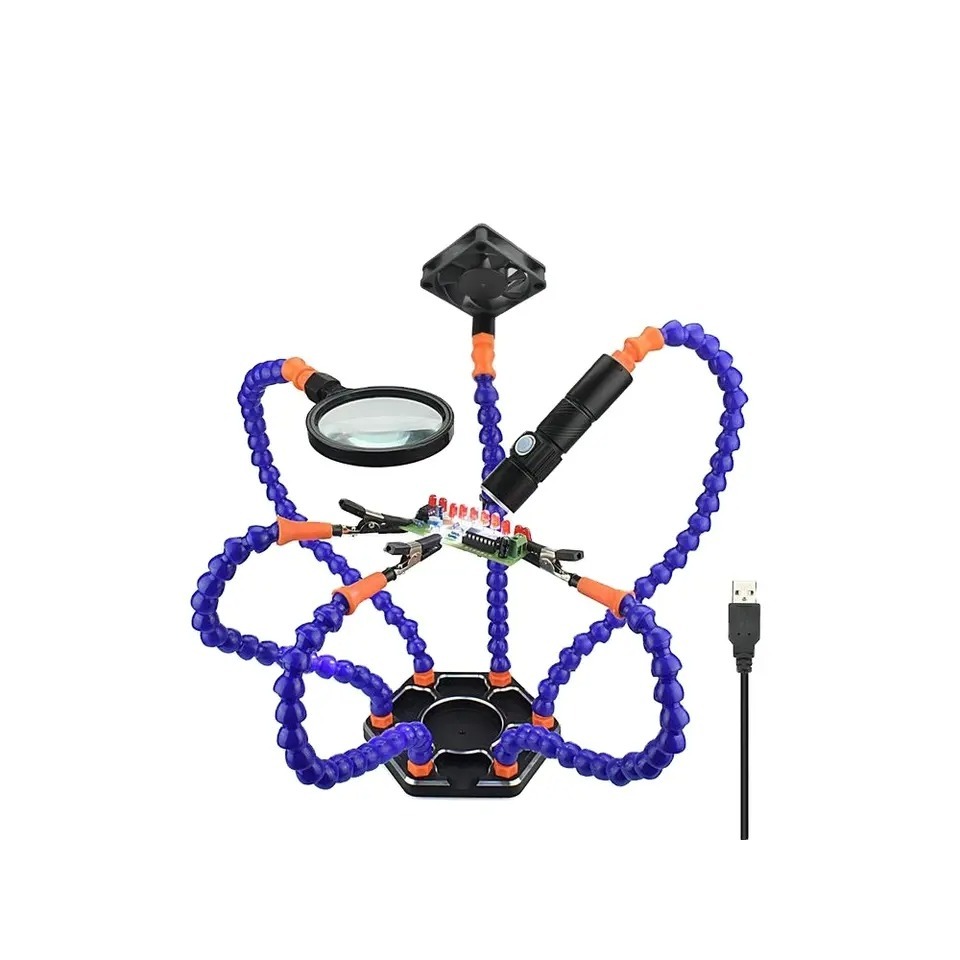
- Precision tweezers: handle small brackets, screws, and antenna cables.
Get the Exact Tools Used by Our Techs:
-
TEKDEP Professional Tool Set 145-in-1 For Electronics, iPhone, Laptop, PC Repairs
-
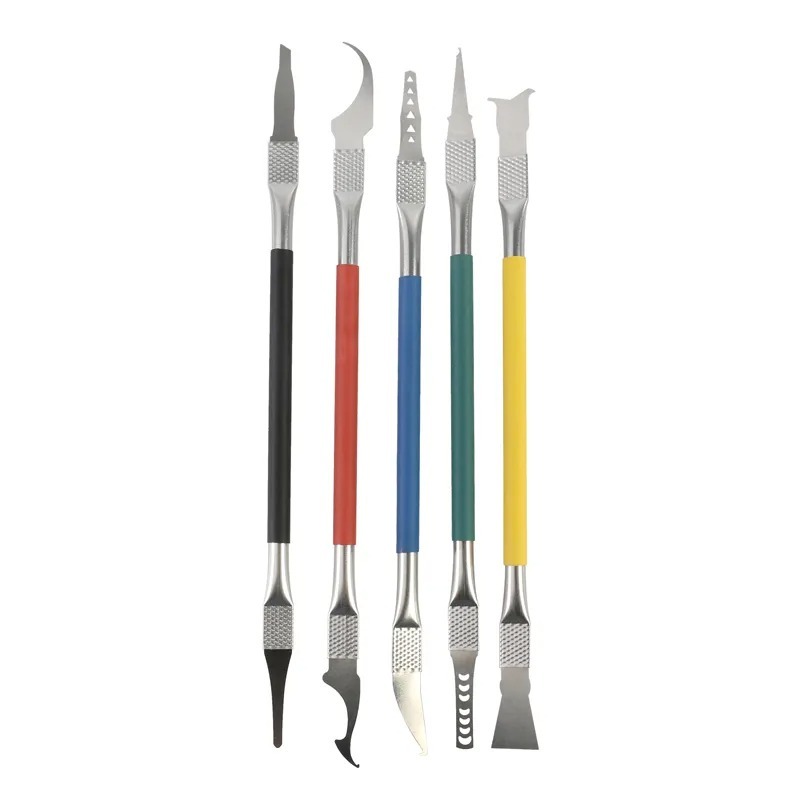
9 in 1 Disassemble Multi Opening Repair Tools Kit Metal Pry Bar
-
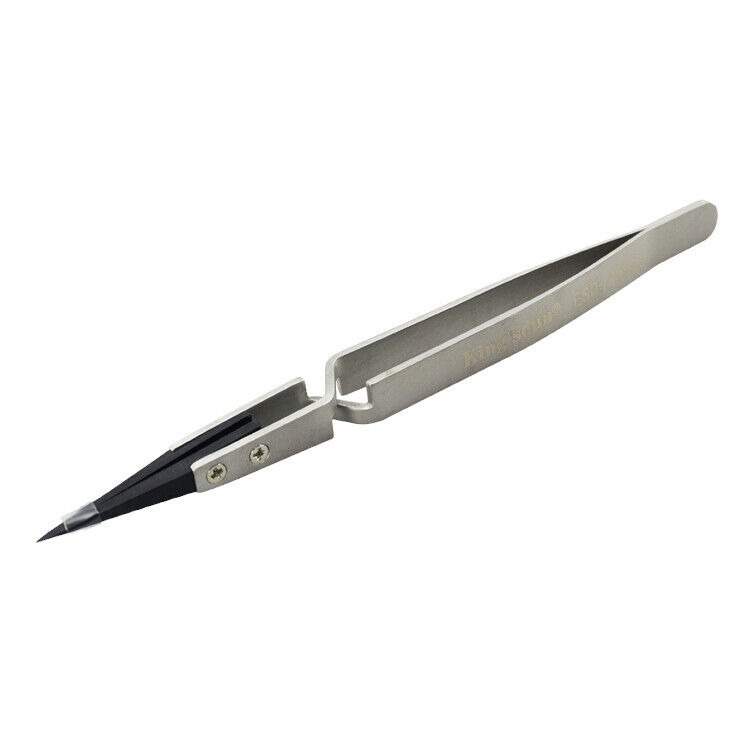
Kingsdun ESD-259X Stainless Steel Ceramic Tweezers With Heat Resistant Anti Dissipative Static Tip
-

Curved LCD Screen Spudger – Pry Tool for Mobile Devices & Electronics
👉 Shop every part we stock for this model
⚠️ Before you start: Disconnect the battery before you touch any connector. Work on an anti-static mat and keep each group of screws together.
Phase 1: Getting Inside & Disconnecting Power
The first step in this A2337 disassembly teardown is removing the bottom case and isolating the battery.
Step 1: Remove the Bottom Case
Apple uses specialized screws for the exterior, so you will need your Pentalobe P5 driver.
- Remove the 10 Pentalobe P5 screws securing the bottom case. Note that the top middle screws are longer.
- Insert your plastic pry tool into the rear vents to unclip the hidden snaps.
- Pull the bottom cover straight down towards you to slide it out of the rear hinge anchors, then lift it away.

Step 2: Disconnect the Battery
Always disconnect power before touching any logic board components to avoid a short circuit.
- Locate the large battery connector on the logic board and peel back the black tape covering it.
- Use your plastic pry tool to lift the locking latch up.
- Slide the battery flex cable straight out of its socket and bend it slightly backwards so it cannot accidentally touch the contacts.
TekDep Expert Warning: Never use metal tweezers to disconnect the battery. A tiny slip can bridge two pins and instantly fry the logic board.

Phase 2: Removing the Component Bracket & Logic Board
With power disconnected during your A2337 disassembly teardown, you can safely strip away the retaining brackets and extract the brain of the MacBook.
Step 1: Remove the Component Bracket
Apple secures multiple display and I/O connections under wide metal shields.
- Unscrew the T3 Torx screws holding down the main antenna and display cable brackets.
- Lift the metal shields away with your tweezers.
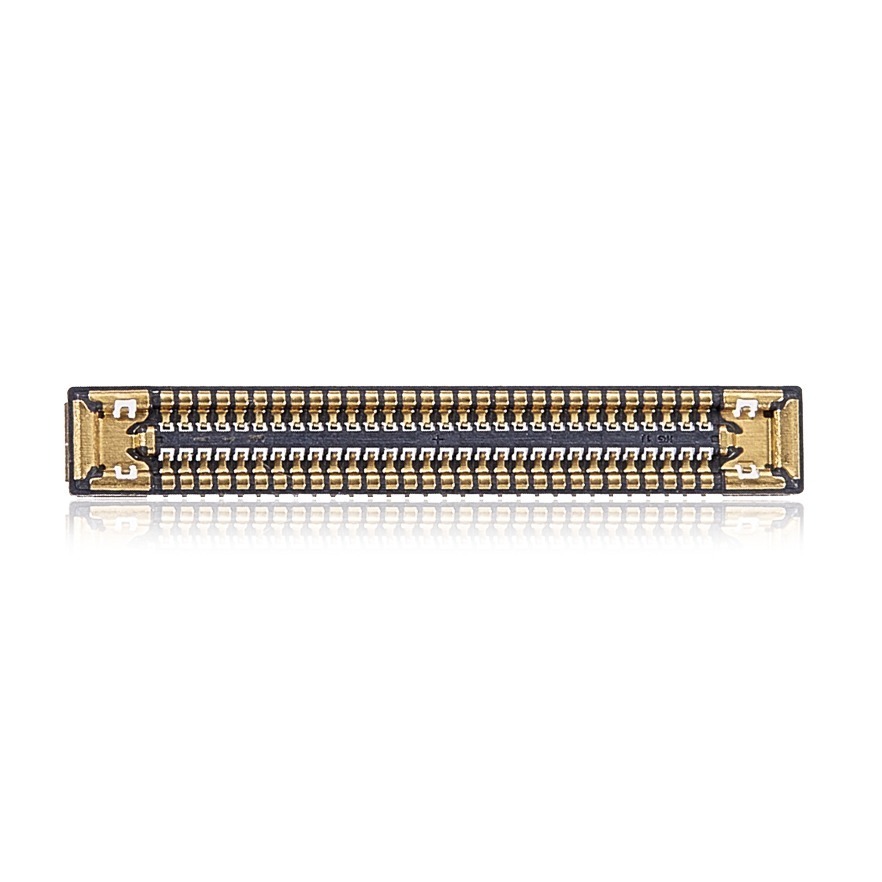
- Pop up the display cable connector, the antenna cables, and the audio board flex cable using your plastic pry tool.

Step 2: Extract the M1 Logic Board
A handful of Torx screws hold the logic board in place, resting tightly against the chassis.
- Remove the remaining T4 and T5 Torx screws securing the board to the aluminum top case.
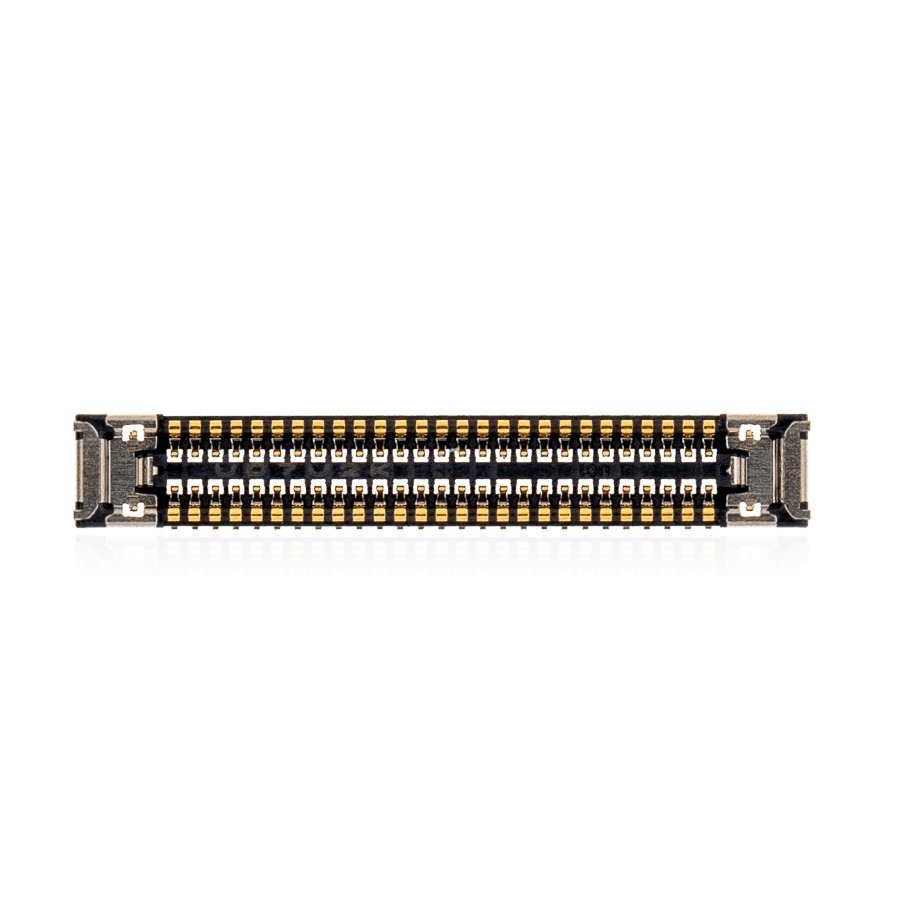
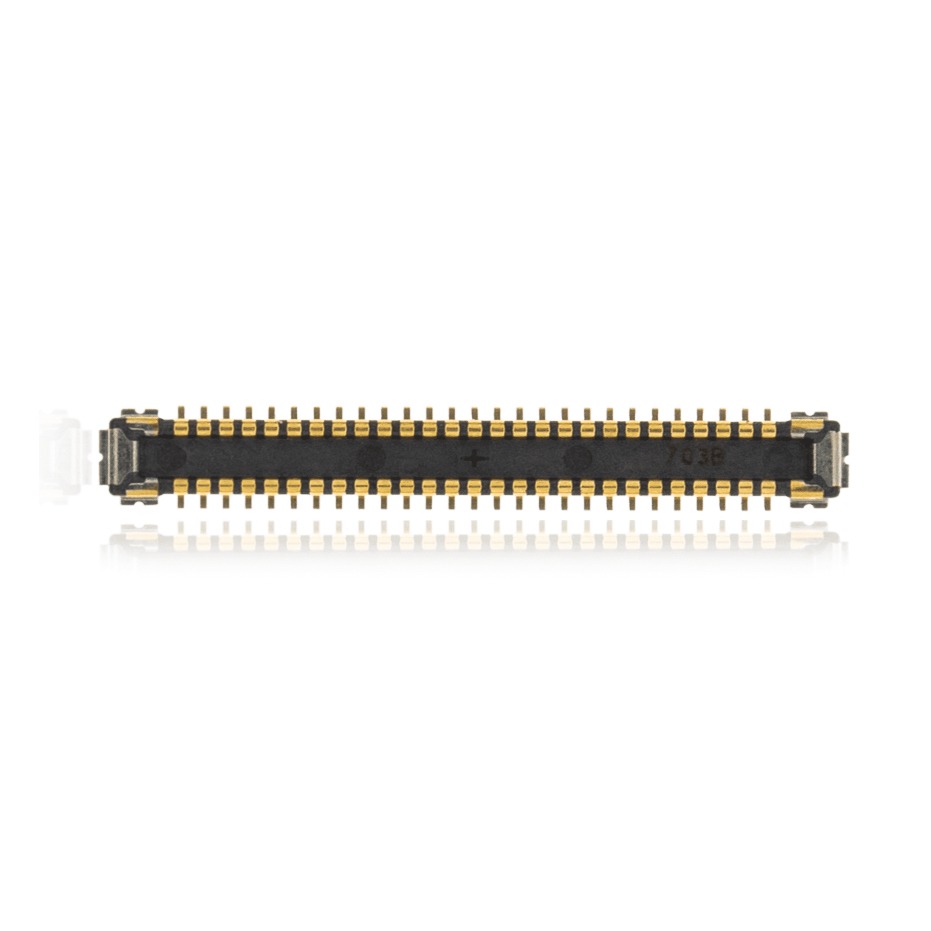
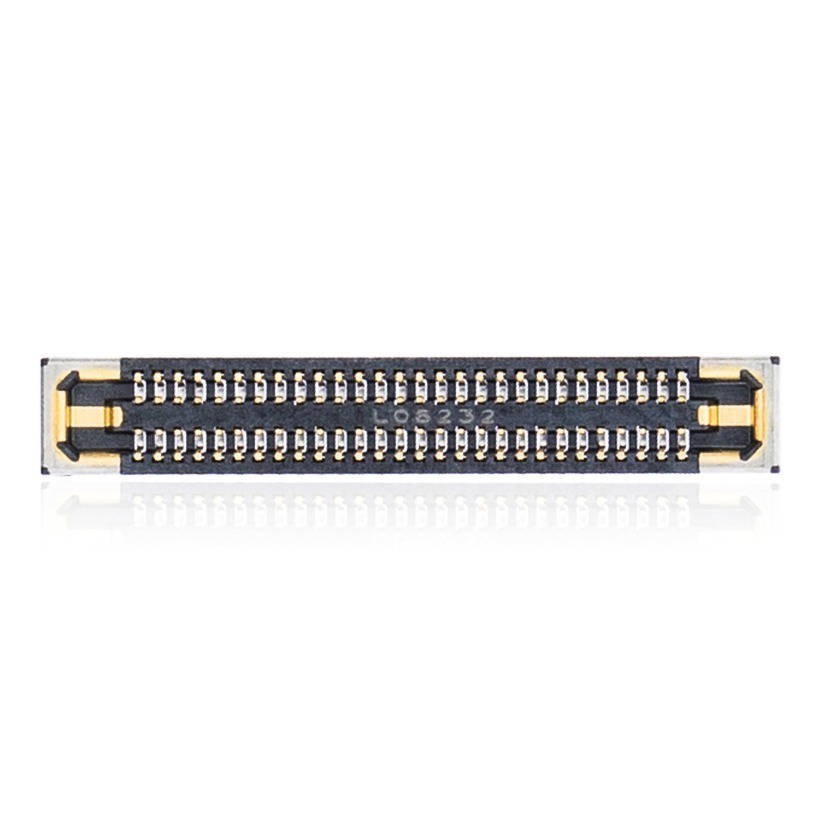
- Double-check that all ZIF connectors (trackpad, keyboard, backlight) are unlatched and the ribbons are pulled free.
- Lift the logic board gently from the right side, sliding it away from the side ports to clear the chassis, and set it on your anti-static mat.

Phase 3: Detaching the I/O Board & Touch ID
You can replace the separate side ports and security module individually.
Step 1: Remove the USB I/O Board
- Disconnect the audio board flex cable if it is still attached.
- Remove the two T4 Torx screws holding the USB-C board in place.
- Slide the I/O board straight out from the edge of the case.
Step 2: Remove the Touch ID Module
The Touch ID sensor is paired to the logic board; if it breaks, you will lose fingerprint functionality permanently.
- Remove the two T3 Torx screws securing the Touch ID bracket.
- Carefully feed the delicate flex cable out through the slot in the top case and set the sensor aside.

A2337 parts we removed in this guide:
-
A2337 Aftermarket Top Case Keyboard Palm Rest Gold For 2020 Apple MacBook Air 13″
-
A2337 LCD Display Bezel Replacement for MacBook Air 13-inch 2020 Front Frame Cover
-
A2337 Logic Board for 2020 MacBook Air 13 inch M1
-
A2337 Original Audio Board Flex Cable 923-03663 for 2020 MacBook Air 13” M1
-
A2337 Original Audio Jack Board 923-03672 for 2020 MacBook Air 13” M1
-
A2337 Original Display Assembly Gold 661-16808 for 2020 MacBook Air 13” M1
-
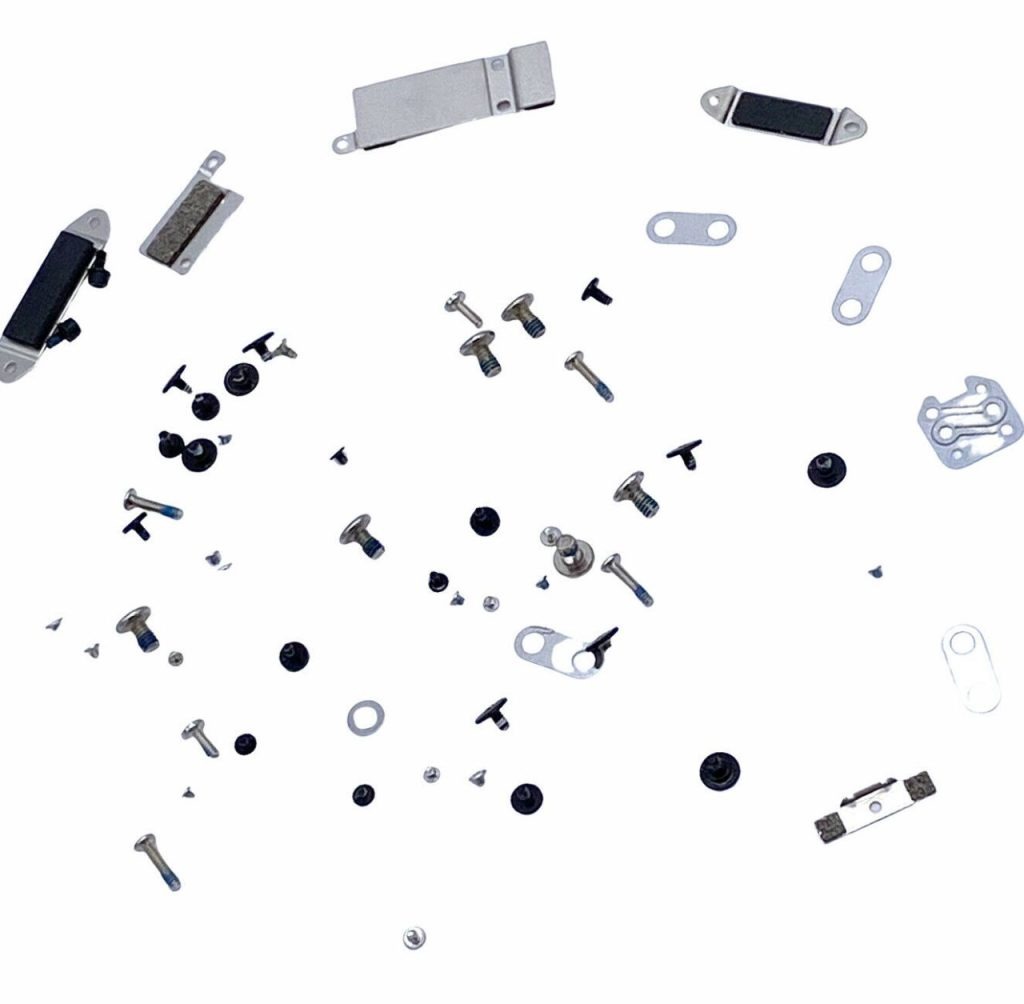
A2337 Original Screw Set with Hinge and Brackets for 2020 MacBook Air 13” M1
-
A2337 Original Touch ID Power Button Flex Cable 02630-B for 2020 MacBook Air 13″
-
A2337 Original Trackpad Gold 661-16827 for 2020 MacBook Air 13” M1




Phase 4: Removing the Trackpad & LCD Screen Assembly
The final stage of the A2337 disassembly teardown strips the remaining major components from the top case assembly.
Step 1: Disassemble the Trackpad
- Unscrew the 9 T5 Torx screws bordering the trackpad assembly. Keep the laptop slightly elevated so the trackpad does not drop straight out.
- Peel back the trackpad flex cable tape.
- Carefully drop the trackpad out through the front of the top case.

Step 2: Remove the LCD Screen Assembly
Open the display so the hinges are extended, and rest the laptop on its side to support both halves.
- Remove the three T5 Torx screws on each of the two display hinges.
- Slide the antenna bar out of its channel.
- Separate the display assembly from the top case.

Step 3: Reassembly Notes & Testing
To rebuild the MacBook, reverse the teardown order. Seat the logic board carefully, ensure every ZIF ribbon is pushed fully into its socket, and connect the battery last. Boot the machine and test the trackpad, Touch ID, and display.
Congratulations! You have successfully performed a full A2337 disassembly teardown on your 2020 MacBook Air M1.
🛑 Not Comfortable Handling Delicate Flex Cables? If reading about hidden screws and tiny ZIF connectors has you second-guessing your DIY skills, don’t worry. The TEKDEP experts are here to help.
We offer clean, professional, and affordable Mail-In repair services for the entire Apple MacBook lineup.
Frequently Asked Questions
Is an A2337 disassembly tear-down difficult?
Surprisingly, no. The M1 MacBook Air is very easy to take apart. Once you disconnect the battery, lifting out the logic board and separating the display assembly only requires patience and a good set of Torx screwdrivers.
Where are the screws on the A2337 bottom case?
There are ten exposed screws around the perimeter of the aluminum bottom cover. You will need a Pentalobe P5 driver to remove them. Keep track of the top middle screws, as they are slightly longer.
Can I replace the Touch ID sensor with a new one?
You can replace the button for power functionality, but Apple securely pairs the fingerprint sensor to your specific logic board at the factory.
Will disassembling my A2337 MacBook Air void my warranty?
Yes, unauthorized disassembly typically voids the manufacturer’s warranty and any active AppleCare+ coverage. If your device is still under warranty or you have an active protection plan, we highly recommend consulting Apple first. If your coverage has expired or your device has accidental damage not covered by your plan, DIY repair is a great, cost-effective alternative.
Do I need to reapply thermal paste to the logic board during reassembly?
No. The M1 MacBook Air uses a fanless design with reusable thermal pads. As long as the factory pads are clean and intact, you do not need to apply any thermal paste.
What happens if I accidentally tear a flex cable during the teardown?
Torn flex cables cannot be repaired. You will have to replace the entire corresponding component (such as the trackpad or display). If you are uncomfortable handling these, use our Mail-In Repair Service instead.
🛑 IMPORTANT: SAFETY & LIABILITY DISCLAIMER TEKDEP®️ TEKDEP.com assumes no liability for property damage or injury incurred as a result of any information in this blog post or associated videos. Dealing with internal computer components, specifically Lithium-Ion batteries, carries unavoidable risks including fire, toxic gas exposure, and permanent device failure. Any injury, damage, or loss from improper use of tools, mishandling of components, or misinterpretation of this information is the sole responsibility of the user. Perform repairs at your own risk. If you are unsure of your capabilities, please utilize our professional Mail-In Repair Service.