


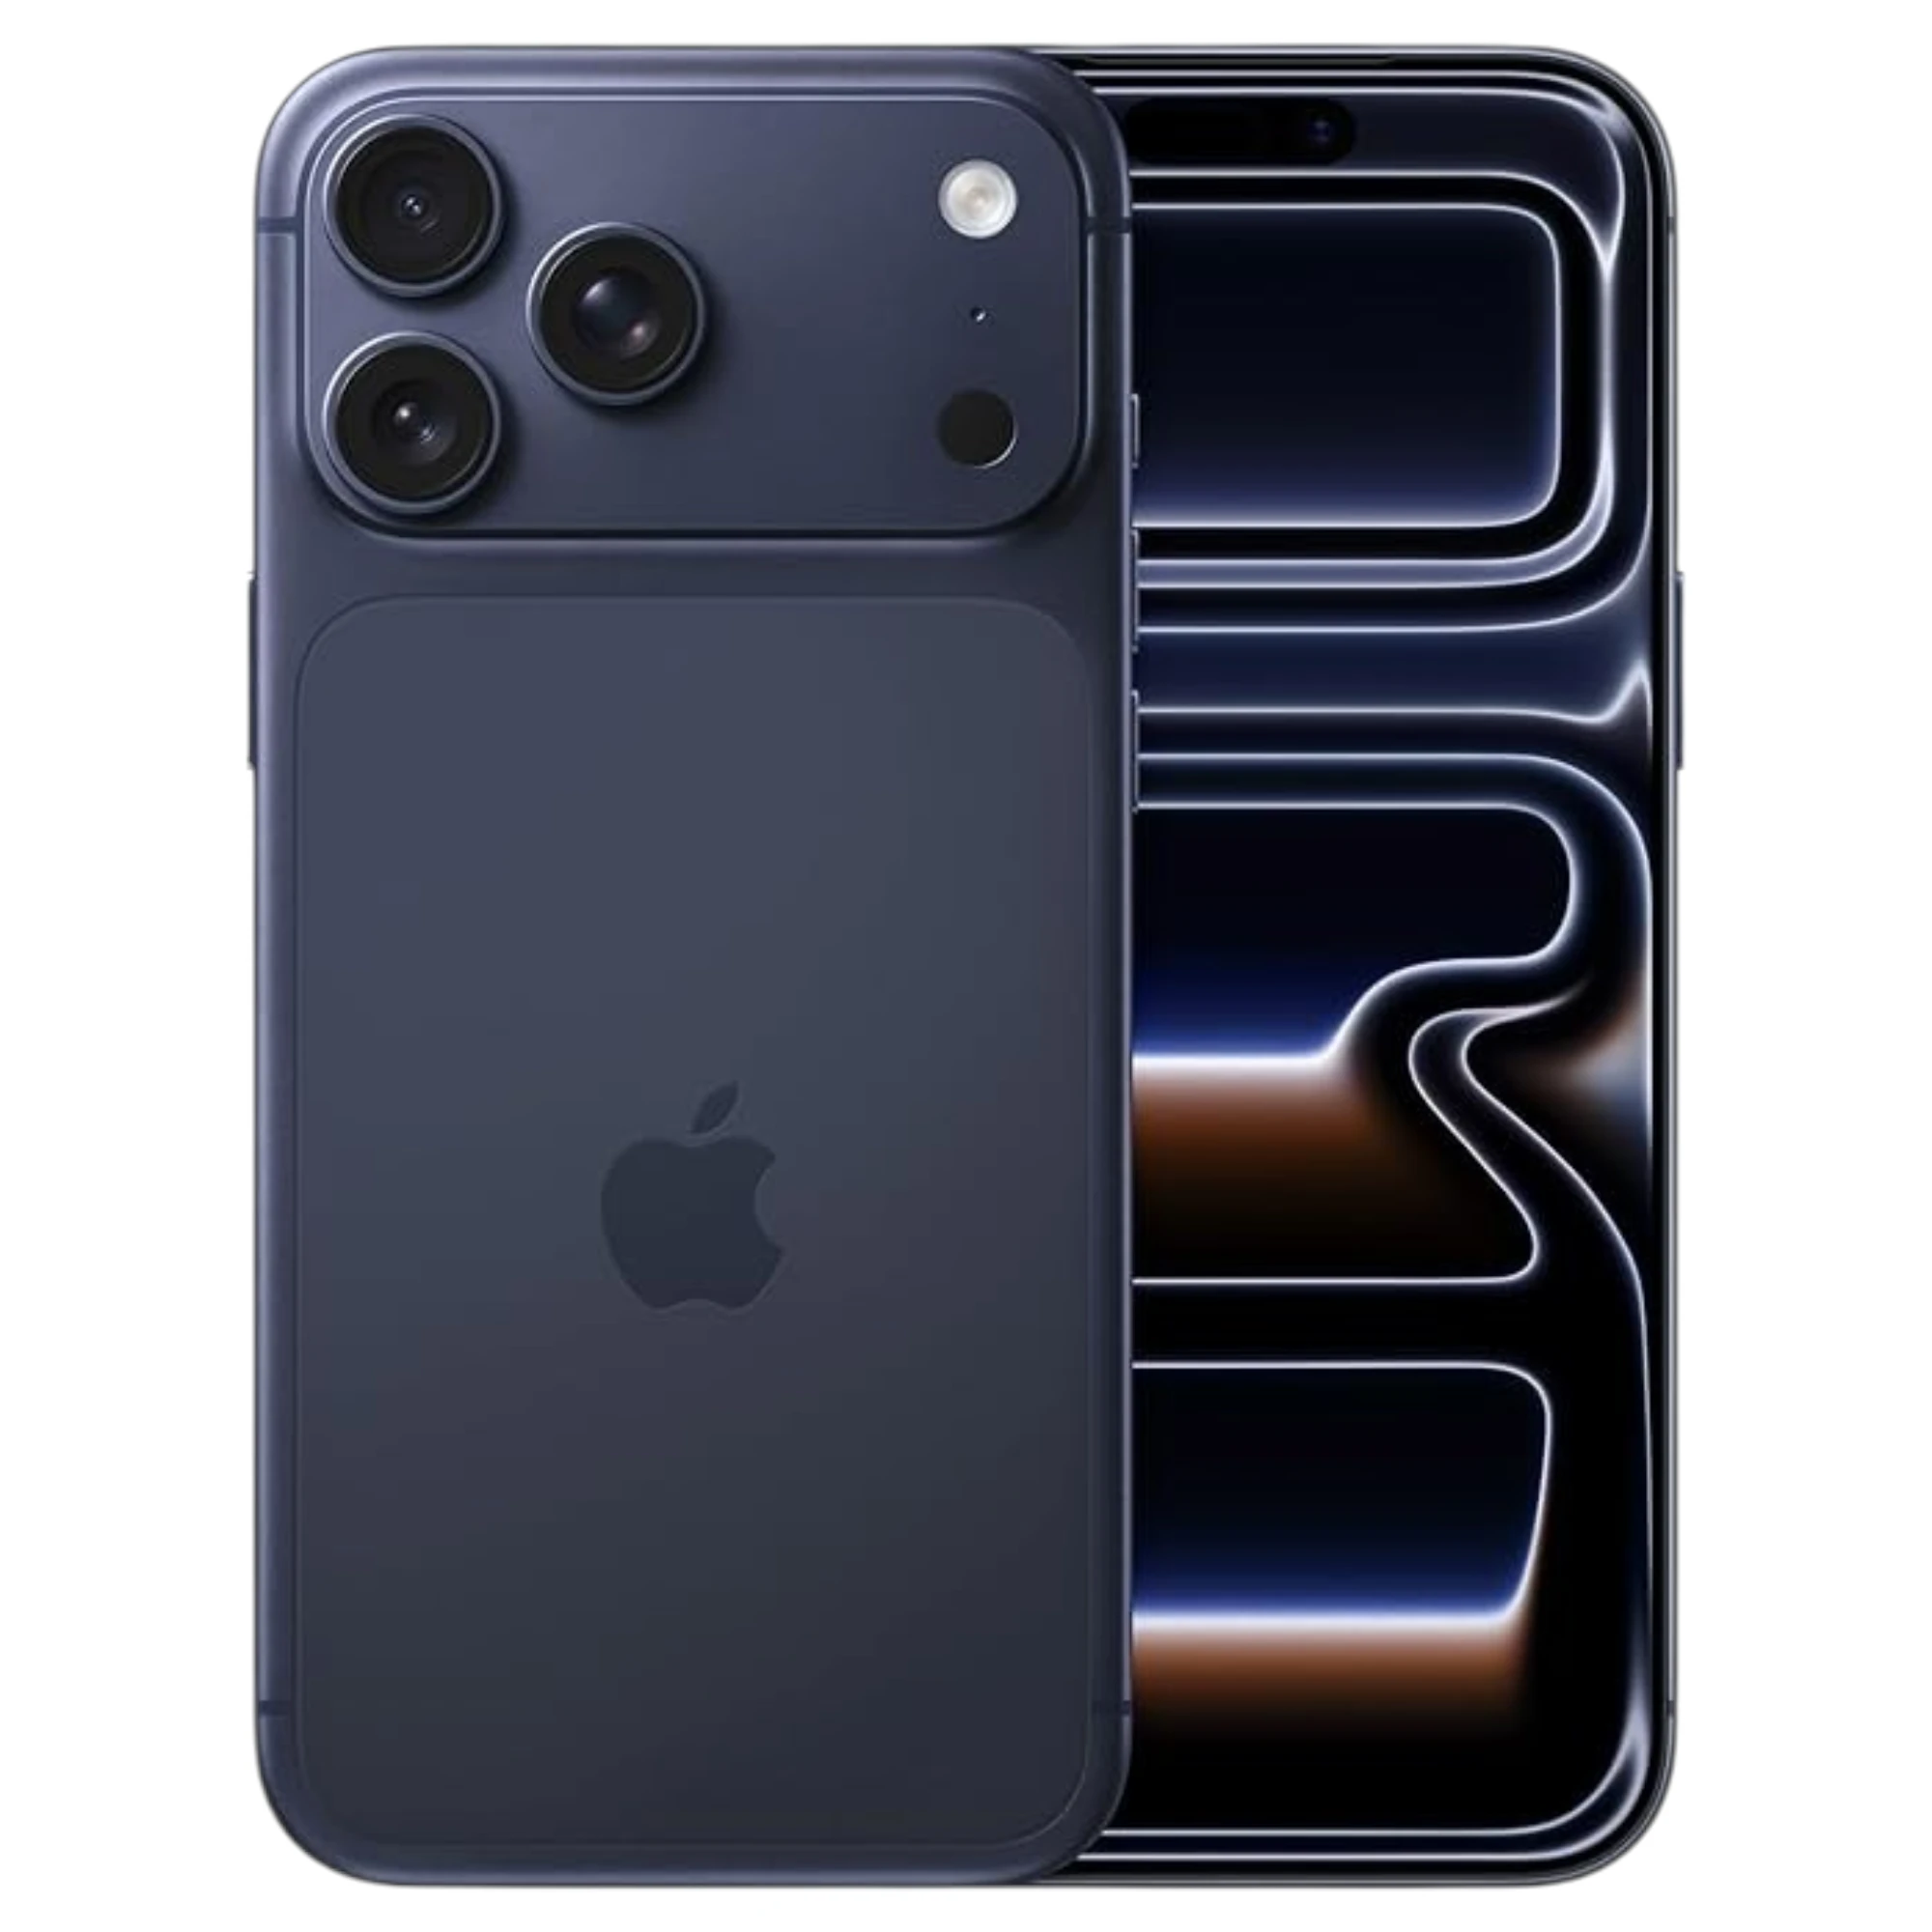







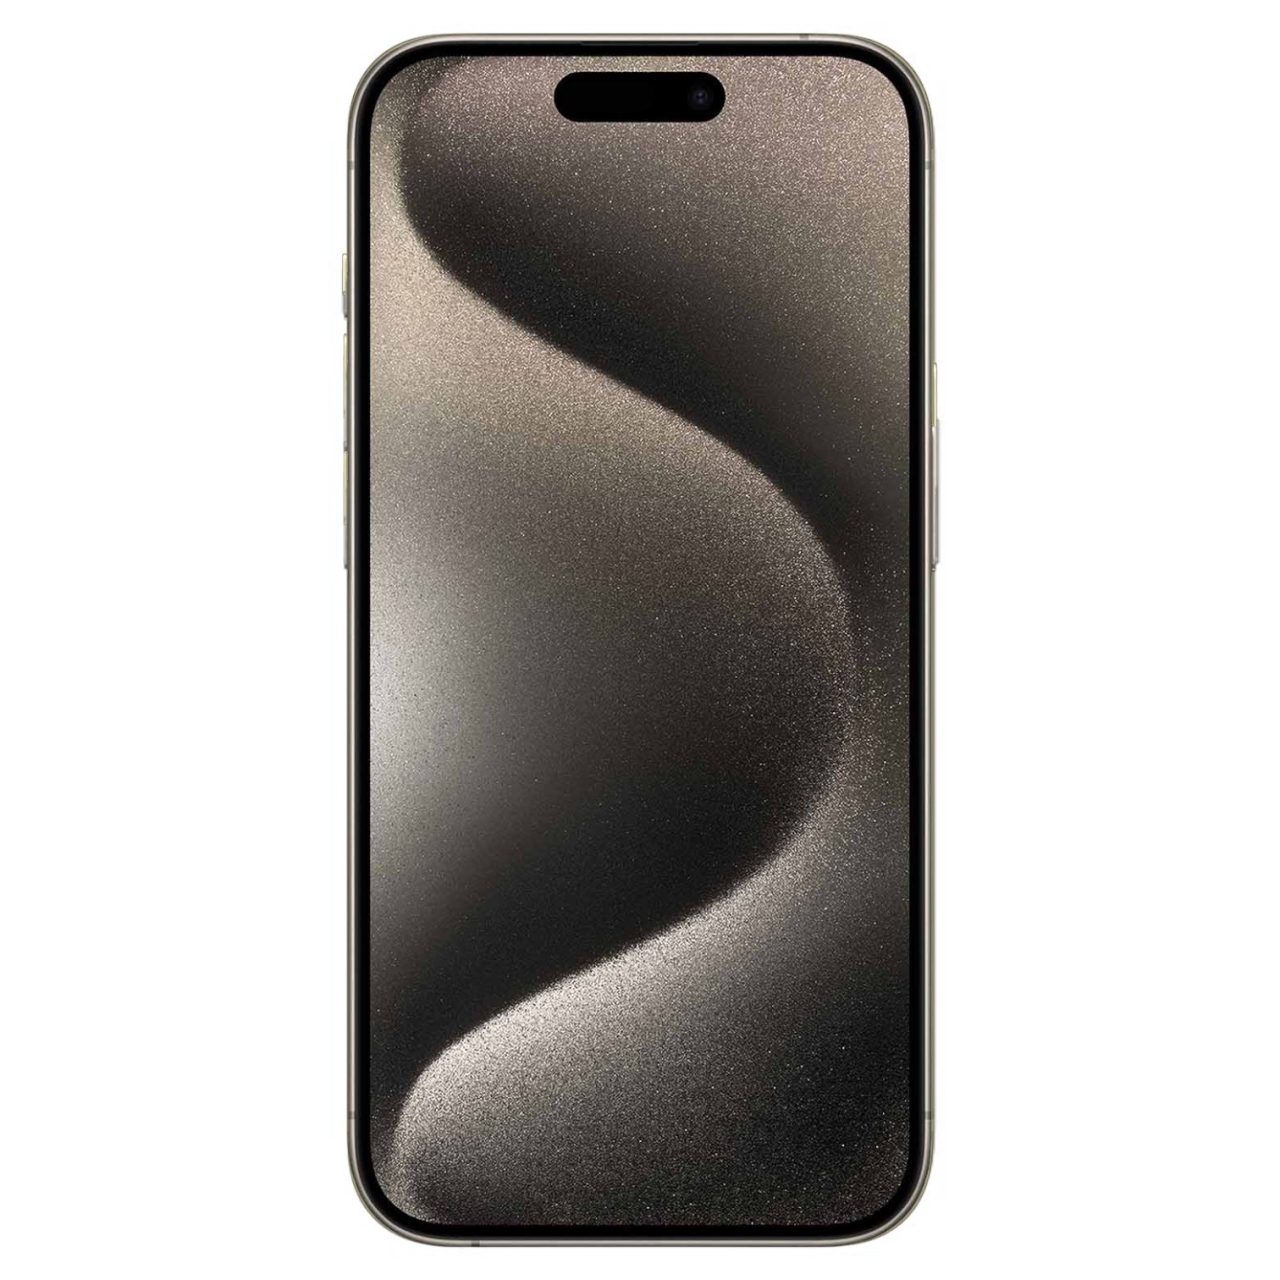


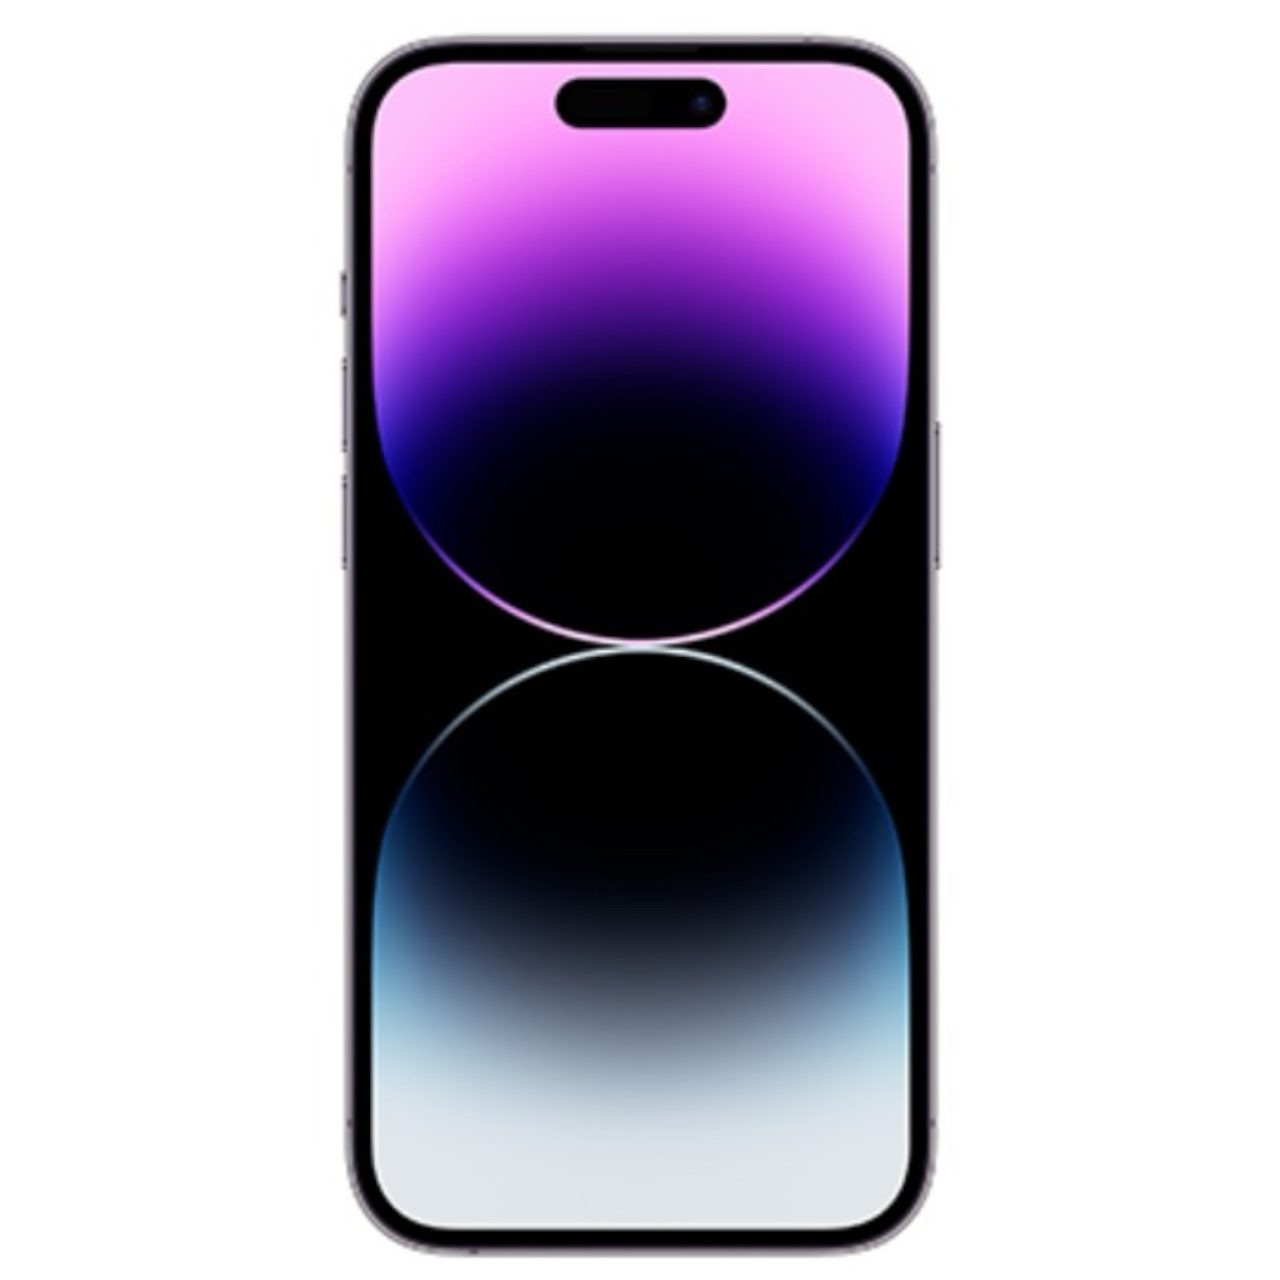
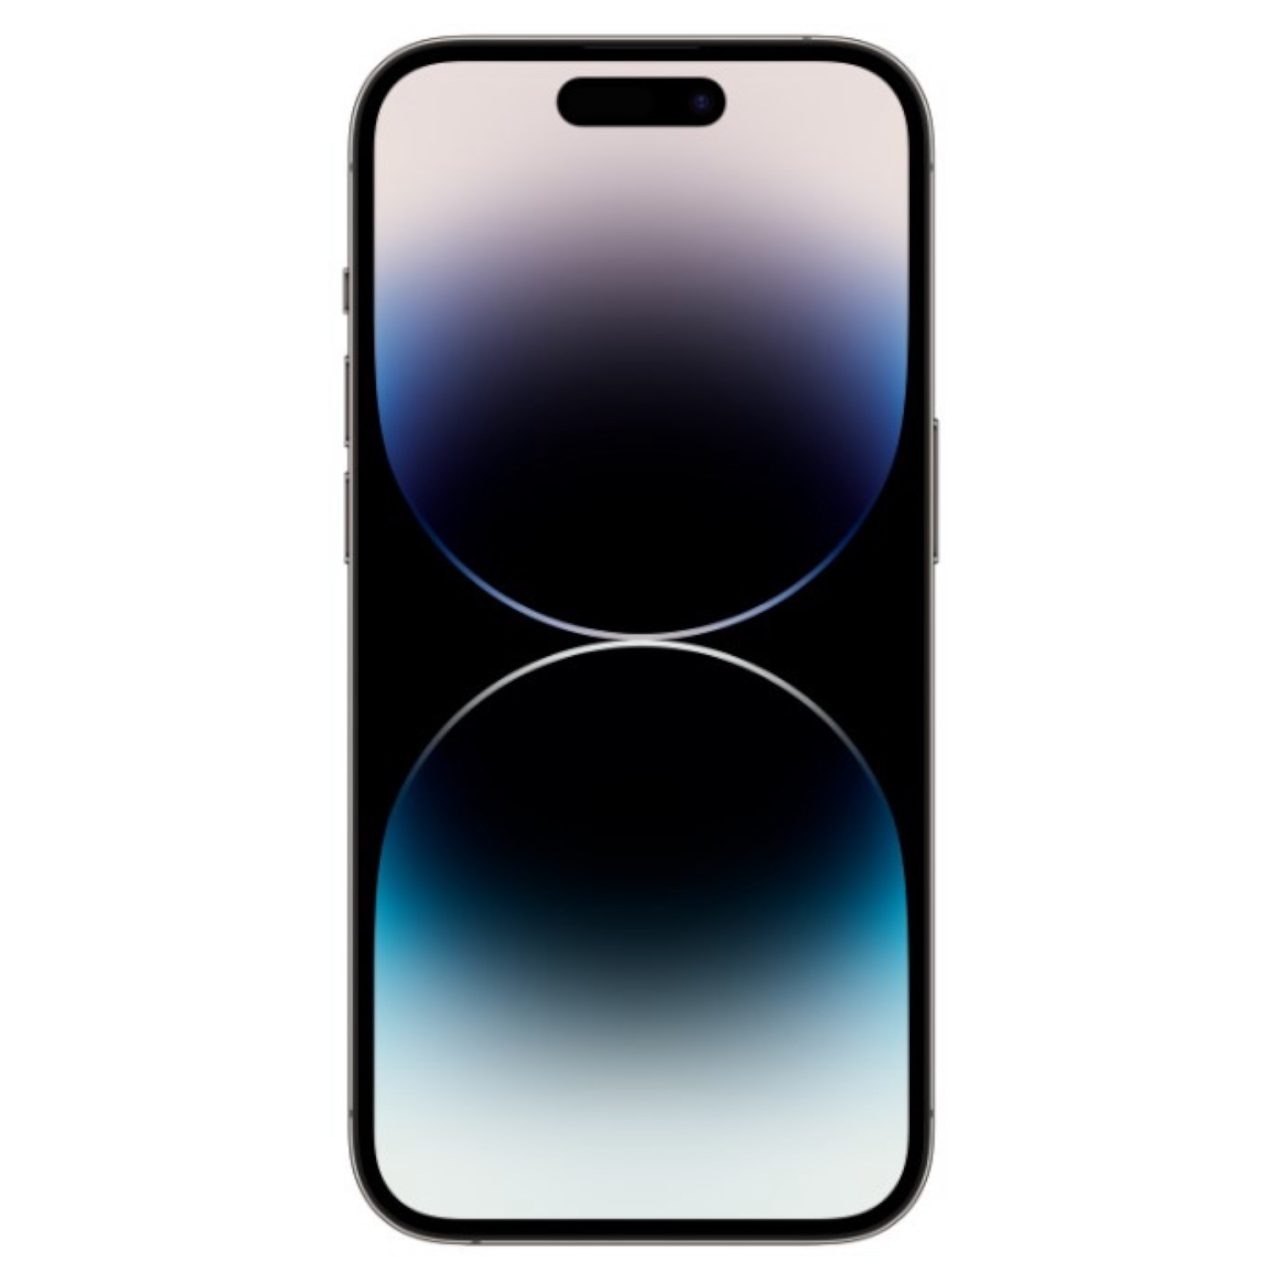















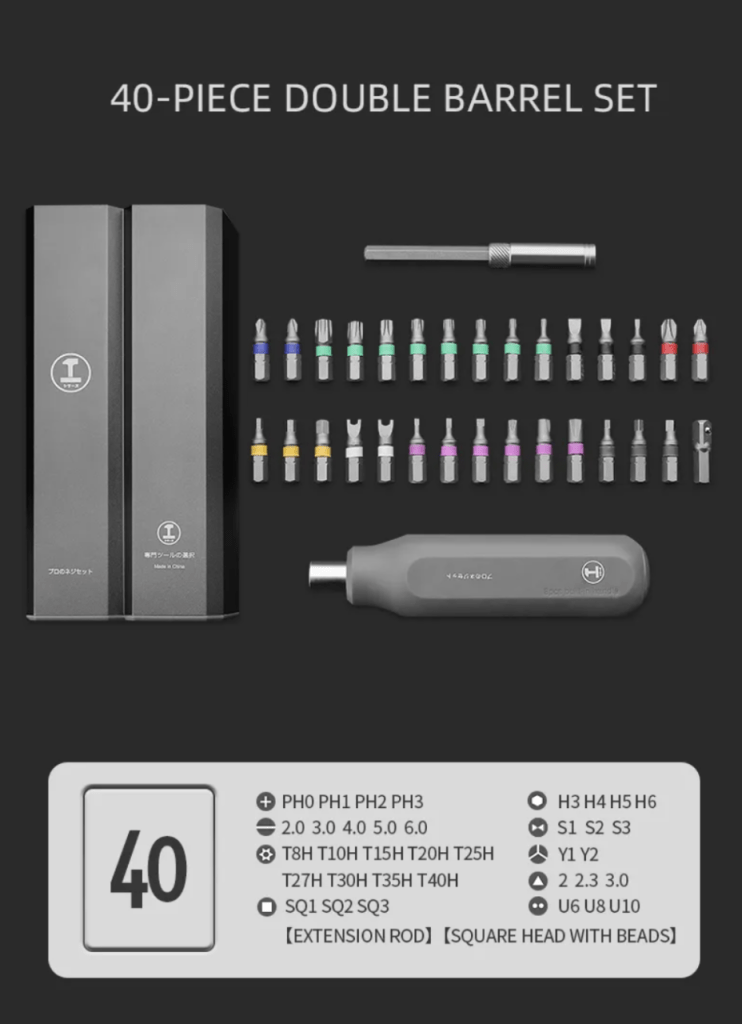
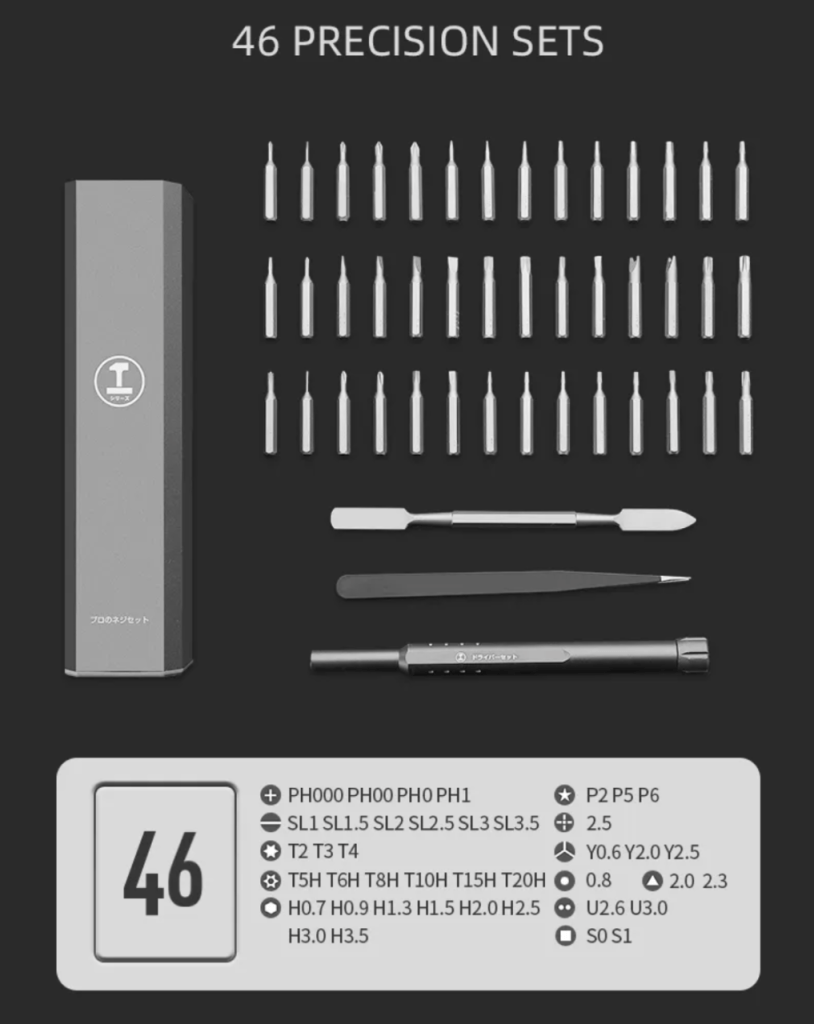
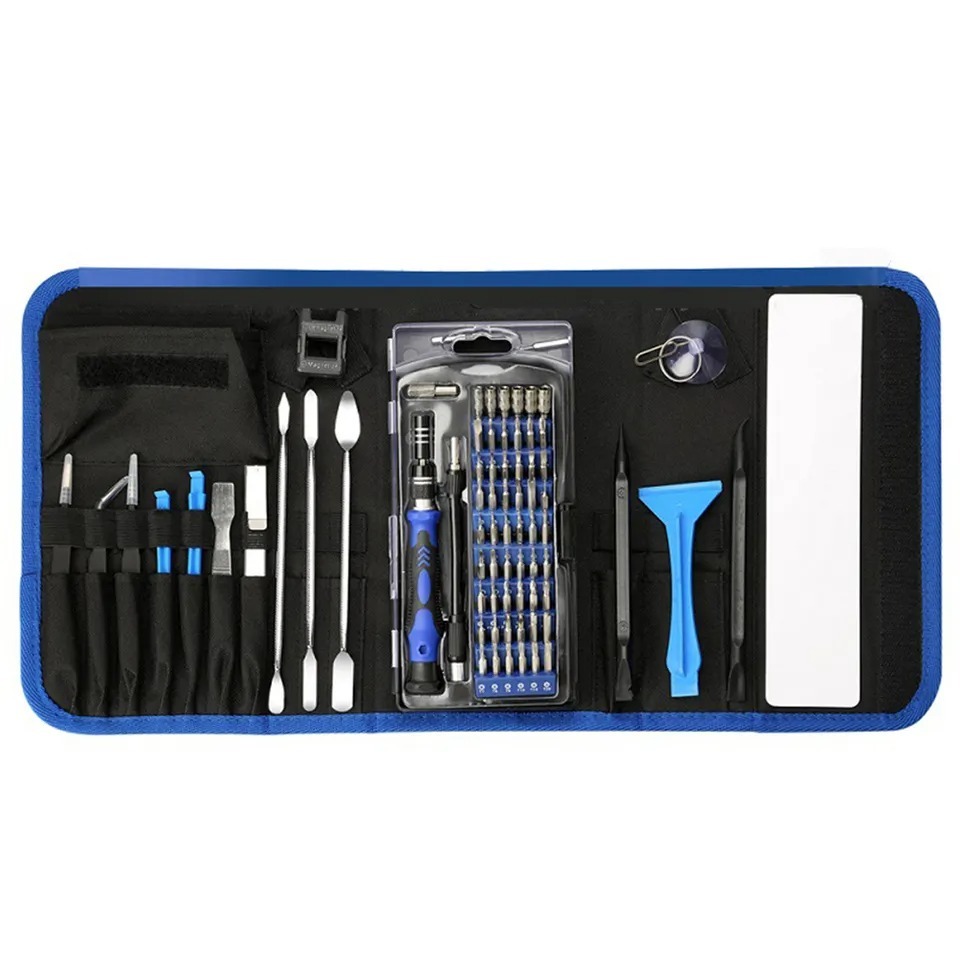


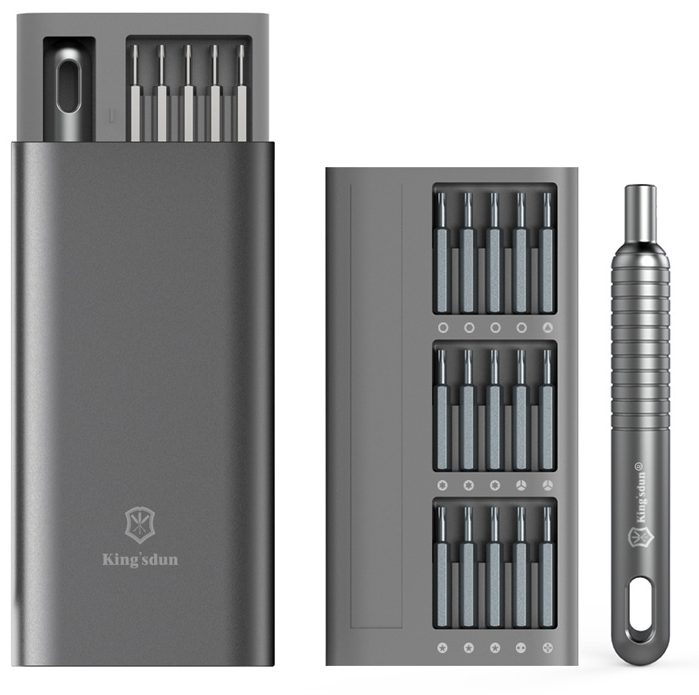


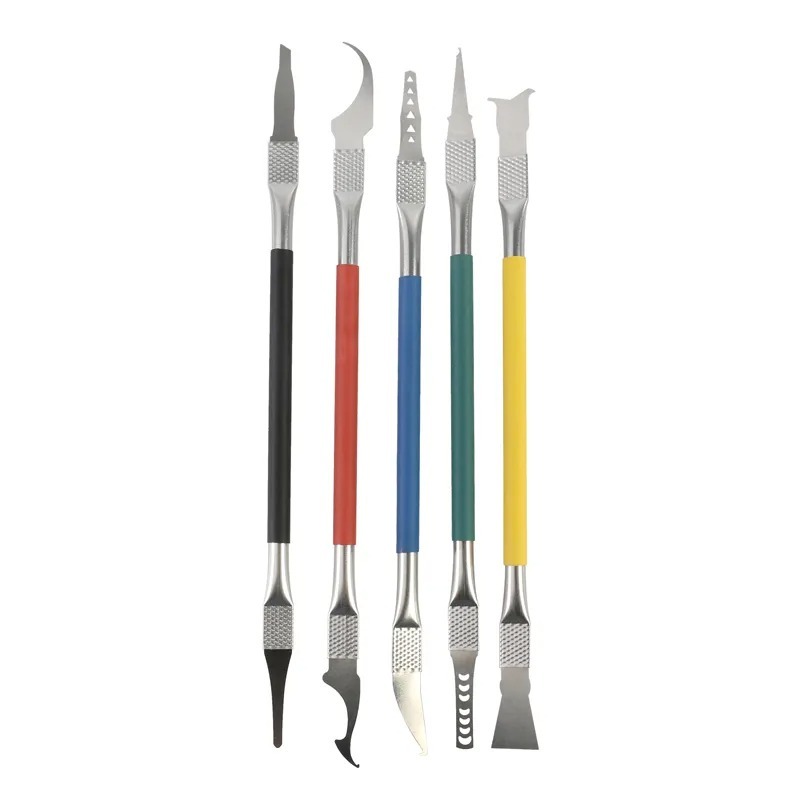
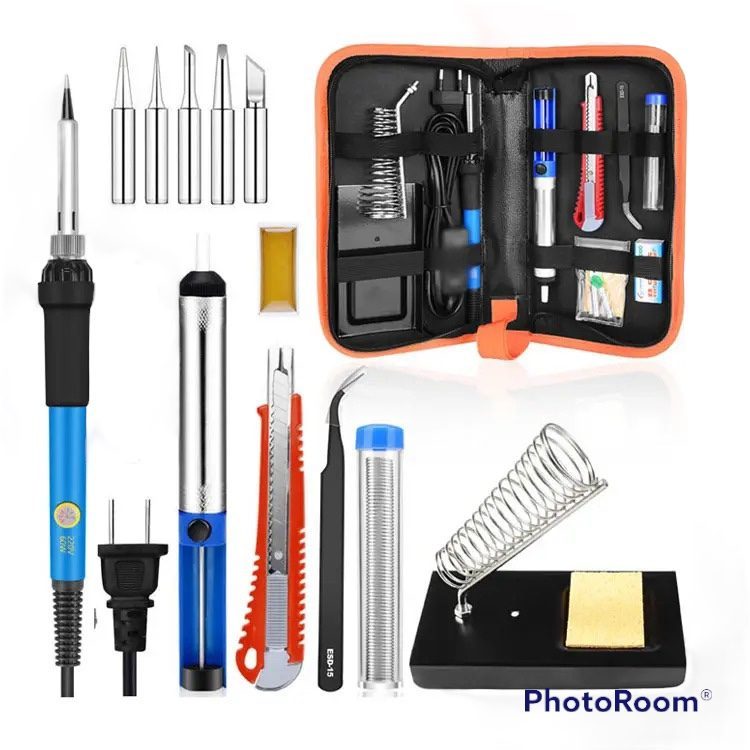

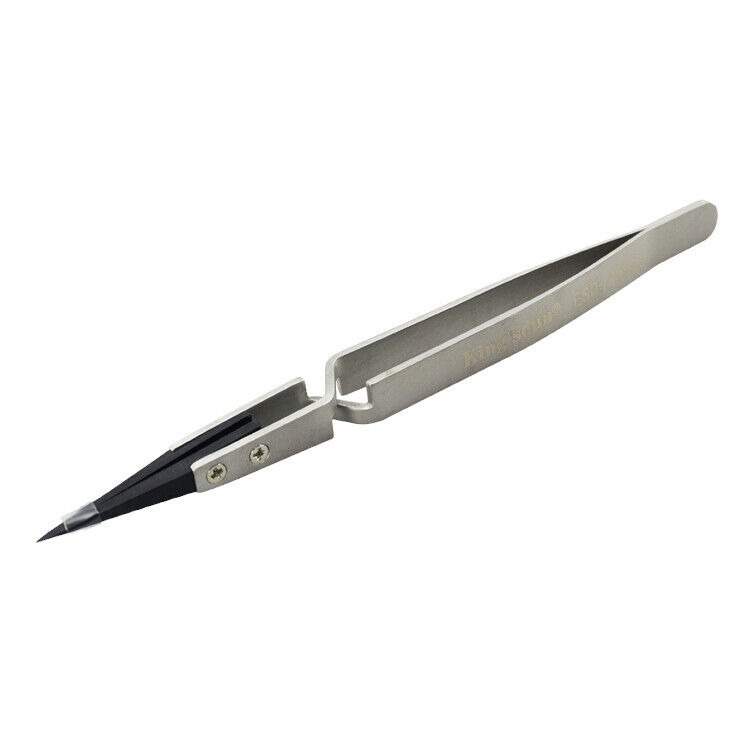



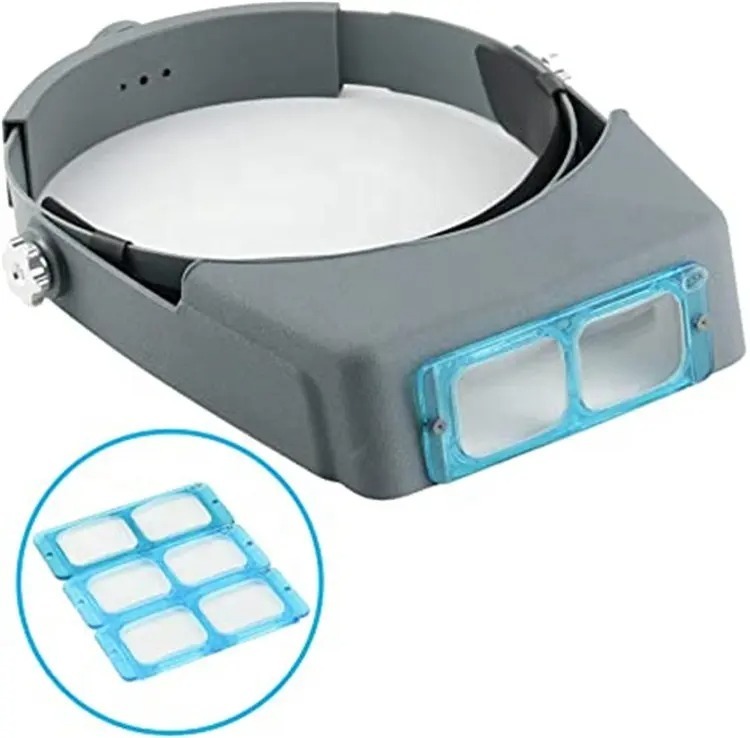



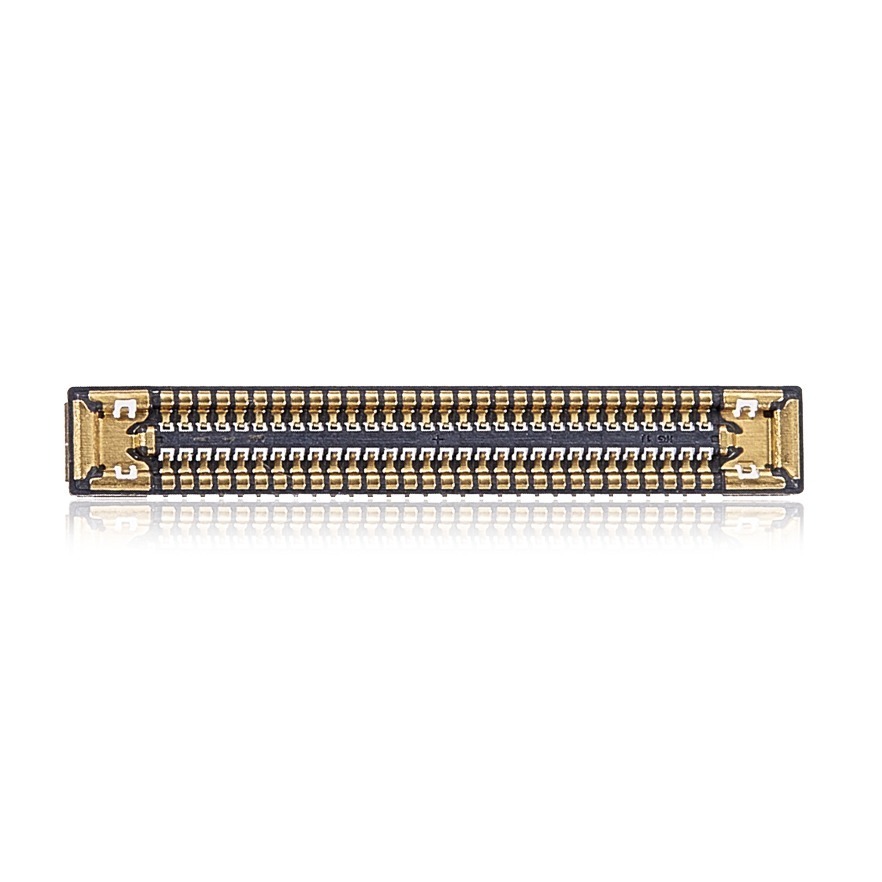

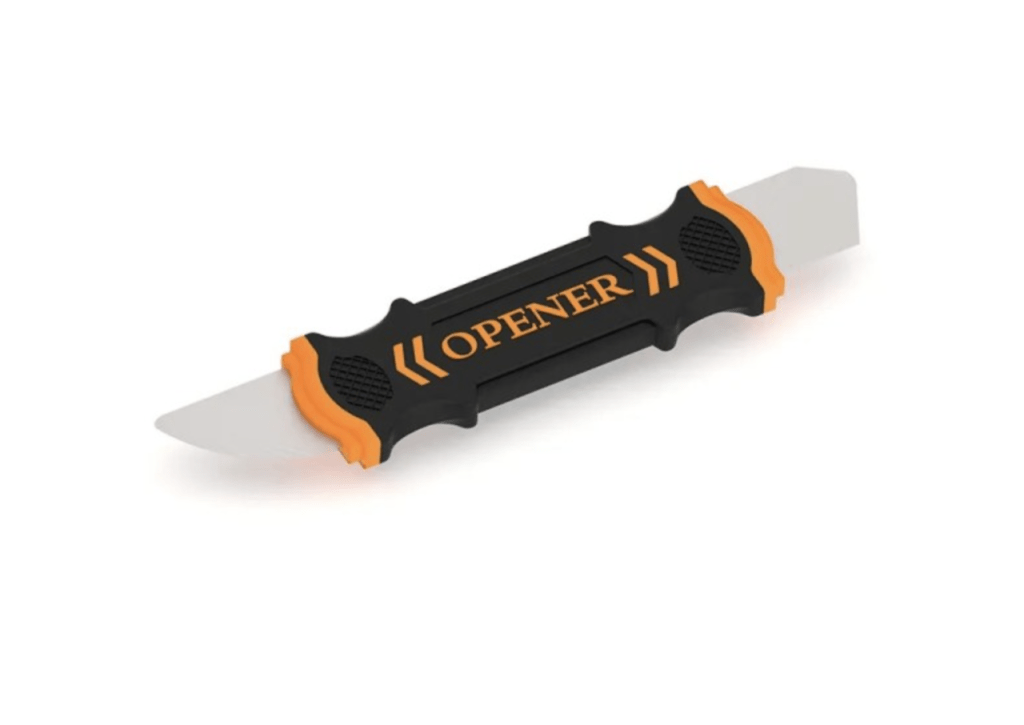

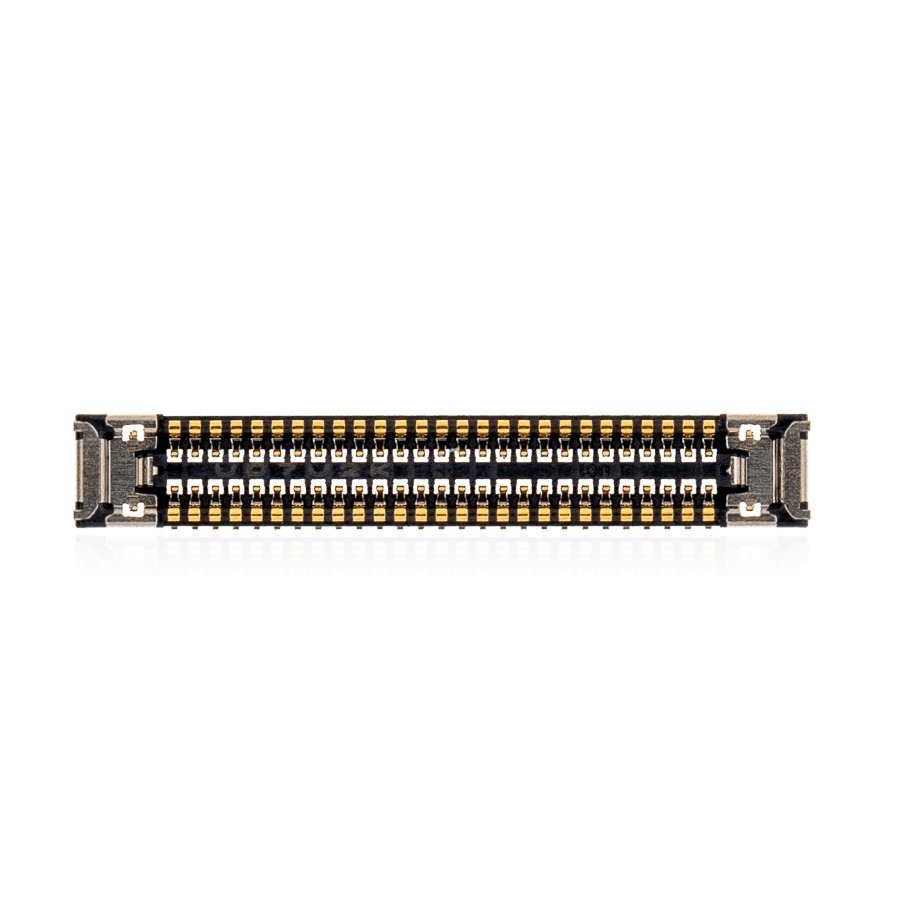





Model: Apple iPhone 18 Pro | Level: Intermediate | Tools: Heating mat, Pentalobe screwdriver, plastic pry tool, Phillips screwdriver, Tri-wing screwdriver, T4 Torx screwdriver, 9V battery or DC power supply. This guide will walk you through an iPhone 18 Pro Teardown step by step.
An iPhone 18 Pro teardown introduces Apple’s massive internal vapor chamber and its new electric-release adhesive. You will need a DC power supply or a standard 9V battery to properly separate the cells from the midframe.
If your device is losing charge fast, shutting down at random, or suffering from a cracked display with no backlight, swapping these two components will restore it to factory condition.
Our TEKDEP technicians will guide you step-by-step through the entire iPhone 18 Pro teardown and reassembly process. Let’s dive in.
How to Perform the iPhone 18 Pro Teardown (Quick Overview)
- Heat the bottom edge and remove the Pentalobe screws to begin opening the chassis.
- Slice the display adhesive without overextending your pry tool near the fragile top sensors.
- Disconnect the battery and press the power button for 10 seconds to discharge the board.
- Remove the screen brackets and carefully peel out the thin proximity sensor.
- Unscrew the midframe and use a 9V power supply to dissolve the battery adhesive.
- Seat the new battery with Tesa tape and reinstall the vapor chamber midframe.
- Reconnect the flex cables and secure the display before running a final power test.
🛠️ Required Tools & Preparation
An iPhone 18 Pro Teardown requires specialized Torx and Tri-wing bits, plus a 9V power source; power off and unplug first.
- Heating mat: softens the heavy display adhesive and the proximity sensor glue at 75–85°C.
- Pentalobe & Tri-wing screwdrivers: required for the exterior chassis and internal retaining brackets.
- T4 Torx & Phillips screwdrivers: required for the midframe vapor chamber and battery terminal.
- DC power supply or 9V battery: triggers the electric-release adhesive holding the battery.
- Plastic pry tool: safely separates the display and disconnects flex cables without causing shorts.
Get the Exact Tools Used by Our Techs:


You can also browse every part we stock for this model directly.
⚠️ Before you start: Disconnect the battery before you touch any connector. Work on an anti-static mat and keep each group of screws together. The proximity sensor flex cable is extremely fragile; do not tear it when slicing the screen adhesive.
Phase 1: Getting Inside (Bottom Screws & Screen Heating)
The first major challenge in this iPhone 18 Pro teardown is the screen. It is secured by heavy adhesive and requires steady, controlled heat to open safely.
Step 1: Heat and Remove Bottom Screws
- Place the phone face down on a heating mat set to 75–85°C to soften the display adhesive.
- Remove the two Pentalobe screws at the bottom edge of the device near the charging port.

Step 2: Pry Open the Screen
Insert a plastic disassembling tool or playing card into the bottom gap and slide it along the sides to break the adhesive seal.
- Crucial Note: Do not overextend the card near the top edge; you could tear the delicate proximity sensor flex cable.
- If you feel heavy resistance, return the phone to the heating mat rather than forcing the tool.
- Once the sides are free, lift the screen open slightly like a book to reveal the internal shields.

Step 3: Disconnect the Battery and Discharge
Before fully removing the screen, you must disconnect the battery to prevent short-circuiting the logic board.
- Remove the single Phillips screw securing the battery terminal bracket and lift it off.
- Use a plastic pry tool to pop the battery connector off the motherboard.
- Press and hold the power button for at least 10 seconds to discharge any remaining static electricity from the board.

Phase 2: Removing the Screen & Proximity Sensor
With power isolated, you can safely remove the metal retaining brackets and free the display.
Step 1: Remove the Screen Brackets
The screen is tethered by flex cables trapped under metal shields.
- Remove the two Tri-wing screws securing the top bracket and lift the shield away.
- Remove the leftmost retaining bracket to fully disconnect the screen cables and set the display aside.
Step 2: Remove the Proximity Sensor
The proximity sensor must be transferred to your new screen, but it is extremely thin and fragile.
- Place the screen back on the 75–85°C heating mat, or apply a single drop of isopropyl alcohol under the flex cable to soften the glue.
- Slide a flat tool slowly underneath the sensor to break the adhesive back and forth.
- Lift the entire sensor assembly away from the display housing.
TekDep Expert Warning: The new proximity sensor design is incredibly thin. Prying with too much tension or too small of a surface area will tear the flex cable, permanently breaking Face ID functionality.

Phase 3: Removing the Midframe & Battery (Electric Release)
As we get deeper into the iPhone 18 Pro teardown, you’ll notice Apple mounts the battery to a massive graphite vapor chamber midframe using electrically conductive adhesive.
Step 1: Remove the Midframe and Vapor Chamber
The entire internal shield must come out before you can release the battery.
- Remove the six T4 Torx screws located around the side and middle of the vapor chamber.
- Pry the midframe open and set it on your bench; the battery remains firmly glued to it.
Step 2: Release the Battery Adhesive
You must apply a low-voltage electrical current to dissolve the adhesive holding the cells.
- Peel back the small contact point tab on the side of the battery adhesive.
- Set your DC power supply to 9–12 volts and exactly 1 ampere. (A standard 9V battery can also work if you lack a power supply).
- Clip the negative terminal to the metal frame (ground) and the positive terminal to the adhesive tab.
- Wait one to two minutes for the current to dissolve the glue, then easily lift the battery away from the vapor chamber.

Phase 4: Installing the New Battery & Reassembly
Positioning the new iPhone 18 Pro battery correctly ensures the flex cable reaches the logic board without stretching.
Step 1: Apply Adhesive and Seat the New Battery
The new battery requires fresh adhesive before it goes back onto the midframe.
- Apply strips of specialized Tesa tape directly to the graphite vapor chamber where the old adhesive sat.
- Line up the battery terminal perfectly with the cutout hole on the midframe.
- Press the battery firmly into place to secure the tape.

Step 2: Reinstall the Midframe
- Position the fully assembled midframe back into the phone housing.
- Reinstall the six T4 Torx screws to secure the vapor chamber to the chassis.

Step 3: Transplant the Proximity Sensor
Move the sensor assembly over to your new replacement screen.
- Seat the chip and sensor precisely into the top cutouts of the new display.
- Insert the hook of the left retaining bracket to cover the chip.
- Reinstall the Tri-wing screws for the right bracket to secure the assembly tightly.
Phase 5: Connecting Screen & Final Testing
The device is fully assembled; reconnect the logic board and seal the chassis.
Step 1: Reconnect the Screen and Battery
- Connect the screen flex cables first, pressing them down until they click.
- Line up the battery connector perfectly and use a spudger to slide it left and right with a little pressure until seated. Do not bend the logic board pins.
- Reinstall the metal retaining brackets and secure them with the Phillips screws.

Step 2: Secure the Display and Bottom Screws
- Start from the top of the device, line up the display clips, and slide it downward into the chassis.
- Press the edges firmly to seal the adhesive flush with the frame.
- Reinstall the two bottom Pentalobe screws.
Step 3: Power Test
Press the power button to confirm the device boots properly and the touch screen responds across all areas.
Congratulations! You have successfully completed this iPhone 18 Pro teardown and finished your screen and battery replacement.
🛑 Not Comfortable Working With 9V Electrical Adhesives? If reading about vapor chambers and delicate sensor flex cables has you second-guessing your DIY skills, don’t worry. The TEKDEP experts are here to help.
We offer clean, professional, and affordable Mail-In repair services for the entire Apple iPhone lineup.
Frequently Asked Questions
Is it hard to complete the iPhone 18 Pro battery and screen replacement?
It is an intermediate repair that requires specialized tools. You must safely transplant an extremely fragile proximity sensor and use a DC power supply or 9V battery to properly dissolve the new electric-release adhesive holding the battery.
How does the electric-release battery adhesive work?
Apple uses an electrically conductive glue that loses its grip when voltage is applied. By connecting a 9–12V power supply (at 1 ampere) to the adhesive tab and grounding it to the chassis for two minutes, the battery simply lifts out.
What screws do I need to remove the iPhone 18 Pro midframe?
The midframe, which also acts as a massive graphite vapor chamber, is held down by six T4 Torx screws. You must remove them to separate the midframe and battery assembly from the rest of the chassis.
Will opening my iPhone 18 Pro reduce its water and dust resistance?
Yes, removing the screen breaks the original factory adhesive seal, which compromises the device’s IP rating. To restore optimal water and dust resistance, you must thoroughly clean the frame margins and apply a new, model-specific water-resistant adhesive seal before reinstalling the display.
🛑 IMPORTANT: SAFETY & LIABILITY DISCLAIMER TEKDEP®️ TEKDEP.com assumes no liability for property damage or injury incurred as a result of any information in this blog post or associated videos. Dealing with internal computer components, specifically Lithium-Ion batteries, carries inherent risks including fire, toxic gas exposure, and irreversible device failure. Any injury, damage, or loss from improper use of tools, mishandling of components, or misinterpretation of this information is the sole responsibility of the user. Perform repairs at your own risk. If you are unsure of your capabilities, please utilize our professional Mail-In Repair Service.


