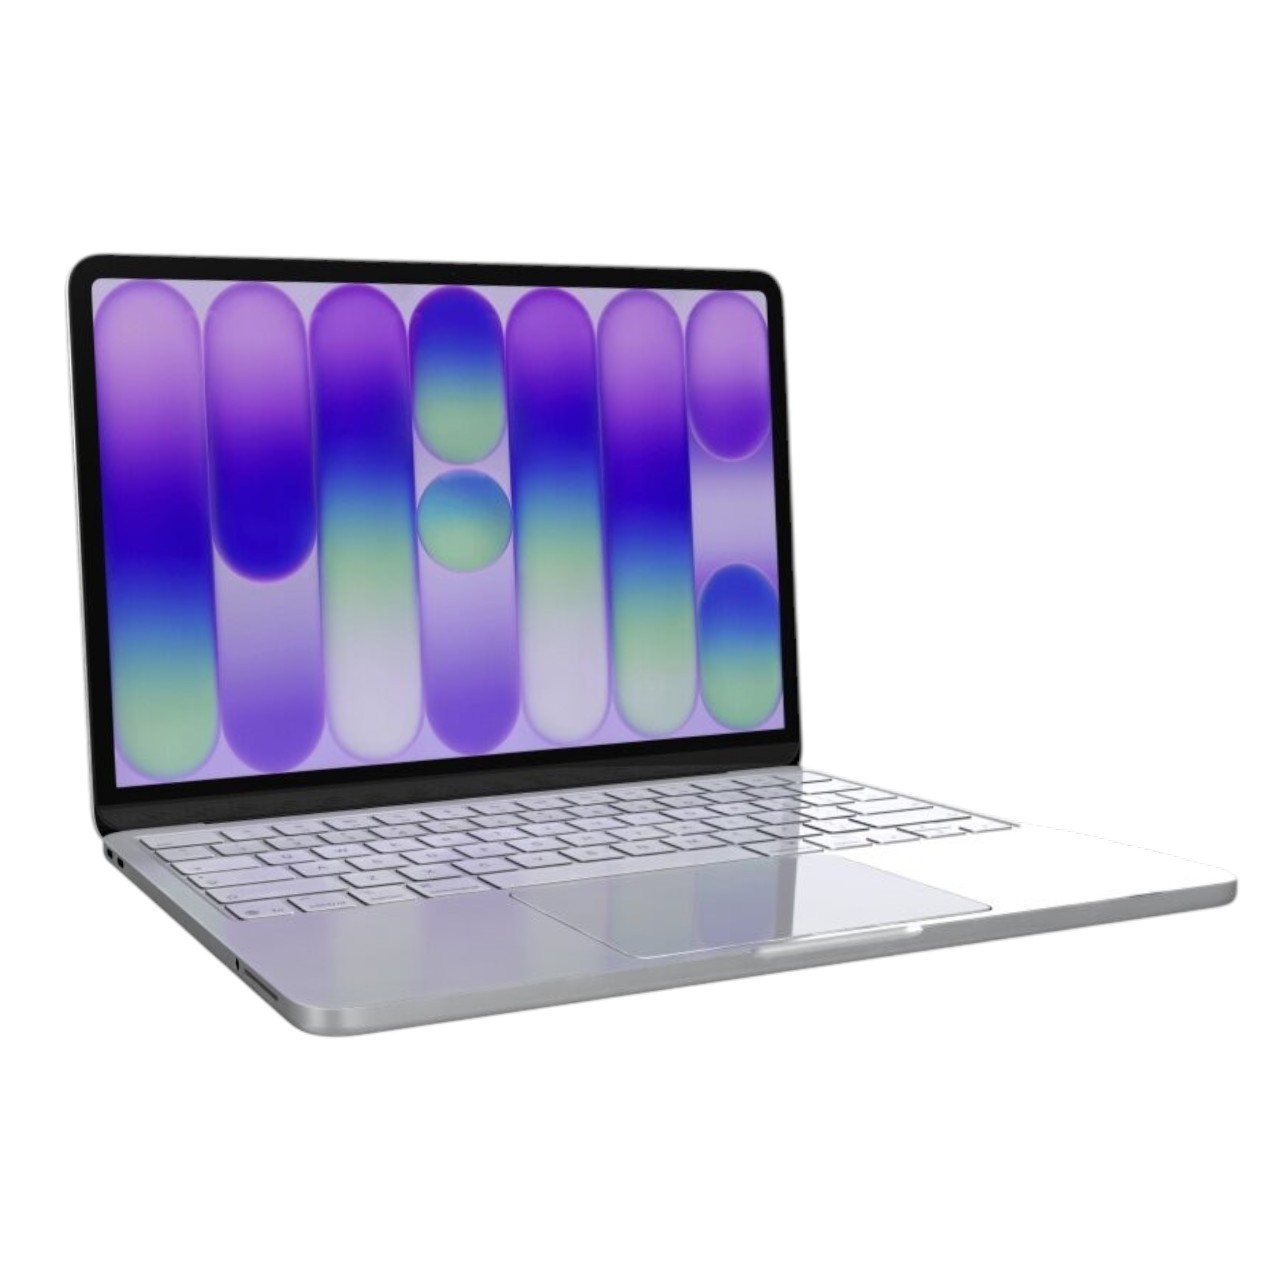



































Model: Dell XPS 13 (9345) | Level: Intermediate | Tools: T5 Torx screwdriver, precision tweezers, plastic pry tool. This guide covers the Dell XPS 9345 teardown process in detail.
A complete Dell XPS 13 9345 teardown reveals a mix of modular upgrades and integrated components. While you cannot upgrade the soldered RAM, the storage drive and battery are easily replaceable.
Whether you are dealing with a dying battery, loud cooling fans, or you need to transfer data to a larger SSD, opening the chassis is the first step to fixing the problem.
Our lead technician walks you through the entire disassembly process. Let’s get started.
How to Perform a Dell XPS 13 9345 Teardown (Quick Overview)
- Remove the T5 screws and pop the bottom plate open.
- Unplug the battery flex cable before touching any other part.
- Extract the SSD and cooling fans to clear the logic board.
- Release the display flex cables safely from their mounting bracket.
- Undo the hinges and separate the top case from the screen.
- Lift the logic board out to finish the disassembly.
🛠️ Required Tools & Preparation
A teardown of the Dell XPS 13 9345 needs only a few standard precision tools. Power off and unplug the laptop before you start.
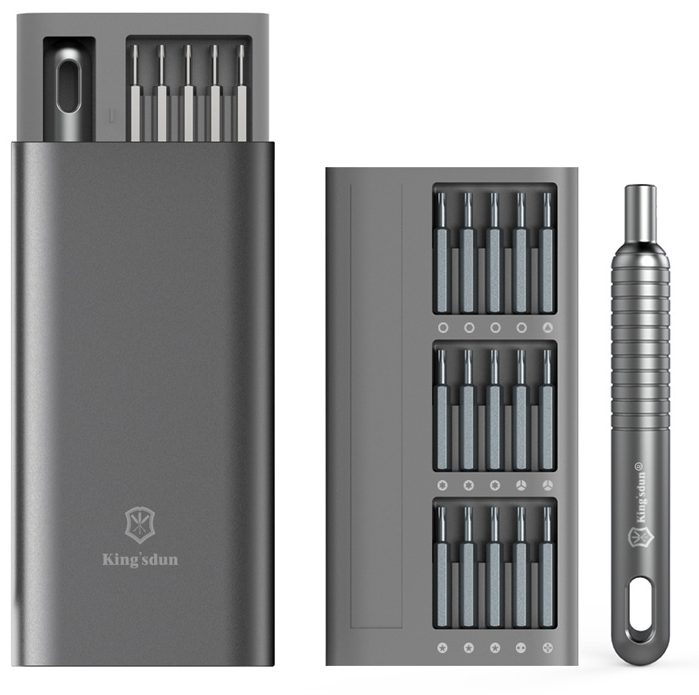
- T5 Torx screwdriver: opens the bottom case.
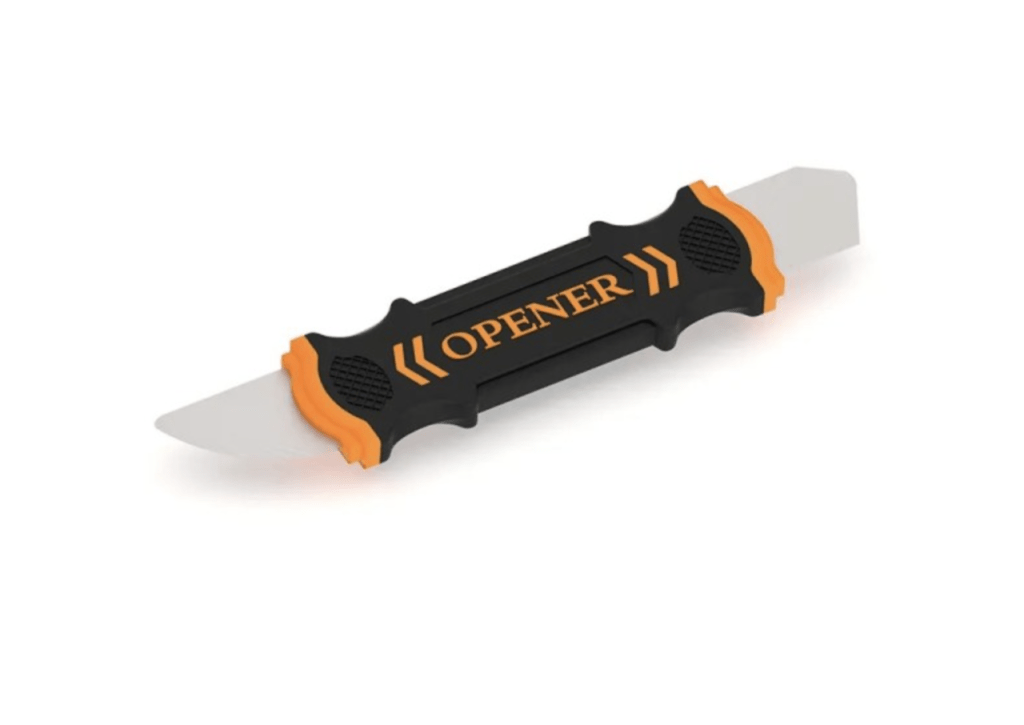
- Plastic pry tool: safely pops clips and lifts delicate flex cables.
- Precision tweezers: handle small screws and antenna wires.
⚠️ Before you start: Disconnect the battery before you touch any connector. Work on an anti-static mat and keep each group of screws together, as mixing them up can damage the logic board.
Get the Exact Tools Used by Our Techs:
-
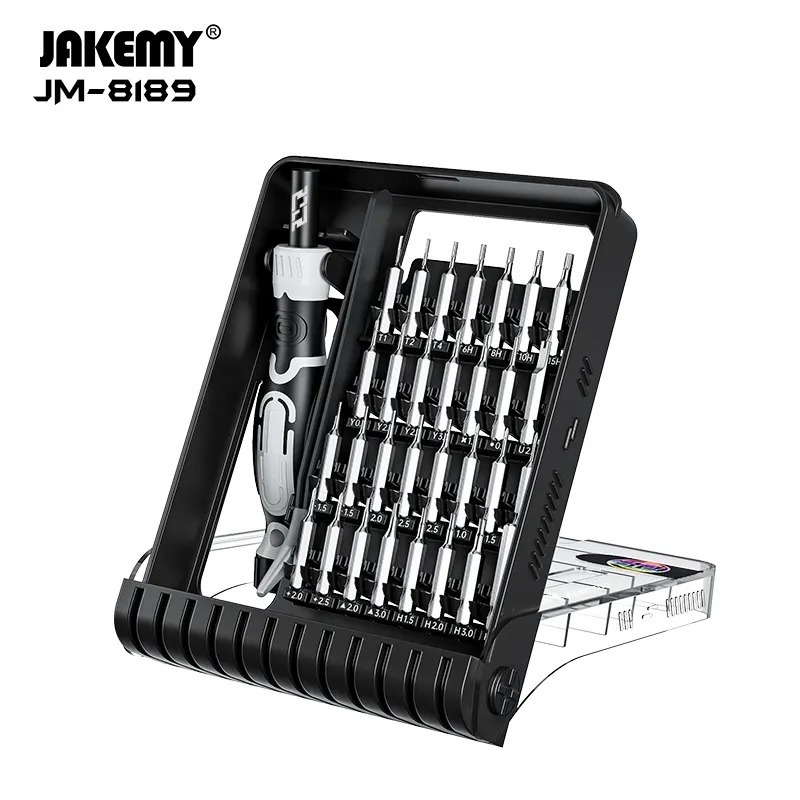
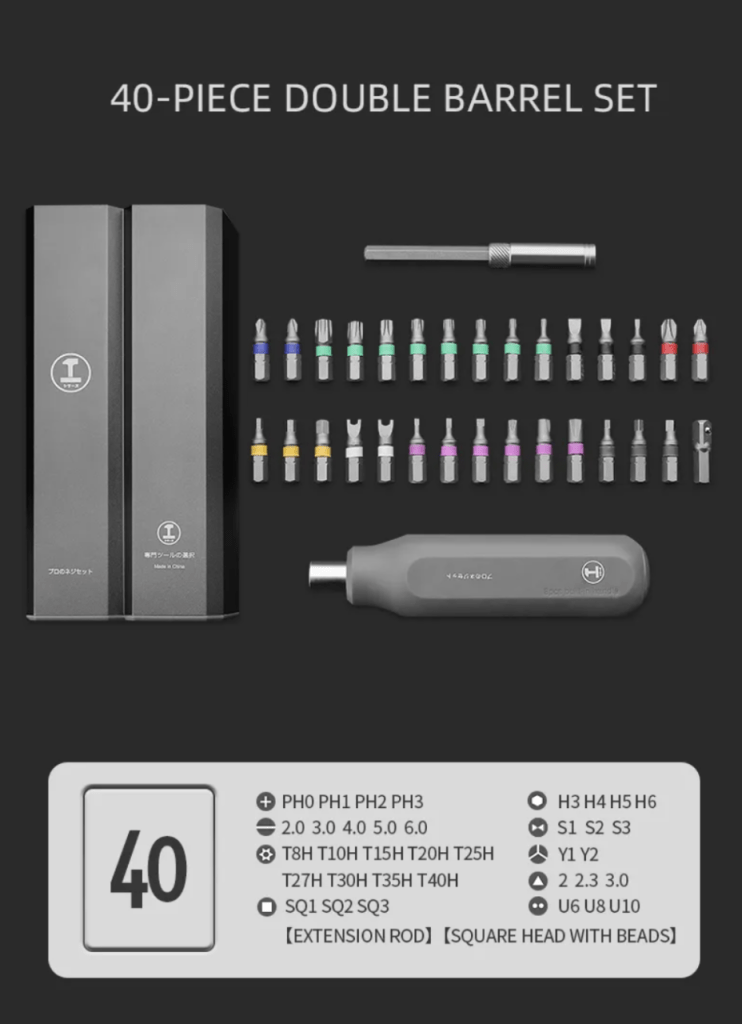
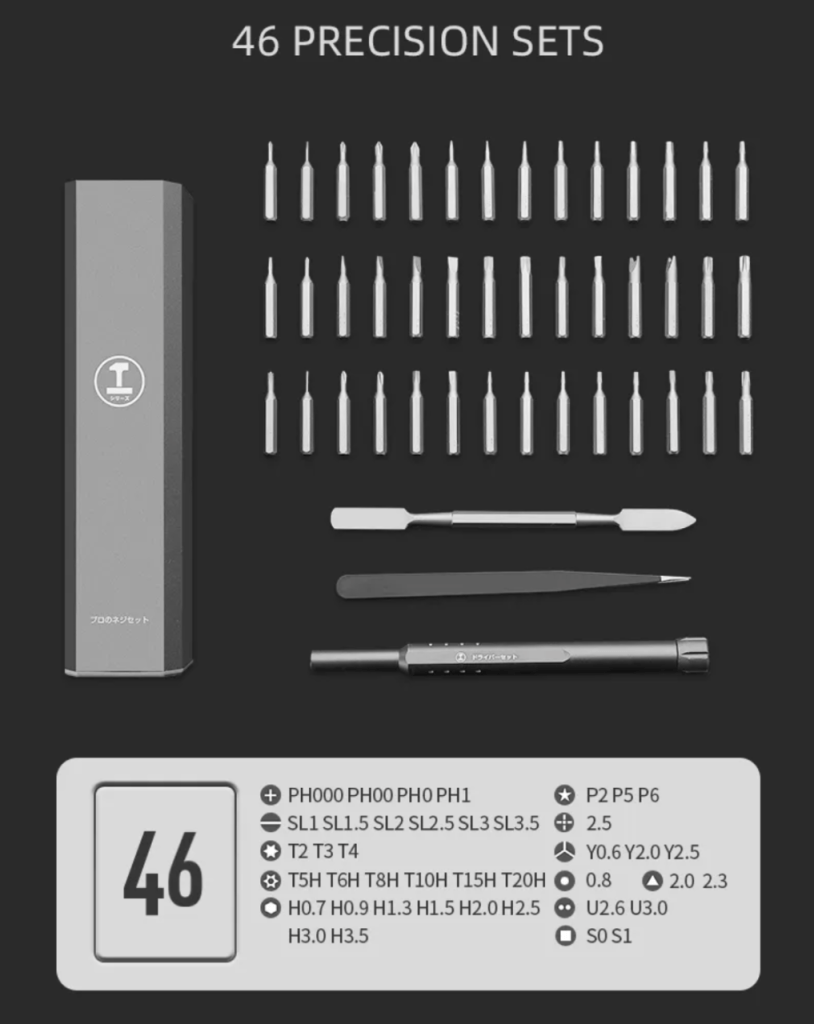
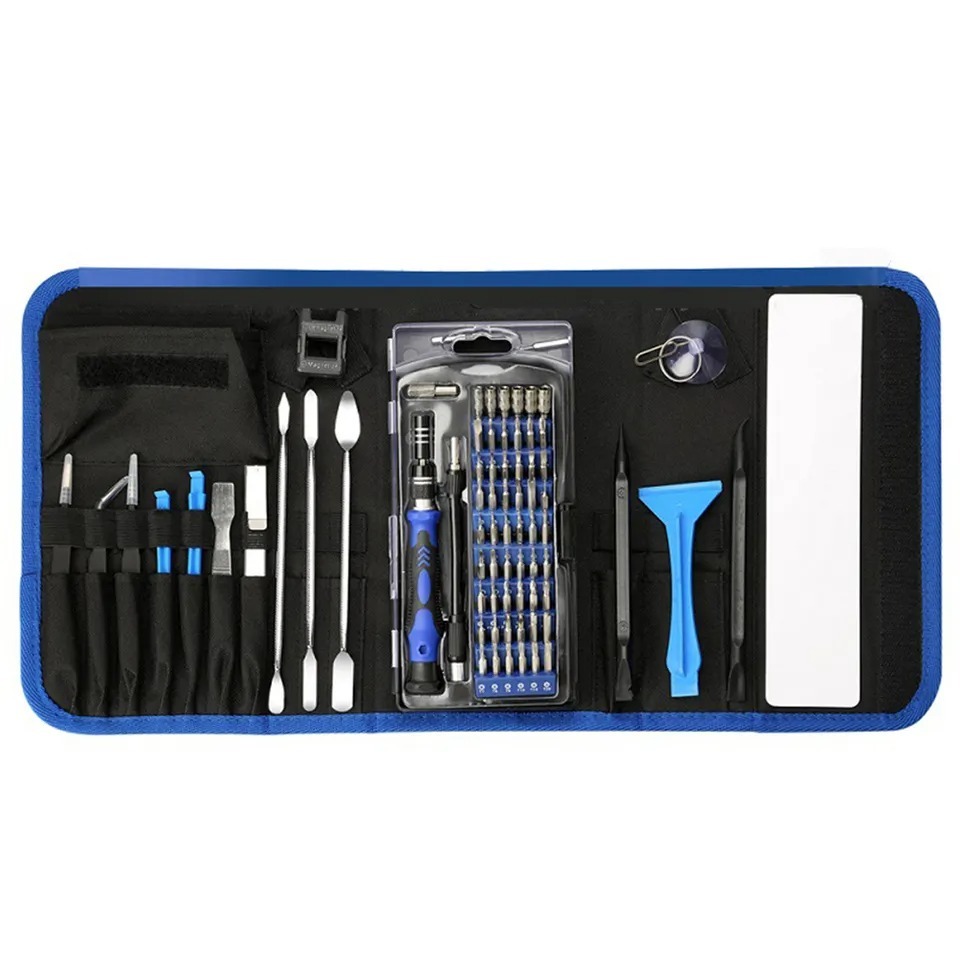
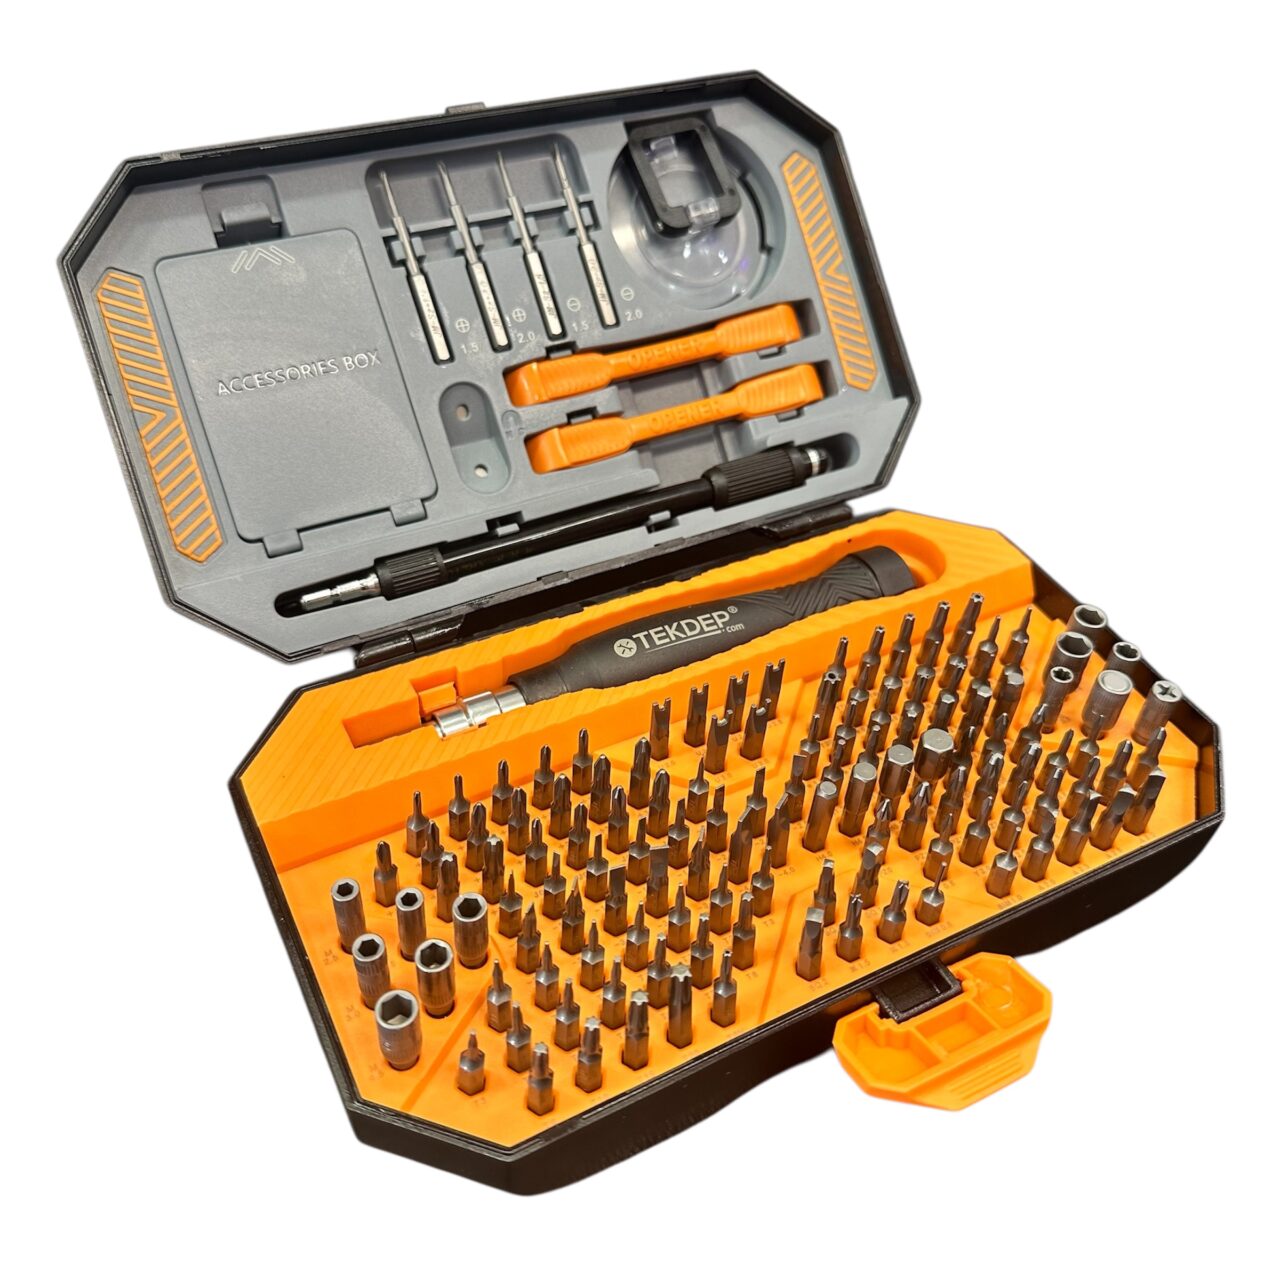
TEKDEP Professional Tool Set 145-in-1 For Electronics, iPhone, Laptop, PC Repairs
-
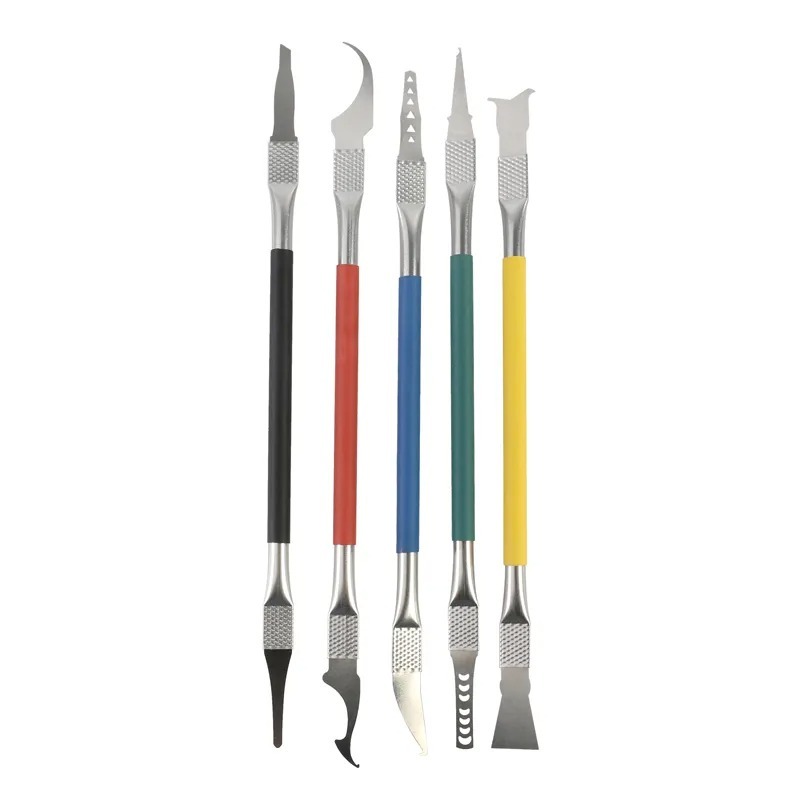
9 in 1 Disassemble Multi Opening Repair Tools Kit Metal Pry Bar
-
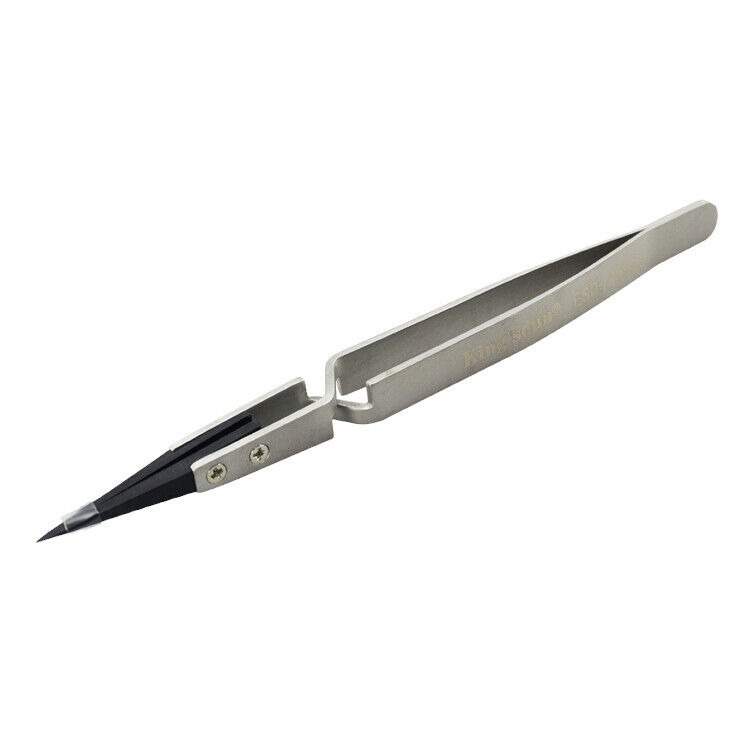
Kingsdun ESD-259X Stainless Steel Ceramic Tweezers With Heat Resistant Anti Dissipative Static Tip
-

Curved LCD Screen Spudger – Pry Tool for Mobile Devices & Electronics
Phase 1: Getting Inside & Removing the Battery
Start by opening the chassis and safely disconnecting the power source to protect the logic board from shorts.
Step 1: Open the Bottom Case
Unlike some competitors, Dell makes getting inside the case straightforward with standard Torx screws.
- Use your T5 Torx screwdriver to remove all the visible screws on the back plate.
- Insert a plastic pry tool into the seam and slide it around the perimeter to release the internal clips.
- Pop the back plate completely off and set it aside.

Step 2: Disconnect and Remove the Battery
A critical first step in any Dell XPS 9345 teardown is disconnecting the battery immediately. Screws hold it down, so you will not have to fight heavy adhesive.
- Undo the one screw holding down the battery connector bracket, then lift the flex cable straight up to disconnect it.
- Remove the six screws securing the battery pack to the top case.
- Lift the battery up and completely out of the chassis.

TekDep Tip: If you are buying a replacement, check the exact model number printed directly on your old battery (such as MN79H) to ensure perfect compatibility before ordering.
Phase 2: Removing Speakers, SSD & Fans
Continuing our Dell XPS 9345 teardown, with the battery out of the way, you can safely extract the modular audio, storage, and cooling components.
Step 1: Extract the Speakers
- Disconnect the speaker cables from the logic board on the left and right sides.
- Slide your pry tool underneath the speaker housings. Light adhesive holds them, so they will pop up easily without damage.
- Lift both speakers out of the chassis.

Step 2: Upgrade the M.2 SSD
Unlike the soldered memory, Dell kept the storage drive modular and upgradeable.
- Remove the one screw holding down the SSD heatsink shield.
- Lift the heatsink away from the top of the drive.
- Gently pry the M.2 SSD up slightly, then pull it straight out of its socket.

Step 3: Remove the Cooling Fans
- Undo the two screws on each side that secure the cooling fans to the chassis.
- Unclip the fan power connectors from the logic board.
- Lift both fans completely out.

Get the replacement part featured in this guide:
-
Dell XPS 13 CPU GPU Cooling Fan Assembly (9345)
-
Dell XPS 13 Internal Screw and Bracket Assembly (9345)
-
Dell XPS 13 Replacement Battery 4524mAh | 9345 (MN79H)
-
Dell XPS 13 Replacement Bottom Case 9345 (2024)
-
Dell XPS 13 Replacement Internal Speaker 9345 (Left and Right)
-
Dell XPS 13 Replacement Motherboard with Heatsink 9345 (X1E-80-100)
-
Dell XPS 13 Replacement SSD Caddy Bracket (9345) | 2024
-
Dell XPS 13 Top Case and Keyboard Assembly 9345 (2024)


Phase 3: Detaching the Display Assembly
At this stage of the Dell XPS 9345 teardown, separating the screen requires navigating delicate flex cables and the main hinges.
Step 1: Release the Flex Cables
A protective cover holds the display cables taut to prevent them from creasing when the lid opens.
- Remove the three screws holding down the protective cover over the display flex cables.
- Set the cover aside.
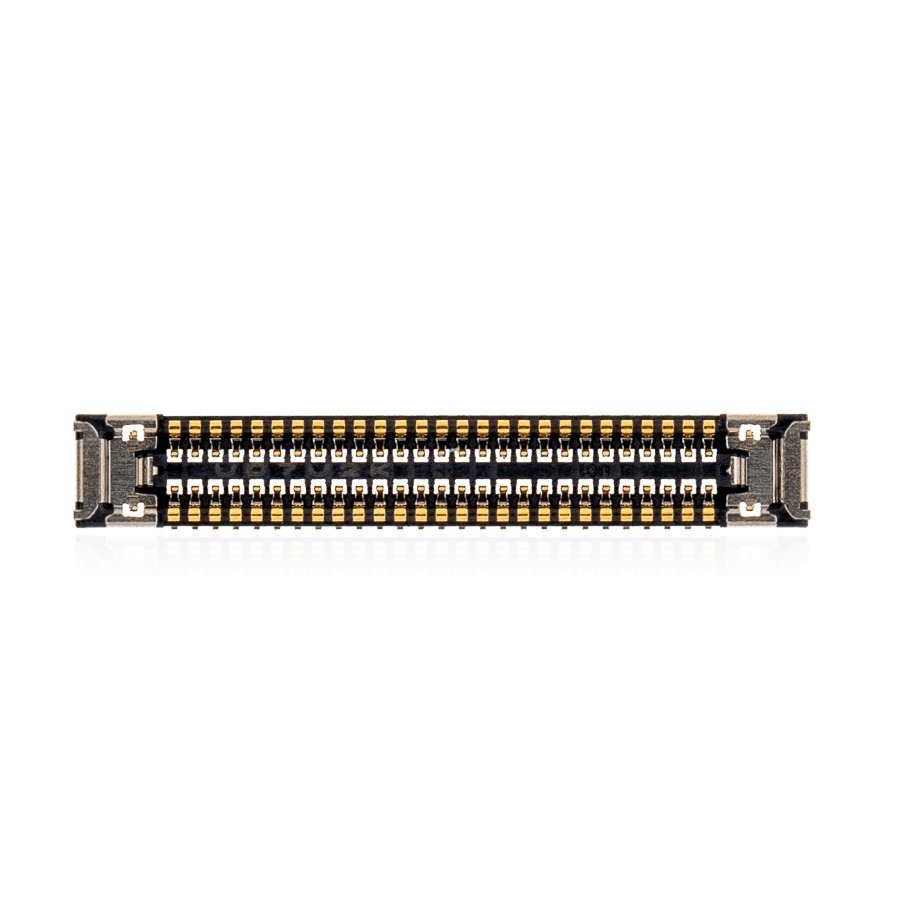
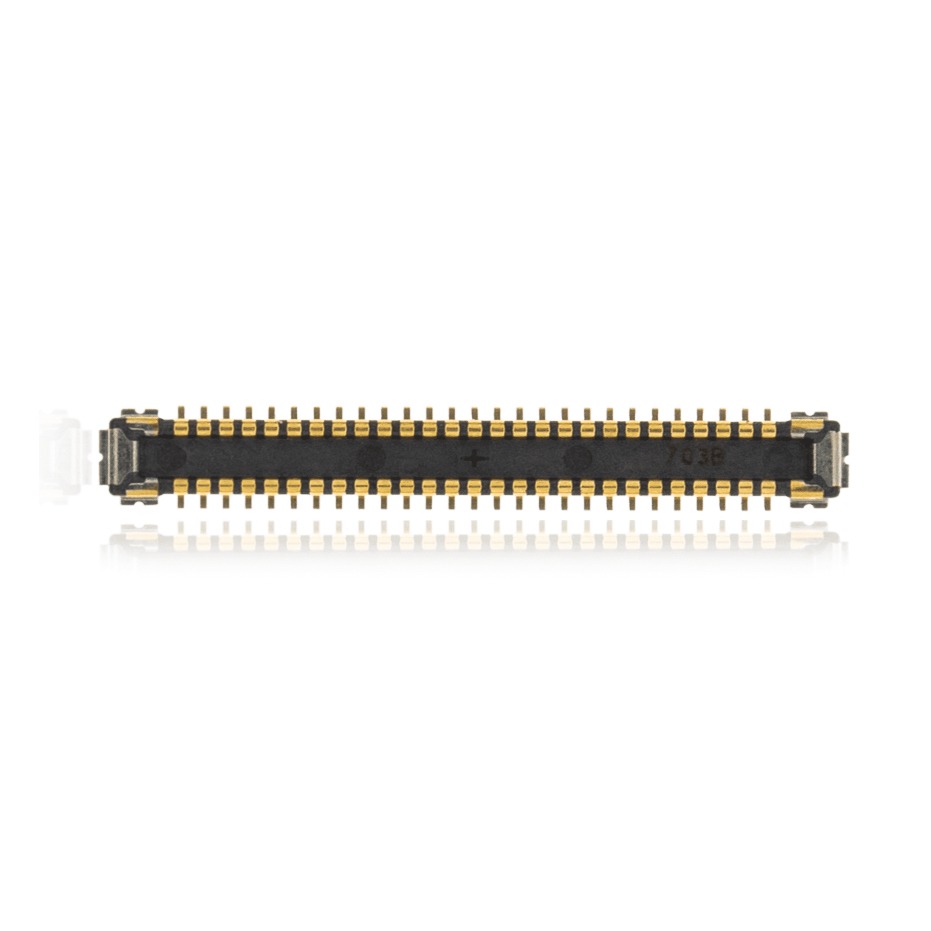
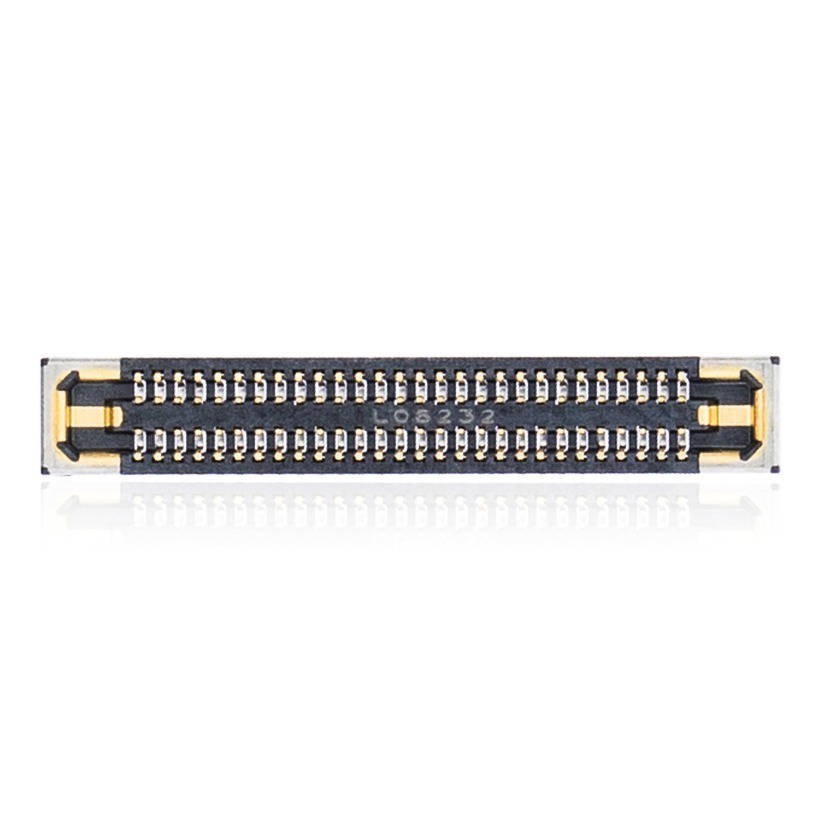
- Use your pry tool to gently get under the two flex cables and pry them straight up from the board.
TekDep Expert Warning: Do not pinch or fold these flex cables during removal. A sharp crease will break the internal connections and ruin the display permanently.

Step 2: Remove the Display
- Undo the heavy screws securing the left and right hinges to the top case.
- Open the top case slightly and extend the hinges straight back.
- Lift the entire top case away from the display assembly.
Phase 4: Logic Board Removal & Reassembly Notes
The final major step of this Dell XPS 9345 teardown is extracting the logic board and navigating the integrated top case components.
Step 1: Extract the Logic Board
- Remove the specific screws marked “MB” holding the logic board down at the corners.
- Disconnect all remaining flex cables, including the touch bar cable, Wi-Fi antennas, and Bluetooth antennas.
- Lift straight up and remove the logic board from the top case.

Step 2: Top Case Components
The keyboard and digital trackpad are fused into one large top case assembly and cannot be swapped individually. If you are replacing the top case, note that your new part might not include a power button. You can detach the original power button by removing its four screws and transferring it over.
Step 3: Reassembly & Testing
When putting everything back together, work in reverse order. Ensure the display flex cables are seated perfectly flush with no pinch points. Once the battery is plugged in and the backplate is on, connect the charger before you press the power button, then confirm the laptop boots into Windows.
Congratulations! You have successfully completed a teardown on your Dell XPS 13 9345.
🛑 Not Comfortable Handling Delicate Flex Connectors? If reading about hidden screws and delicate pull-tabs has you second-guessing your DIY skills, don’t worry. The TEKDEP experts are here to help.
We offer clean, professional, and affordable Mail-In repair services for the entire Dell XPS lineup.
Frequently Asked Questions
Can you upgrade the RAM in the Dell XPS 13 9345?
Unfortunately, no. The memory and the Wi-Fi chip are both soldered directly to the back of the logic board. The only way to get more RAM is to swap the entire logic board for a higher-capacity model.
Is the SSD upgradeable during a Dell XPS 13 9345 teardown?
Yes, the storage is fully upgradeable. The XPS 13 9345 uses a standard M.2 NVMe SSD located under a metal heatsink. You just need to remove one screw to swap it out for a larger drive.
Are the keyboard and trackpad modular on the XPS 13 9345?
No, they are integrated into a single top case assembly. If your digital trackpad suffers liquid damage or the F keys fail, you must replace the entire top case as one large piece.
Is the battery easy to replace on the Dell XPS 13 9345?
Yes. Unlike many modern ultrabooks, standard screws secure the battery rather than heavy adhesive. Once the backplate is removed and the flex cable is disconnected, swapping the battery is a straightforward, completely modular process.
Will opening the laptop to upgrade the SSD void my warranty?
Simply opening the bottom case and upgrading the M.2 SSD typically does not void your Dell warranty. However, any accidental damage you cause to the logic board or flex cables during the teardown will not be covered.
🛑 IMPORTANT: SAFETY & LIABILITY DISCLAIMER TEKDEP®️ TEKDEP.com assumes no liability for property damage or injury incurred as a result of any information in this blog post or associated videos. Dealing with internal computer components, specifically Lithium-Ion batteries, carries inherent risks including fire, toxic gas exposure, and irreversible device failure. Any injury, damage, or loss from improper use of tools, mishandling of components, or misinterpretation of this information is the sole responsibility of the user. Perform repairs at your own risk. If you are unsure of your capabilities, please utilize our professional Mail-In Repair Service.