

















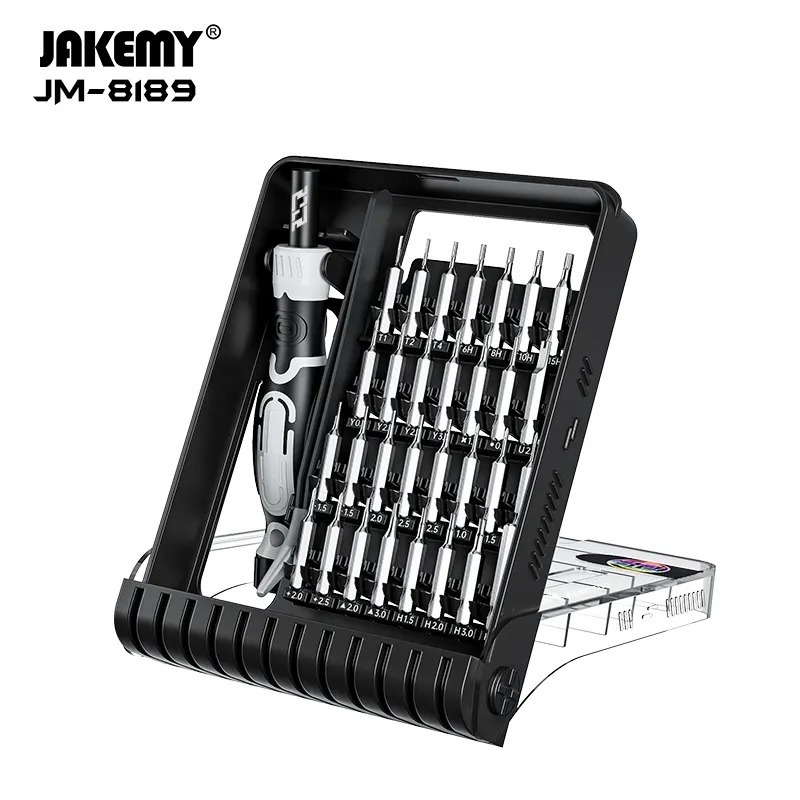
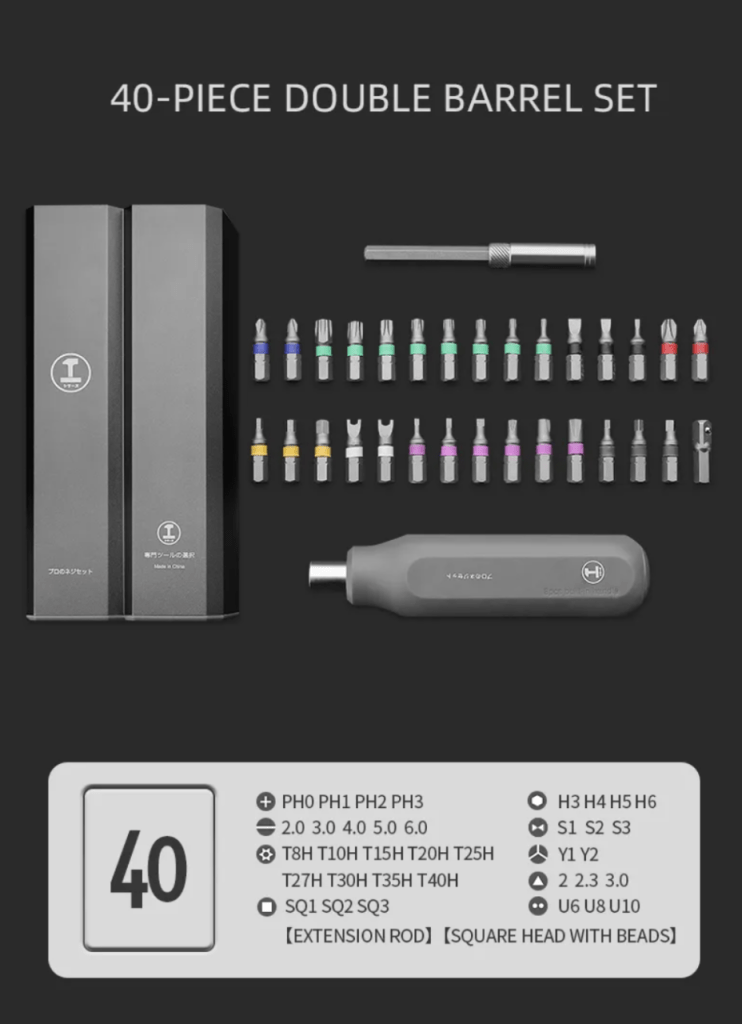
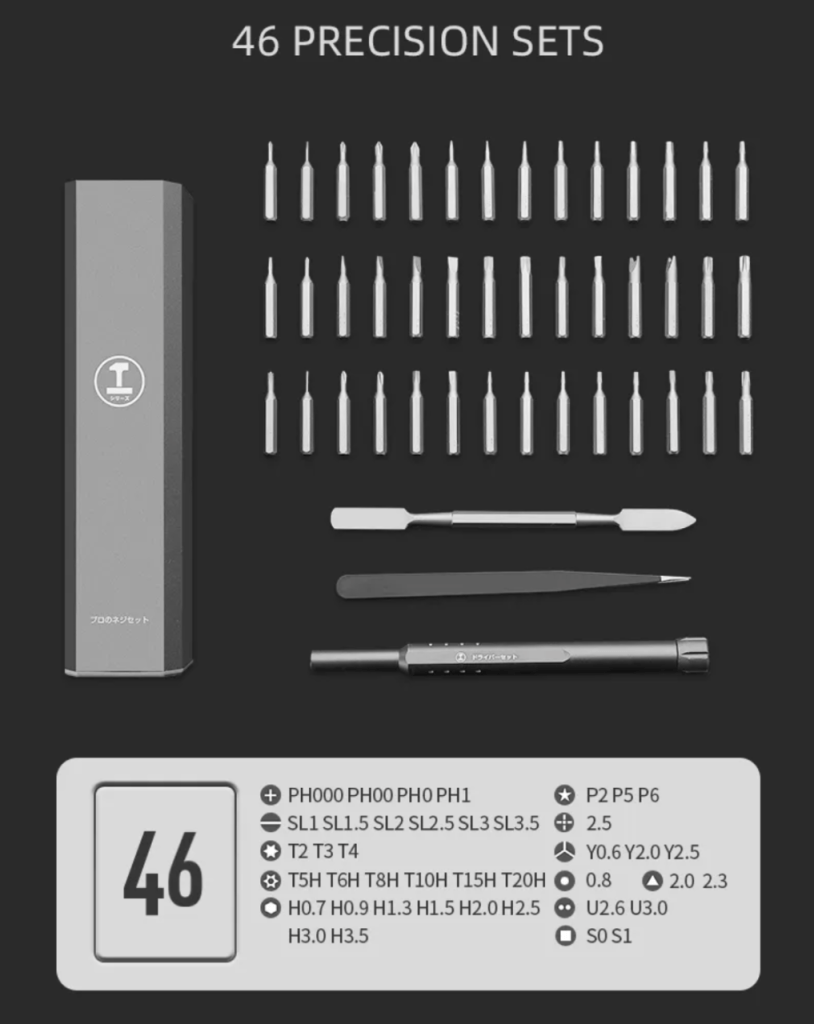
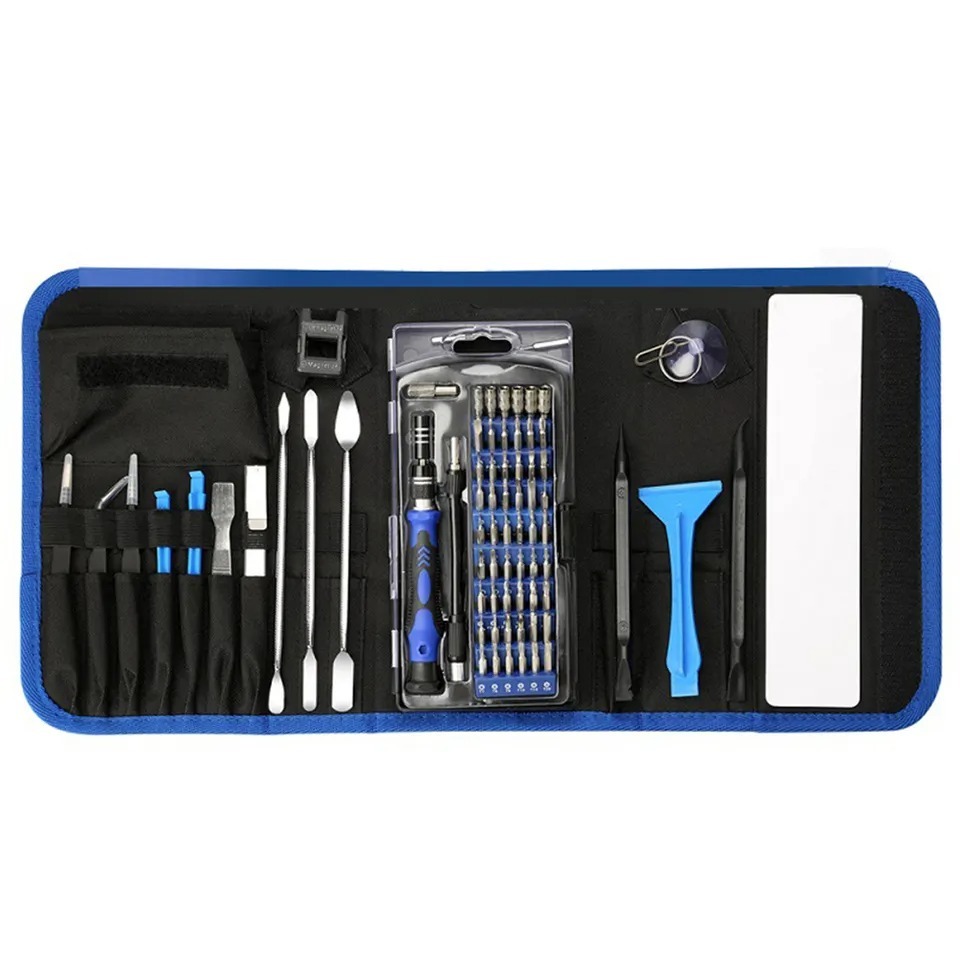


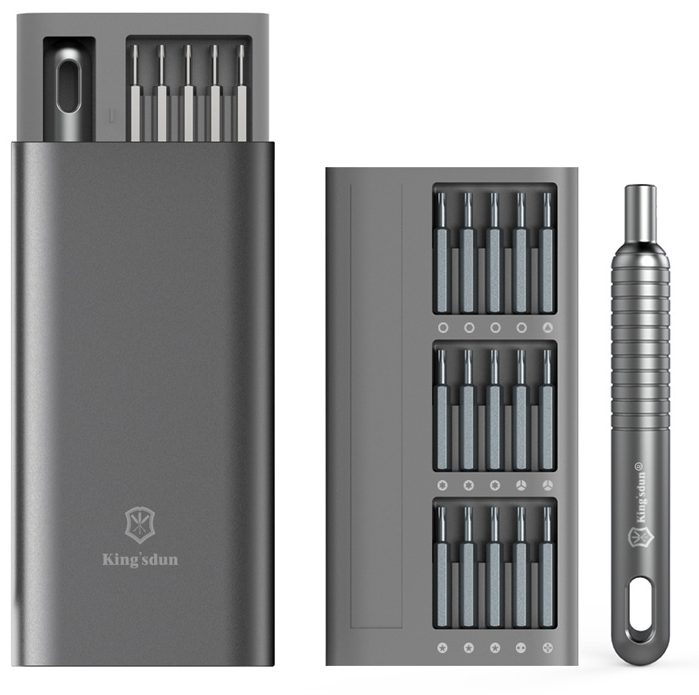


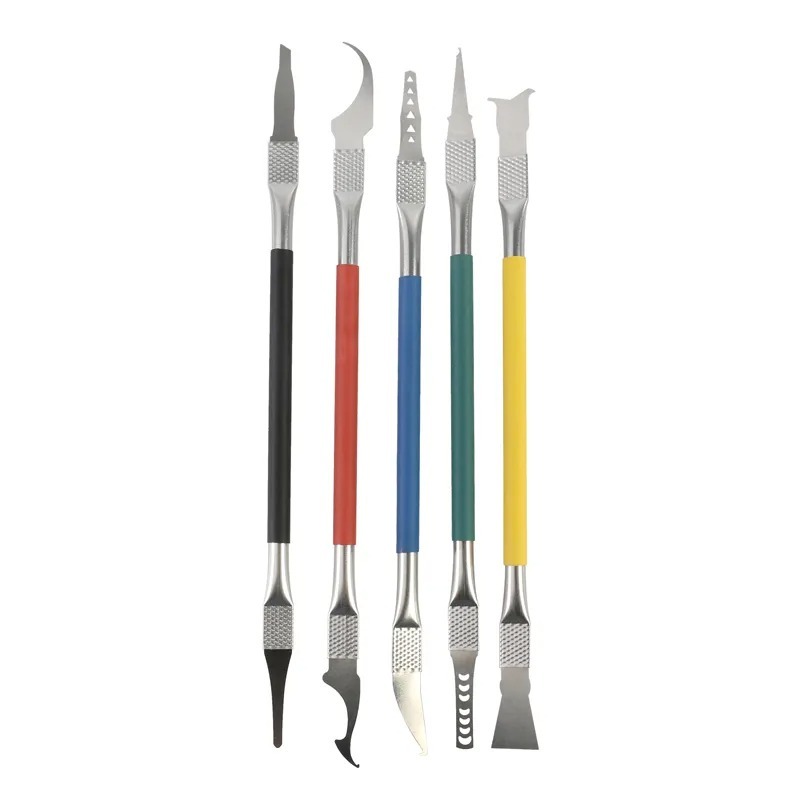

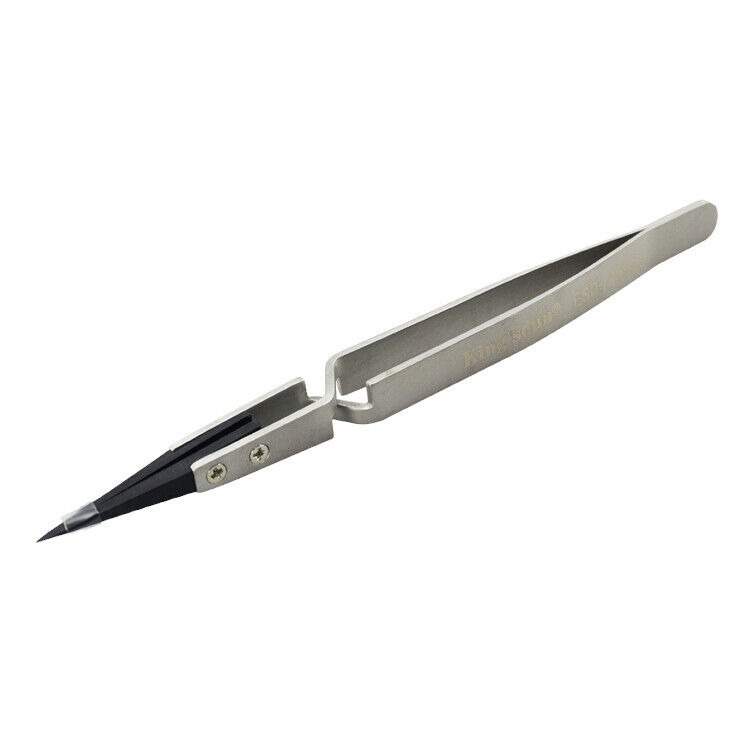

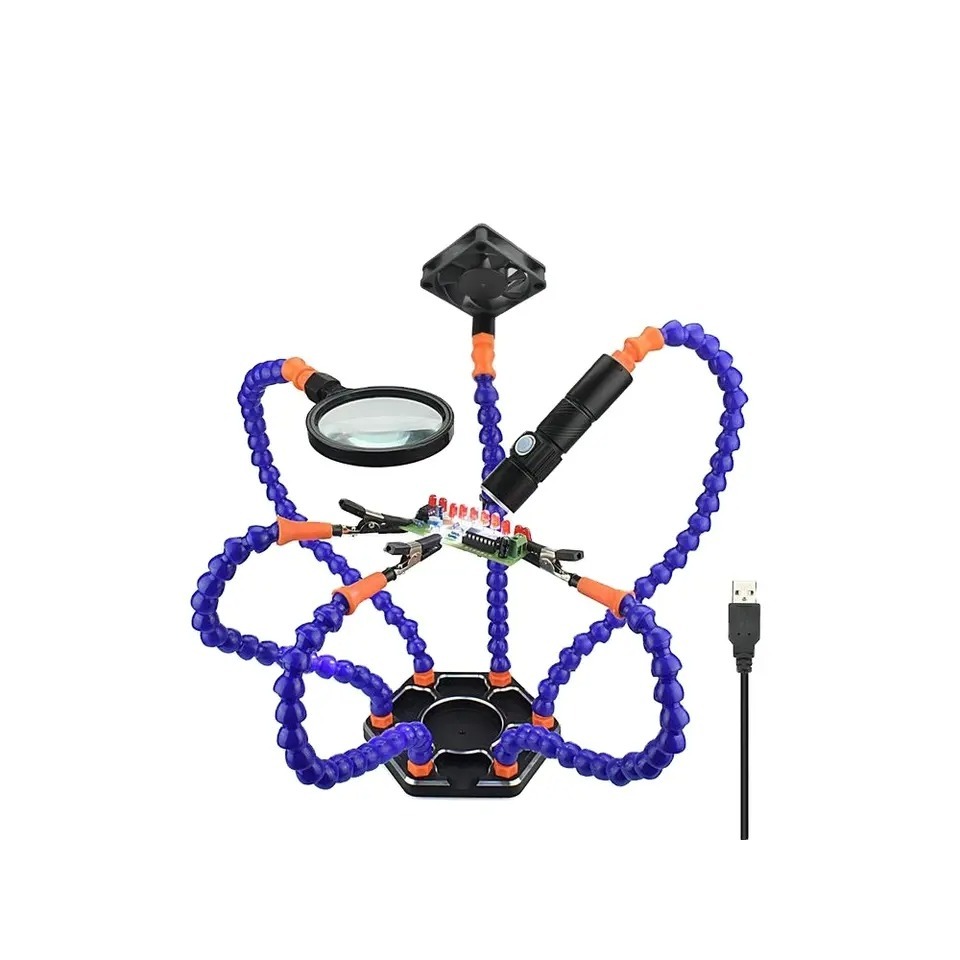



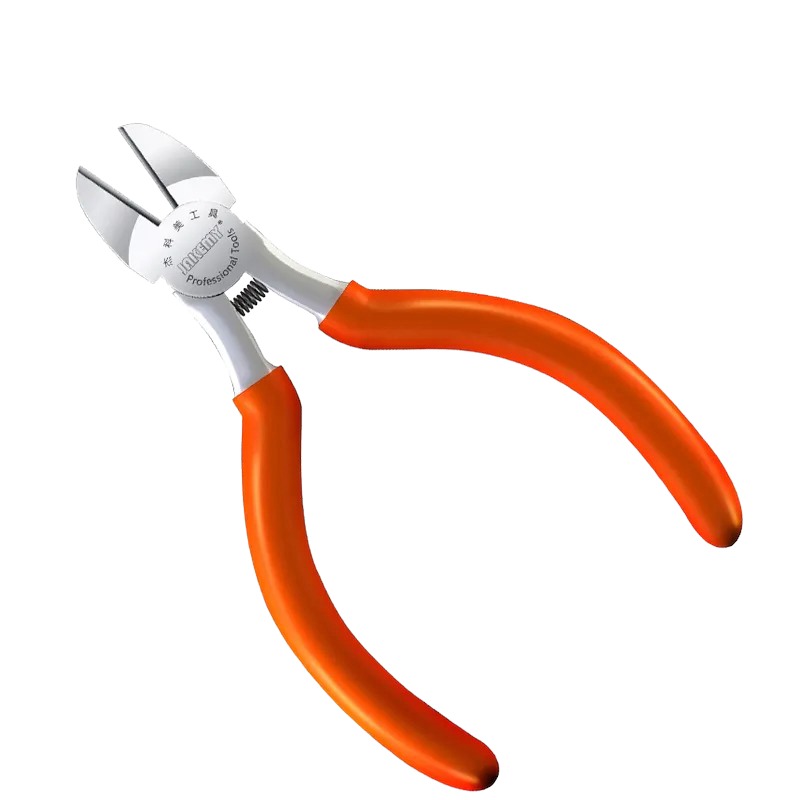

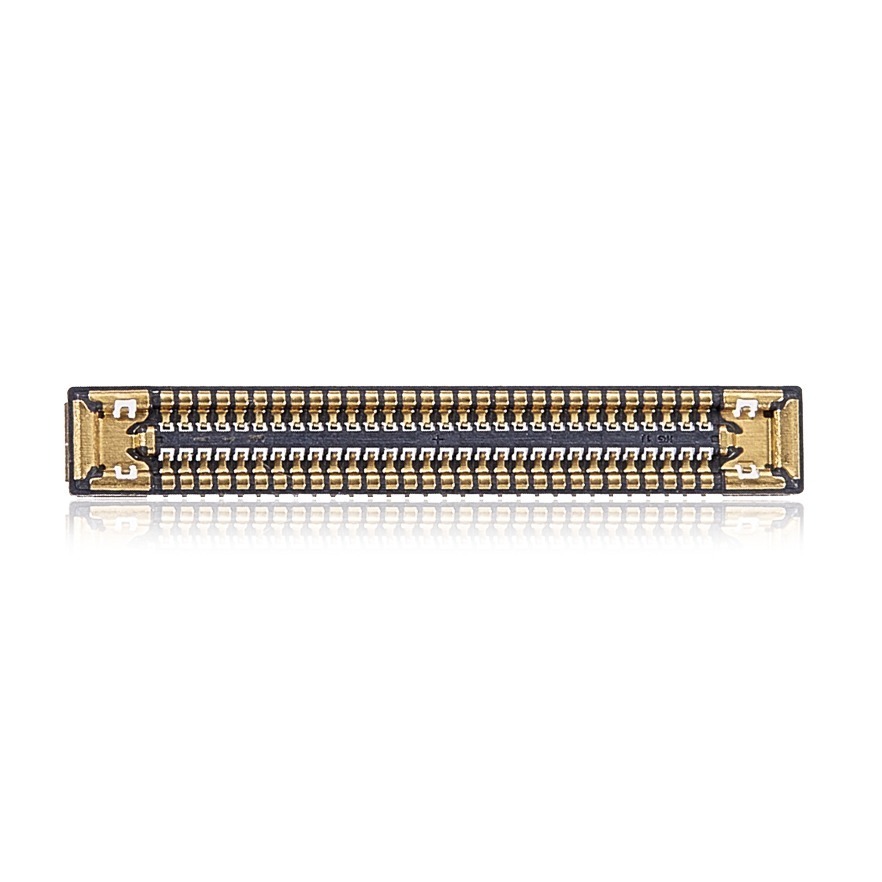

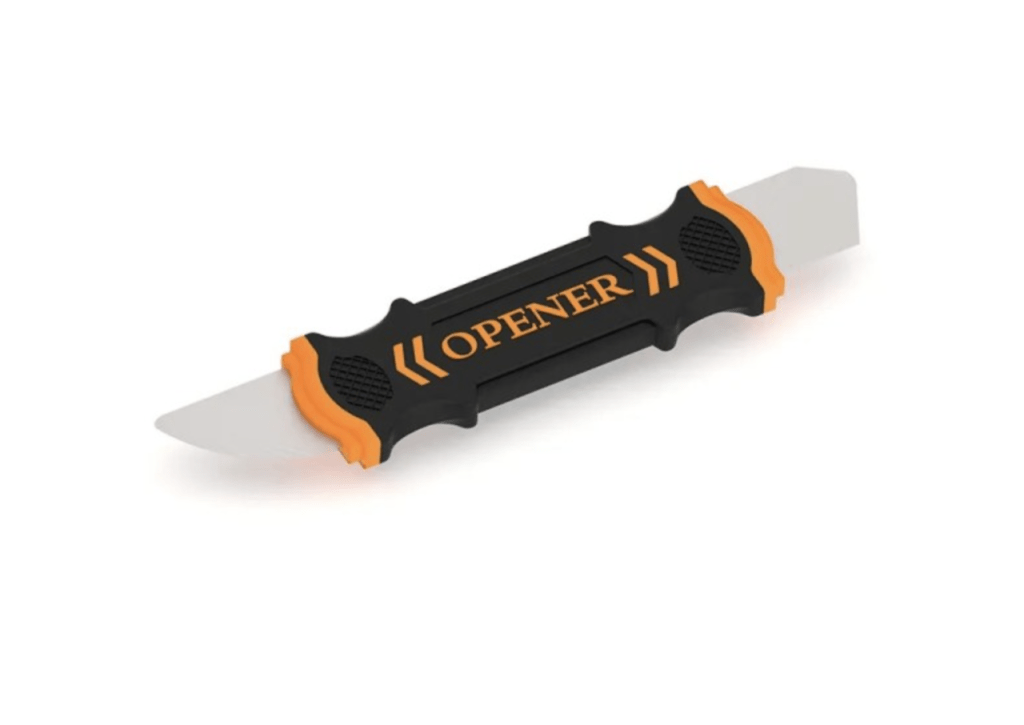

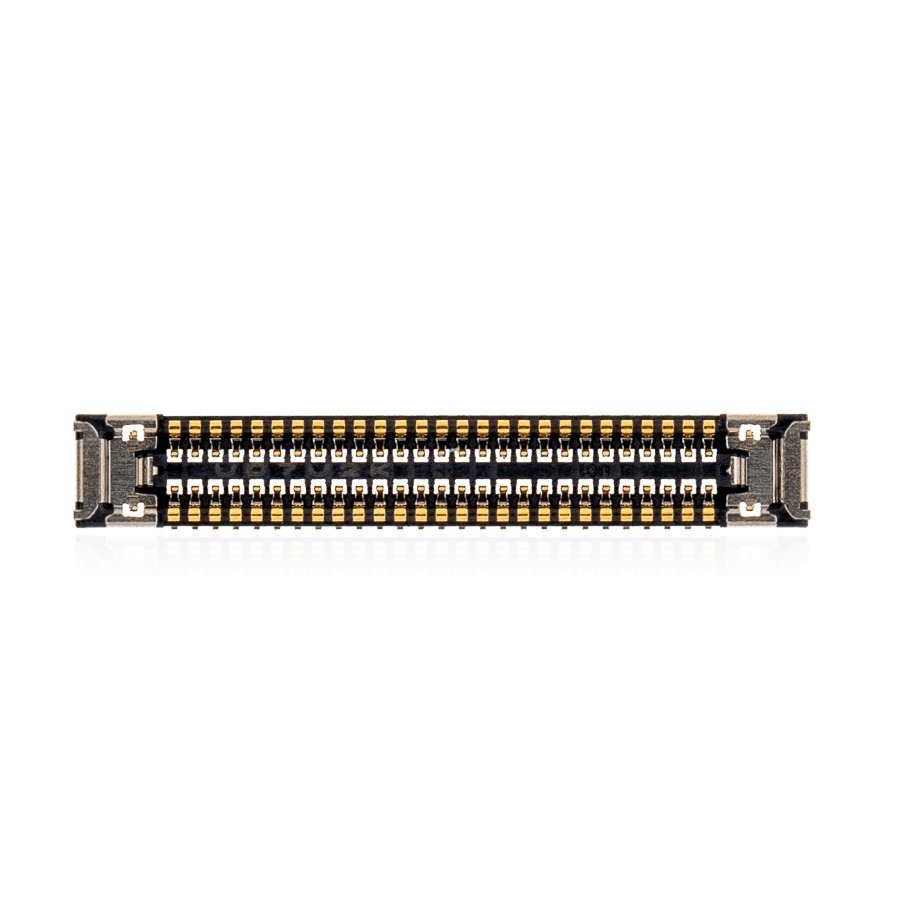
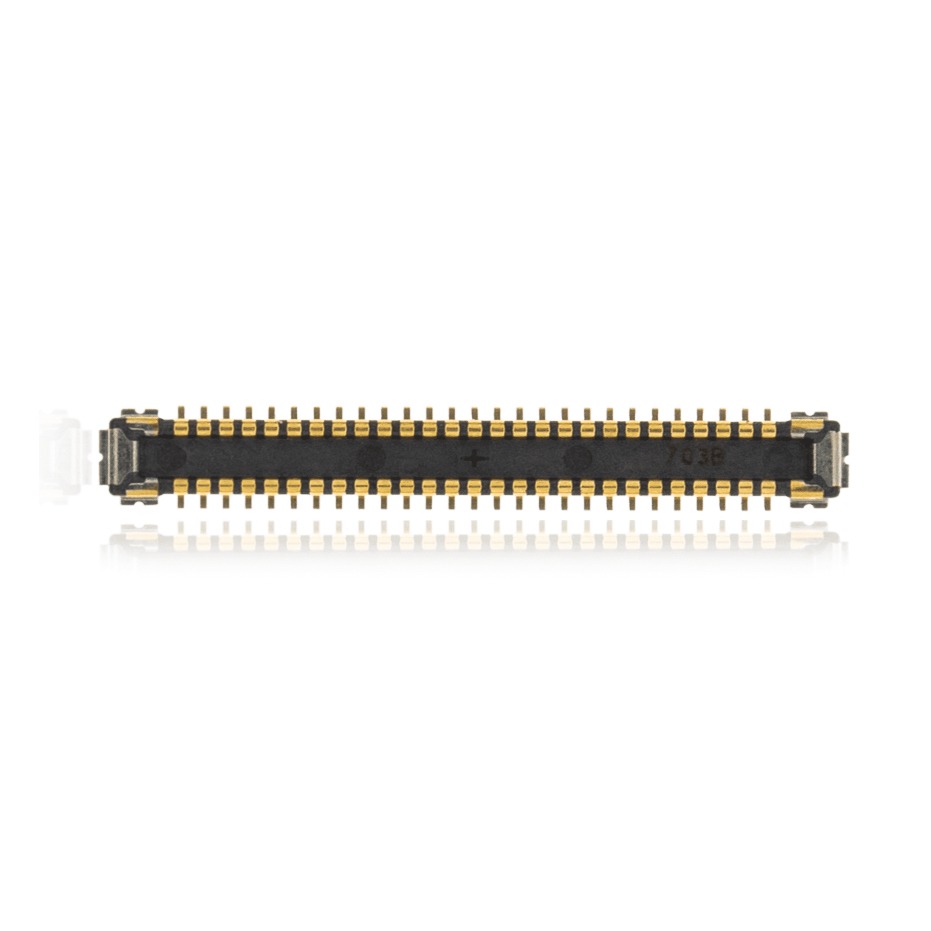
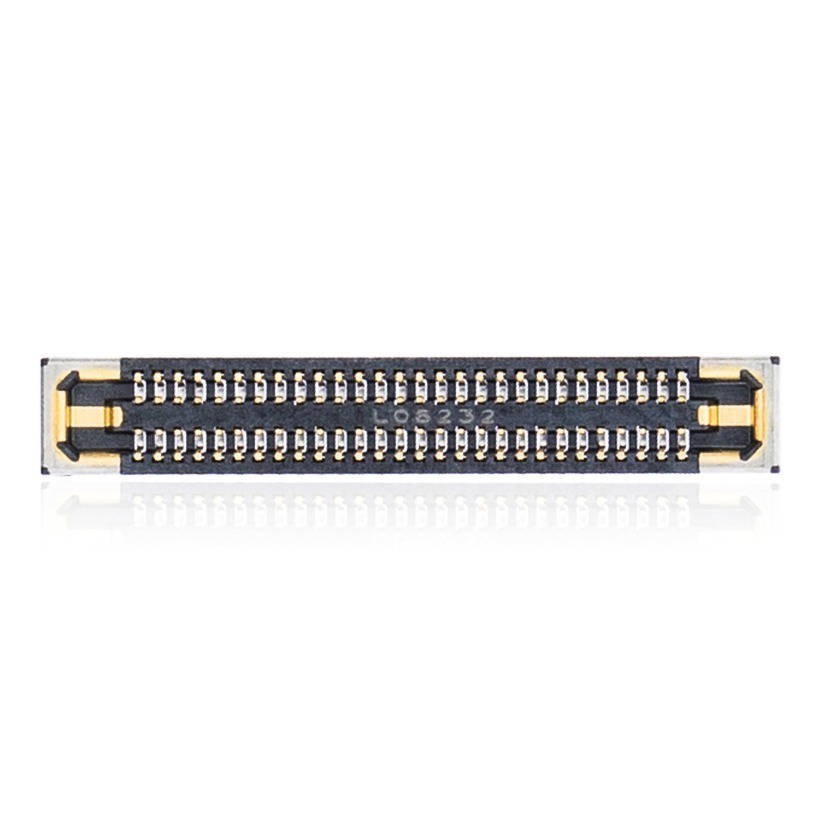




Model: HP Victus 15 (15-FB3093DX) | Level: Intermediate | Tools: 1.5 Phillips screwdriver, plastic pry tool, guitar pick, precision tweezers. If you’re planning to upgrade or repair your HP Victus 15 screen, these tools will come in handy.
An HP Victus 15 screen replacement is one of the more straightforward display repairs, because you do not have to remove the entire display assembly to do it. You simply access the LCD panel from the front.
If your laptop suffered a drop, has a cracked display, is showing dead pixels, or has a completely broken LCD, a new panel fixes the issue and gets your computer back in action.
Our lead technician Nicholas walks you through the entire repair from start to finish. Let’s get started.
How to Replace the HP Victus 15 Screen (Quick Overview)
- Remove the backplate screws and pry the bottom cover off to reach the battery.
- Unplug the battery connector and reinstall the backplate temporarily.
- Pry the front bezel off with a guitar pick, cutting through the adhesive.
- Roll out the stretch-release adhesive strips with tweezers to free the LCD.
- Lift the display clasp and slide the 40-pin connector out.
- Connect the new panel and apply fresh adhesive to the backplate.
- Snap the bezel back on, reconnect the battery, and power test the laptop.
🛠️ Required Tools & Preparation
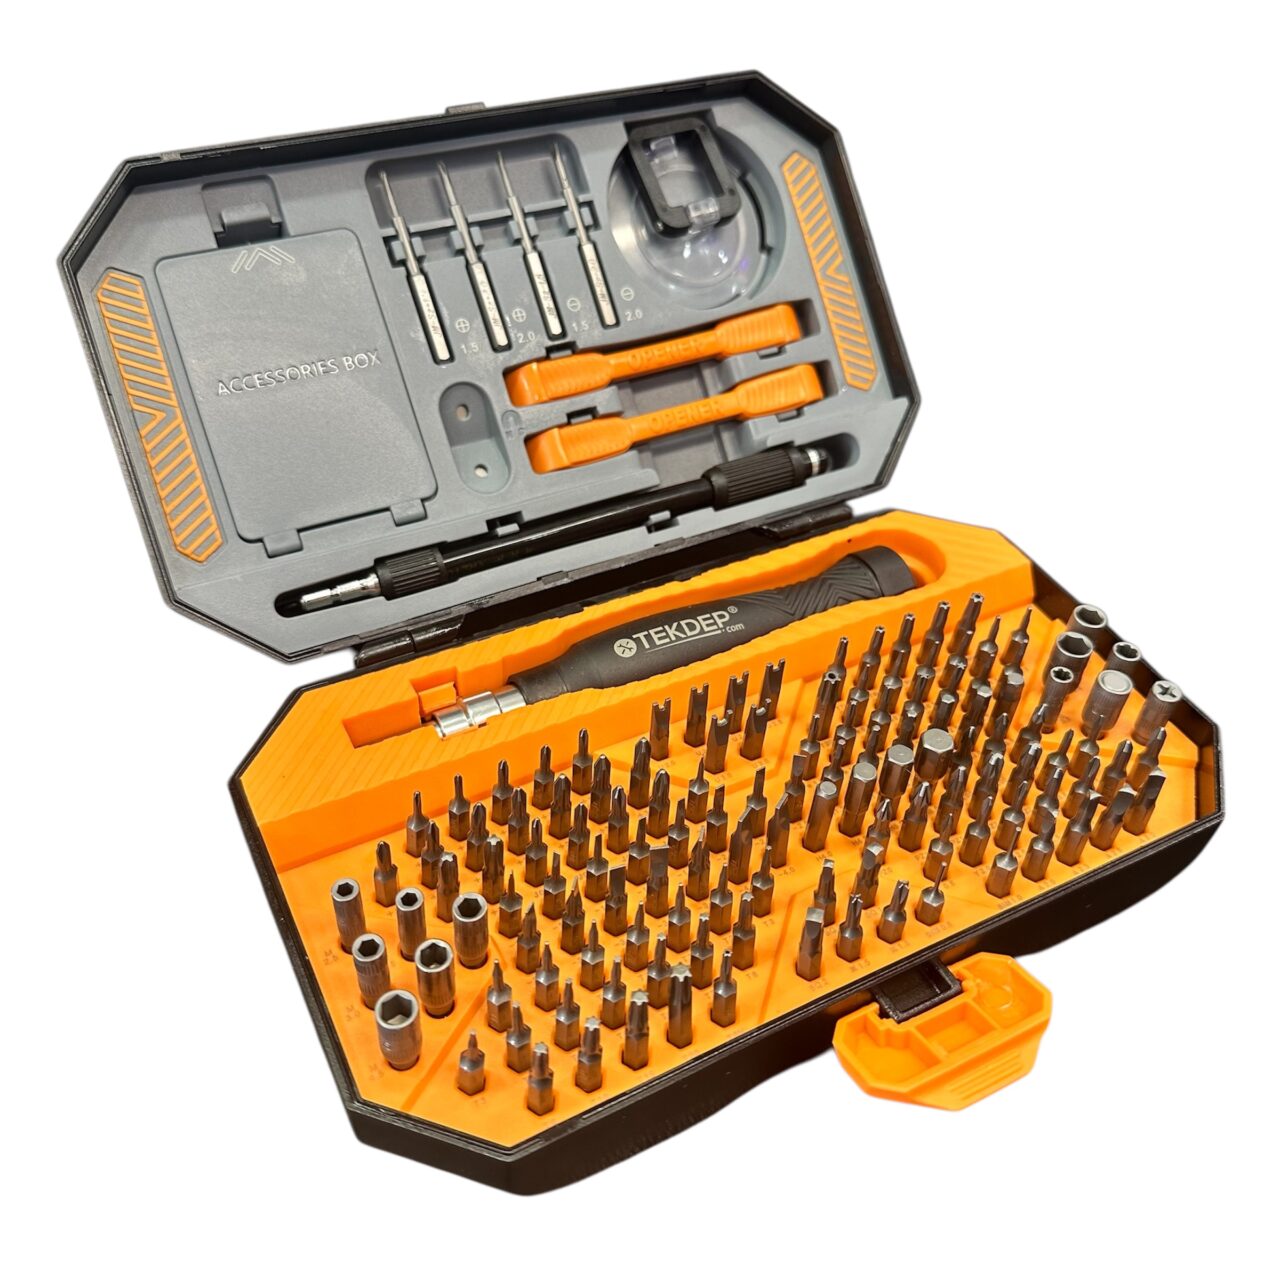
An HP Victus 15 screen swap requires standard Phillips bits and careful prying. Power off and unplug first.
- 1.5 Phillips screwdriver: removes the screws holding the bottom backplate.
- Plastic pry tool & guitar pick: separates the backplate clips and cuts the bezel adhesive safely.
- Precision tweezers: crucial for winding out the stretch-release adhesive behind the LCD.
Get the Exact Tools Used by Our Techs:
⚠️ Before you start: Disconnect the battery before you touch any connector. Work on an anti-static mat and keep each group of screws together.
Phase 1: Getting Inside & Disconnecting the Battery
Even though the HP Victus 15 screen is accessed from the top, safety always dictates disconnecting the battery first to avoid shorting the motherboard.
Step 1: Remove the Backplate
- Remove all the screws from the bottom casing using your 1.5 Phillips screwdriver.
- Insert your plastic pry tool under the lip at the back edge.
- Follow the edge all the way around to pop the latches, then gently pry the backplate off.

Step 2: Disconnect the Battery Connector
Leaving the battery plugged in while touching the 40-pin display cable can instantly blow the backlight fuse on the motherboard.
- Use your pry tool to gently get under the battery connector and lift it straight up out of its socket.
- Snap the backplate temporarily back onto the laptop and open the lid. You will access the display from the front.

Phase 2: Removing the Bezel & Old LCD Panel
The HP Victus 15 screen is held in by a plastic bezel on top, and stretch-release adhesive underneath the panel.
Step 1: Pry Off the Front Bezel
- Insert a guitar pick between the display and the bezel very slowly to cut through the adhesive running along the edge.
- Slide the pick over the bottom section, where there is extra adhesive, to unstick the bezel completely.
- Pop out the clips at the left and right bottom corners by gently getting under the edge with your pick.
- Put your fingers in between and carefully pop the remaining bottom clips to fully remove the bezel. Set it aside.

Step 2: Roll Out the Adhesive Strips
The HP Victus 15 screen is held to the back casing by strips of stretch-release adhesive. Ripping the screen out will bend the back cover.
- Take your precision tweezers and grab the end of the adhesive strip visible at the bottom corner of the LCD.
- Wrap the adhesive around the tweezers and start to turn.
- Keep turning and gently pulling until the entire strip comes out.
- Repeat for the other side. If a strip breaks, remove what you can, grab the adhesive again, and keep twisting.

TekDep Expert Warning: Never pry directly against the LCD panel with a metal tool. If an adhesive strip snaps and you try to pry the screen out, you can puncture the layers and spray glass dust everywhere.
Step 3: Disconnect the 40-Pin Cable
- Lift the display up and tilt it forward onto the keyboard to reveal the 40-pin connector on the back.
- Pry up the tape covering the connection from the bottom edge.
- Lift up the small metal clasp securing the connection.
- Gently pull the cable away from the display socket. Set the broken panel aside.

Get the replacement HP Victus 15 screen we installed:

Phase 3: Installing the New Display & Reassembly
Installing a new HP Victus 15 screen requires fresh adhesive to stay secure inside the top cover.
1st Step: Connect the Display Cable
- Rest the new display face down on the keyboard area.
- Push the 40-pin display cable gently into the socket. Ensure there is no clearance between the metals.
- Press down the clasp so it is secure, and reapply the tape over it.

2nd Step: Apply Adhesive and Seat the Panel
- Take the new blue adhesive strips and place them onto the back cover where the old ones were, leaving the blue pull-tabs sticking slightly out at the bottom.
- Tear away the top protective layer from the strips.
- Place the new display into the case. It should fit snugly into both corners.
- Gently slide your finger up the edges to set the adhesive, being careful not to put too much pressure on the fragile LCD. Remove the protective film from the glass.

3rd Step: Snap the Bezel Back On
- Reapply the front bezel starting from the top.
- Press down on the corners and work your way down the sides, listening for the clips to snap into place.
- Hold the back of the lid with your other hand and push in the bottom clips so the cover does not bend.
4th: Reconnect the Battery and Backplate
- Remove the bottom backplate again.
- Reinstall the battery connector. It is snug, so go slow and make sure it goes all the way in.
- Press the backplate down firmly on all the side clips.
- Reinstall all the 1.5 Phillips screws.
5th: Power Test
Plug the laptop in and turn it on to test the display. A message stating the CMOS battery was reset is normal because the main battery was unplugged.
Congratulations! You have completed a screen replacement on your HP Victus 15.
🛑 Not Comfortable Handling Screen Adhesive? If reading about stretch-release strips and delicate bezels has you second-guessing your DIY skills, don’t worry. The TEKDEP experts are here to help.
We offer clean, professional, and affordable Mail-In repair services for the entire HP Victus lineup.
Frequently Asked Questions
Do I have to remove the entire screen assembly on the HP Victus 15?
No, you do not. The LCD panel can be replaced entirely from the front by removing the plastic bezel. You only need to open the bottom plate initially to disconnect the battery for safety.
How do I safely remove the HP Victus 15 front bezel?
Use a plastic guitar pick to slice through the adhesive running along the inner edge of the bezel. Do not pry aggressively with a metal tool, or you risk snapping the thin plastic frame before the clips release.
What if a stretch-release strip snaps during the screen replacement?
If a strip breaks off, do not panic. Use tweezers to reach in, grab the end of the broken adhesive again, and resume twisting it slowly. Never try to forcefully pry the broken screen away from the metal cover.
Will performing this screen replacement void my HP warranty?
Yes, unauthorized hardware modifications usually void the manufacturer’s warranty. Check with HP support first to see if your plan covers accidental damage.
How long does the HP Victus 15 screen replacement typically take?
Typically 30 to 45 minutes. Take your time removing the bezel and adhesive to prevent cosmetic damage to the plastic housing.
My new screen is installed but remains black when I turn it on. What should I check?
Disconnect the battery, remove the screen, and ensure the 40-pin display cable is seated completely flush in its socket before securing the clasp.
🛑 IMPORTANT: SAFETY & LIABILITY DISCLAIMER TEKDEP®️ TEKDEP.com assumes no liability for property damage or injury incurred as a result of any information in this blog post or associated videos. Dealing with internal computer components, specifically Lithium-Ion batteries, carries inherent risks including fire, toxic gas exposure, and irreversible device failure. Any injury, damage, or loss from improper use of tools, mishandling of components, or misinterpretation of this information is the sole responsibility of the user. Perform repairs at your own risk. If you are unsure of your capabilities, please utilize our professional Mail-In Repair Service.


