

















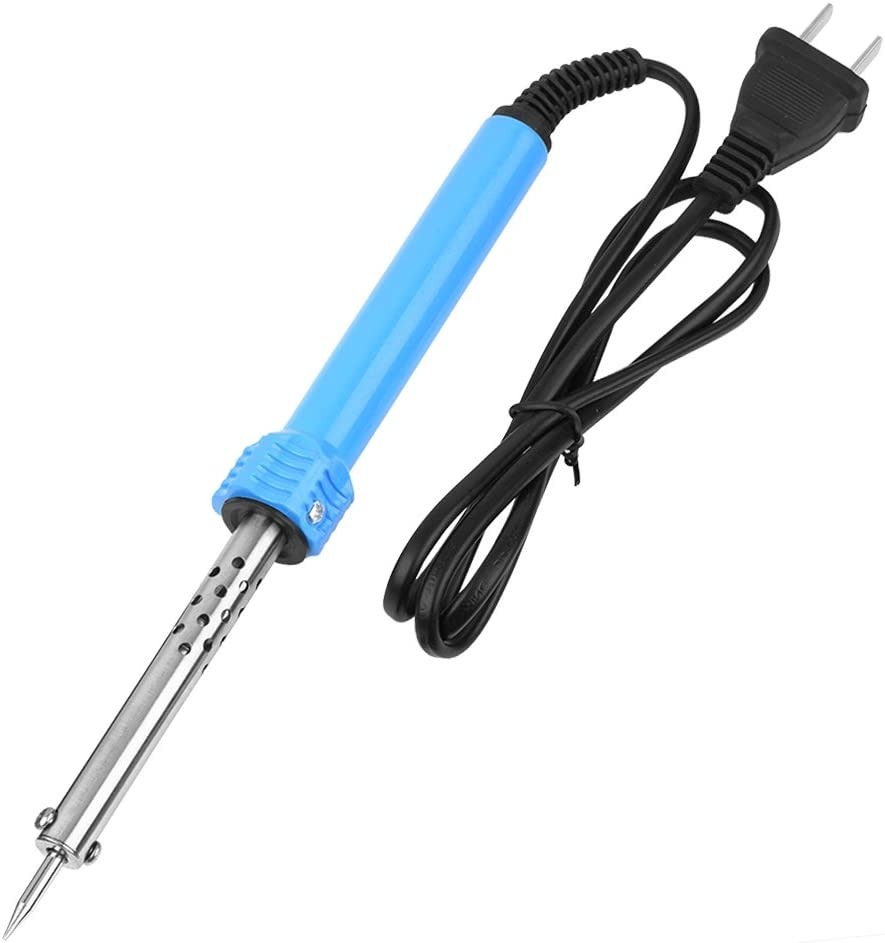
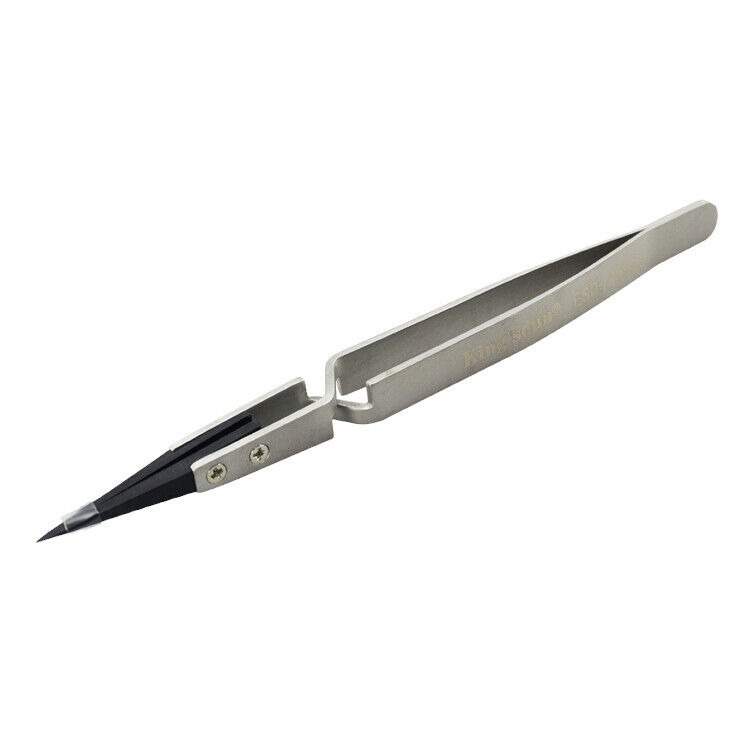

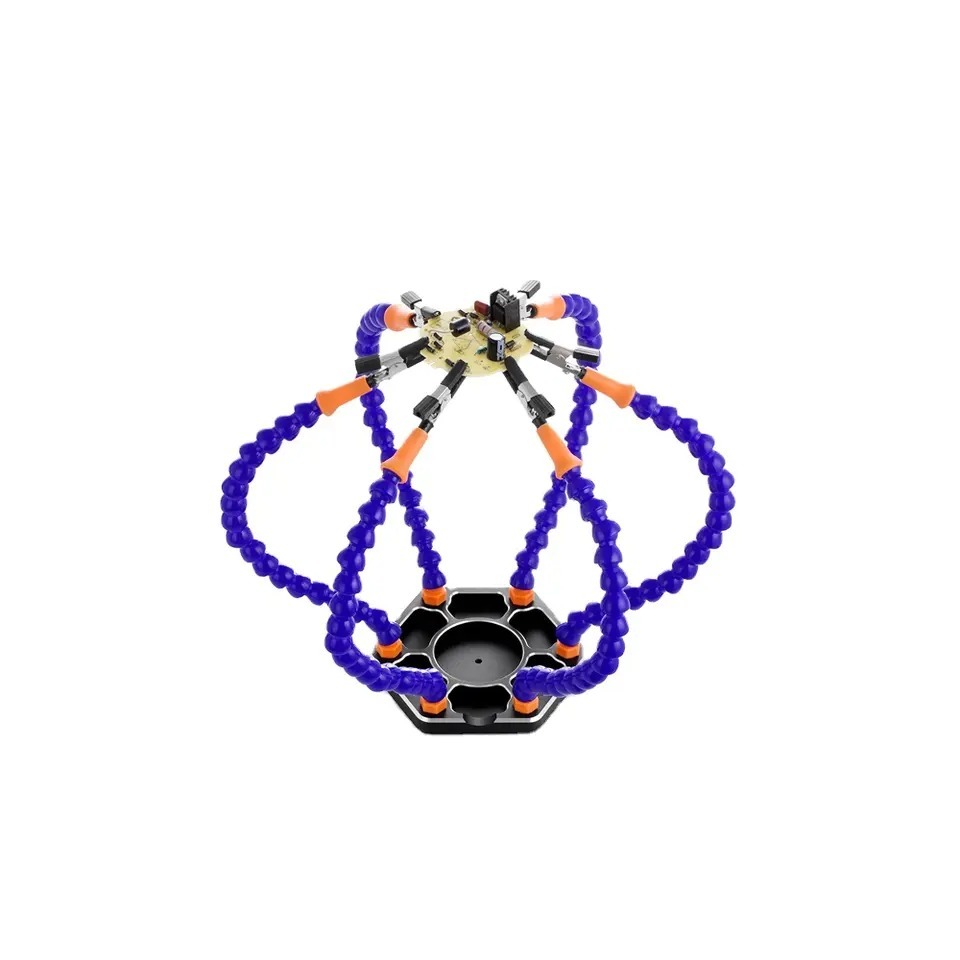
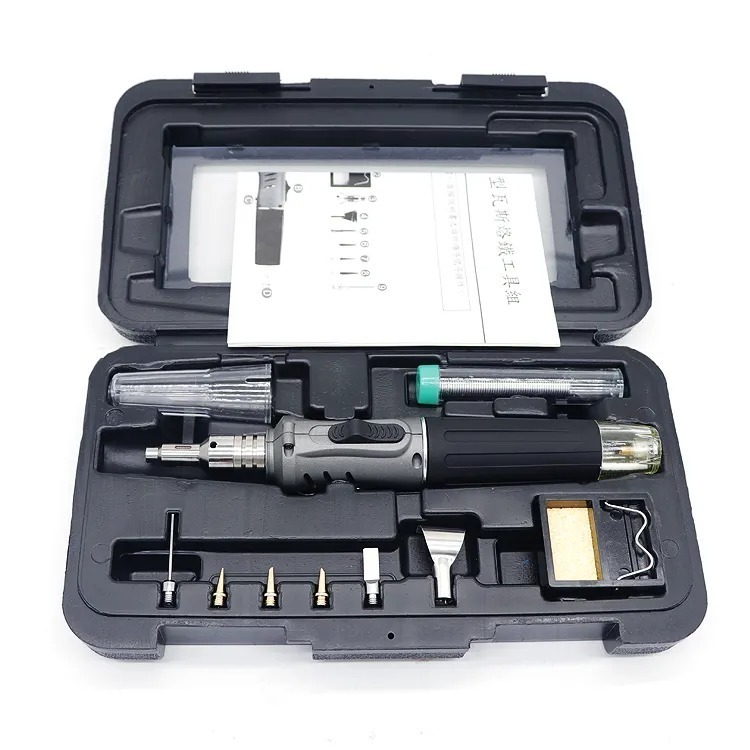










Model: 15″ Apple MacBook Pro 2015 (A1398) | Level: Intermediate | Tools: P5 Pentalobe screwdriver, T5 Torx screwdriver, T8 Torx screwdriver, plastic pry tool
An A1398 teardown gives you access to every replaceable component inside the 2015 15-inch MacBook Pro, from the logic board to the battery. Apple packed this machine tightly, but the layout is highly repairable if you know which cables to watch out for. Whether your laptop is losing charge fast, running loud due to failing fans, or dealing with blown speakers, getting inside safely is the first step to fixing it.
Our lead technician walks you through the entire disassembly process in the video below. Let’s get started.
How to Perform a MacBook Pro A1398 Teardown (Quick Overview)
- Remove the bottom case using a Pentalobe screwdriver.
- Disconnect the battery before touching any other component.
- Unscrew and slide out the SSD from its logic board socket.
- Disconnect the Wi-Fi card and lift out the internal cooling fans.
- Carefully extract the logic board and the right I/O daughter board.
- Remove the left and right speakers, then unscrew the display hinges.
🛠️ Required Tools for the MacBook Pro A1398
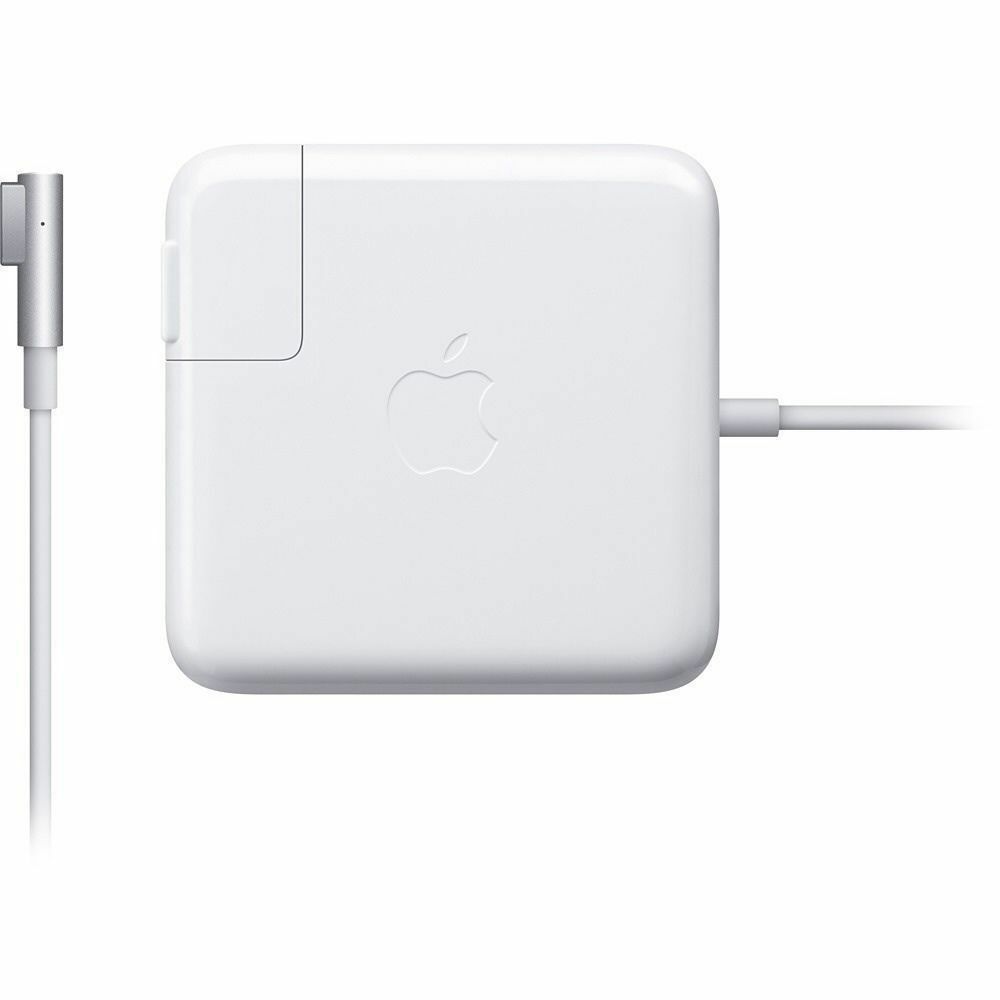
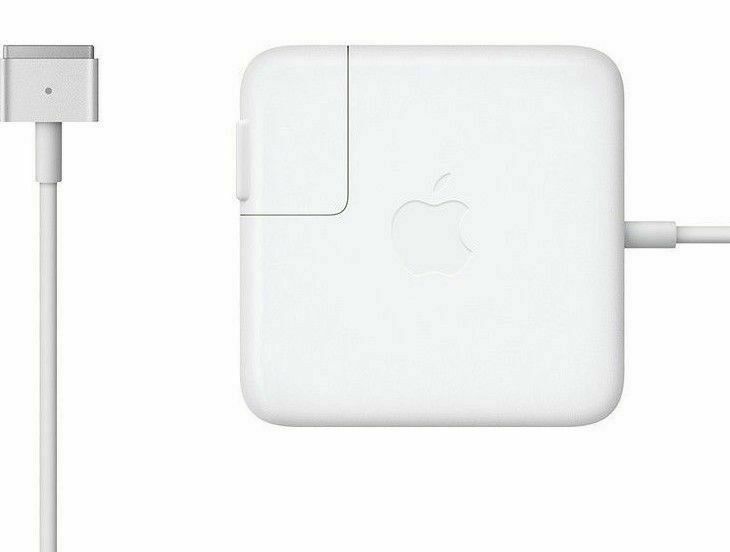
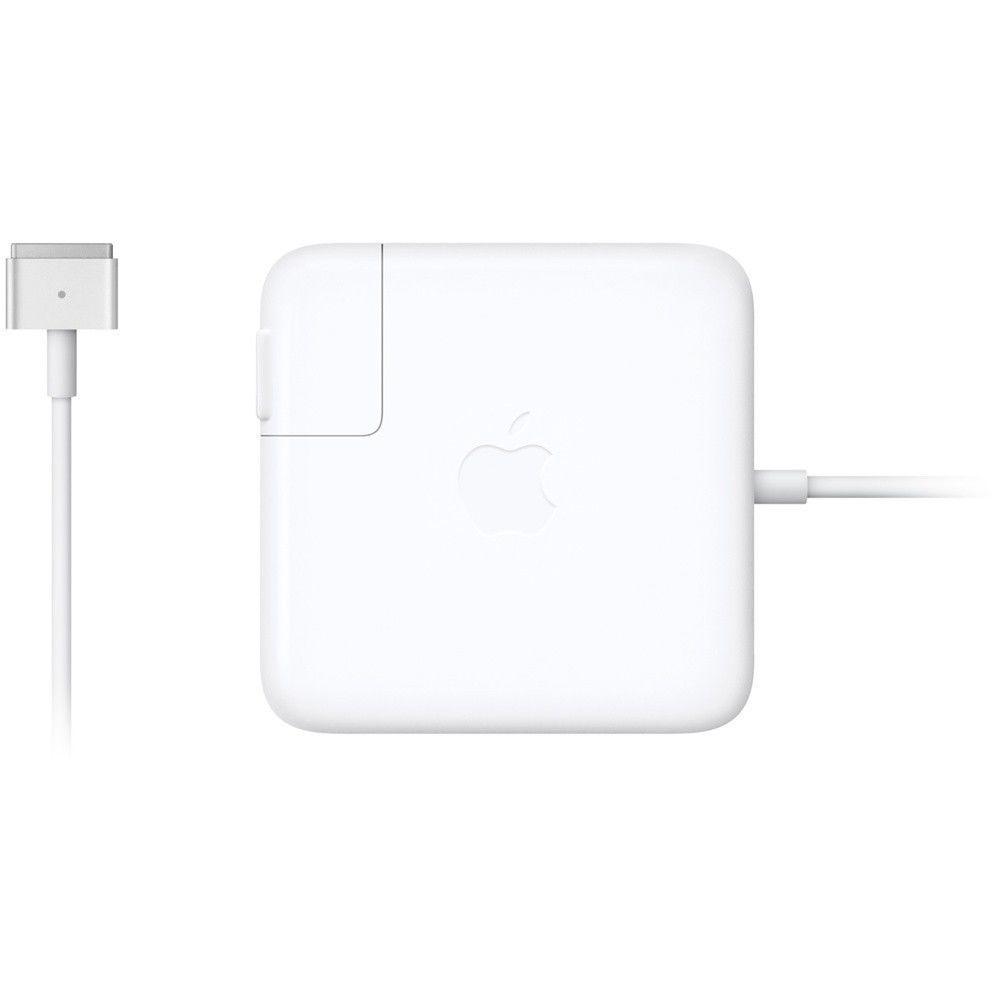
Tearing down the A1398 requires standard precision bits, mostly Torx and Pentalobe. Power the laptop off and unplug the MagSafe charger before you start.
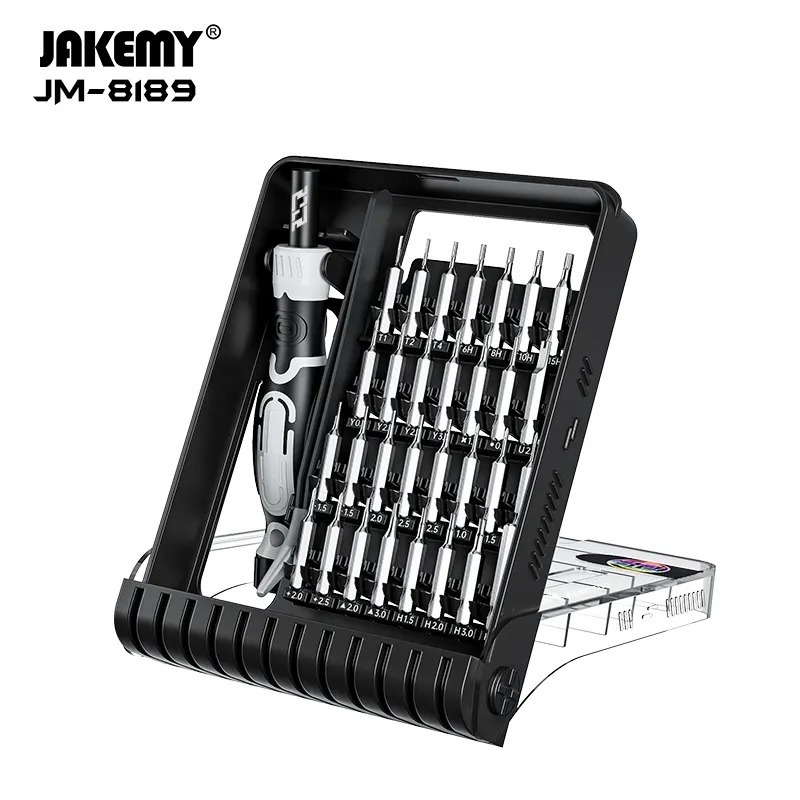
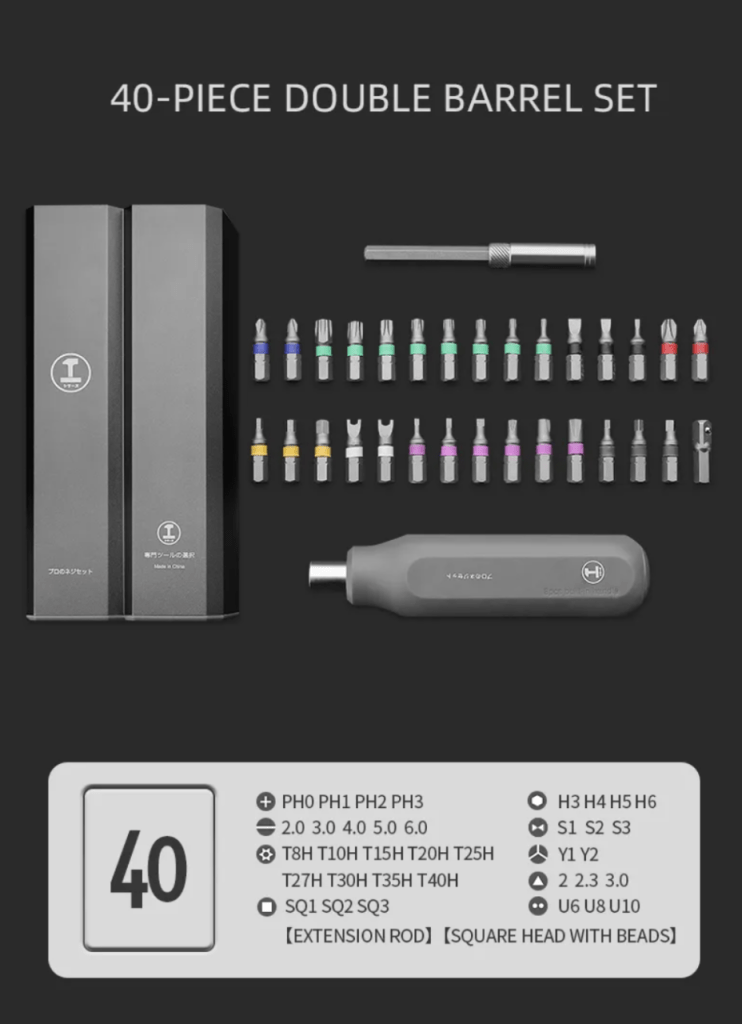
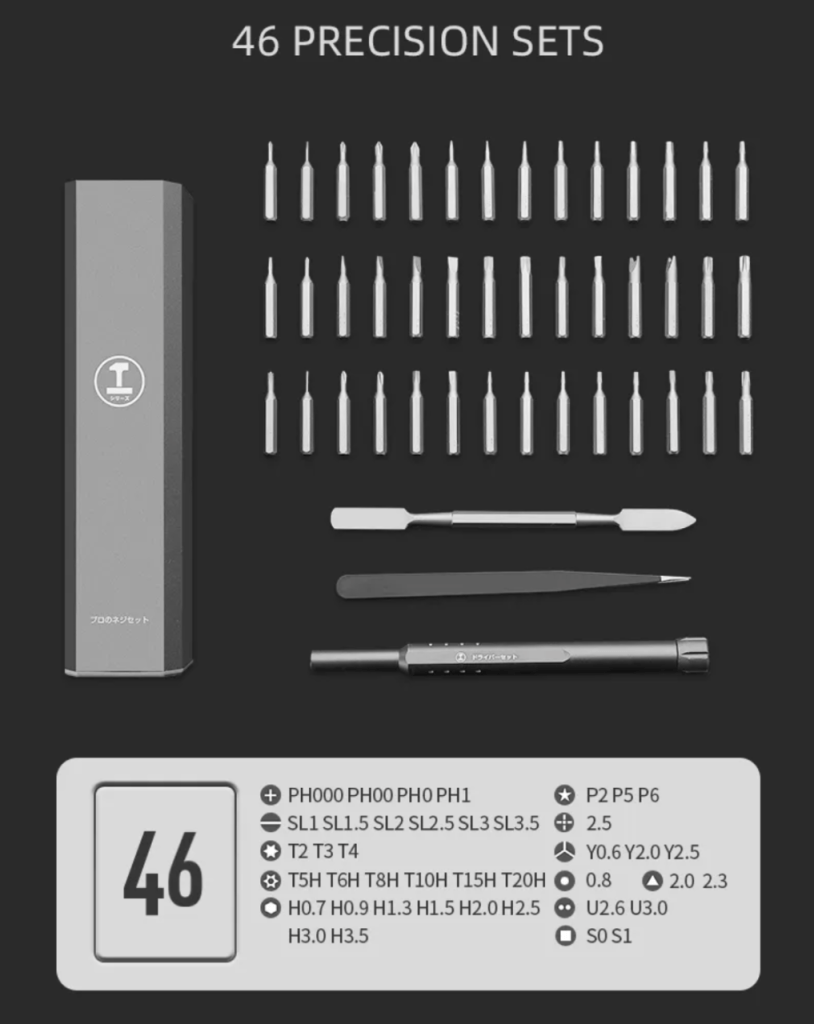
- P5 Pentalobe screwdriver: required to remove the exterior bottom case screws.
- T5 Torx screwdriver: fits almost every internal screw on the logic board, fans, and speakers.
- T8 Torx screwdriver: required for the heavy-duty display hinge screws.
- Plastic pry tool: safely lifts delicate ZIF connectors and battery cables without shorting the board.
Get the Exact Tools Used by Our Techs:
-
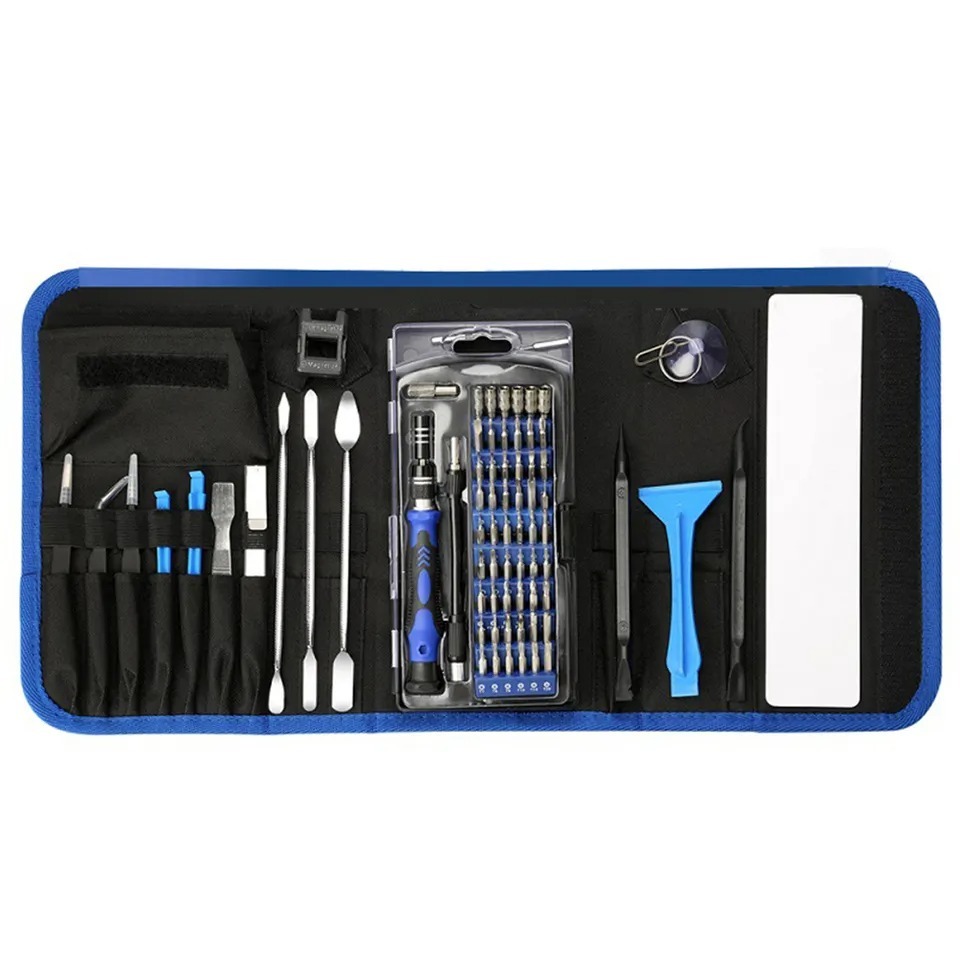
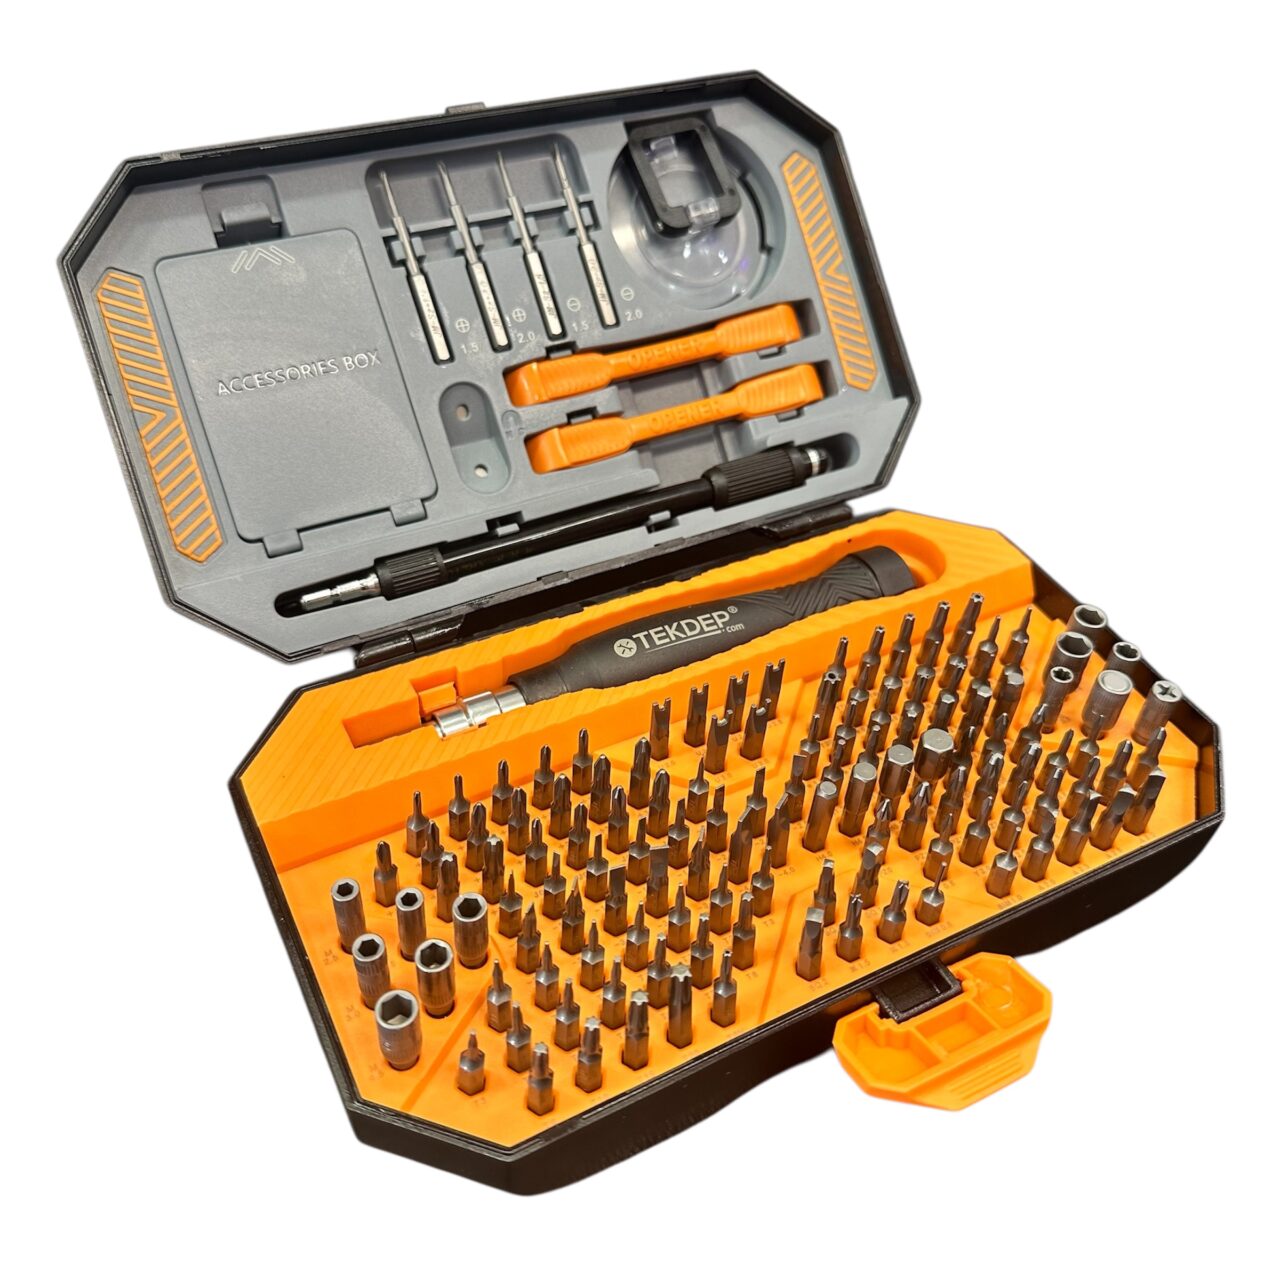
TEKDEP Professional Tool Set 145-in-1 For Electronics, iPhone, Laptop, PC Repairs
-
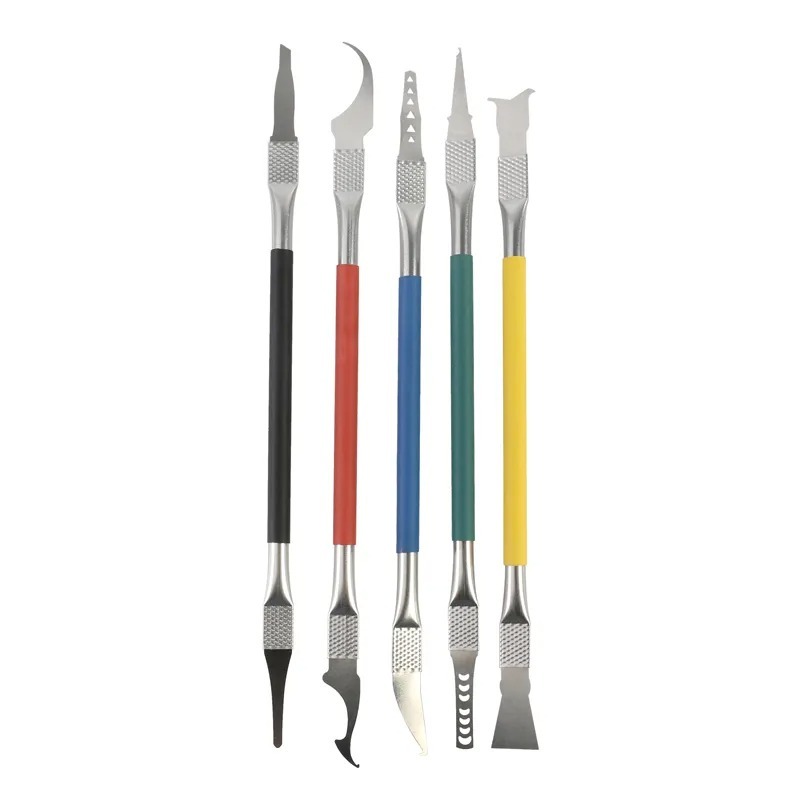
9 in 1 Disassemble Multi Opening Repair Tools Kit Metal Pry Bar
-
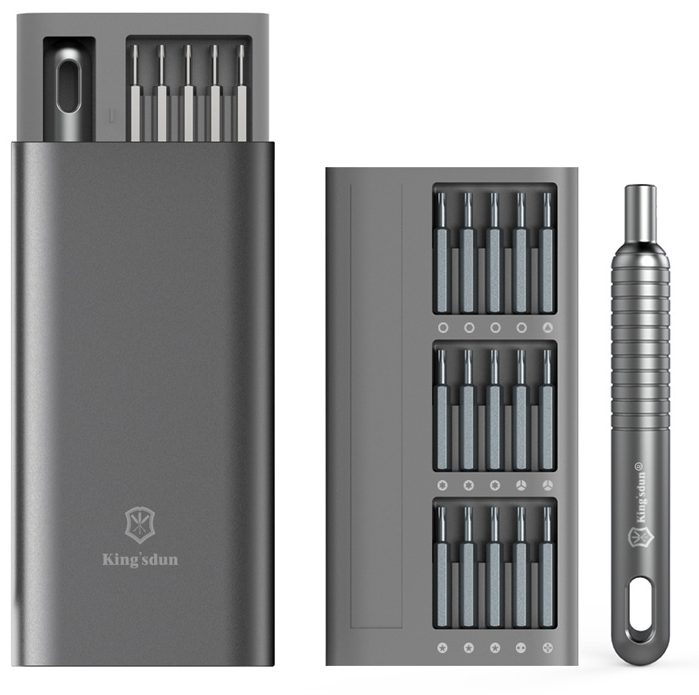
6 in 1 Steel Bit Precision Magnetic Screwdriver Tool Set with Case for Phone PC Electronics
-
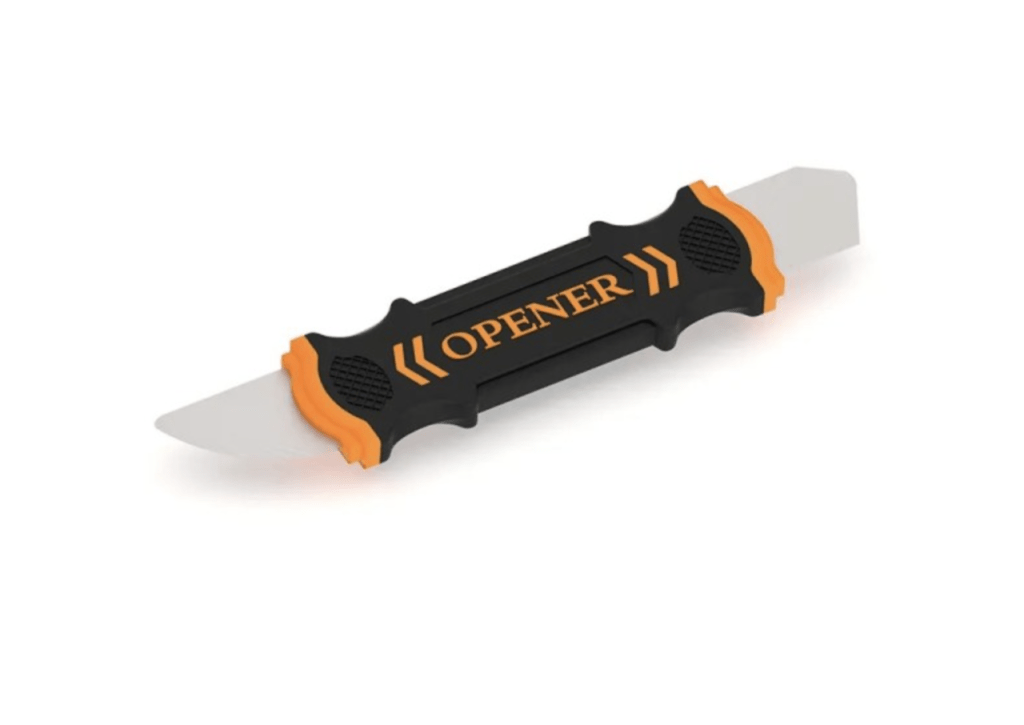
Flexible Pry Tool, Metal 2 Sided Screen Separator Electronics Repair Tool
You can also browse every part we stock for this model.
⚠️ Before you start: Disconnect the battery before you touch any connector. Work on an anti-static mat and keep each group of screws organized, as Apple uses different lengths throughout the chassis.
Phase 1: Getting Inside & Disconnecting Power
The bottom panel hides the internals of your MacBook Pro A1398, and cutting power from the battery is mandatory before proceeding.
Step 1: Remove the Bottom Case
Keep track of the screws; the two closest to the hinge on the back edge are shorter than the rest.
- Flip the MacBook over and use your P5 Pentalobe screwdriver to remove all 10 Pentalobe screws around the perimeter.
- Wedge your fingers into the gap near the hinge and lift the bottom case away from the chassis.

Step 2: Disconnect the Battery
This is the most critical action of the entire repair. Failing to cut power can cause a short circuit that kills the logic board instantly.
- Locate the large black battery connector on the logic board, just above the battery cells.
- Use your plastic pry tool to lift the edge of the connector straight up out of its socket.
- Peel back the adhesive covering the trackpad flex cable right next to it, and gently flip up its retaining flap to slide the cable out.

A1398 Parts featured in this guide:
-

A1398 Original Left CPU Cooling Fan 923-0092 for 2012-2013 MacBook Pro 15″ Retina
-
A1398 Original Trackpad Flex Cable 923-00541 for 2015 MacBook Pro 15” Retina
-

A1398 Original Wireless Bluetooth Airport WiFi Card 661-8143 for 2013-2014 MacBook Pro 15″
-
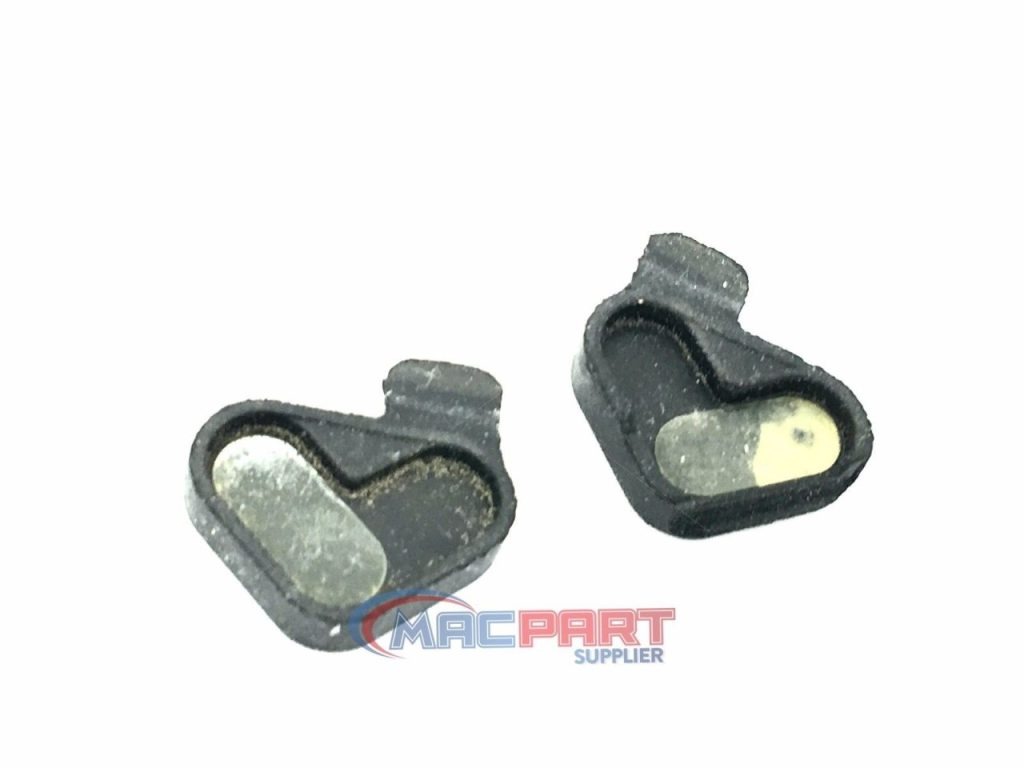
A1425 A1398 A1502 Original Display Hinge Clutch Rubber Screw Cover for MacBook Pro
-
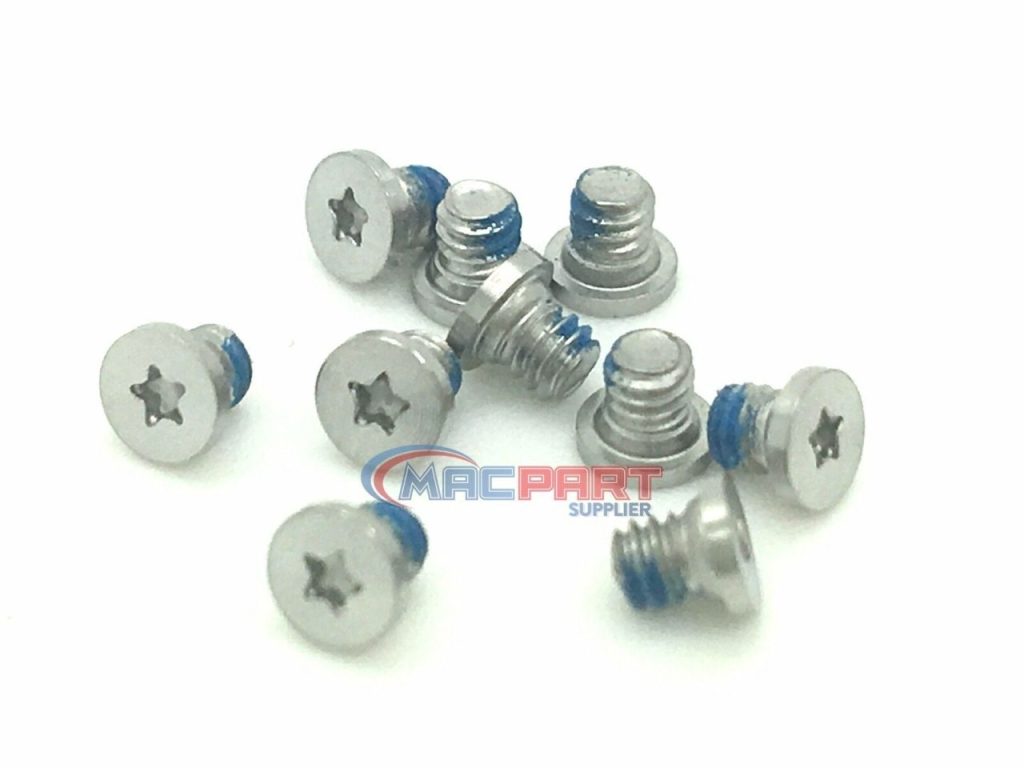
A1425 A1502 A1398 Original Bottom Case Screw Set for MacBook Pro 13″ Retina
-

Apple MacBook Pro 15" Retina Mid 2012 Logic Board 2.6Ghz i7 8Gb Ram A1398 / DG
-
MacBook Pro 15-inch A1398 Battery Replacement (2012-2013)
-
A1398 Original Top Case Assembly 661-6532 for 2012-2013 MacBook Pro Retina 15″



Phase 2: Removing Storage and Cooling from the MacBook Pro A1398
During your A1398 disassembly, the SSD and cooling fans block access to deeper components, so remove them next.
Step 1: Remove the SSD and Wi-Fi Card
- Remove the single T5 Torx screw holding the SSD in place.
- Lift the SSD slightly and pull it straight back out of its socket.
- Move to the Wi-Fi card (AirPort), disconnect the antenna cables with your pry tool, and remove its single T5 Torx screw to pull it free.

Step 2: Remove the Internal Fans
The two cooling fans have delicate ribbon cables routed underneath rubber gaskets.
- Flip up the locking flaps on the logic board and slide out the left and right fan ribbon cables.
- Remove the three T5 Torx screws securing the left fan, and lift it out.
- Remove the three T5 Torx screws securing the right fan, and lift it out.

A1398 Parts featured in this guide:
-
15" MacBook Pro Retina A1398 Logic Board 2.8Ghz i7 16Gb Mid 2014 820-3787-A / DG
-

A1370 A1369 A1466 A1425 A1502 A1398 Original Torx T8 Screw Set x6 for 2012-2015 MacBook Pro and Air
-
A1398 A1425 Original 128GB SSD PCIe THNSNG128GPFS for 2012-2013 MacBook Pro 13″
-

A1398 A1502 Original Wifi Bluetooth Airport Card 661-02363 for 2015 MacBook Pro
-
A1398 A1502 Original Wifi Wireless Bluetooth Airport Card 661-8143 for 2013-2014 MacBook Pro
-

A1398 Aftermarket Keyboard for 2013-2015 MacBook Pro 15″ Retina
-

A1398 MacBook Pro 15 inch Aftermarket A1494 Battery (2013-2014)
-

A1398 Original 3.5mm Headphone Jack Board 923-0097 for 2012-2013 MacBook Pro 15″ Retina


Phase 3: Removing the Logic Board & I/O Board
The logic board holds the CPU and RAM, and it connects to almost every peripheral inside the MacBook Pro A1398 chassis.
Step 1: Disconnect Logic Board Cables
- Use your plastic pry tool to disconnect the display cable, camera cable, speaker cables, and keyboard ribbons.
- Peel back any black tape covering the hidden ZIF connectors.

TekDep Expert Warning: The flat ribbon cables for the keyboard and trackpad tear easily. Always flip up the tiny locking latch on the socket before pulling the cable out.
Step 2: Unscrew and Remove the Boards
- Remove the remaining T5 Torx screws securing the main logic board to the chassis.
- Lift the logic board from the fan side and gently slide it out, watching for any snagged cables.
- Move to the right I/O board (daughterboard), disconnect its flex cable, remove its T5 Torx screws, and lift it out.

Phase 4: Removing Speakers & Display
With the main boards out, only the heavy display assembly and the speakers of the MacBook Pro A1398 remain.
Step 1: Remove the Speakers
- Remove the three T5 Torx screws holding the left speaker.
- Lift the left speaker assembly out of the case.
- Repeat the process for the right speaker, which shares space with the charging port.

Step 2: Remove the MacBook Pro A1398 Display Assembly
The display is secured by heavy hinges. Open the MacBook slightly to relieve the tension before you remove the final screws.
- Use your T8 Torx screwdriver to remove all but one screw on each hinge.
- Open the laptop display to a 90-degree angle and stand it on the edge of your desk.
- Remove the final two T8 Torx screws while holding the chassis firmly.
- Lift the aluminum chassis away from the display hinges.

Step 3: MacBook Pro A1398 Reassembly Notes & Testing
To rebuild the laptop, follow this guide in reverse. Ensure all ribbon cables are seated deeply before flipping their retaining tabs down. Connect the battery last.
Congratulations! You have completed the A1398 teardown on your 15-inch MacBook Pro.
🛑 Not Comfortable Handling Delicate Ribbons? If reading about fragile flex cables and tight clearance has you second-guessing your DIY skills, don’t worry. The TEKDEP experts are here to help.
We offer clean, professional, and affordable Mail-In repair services for the entire Apple MacBook lineup.
Frequently Asked Questions:
Is a MacBook Pro A1398 teardown difficult for beginners?
It requires patience, but it is manageable. The 2015 generation uses standard connectors and screws, avoiding the heavy glue found in newer models. The hardest part is managing the fragile ribbon cables without tearing them.
What screwdrivers do I need for the 2015 MacBook Pro?
You need a P5 Pentalobe driver for the outer bottom case. Inside, almost everything requires a T5 Torx driver, while the heavy display hinges use a T8 Torx driver.
Where is the battery connector on the MacBook Pro A1398?
It is located on the logic board directly above the center battery cells. It is a large, black plastic block that you must pull straight up and out of its socket to disconnect power.
Will taking apart my MacBook Pro A1398 delete my files?
No, simply opening your laptop and removing parts will not erase your data. However, if you replace the storage drive, your new drive will be empty. It is always best to back up your files before starting any internal repairs.
Do I need to apply new thermal paste during this process?
If your teardown includes removing the heat sink from the logic board, you must clean off the old thermal paste and apply a fresh drop before reassembling. This is crucial for preventing your laptop from overheating.
🛑 IMPORTANT: SAFETY & LIABILITY DISCLAIMER TEKDEP®️ TEKDEP.com assumes no liability for property damage or injury incurred as a result of any information in this blog post or associated videos. Dealing with internal computer components, specifically Lithium-Ion batteries, carries inherent risks including fire, toxic gas exposure, and irreversible device failure. Any injury, damage, or loss from improper use of tools, mishandling of components, or misinterpretation of this information is the sole responsibility of the user. Perform repairs at your own risk. If you are unsure of your capabilities, please utilize our professional Mail-In Repair Service.


