































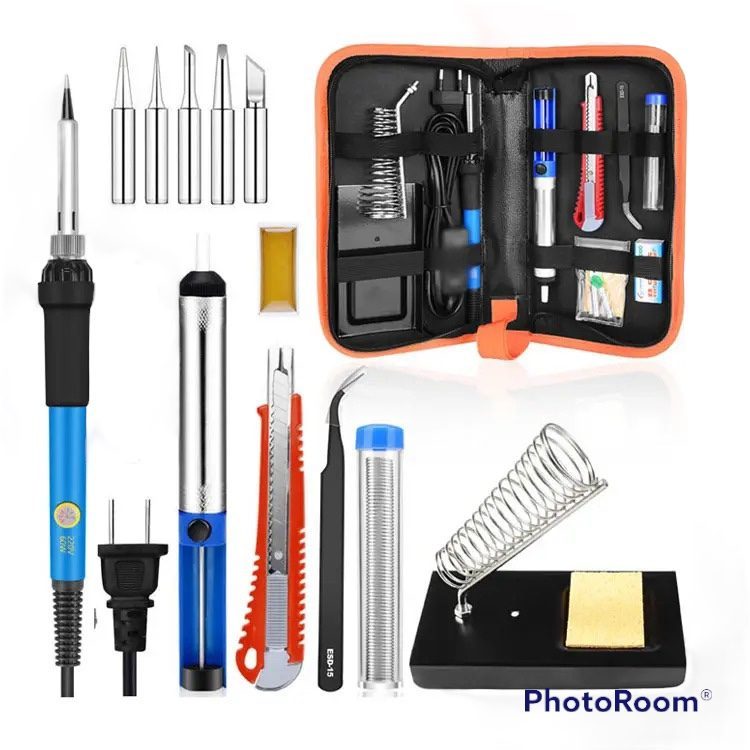

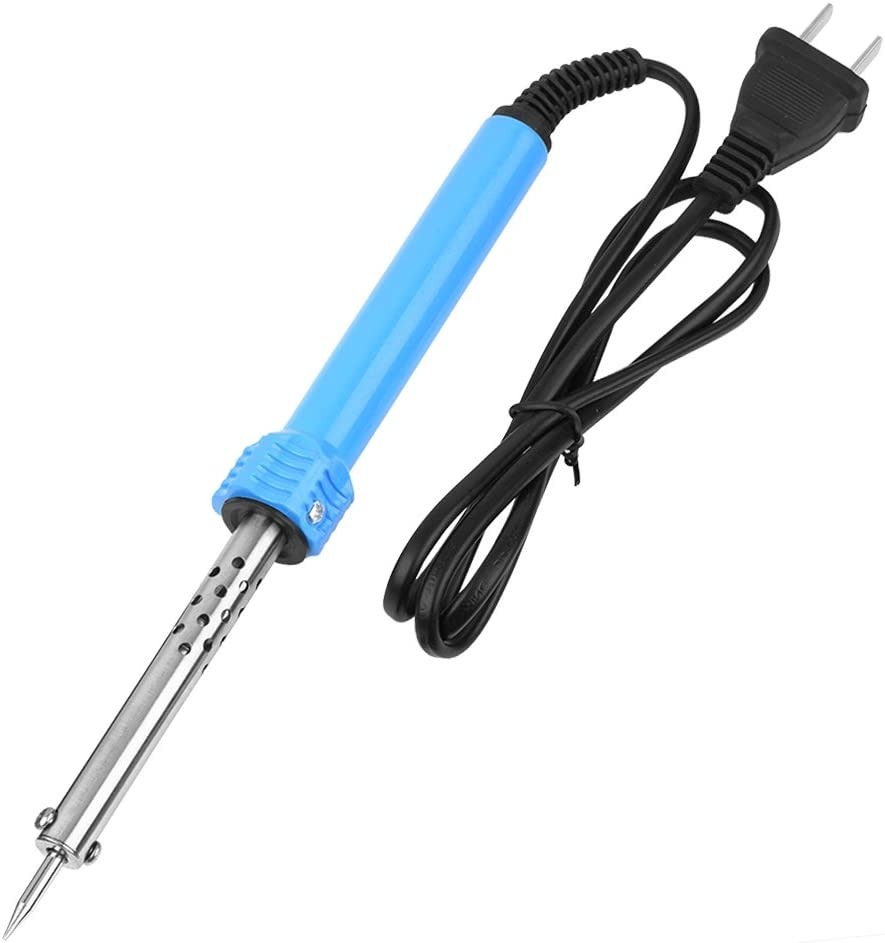
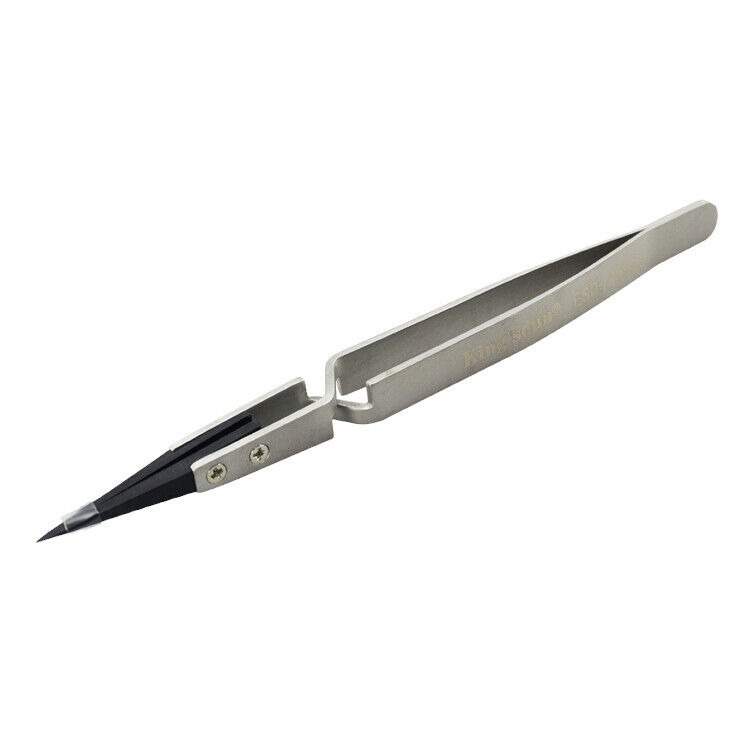

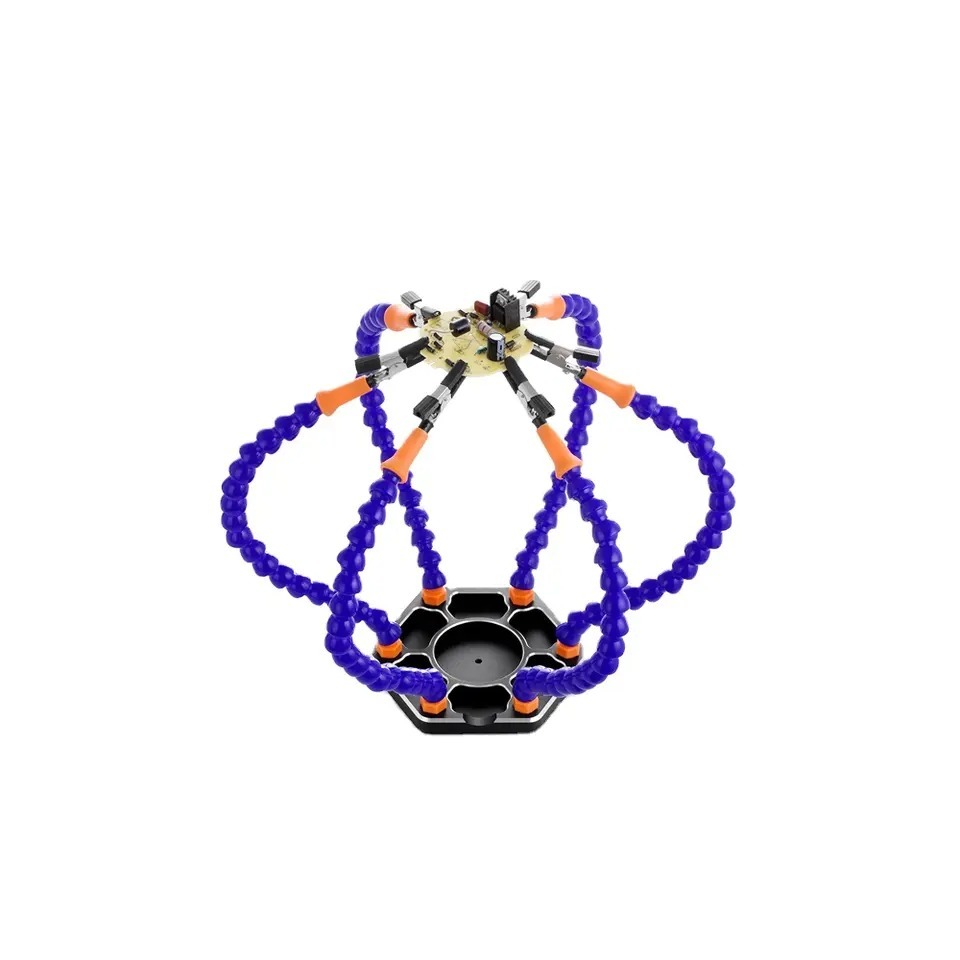










Model: Alienware Area 51 (P38E) | Level: Intermediate | Tools: Precision screwdriver set, plastic pry tool, tweezers, isopropyl alcohol
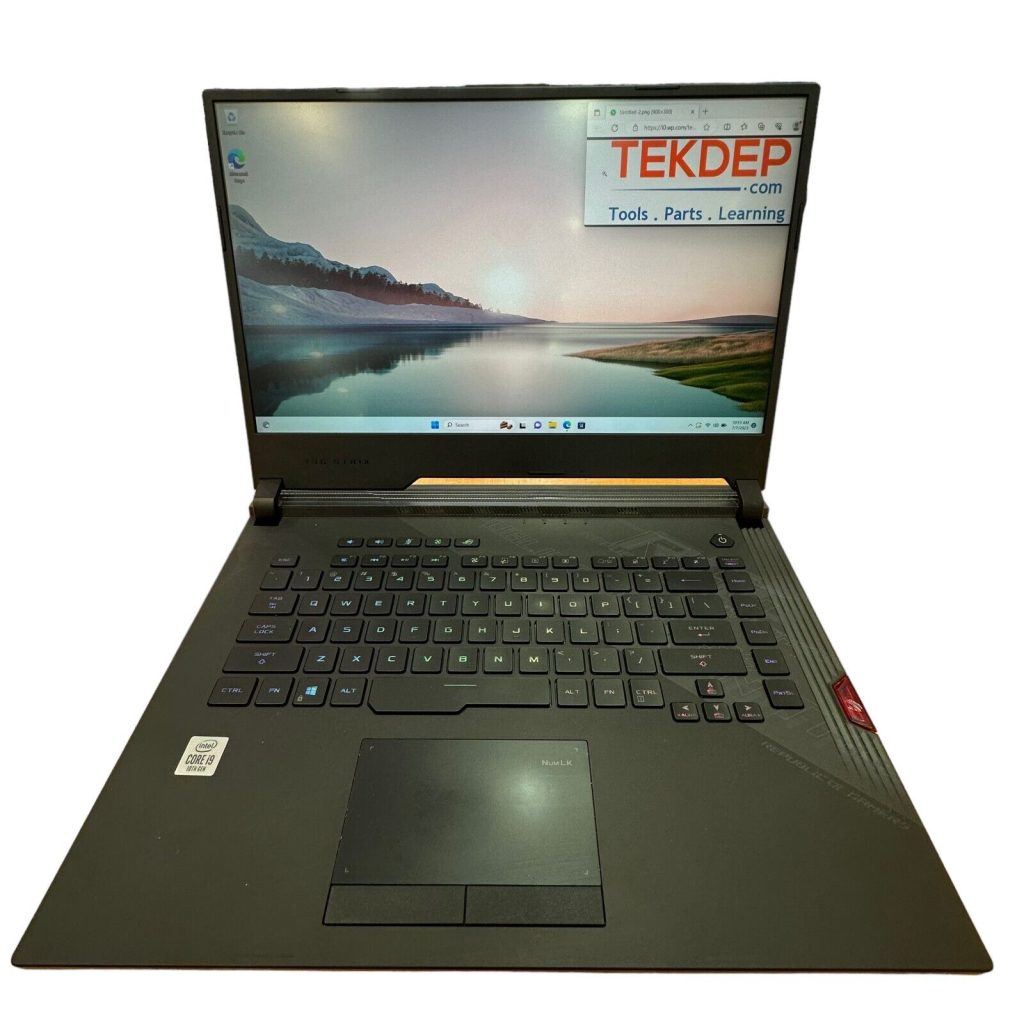
An exact Alienware Area 51 teardown reveals something incredible: this laptop is built like a desktop. Specifically, it features a fully socketed Intel i9 processor, an upgradeable GPU module, and a massive heat sink to keep everything cool.
Therefore, if your device is overheating, random shutdowns are occurring, or you just want to upgrade to 64GB of RAM or a new processor, getting inside is required.
Our TEKDEP technician walks you through the entire disassembly process in the video below. Let’s get started.
How to Perform an Alienware Area 51 Teardown (Quick Overview)
- Remove the rear I/O cover and disconnect the RGB cables to access the internals.
- Unplug the speakers, display flex, and antennas before pulling the back plate.
- Unscrew the massive heat sink sequentially using the numbered labels (1 through 8).
- Detach the cooling fans and clean off the old thermal paste with isopropyl alcohol.
- Disconnect the display and power cables from the GPU and lift out the module.
- Fold the logic board back to unplug the keyboard, then remove the board.
- Undo the hinge brackets to free the display assembly, then reassemble and test.
🛠️ Required Tools for Your Alienware Area 51 Teardown
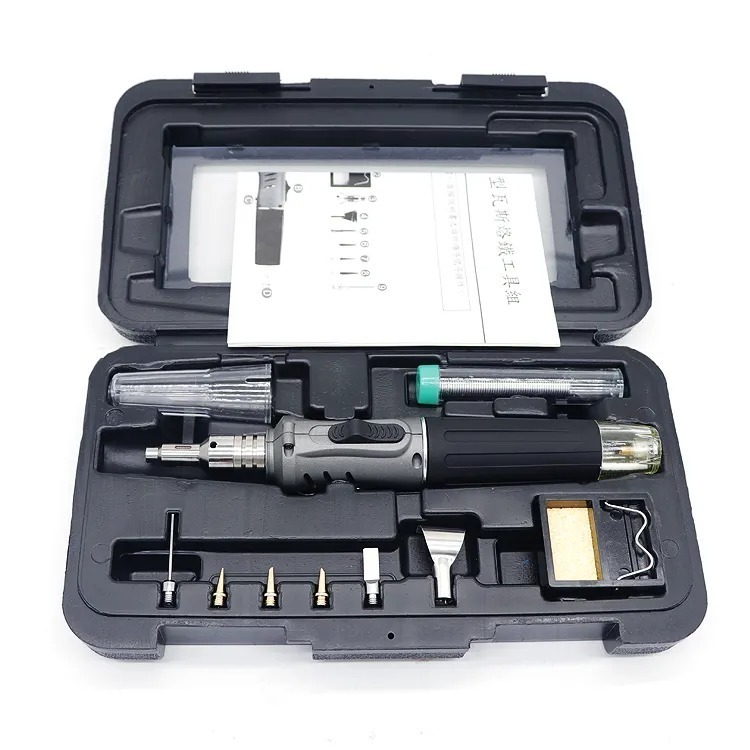
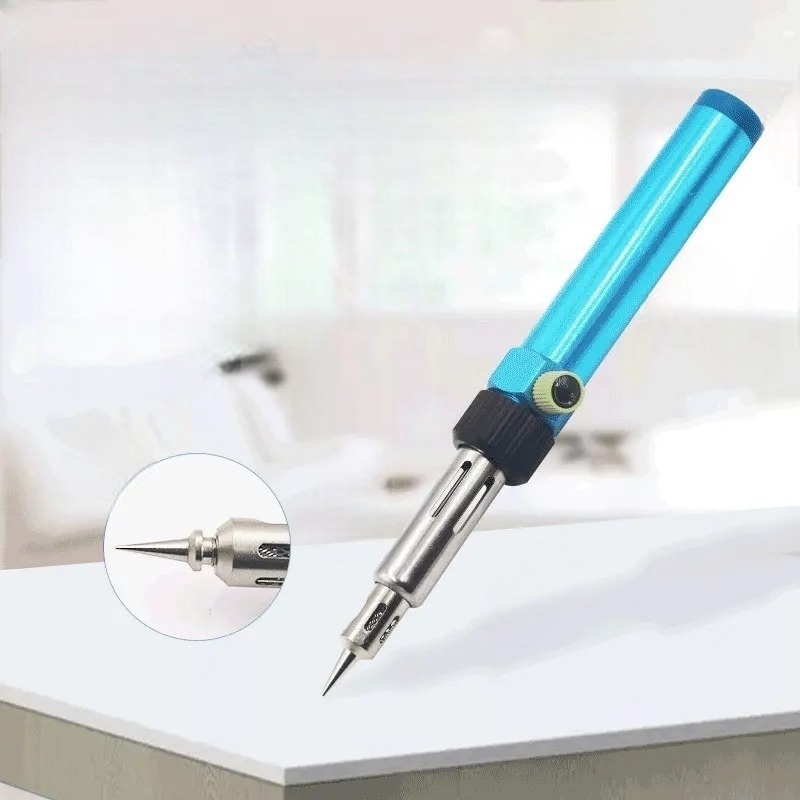
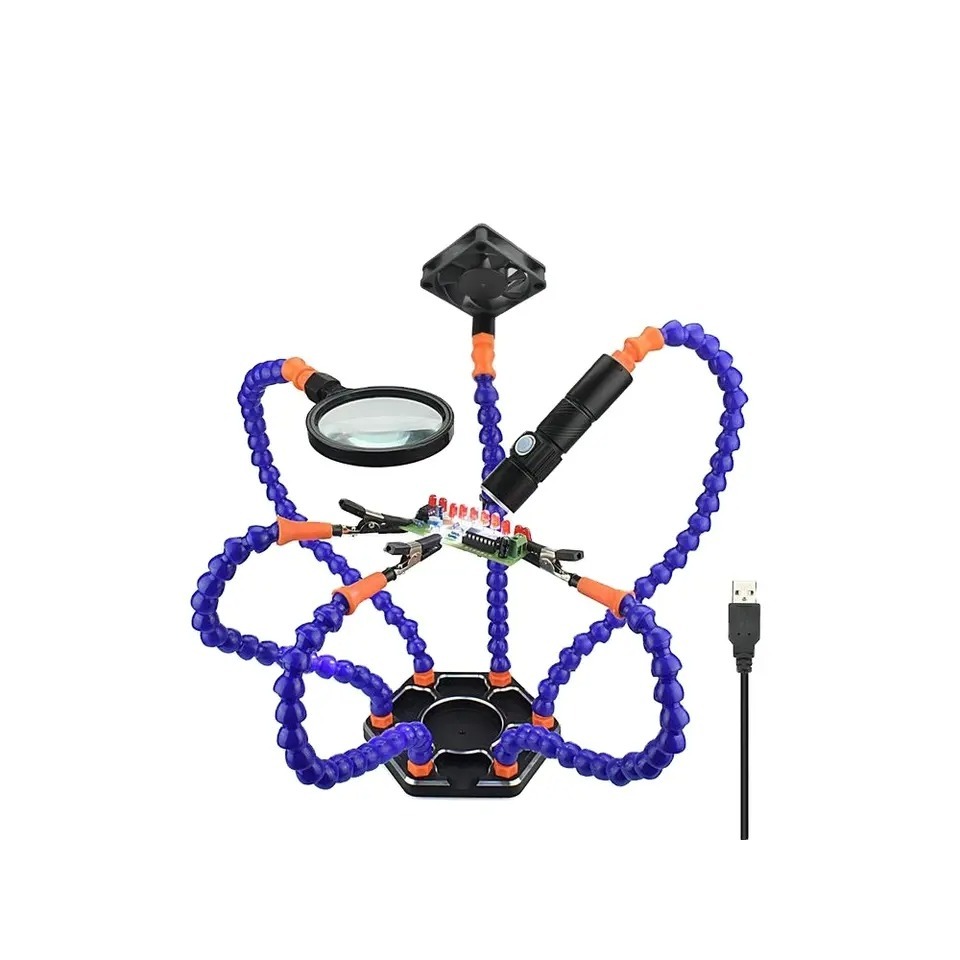
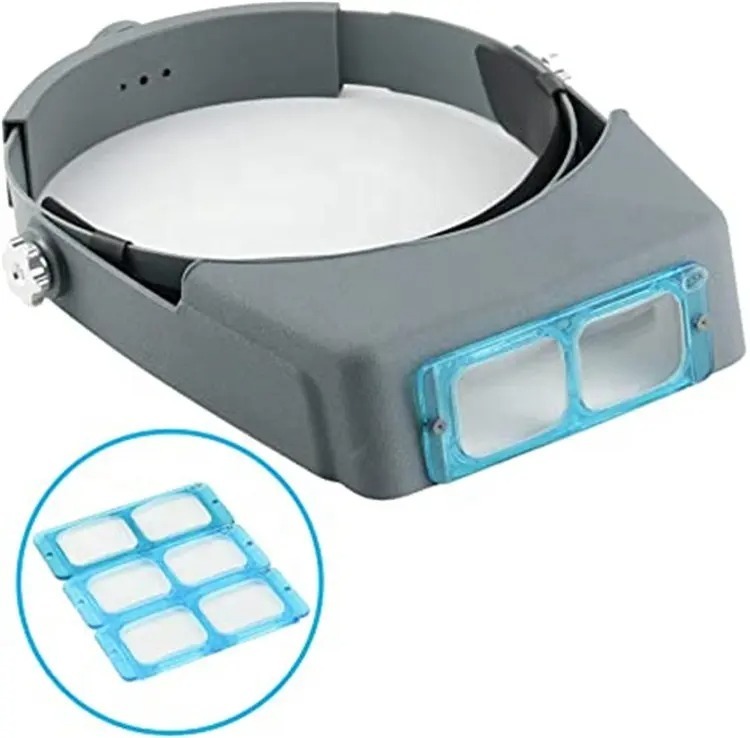
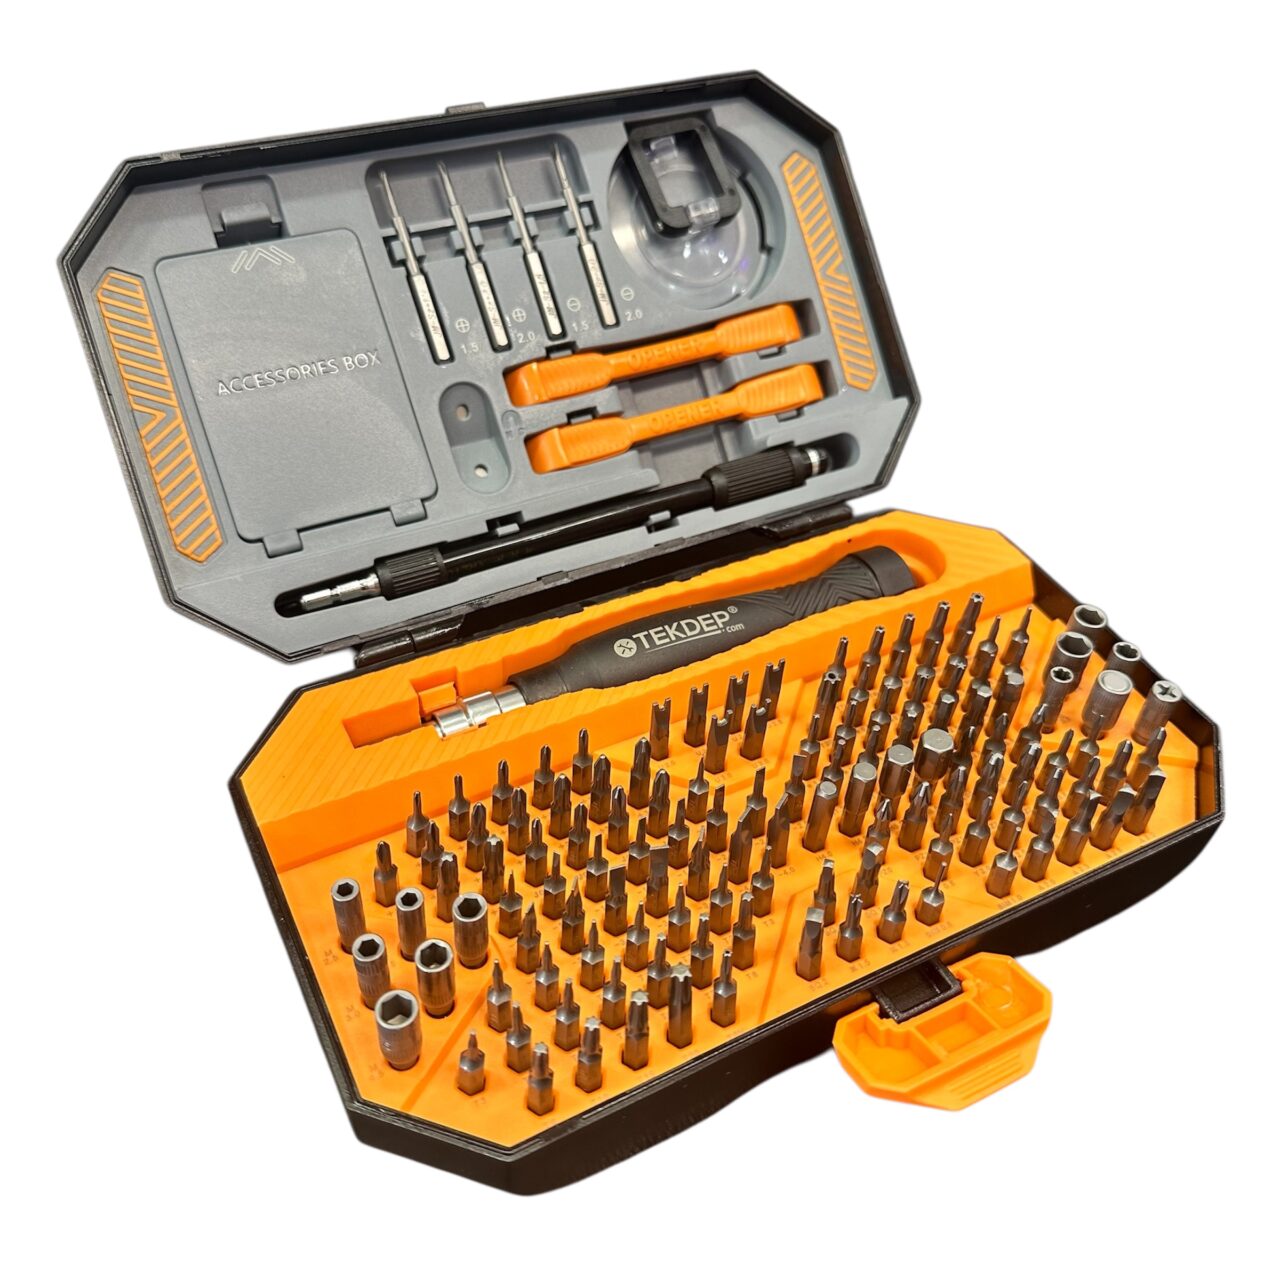
An Alienware Area 51 teardown needs only standard precision tools; power off and unplug both power bricks first.
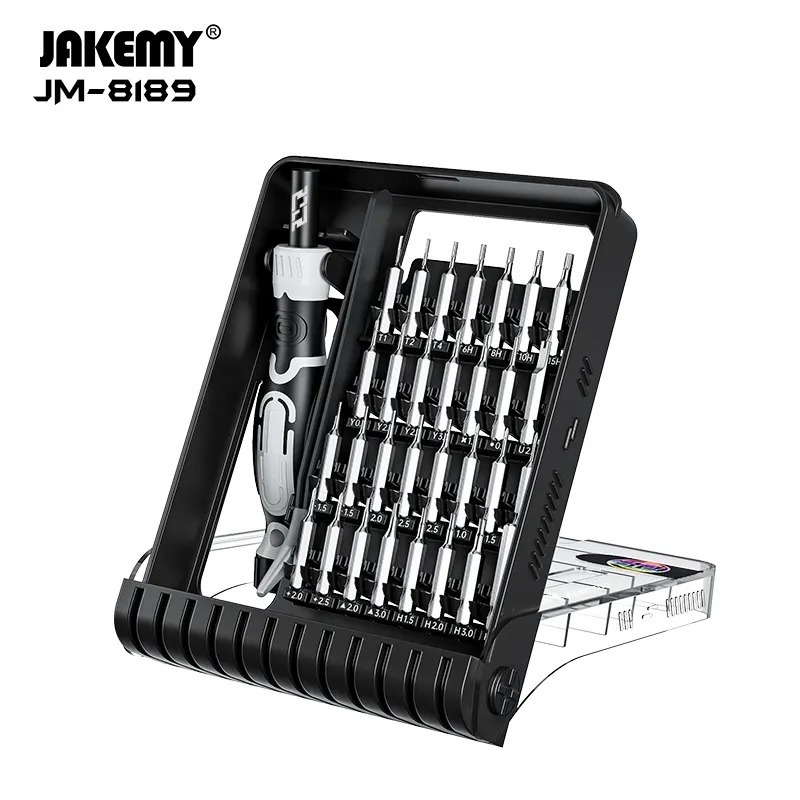
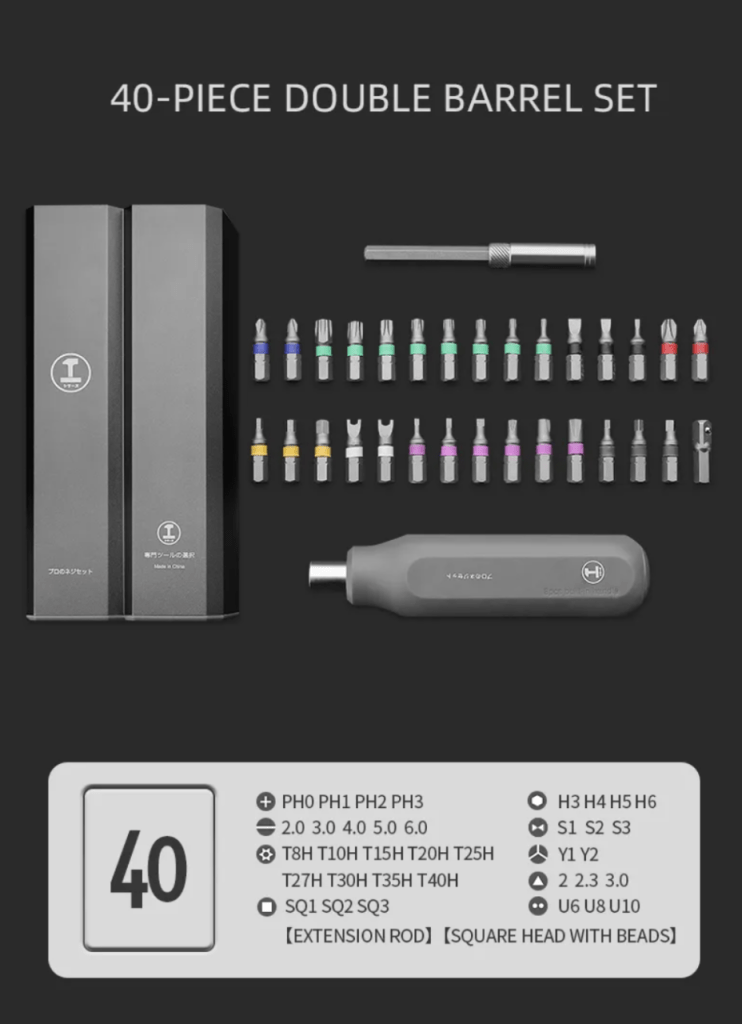
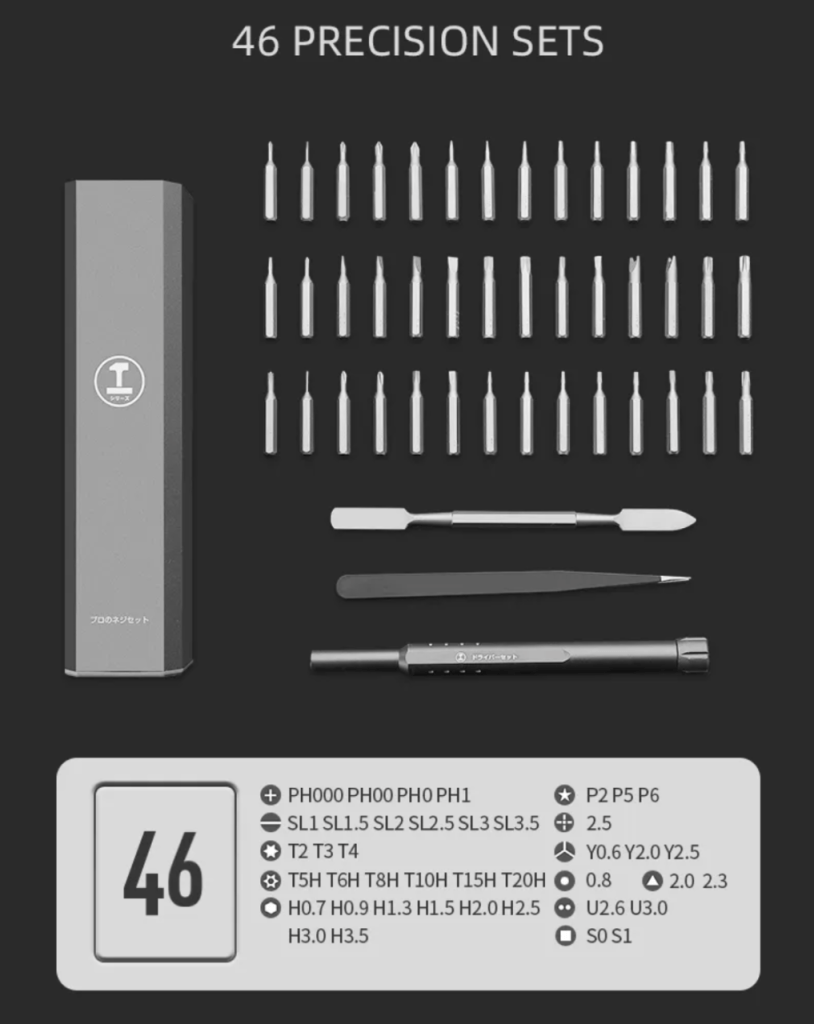
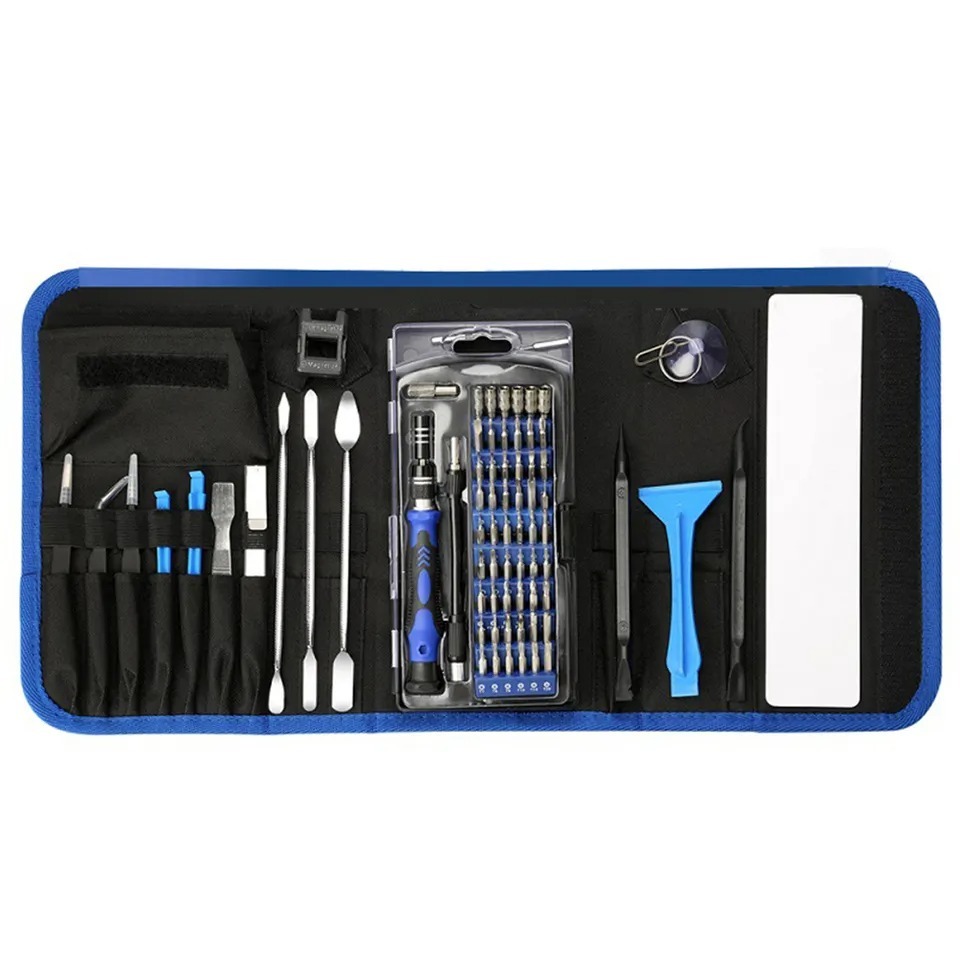
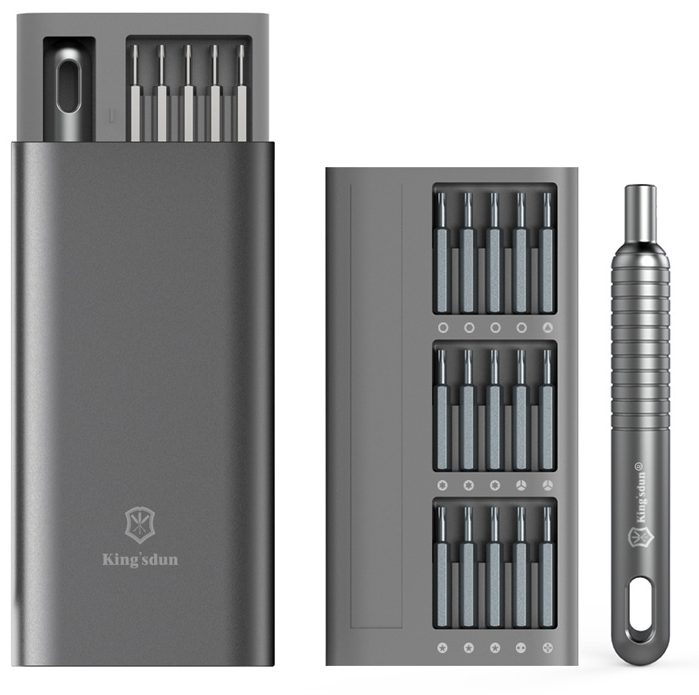
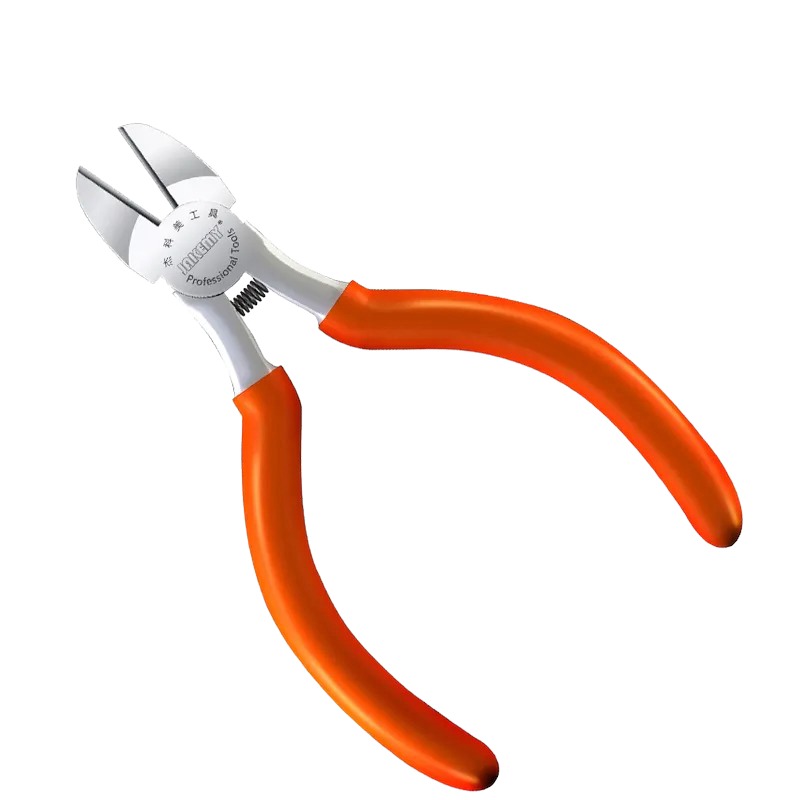
- Precision screwdriver set: removes the various screws across the heat sink and chassis.
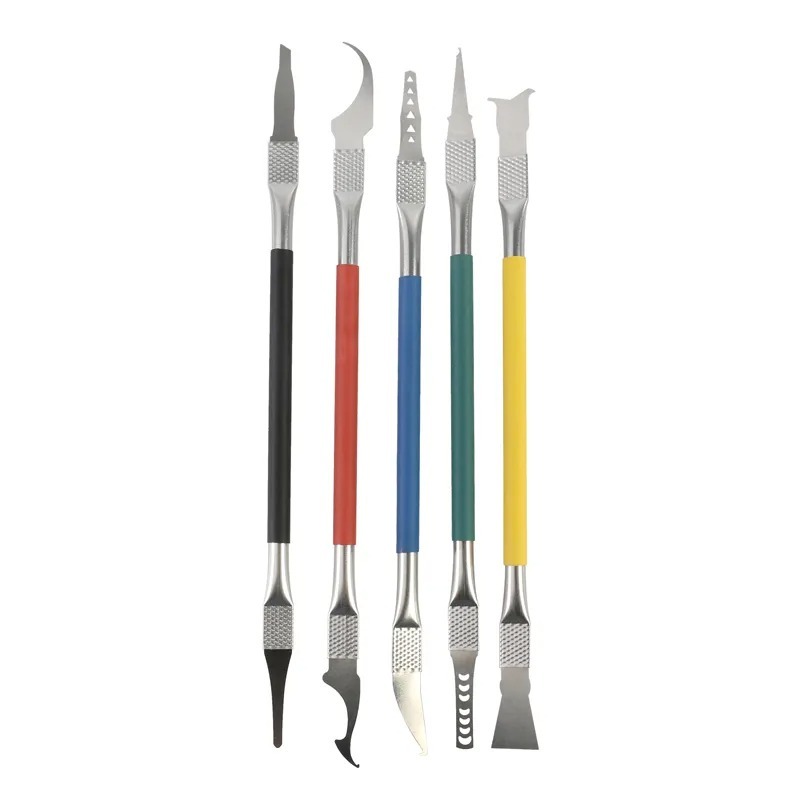
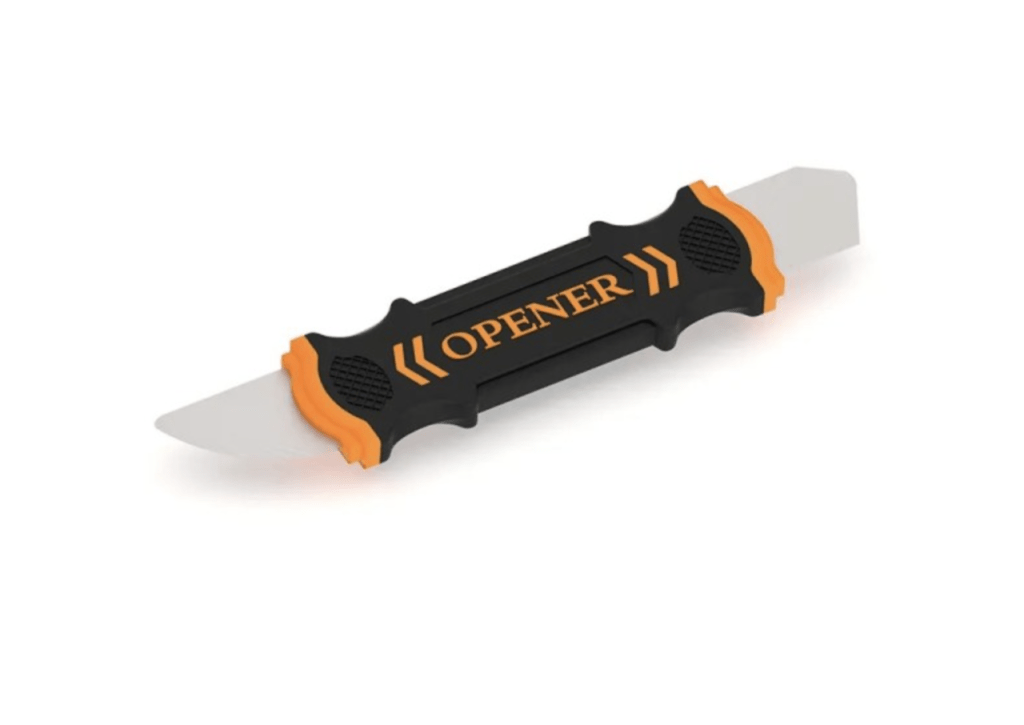
- Plastic pry tool: unclips connectors and lifts delicate cables safely.
- Isopropyl alcohol: cleans the dried thermal paste off the CPU and GPU dies.
Get the Exact Tools Used by Our Techs:
⚠️ Before you start: Disconnect the battery before you touch any connector. Work on an anti-static mat and keep each group of screws together.
Phase 1: Getting Inside the Alienware Area 51
Because of the heavy cooling system inside the Alienware Area 51, you have to bypass a few covers and cables to reach the main components.
Step 1: Remove the Rear I/O Cover
To begin, remove the protective rear trim, which houses the RGB lighting.
- First, unscrew the two screws in the middle of the back panel.
- Pull the I/O cover away slightly and disconnect the RGB cables hidden underneath.

Step 2: Disconnect the Speakers and Antennas
Several crucial connections spanning the chassis tangle the back plate.
- Pull the speaker modules out and up, then unplug their cable from the side daughterboard.
- Disconnect the display flex cable and the camera cable from the motherboard.
- Unplug the Wi-Fi and Bluetooth antennas.

Step 3: Lift the Back Plate
Once all of the peripheral cables are safely detached, you can lift the entire back plate straight off the machine to expose the fans, heat sink, and the CMOS battery.

Phase 2: Removing the Alienware Area 51 Heat Sink
The Alienware Area 51 uses a desktop-grade heat sink that must be removed carefully to avoid bending.
Step 1: Unscrew the Heat Sink
Multiple spring-loaded screws secure the copper assembly over the CPU and GPU dies.
- Locate the eight numbered screws in the middle of the heat sink.
- Unscrew them in order, from one through eight, to release the mounting pressure evenly. You will hear a click when each screw is fully disengaged.
- Remove the two side screws located on the actual fans themselves.
- Lift the massive heat sink out very slowly.

TekDep Expert Warning: Never force or bend the heat sink during removal. Even a slight bend in the copper plates will ruin the thermal contact and destroy the cooling performance.
Step 2: Detach the Fans and Clean Thermal Paste
- Remove the top screws on the fan housings to dislodge the cooling fans from the heat sink.
- Wipe the old thermal paste off both the chips and the heat sink using isopropyl alcohol. The thermal pads can stay unless they are dried out and broken.

Get the replacement parts featured in this guide:
-
Alienware Area 51 P38E Replacement GPU Auxiliary Power Cable
-
Alienware Area 51 P38E Replacement Graphics Card Cable (2019)
-
Alienware Area 51 P38E Replacement Graphics Card Module
-

Alienware Area 51 P38E Replacement Hard Drives Cable
-

Alienware Area 51 P38E Replacement Internal Mid Frame
-

Alienware Area 51 P38E Replacement IO Audio Board Cable
-
Alienware Area 51 P38E Replacement SSD Bracket (2019)
-
Alienware Area 51 P38E Replacement WiFi and Bluetooth Card


Phase 3: Removing the GPU & Logic Board
The Area 51 boasts a socketed CPU and a removable, upgradeable GPU module—extreme rarities in laptops.
Step 1: Disconnect and Remove the GPU
The dedicated graphics card is an independent module with its own heavy-duty wiring.
- Unplug the two display connections linking the graphics card directly to the motherboard.
- Disconnect the two power connectors situated at the back of the card.
- Lift the heavy, desktop-caliber GPU module out of its slot.

Step 2: Lift the Logic Board
During this phase of the Alienware Area 51 teardown, you must locate a hidden cable under the main board.
- Gently fold the motherboard backwards to reveal the underside.
- Undo the wide keyboard connection plugged in directly underneath.
- Remove the logic board completely, exposing the full Intel i9 socket.

Phase 4: Alienware Area 51 Display Removal & Reassembly
If you are also changing the screen, it comes off as a complete assembly.
Get the replacement parts featured in this guide:
-

Alienware Area 51 CPU & GPU Heatsink Assembly P38E (2019)
-

Alienware Area 51 P38E CMOS Battery Replacement (220mAh)
-
Alienware Area 51 P38E DC-IN Power Jack Cable (2019)
-
Alienware Area 51 P38E Internal Cooling Fan Assembly (2019)
-
Alienware Area 51 P38E Internal Speaker Assembly (Left and Right)
-

Alienware Area 51 P38E LCD Screen Assembly 17.3-Inch
-
Alienware Area 51 P38E Replacement Audio IO Board
-
Alienware Area 51 P38E Replacement Battery 7500mAh (DT9XG)


Step 1: Remove the Display Assembly
- Undo the structural brackets holding down the main display hinges.
- Lift up the hinges and slide the entire LCD assembly away from the chassis.

Step 2: Reassembly Notes & Testing
Reassemble the Alienware Area 51 in exact reverse order. Crucial Note: you must apply fresh thermal paste to the CPU and GPU dies before reinstalling the heat sink; failure to do so will cause immediate overheating.
Once reassembled, plug in both power banks and press the power button to confirm the machine boots.
Congratulations! You have completed the teardown on your Alienware Area 51.
🛑 Not Comfortable Taking Everything Apart? If reading about heavy heat sinks and fragile cables has you second-guessing your DIY skills, don’t worry. The TEKDEP experts are here to help.
We offer clean, professional, and affordable Mail-In repair services for the entire Dell Alienware lineup.
Frequently Asked Questions
Can I upgrade the CPU in the Alienware Area 51?
Yes. The Area 51 features a true desktop CPU socket rather than a soldered processor. If you currently have an i5 or i7, you can swap it for an i9 of the same socket type just as you would on a desktop motherboard.
Why does the Alienware Area 51 have two power bricks?
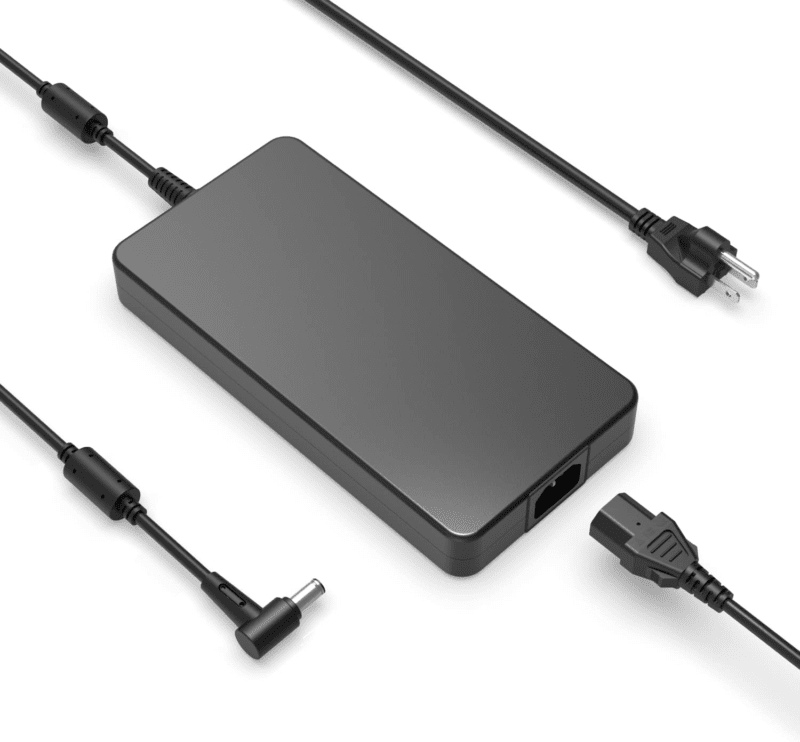
Because it requires desktop-level power. The massive power draw from the desktop i9 CPU and the heavy-duty GPU module requires the combined output to mimic a standard 800 or 1000-watt desktop power supply.
Is an Alienware Area 51 teardown dangerous for the components?
The primary risk is bending the massive copper heat sink. If you unscrew it out of order or pull up on one side too forcefully, the copper bends, ruining the thermal contact and crippling the laptop’s cooling.
Question: How often should I replace the thermal paste in my Alienware Area 51?
For the best cooling performance, you should replace the thermal paste every 1 to 2 years. Because the Area 51 uses powerful, desktop-grade processors that generate significant heat, applying fresh thermal paste regularly will prevent overheating, stop sudden shutdowns, and keep your laptop running smoothly.
Will tearing down my Alienware Area 51 void the warranty?
Simply opening the back panel to upgrade your RAM or storage usually does not void your warranty. However, completely removing the heat sink, CPU, or GPU—or accidentally damaging a component during the process—will likely void your coverage. If your device is still under warranty, it is best to contact Dell support before doing a full teardown.
🛑 IMPORTANT: SAFETY & LIABILITY DISCLAIMER TEKDEP®️ TEKDEP.com assumes no liability for property damage or injury incurred as a result of any information in this blog post or associated videos. Dealing with internal computer components, specifically Lithium-Ion batteries, carries inherent risks including fire, toxic gas exposure, and irreversible device failure. Any injury, damage, or loss from improper use of tools, mishandling of components, or misinterpretation of this information is the sole responsibility of the user. Perform repairs at your own risk. If you are unsure of your capabilities, please utilize our professional Mail-In Repair Service.


