








































Model: 13″ Dell XPS 9310 (2020) | Level: Advanced | Tools: TEKDEP tool kit. This guide covers a complete Dell XPS 9310 teardown for advanced users.
A full Dell XPS 9310 teardown lets you access the tightly packed internal components without scratching the premium ultra-thin chassis. Because of the delicate micro-cables, this disassembly requires patience.
Whether you need to clean out the cooling fans, replace a dying battery, or reach the logic board for a deeper repair, removing the motherboard safely is the first step.
Our lead technician walks you through the entire disassembly in the video below. Let’s get started.
How to Do a Dell XPS 9310 Teardown (Quick Overview)
- Remove the back cover to expose the internal layout.
- Disconnect the battery before touching any other component.
- Take out the cooling fan and SSD to clear space.
- Disconnect the delicate internal cables and remove the Wi-Fi card.
- Lift out the fragile motherboard safely.
- Clean the chassis and components before reassembling in reverse order.
🛠️ Required Tools & Preparation
A safe Dell XPS 9310 teardown requires precision screwdrivers and plastic pry tools. Power the laptop off and unplug it before you start.
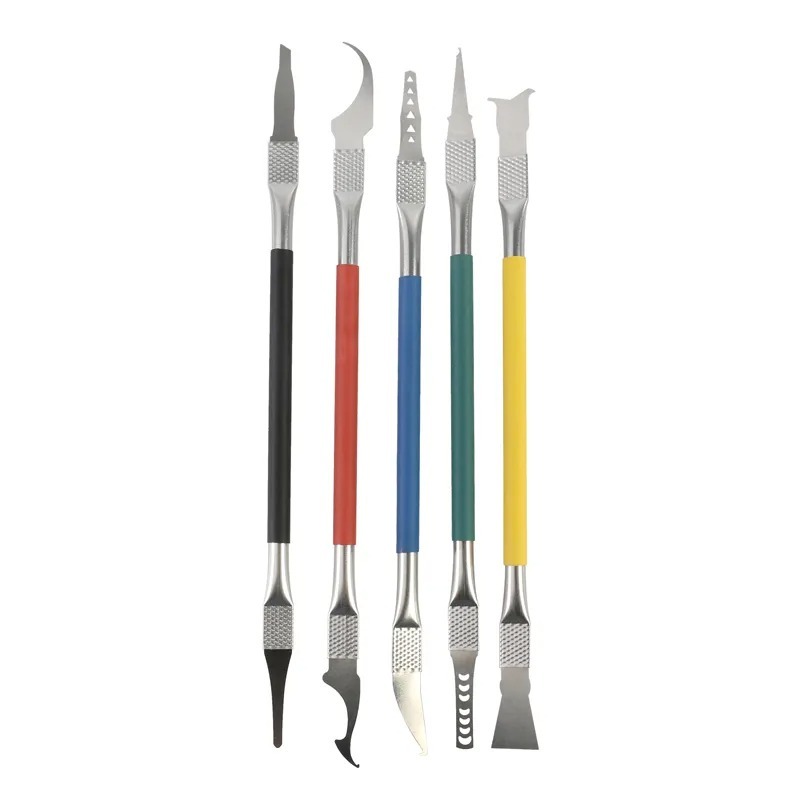
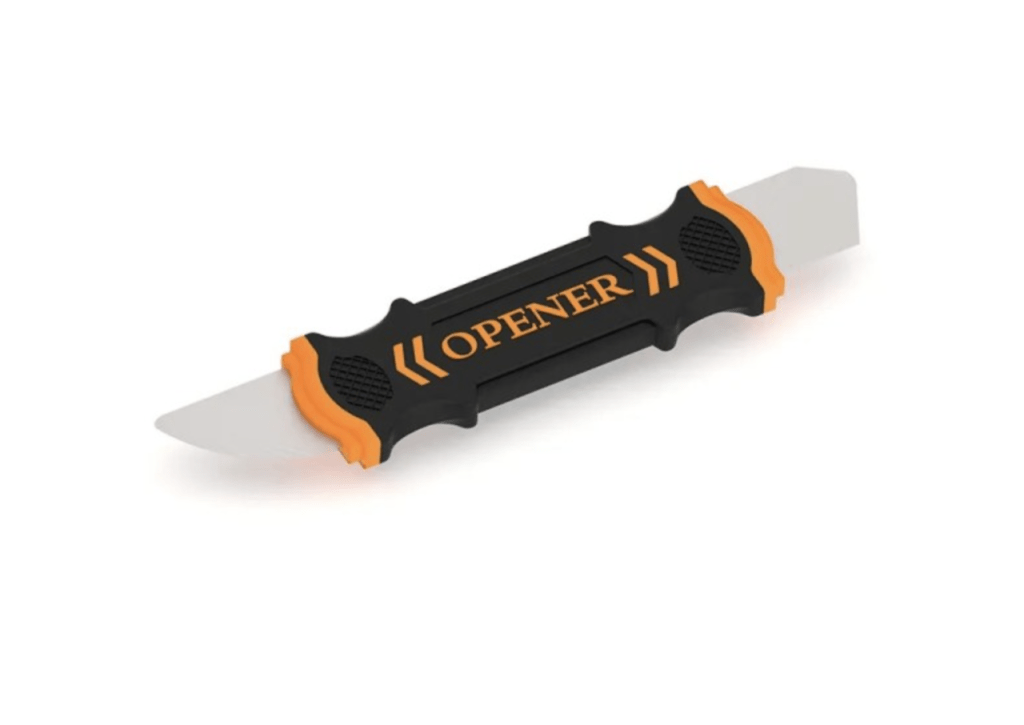
- Plastic pry tool: unclips the premium chassis without leaving scratches.
- Precision tweezers: navigate the tightly packed micro-cables safely.
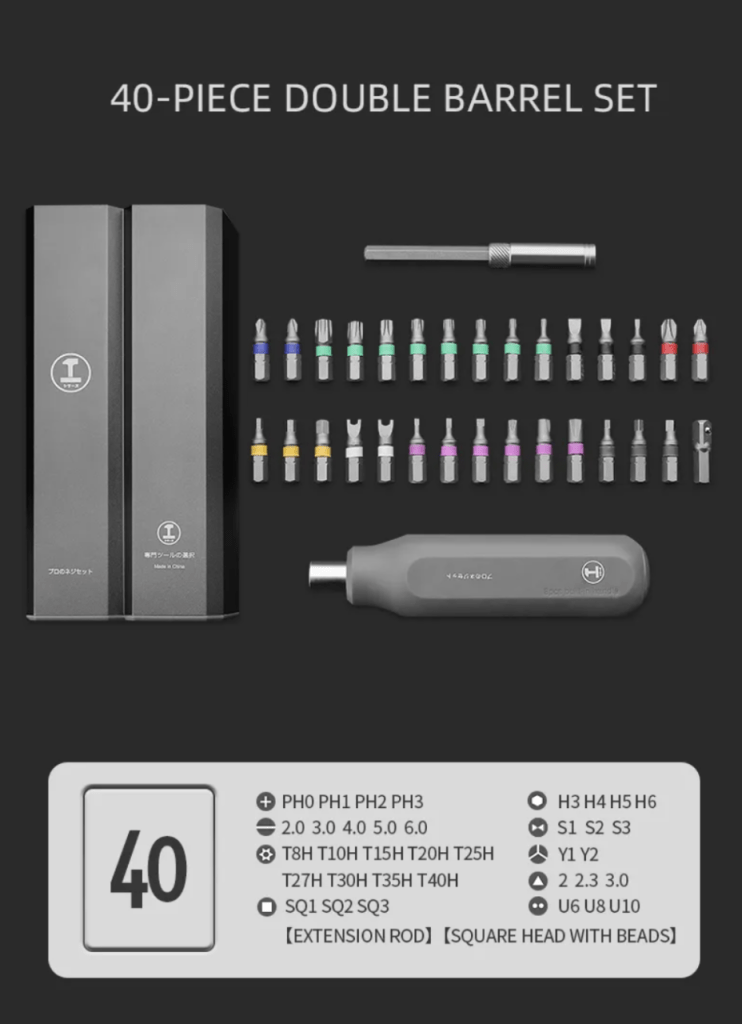
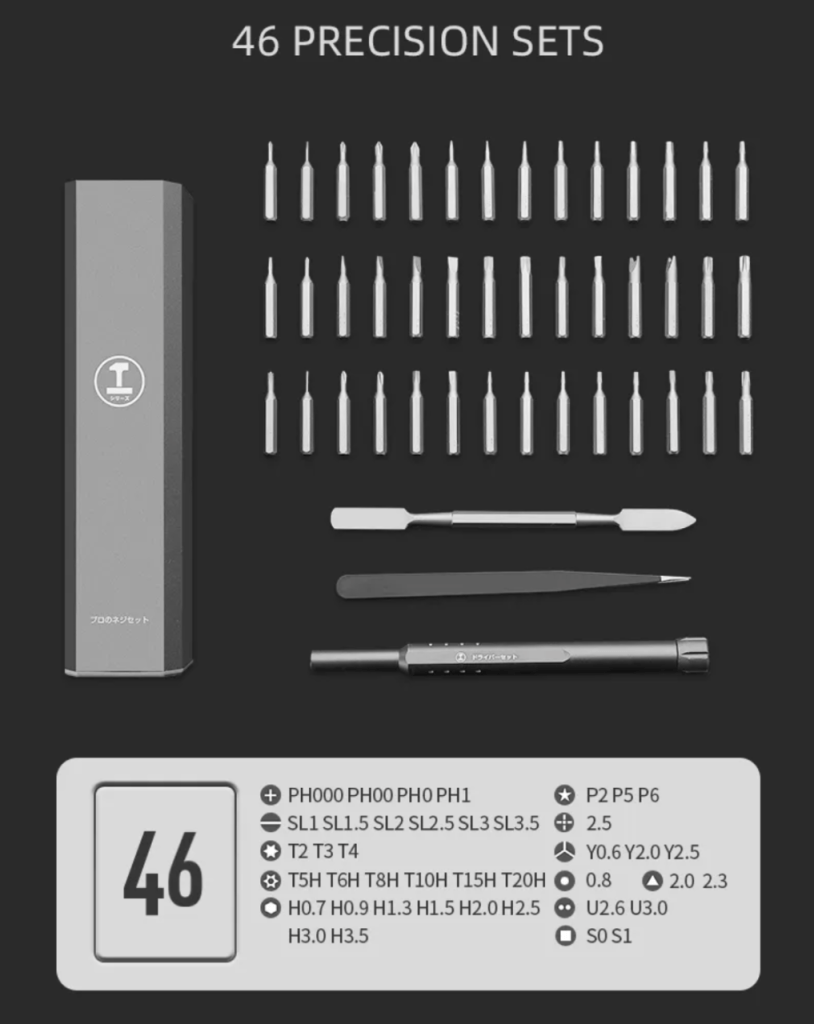
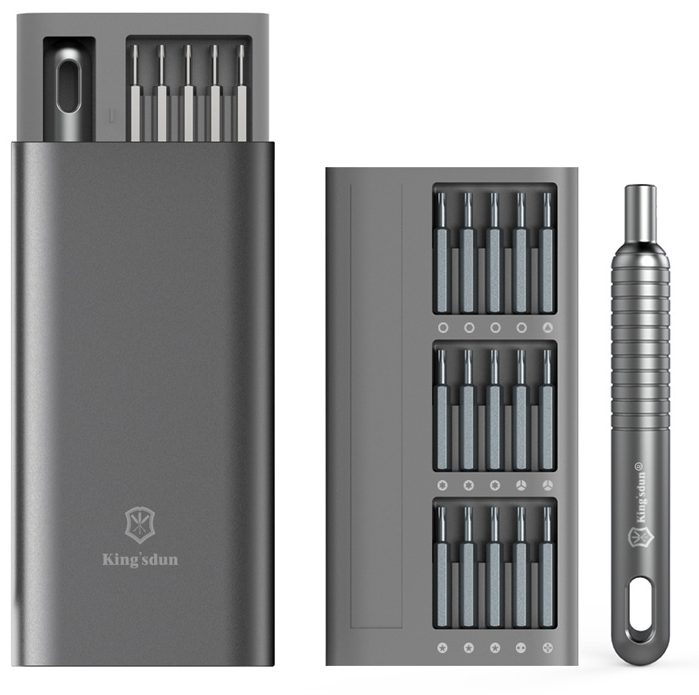
- Precision screwdrivers: to remove the internal fasteners.
⚠️ Before you start: Always manage static discharge by working on an anti-static mat. Never puncture the battery with metal tools, and handle the fragile motherboard carefully to avoid irreversible damage.
Get the Exact Tools Used by Our Techs:
-
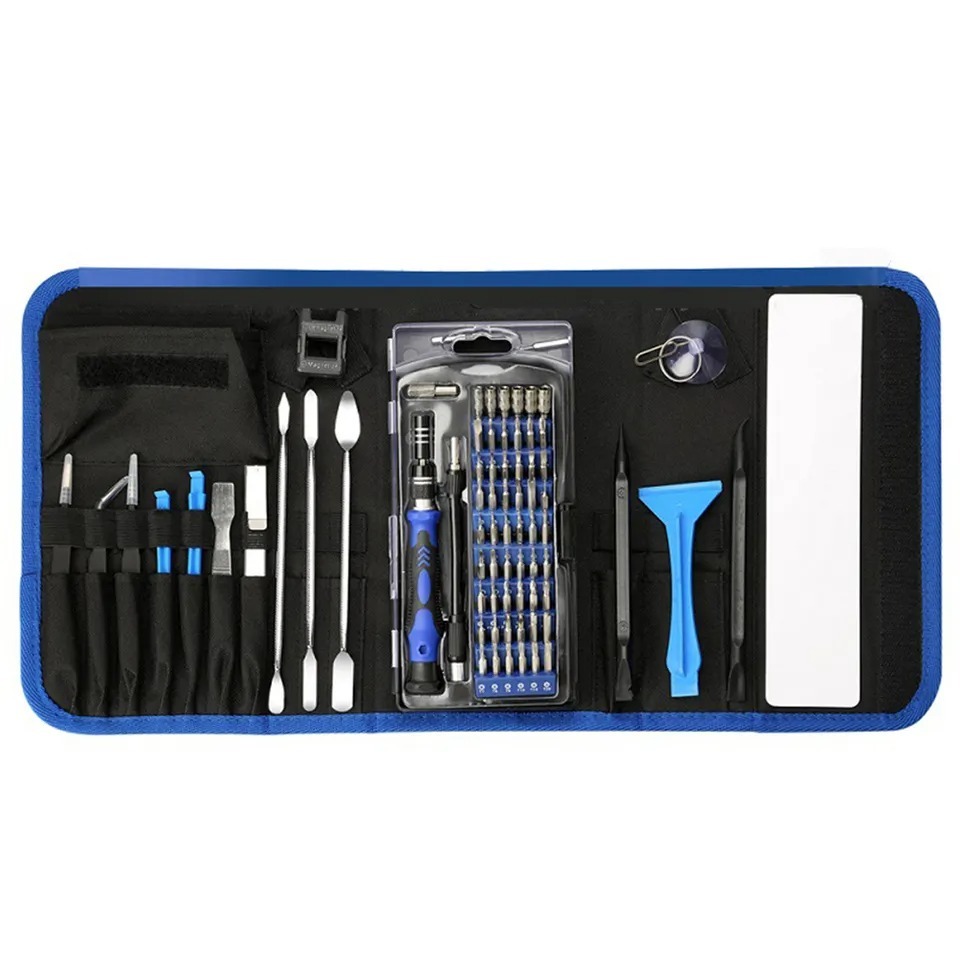
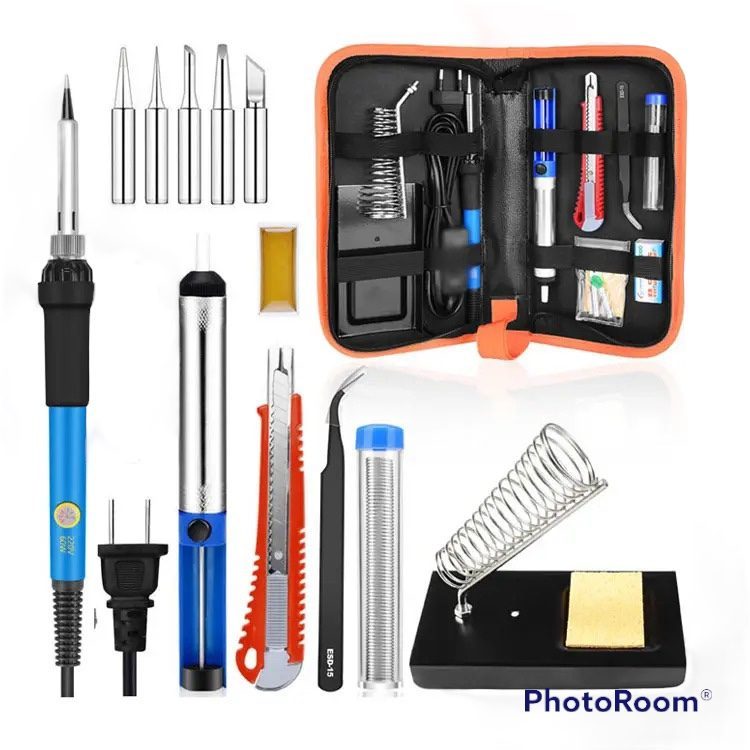
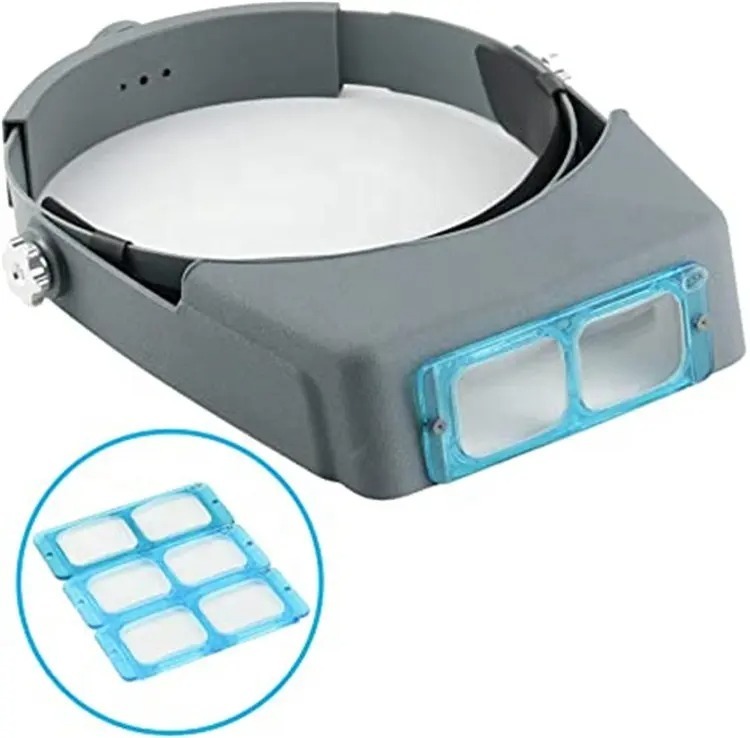
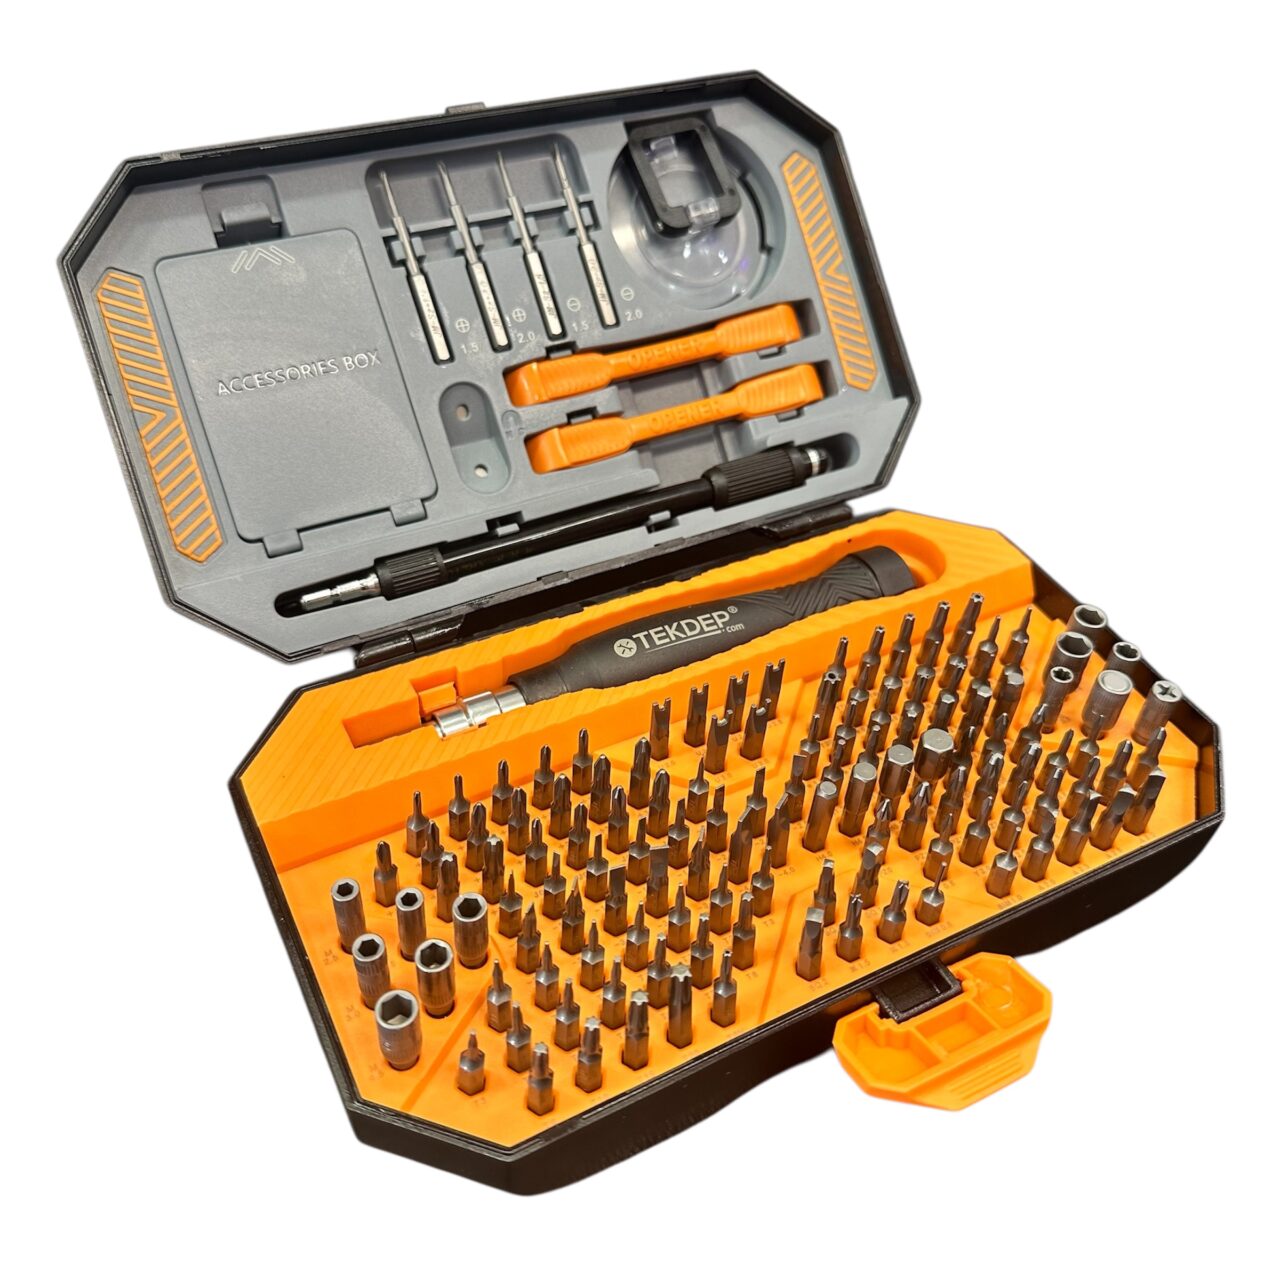
TEKDEP Professional Tool Set 145-in-1 For Electronics, iPhone, Laptop, PC Repairs
-
9 in 1 Disassemble Multi Opening Repair Tools Kit Metal Pry Bar
-
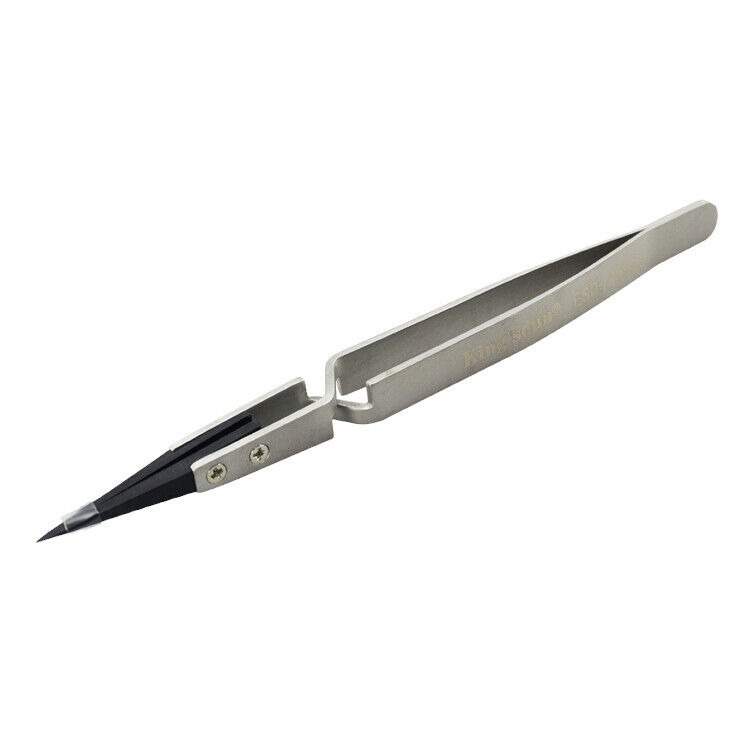
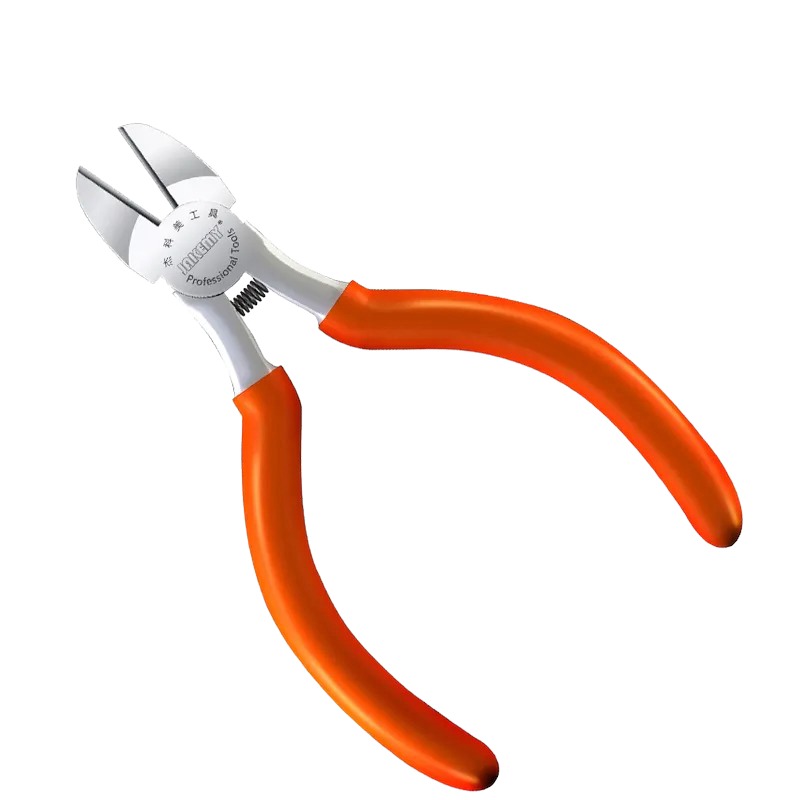
Kingsdun ESD-259X Stainless Steel Ceramic Tweezers With Heat Resistant Anti Dissipative Static Tip
-

Curved LCD Screen Spudger – Pry Tool for Mobile Devices & Electronics
Phase 1: Getting Inside & Disconnecting Power
The first step in this Dell XPS 9310 teardown is bypassing the cosmetic casing without causing exterior damage.
Step 1: Remove the Back Cover
Unfasten the chassis screws and use your plastic pry tool to gently separate the bottom cover.
- Remove all visible screws holding the back cover in place.
- Insert the pry tool into the seam and slide it around the perimeter to release the internal clips.
- Lift the back cover away and set it aside.

Step 2: Disconnect the Battery
Always isolate the power supply immediately to prevent an electrical short while handling internal parts.
- Locate the main battery cable routing into the motherboard.
- Carefully pull the connector straight back to disconnect it.

Phase 2: Removing Fans, Storage & Cables
With the power cut, the next stage of our Dell XPS 9310 disassembly is to clear out the peripherals blocking access to the main logic board.
Step 1: Remove the Cooling Fan
The cooling fan keeps the thermal system flowing but must be moved to reach the motherboard screws underneath.
- Unscrew the fasteners securing the fan to the chassis.
- Disconnect the small fan cable from the motherboard.
- Lift the fan out and set it aside for cleaning later.
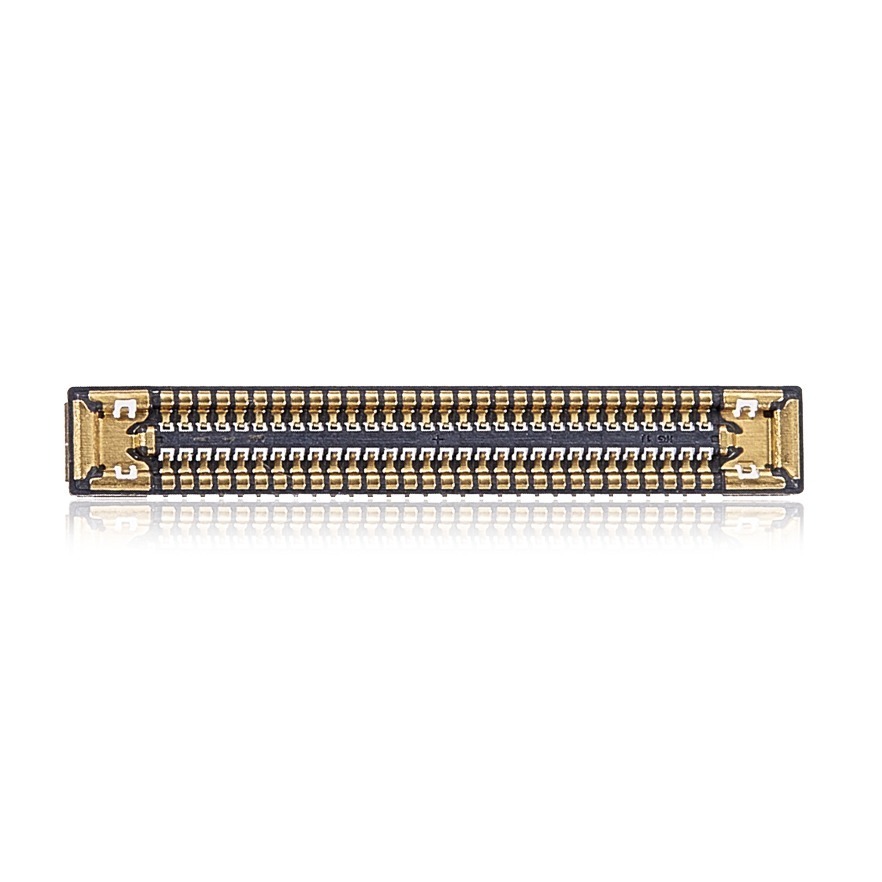
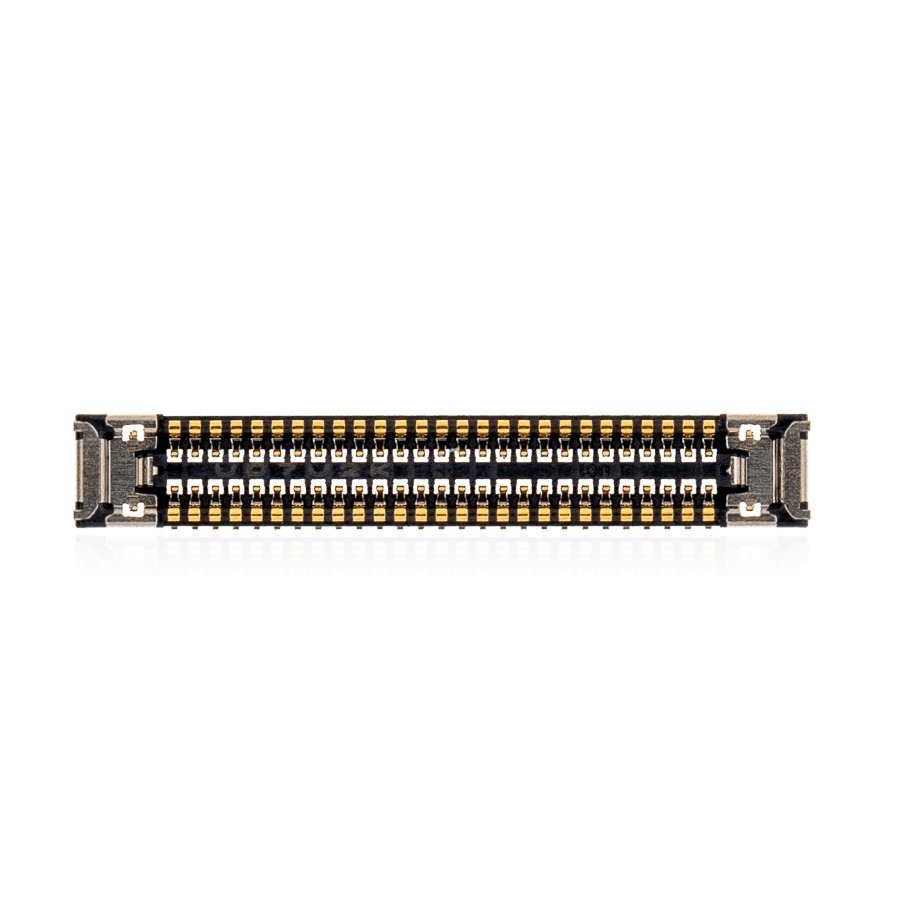
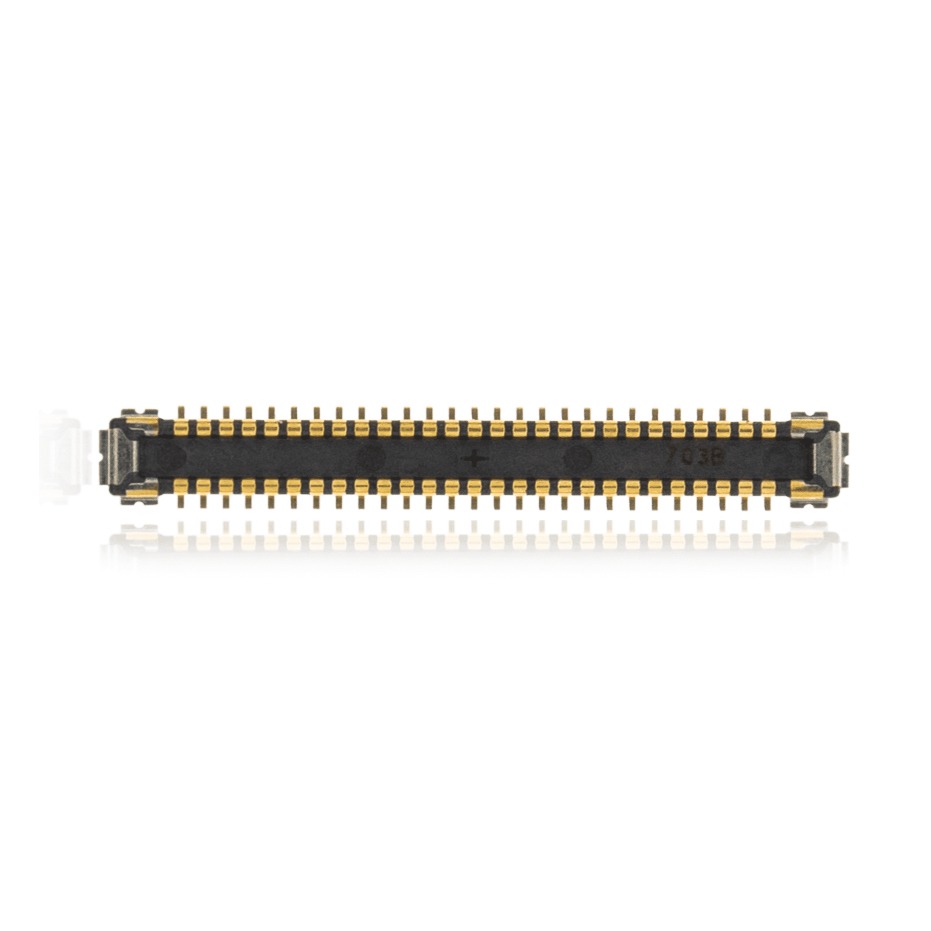
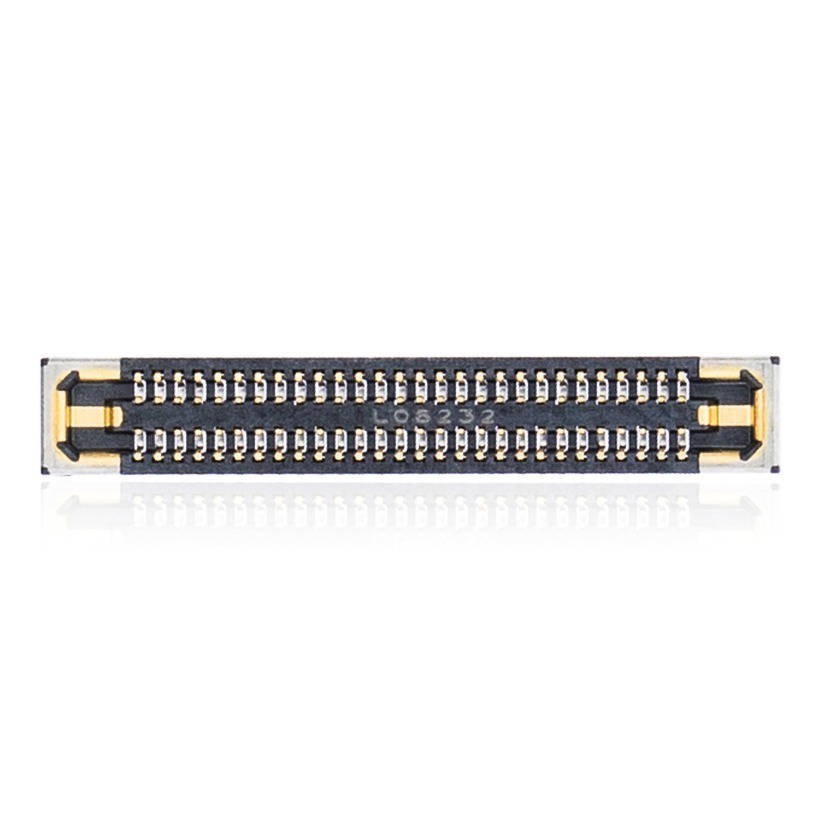
Get the replacement parts featured in this guide:


Step 2: Remove the SSD Storage
- Remove the single screw securing the SSD bracket in place.
- Slide the storage drive horizontally out of its slot.
Step 3: Disconnect Internal Cables & Wi-Fi
This is where the repair gets tricky. Much like we detailed in our HP Victus 15 LCD screen replacement guide, forcing a delicate connector will snap the pins.
- Use tweezers to flip up the locking flaps on the display and peripheral ribbon cables, then slide them out.
- Unscrew the Wi-Fi card bracket.
- Pop off the two small antenna wires and pull the wireless card out.
TekDep Expert Warning: The internal micro-cables are tightly packed and fragile. Never pull a ribbon cable without lifting its locking latch first, or you will tear the traces on the motherboard.

Phase 3: Motherboard Removal & Reassembly
In the final phase of this Dell XPS 9310 teardown, the core of the laptop can finally be removed.
Remove the Motherboard
The logic board is fragile and flexes easily, so handle it only by the edges.
- Remove the remaining screws holding the motherboard to the chassis.
- Double-check that no hidden flex cables are still tethered underneath.
- Lift the entire motherboard assembly straight up and place it on an anti-static mat.

Phase 4: Removing the LCD
With the logic board out of the way, you can now safely detach the entire display assembly from the lower chassis.
1st Step: Unscrew the Display Hinges
- Completely unroute the display ribbon cable and Wi-Fi antenna wires from their guide channels
- Unscrew the fasteners securing the left and right display hinges to the palm rest assembly.
- Carefully open the hinges to a 90-degree angle to relieve tension, then lift the palm rest chassis away from the display assembly.

Get the replacement parts featured in this guide:


2nd Step: Final Cleaning & Reassembly Notes
- Brush any dust out of the cooling fans and premium chassis interior.
- When reassembling, route all micro-cables perfectly flat before laying the motherboard down.
- Secure the motherboard, reinstall the Wi-Fi card, SSD, and fan, then plug the battery in last.
3rd Step: Power Test
Snap the back cover on and install its screws. Plug in the charger, press the power button, and confirm the laptop boots correctly into Windows.
Congratulations! You have completed the Dell XPS 9310 teardown.
🛑 Not Comfortable Handling Fragile Motherboards? If reading about hidden screws and delicate micro-cables has you second-guessing your DIY skills, don’t worry. The TEKDEP experts are here to help.
We offer clean, professional, and affordable Mail-In repair services for the entire Dell XPS lineup.
Frequently Asked Questions
Is it hard to do a Dell XPS 9310 teardown?
This is considered an advanced repair. It requires handling a fragile motherboard and carefully routing extremely delicate micro-cables within the tightly packed internal chassis. You will need patience and proper tools.
What happens if I puncture the battery during disassembly?
A punctured lithium-ion battery can catch fire or release toxic gas. Always use plastic pry tools instead of metal near the battery pack, and never apply excessive bending force when removing components.
How do I manage static discharge while working?
Always perform laptop repairs on an anti-static mat. This safely grounds any static electricity from your body, preventing an electrical short that could permanently kill the logic board.
Does opening my laptop void the manufacturer’s warranty?
In most areas, simply opening your device does not automatically void the warranty. However, Dell will not cover any physical damage caused to internal components during the teardown process.
What should I do if the laptop won’t turn on after reassembly?
First, plug in the charger to jump-start the battery. If it still fails to boot, open the back cover and verify that the battery connector is fully seated and that you didn’t leave any internal ribbon cables loose during reassembly.
🛑 IMPORTANT: SAFETY & LIABILITY DISCLAIMER TEKDEP®️ TEKDEP.com assumes no liability for property damage or injury incurred as a result of any information in this blog post or associated videos. Dealing with internal computer components, specifically Lithium-Ion batteries, carries inherent risks including fire, toxic gas exposure, and irreversible device failure. Any injury, damage, or loss from improper use of tools, mishandling of components, or misinterpretation of this information is the sole responsibility of the user. Perform repairs at your own risk. If you are unsure of your capabilities, please utilize our professional Mail-In Repair Service.