































Model: Acer Aspire 5 (A515-45) | Level: Intermediate | Tools: Phillips screwdriver, plastic pry tool, precision tweezers. This guide covers essential steps for working with the Acer Aspire 5 LCD backplate replacement.
An exact Acer Aspire 5 LCD backplate replacement is the only way to permanently fix the notorious “hinge breakthrough” on the A515-45. When the hinge pulls through the plastic top cover, tightening the screws will not work because the internal mounts have snapped.
If your laptop is suffering from a popping screen, separated casing near the exhaust, or a loose display that refuses to stay upright, moving your existing panel to a fresh housing solves the problem.
Our lead Tekdep technician walks you through the whole transfer process. Let’s get started.
How to Do an Acer Aspire 5 LCD Backplate Replacement (Quick Overview)
- Remove the bottom plate and disconnect the battery to make the board safe.
- Disconnect the LCD and antenna cables, then unscrew the hinges to free the top case.
- Pry off the front bezel slowly so the delicate clips do not snap.
- Peel the LCD panel and camera off the damaged backplate.
- Transfer the antennas and camera to the replacement housing.
- Seat the LCD into the new tape and route the cables over the hinges.
- Reattach the top case and bottom plate before powering on.
🛠️ Required Tools & Preparation
An Acer Aspire 5 backplate swap needs three basic tools. Power the laptop off and unplug it first.
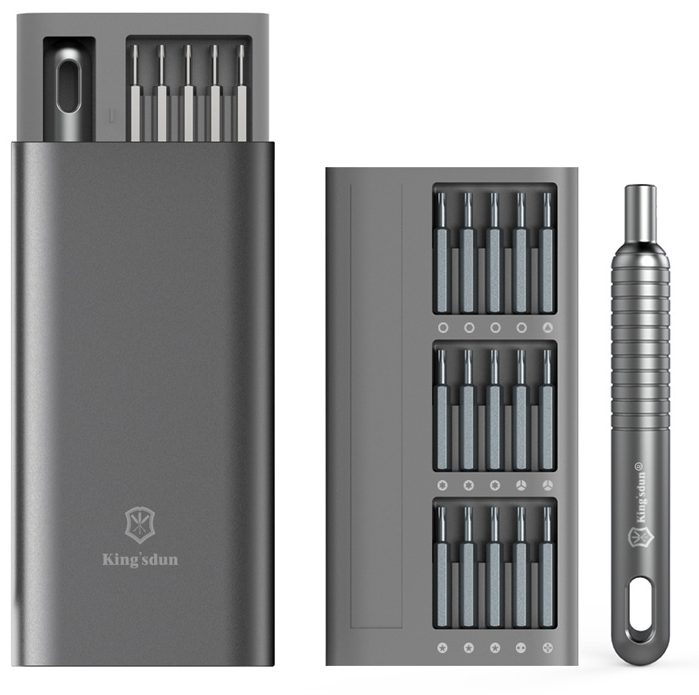
- Phillips screwdriver: removes the bottom case screws and the hinge screws.
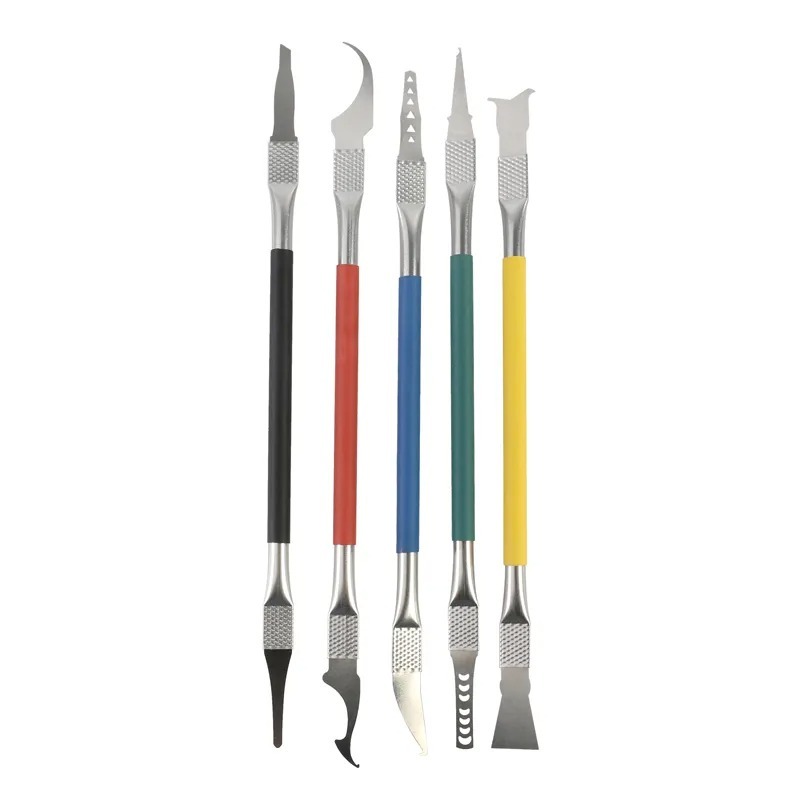
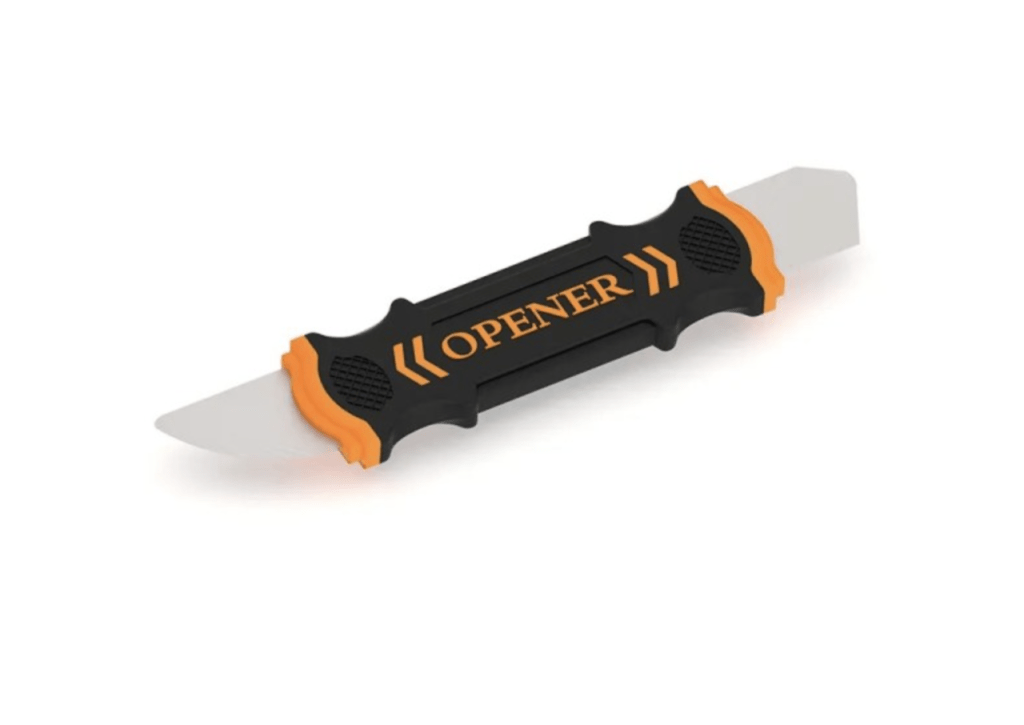
- Plastic pry tool: safely unclips the bottom cover, the front bezel, and the LCD panel.
- Precision tweezers: grip broken screw fragments stuck in the snapped plastic mounts.
Get the Exact Tools Used by Our Techs:
-
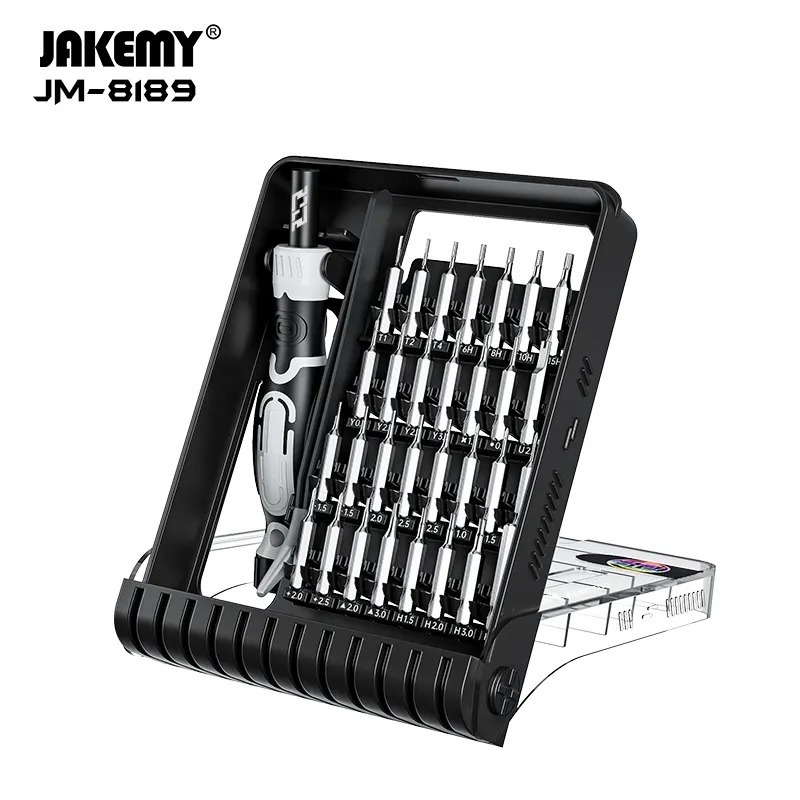
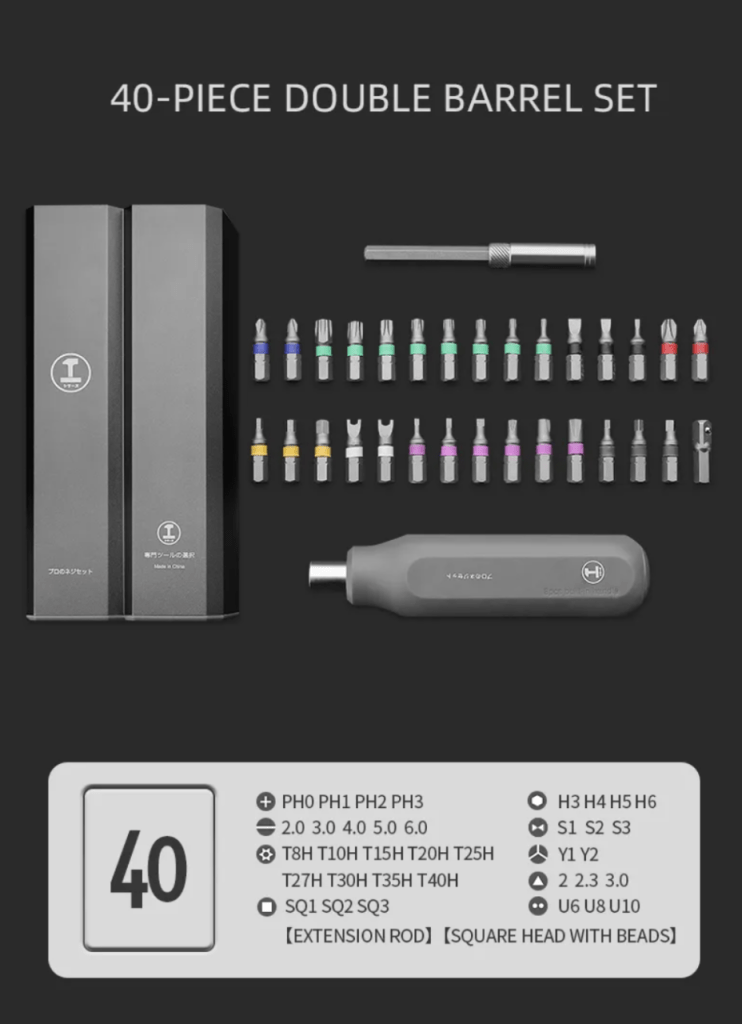
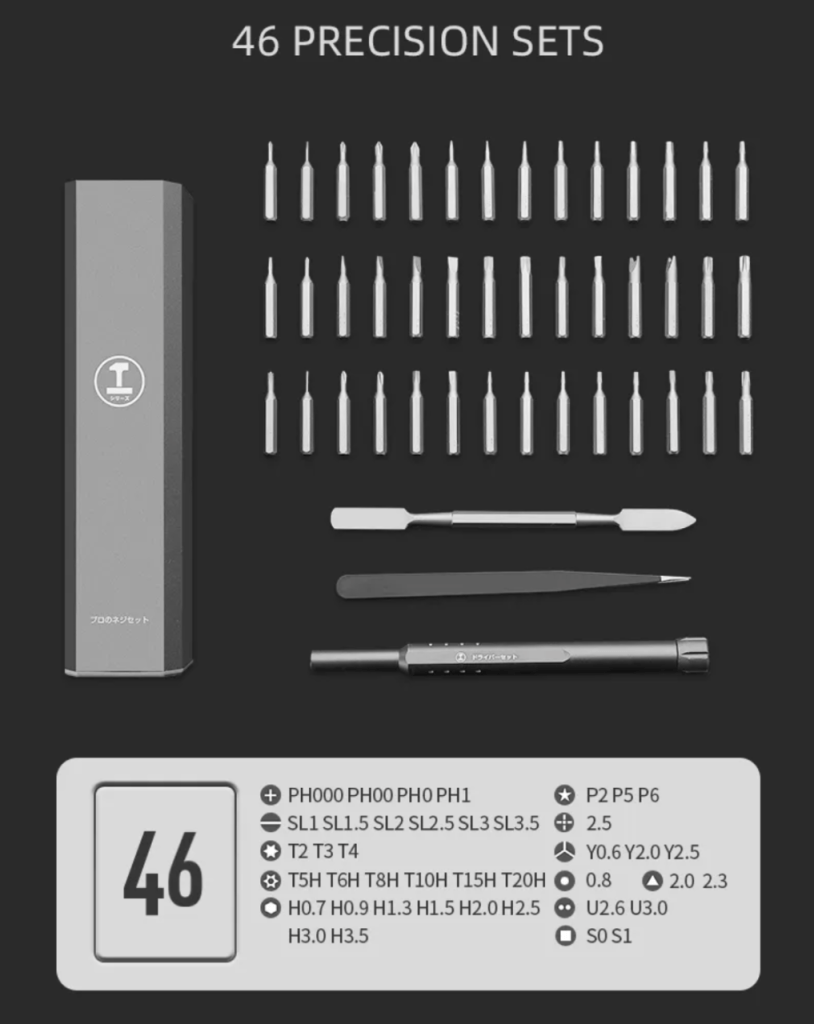
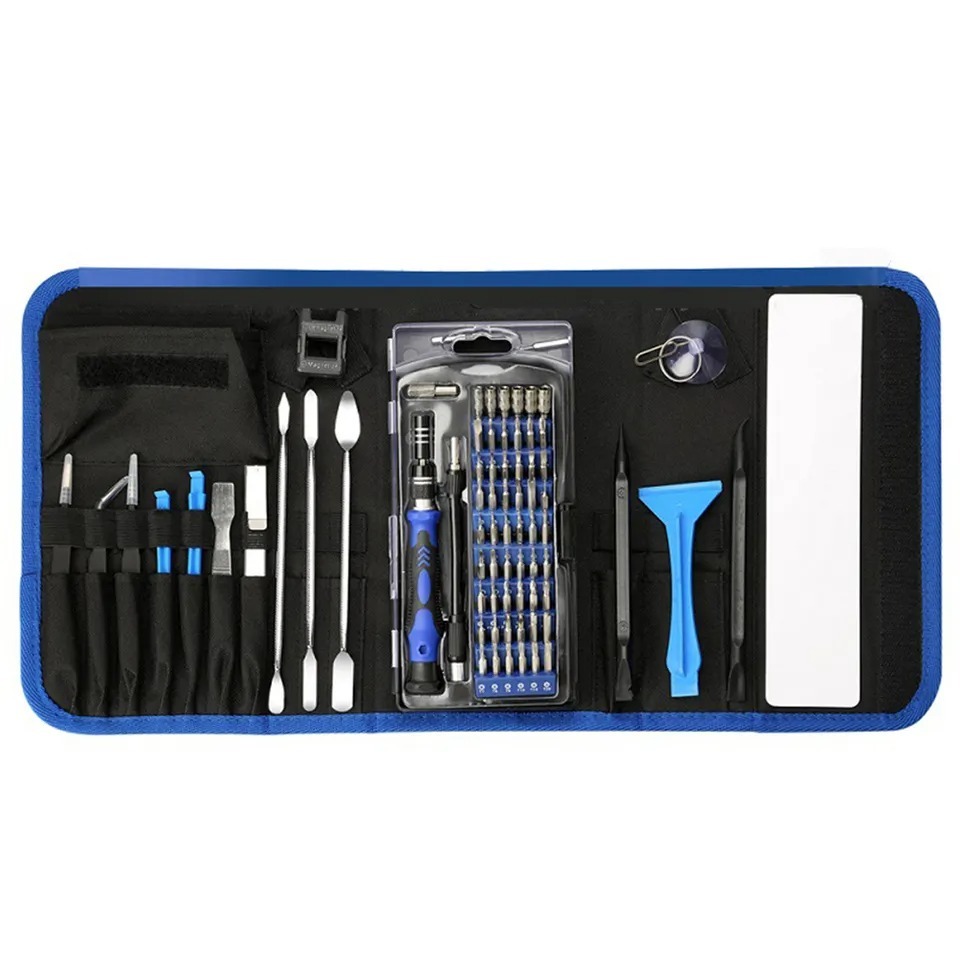
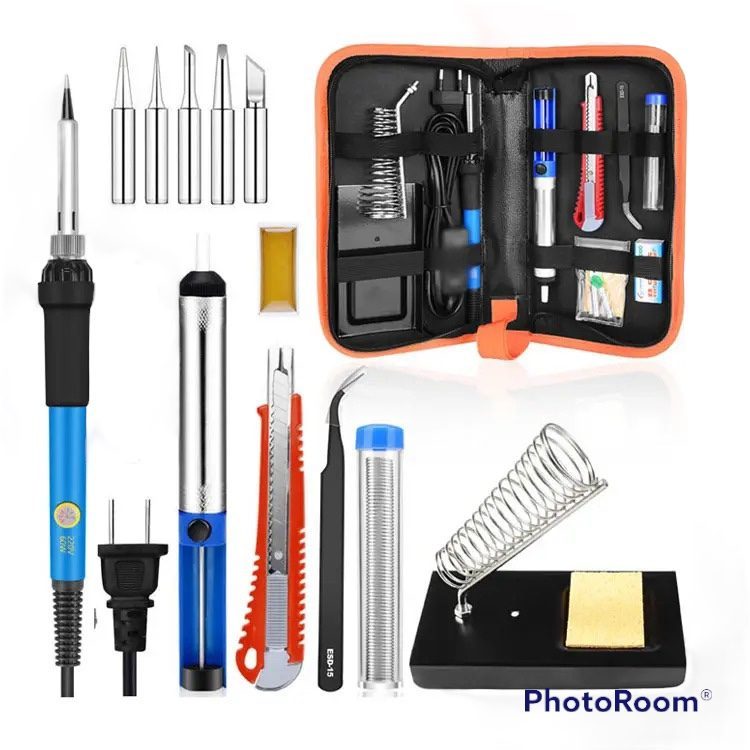
TEKDEP Professional Tool Set 145-in-1 For Electronics, iPhone, Laptop, PC Repairs
-
9 in 1 Disassemble Multi Opening Repair Tools Kit Metal Pry Bar
-
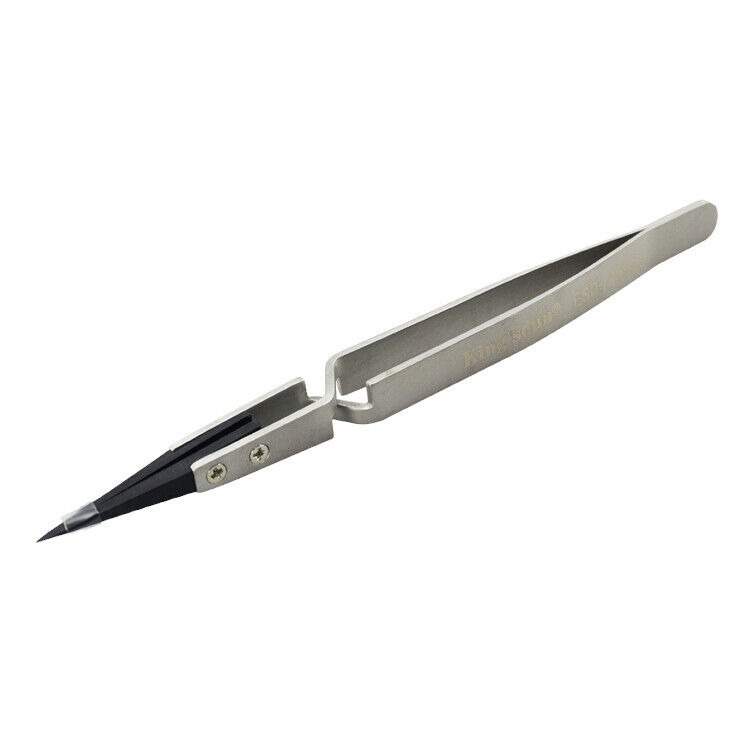
Kingsdun ESD-259X Stainless Steel Ceramic Tweezers With Heat Resistant Anti Dissipative Static Tip
-

Curved LCD Screen Spudger – Pry Tool for Mobile Devices & Electronics
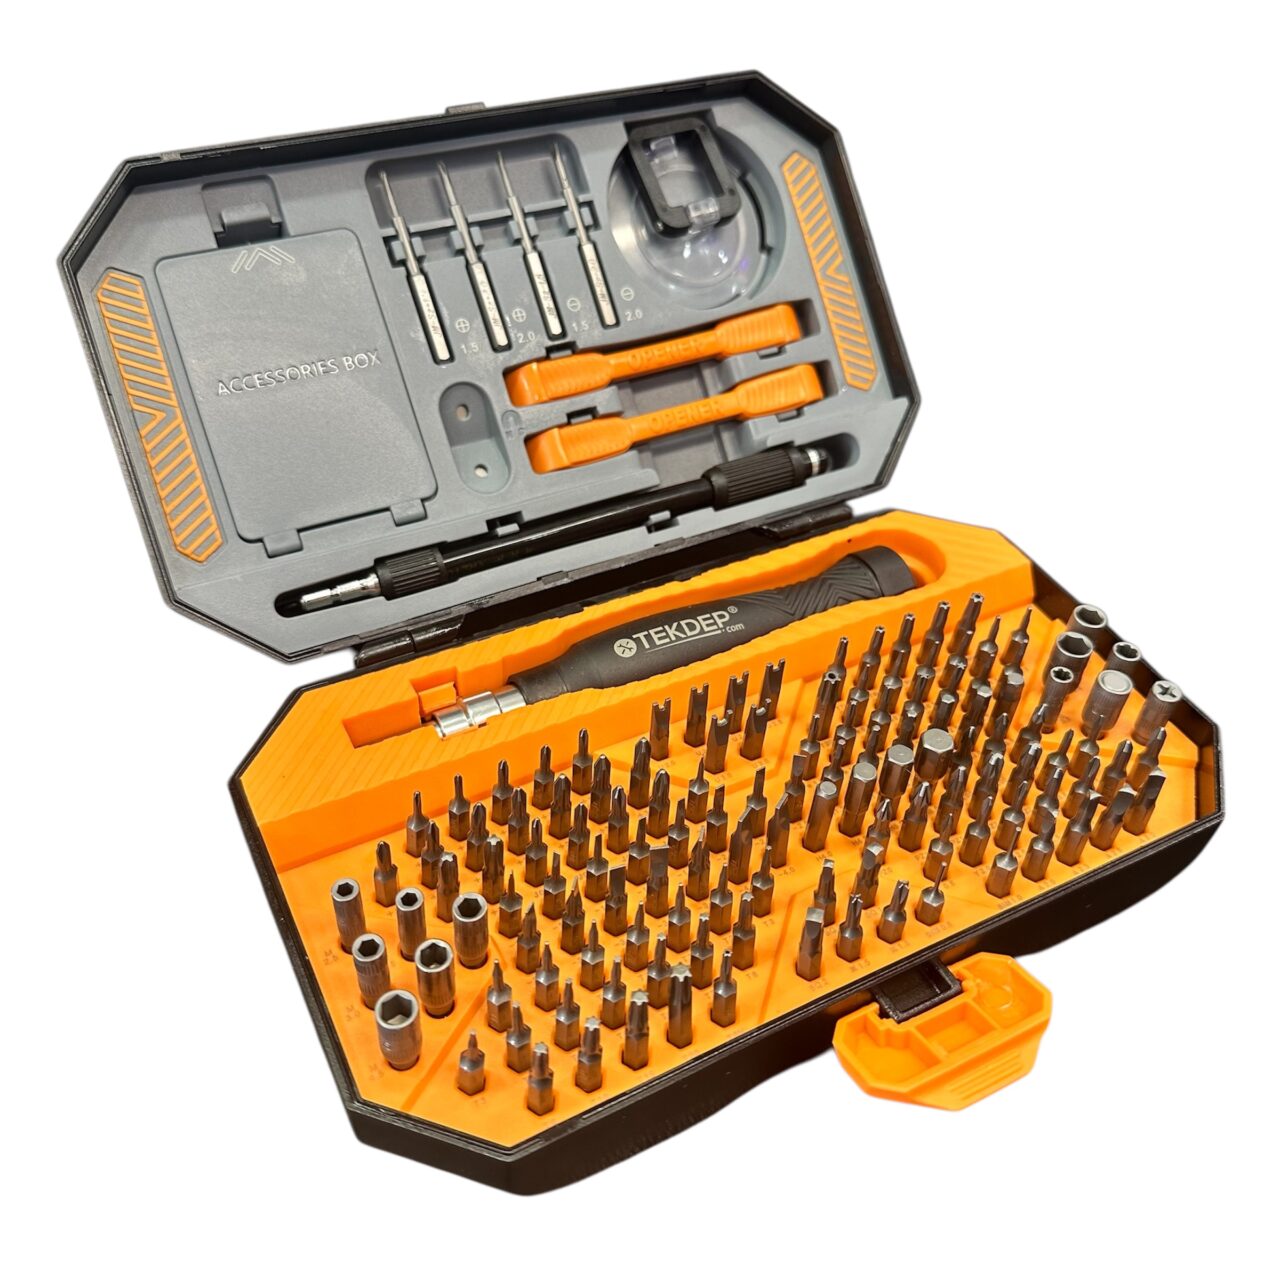
⚠️ Before you start: Disconnect the battery before you touch any connector. Work on an anti-static mat and keep each group of screws together. The display panel is fragile and can crack if you pry too hard.
Phase 1: Getting Inside and Disconnecting Power
Before accessing the Acer Aspire 5 LCD, close the laptop gently without causing further damage to the snapped casing.
Step 1: Remove the Bottom Plate
The bottom panel covers the battery and motherboard.
- Remove all the Phillips-head screws from the backplate.
- Slide your plastic pry tool under a clip at the top or bottom edge.
- Work around the perimeter until the plate pops off.

Step 2: Disconnect the Battery
Never work on the display cables while the board has power. The battery does not have any screws holding it, but disconnecting the cable is enough.
- Locate the battery connector cable plugged into the motherboard.
- Pull the connector straight out gently to cut the power.

Phase 2: Removing the Display Assembly
You need to separate the entire top half from the base so you can work on the Acer Aspire 5 LCD safely.
Step 1: Disconnect the Display Cables
Two cables bridge the display to the logic board: the LCD cable and the antenna bundle.
- Use the pry tool to pop the two Bluetooth and Wi-Fi antennas off the wireless card. Unroute them all the way to the back.
- In the top right, undo the clip holding down the LCD cable and gently slide the connector out.

Step 2: Undo the Hinges and Separate
Just like we covered in our HP Victus 15 screen replacement, hold the chassis tight when removing these screws.
- Remove the Phillips screws holding down the hinges to the top case.
- Apply a tiny bit of pressure to lift the hinges up gently on both sides.
- Hold the unfastened battery in place so it does not drop, then lift the entire base up and away from the display assembly. Set the base aside.

Phase 3: Separating the LCD and Components
The Acer Aspire 5 LCD, camera, and antennas must be rescued from the damaged plastics.
Step 1: Remove the Front Bezel
The bezel snaps into place around the edges. It is incredibly thin and will snap if bent sharply.
- Slide your pry tool under the bezel down in the bottom corner.
- Keep going slowly along the outer edge to release the clips.
- Pop the bottom edge clips last and lift the front bezel away. Set it aside for reuse.

TekDep Expert Warning: If a broken hinge is totally stuck due to ripped plastic underneath, grip the broken screw mount with precision tweezers while unscrewing the fastener, then brush away the plastic remnants.
Step 2: Free the LCD Panel
The display is held down by double-sided tape. Do not bend the glass.
- Get under the LCD with your fingers or a pry tool and gently peel it away from the adhesive.
- Crucial Note: if the tape is tough, use a few drops of isopropyl alcohol to weaken it. Do not force it.
- Flip the panel over to reveal the single connection point for the LCD and camera cable. Set the panel down carefully.

Step 3: Remove the Camera and Antennas
- Pry off the camera module at the top edge to break its light adhesive.
- Unroute the antenna wires along the top.
- Get under the antenna pads with a pry tool and gently peel them off the old case.

Get the replacement Acer Aspire 5 backplate installed:

Phase 4: Transferring to the New Backplate
With all components freed, you can build the new display assembly.
1st Step: Install the Antennas and Camera
- Press the antenna pads down into the same places on the new plate, using their existing adhesive.
- Route the antenna cables back along the top edge, stacking one directly on top of the other.
- Peel the adhesive cover for the camera area, then seat the camera. Align the tiny hole on the top left of the module with the plastic peg on the case.

2nd Step: Seat the LCD Panel
- Line up the bottom area of the display with the corresponding rectangle on the case, then fold it up into place.
- Peel the protective cover off the fresh double-sided tape on the backplate.
- Gently lower the display into place and press down on the adhesive sides so it holds snug.
3rd Step: Reinstall the Hinges and Bezel
The hinge cables need to be routed carefully so they don’t pinch under the bezel.
- Press the hinges into place on the backplate, routing the LCD and antenna cables through the gap. Screw the hinges down tight.
- Take the bezel and fold the cables around the top side of the hinge. Pushing the hinge down a bit helps.
- Press down on the clips starting at the bottom, then snap the rest of the bezel around the entire outside.

Phase 5: Reassembly and Testing
Mate the base back to the newly assembled screen.
1st Step: Reattach the Top Case
- Hold the battery and slide the top case into the groove on the hinges.
- Fold down the hinges onto the screw posts.
- Tighten the Phillips hinge screws.

2nd Step: Reconnect Cables and Close Up
- Reroute the color-coordinated Bluetooth and Wi-Fi antennas and plug them into the wireless card.
- Slide the LCD cable into its socket and lock the clip down.
- Plug the battery cable back into the motherboard.
- Snap the bottom plate back on and reinstall the Phillips screws.

3rd Step: Power Test
Open the screen smoothly to verify the hinges hold correctly without popping. Press the power button to confirm the LCD powers on properly and Wi-Fi connects.
Congratulations! You have completed the LCD backplate replacement on your Acer Aspire 5.
🛑 Not Comfortable Transferring the Delicate LCD? If reading about snapped plastic mounts and fragile panel adhesive has you second-guessing your DIY skills, don’t worry. The TEKDEP experts are here to help.
We offer clean, professional, and affordable Mail-In repair services for the entire Acer Aspire lineup.
Frequently Asked Questions
Why did the hinge break on my Acer Aspire 5?
The mounting posts inside the top cover are made of thin plastic. Repeated stress from opening and closing the lid eventually causes these internal threads to snap, forcing the hinge up against the front bezel and popping it apart.
Do I need a new screen for an Acer Aspire 5 LCD backplate replacement?
No. You can safely peel the original, working LCD panel out of the broken housing and transfer it directly into the new plastic shell. Just use caution and isopropyl alcohol if the adhesive tape fights you.
What if the broken hinge screws are completely stuck?
If the plastic mount rips cleanly off the case but stays threaded onto the screw, you need to grip the plastic fragment tightly with precision tweezers. While holding the fragment, use your screwdriver to back the screw out so you can reuse the hinge.
How long does the backplate replacement usually take?
For a beginner to intermediate DIYer, this repair typically takes between 45 to 90 minutes. We recommend taking your time, especially when prying the delicate front bezel and removing the LCD panel adhesive.
What should I do if my screen doesn’t turn on after reassembly?
Don’t panic. Open the bottom plate and double-check that the LCD ribbon cable is fully seated and locked into its socket on the motherboard. Also, ensure you remembered to plug the battery cable back in.
🛑 IMPORTANT: SAFETY & LIABILITY DISCLAIMER TEKDEP®️ TEKDEP.com assumes no liability for property damage or injury incurred as a result of any information in this blog post or associated videos. Dealing with internal computer components, specifically Lithium-Ion batteries, carries inherent risks including fire, toxic gas exposure, and irreversible device failure. Any injury, damage, or loss from improper use of tools, mishandling of components, or misinterpretation of this information is the sole responsibility of the user. Perform repairs at your own risk. If you are unsure of your capabilities, please utilize our professional Mail-In Repair Service.