







































Model: Microsoft Xbox Series X | Level: Advanced |
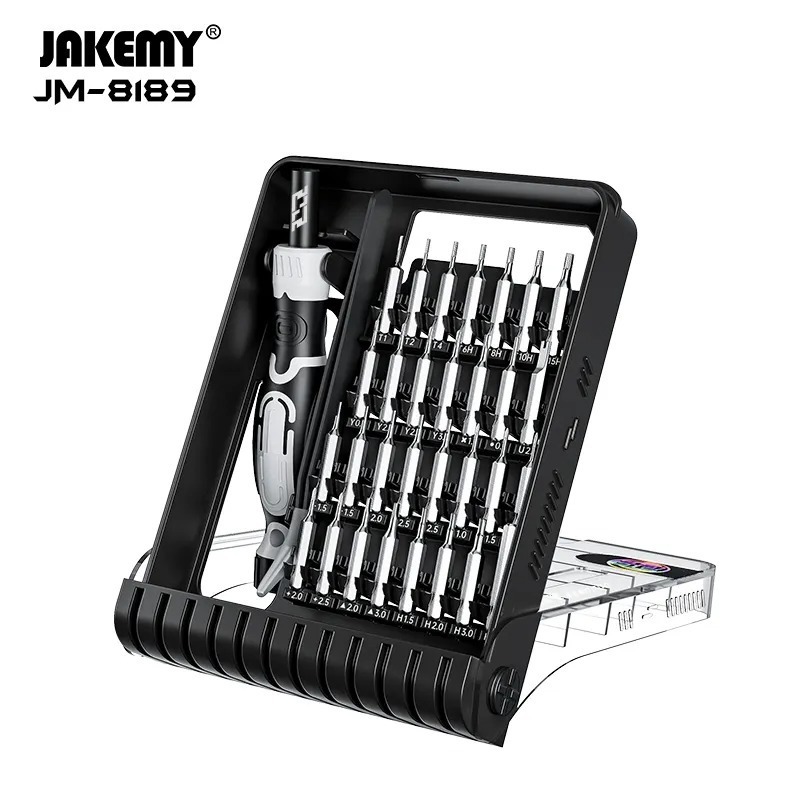
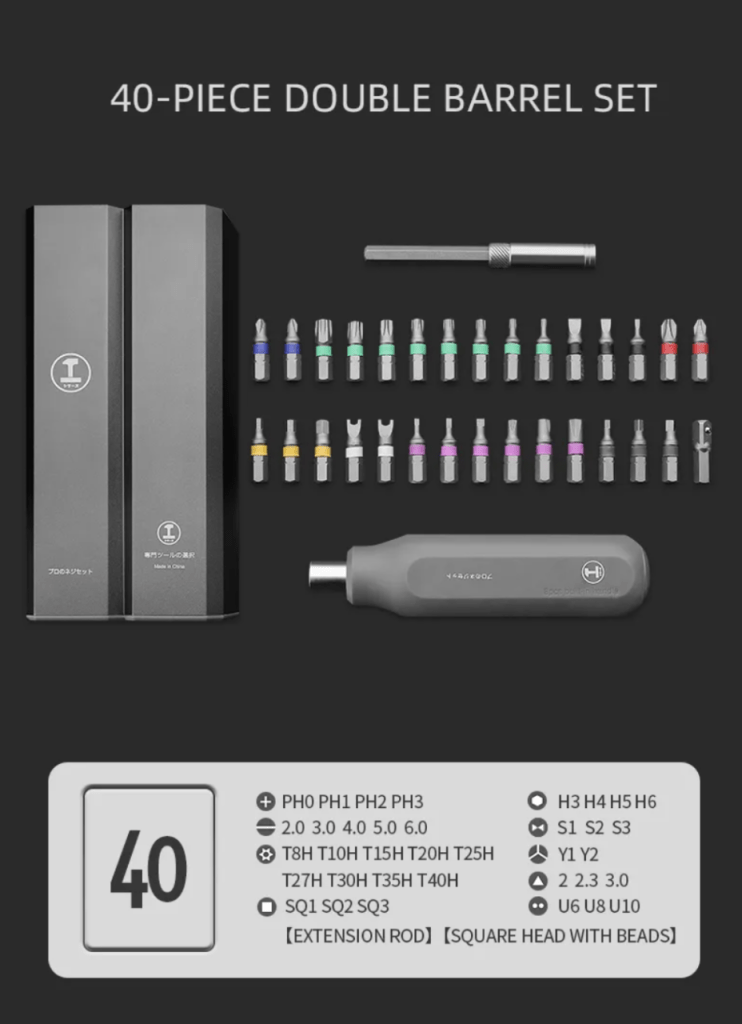
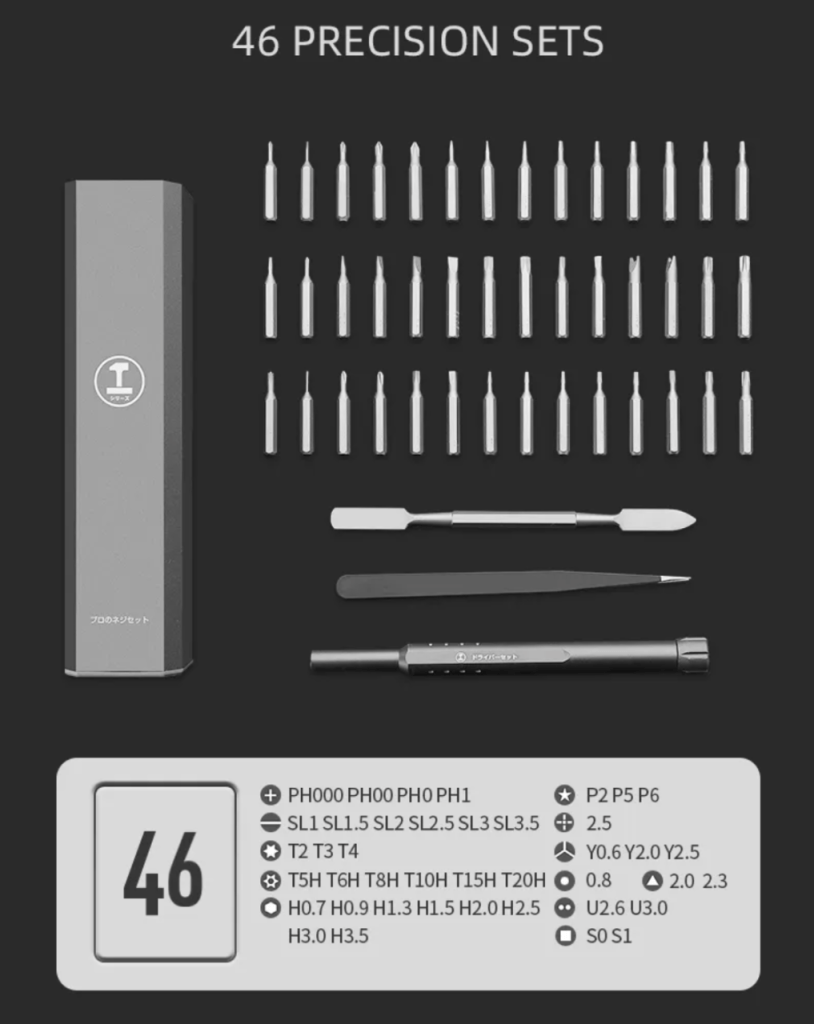
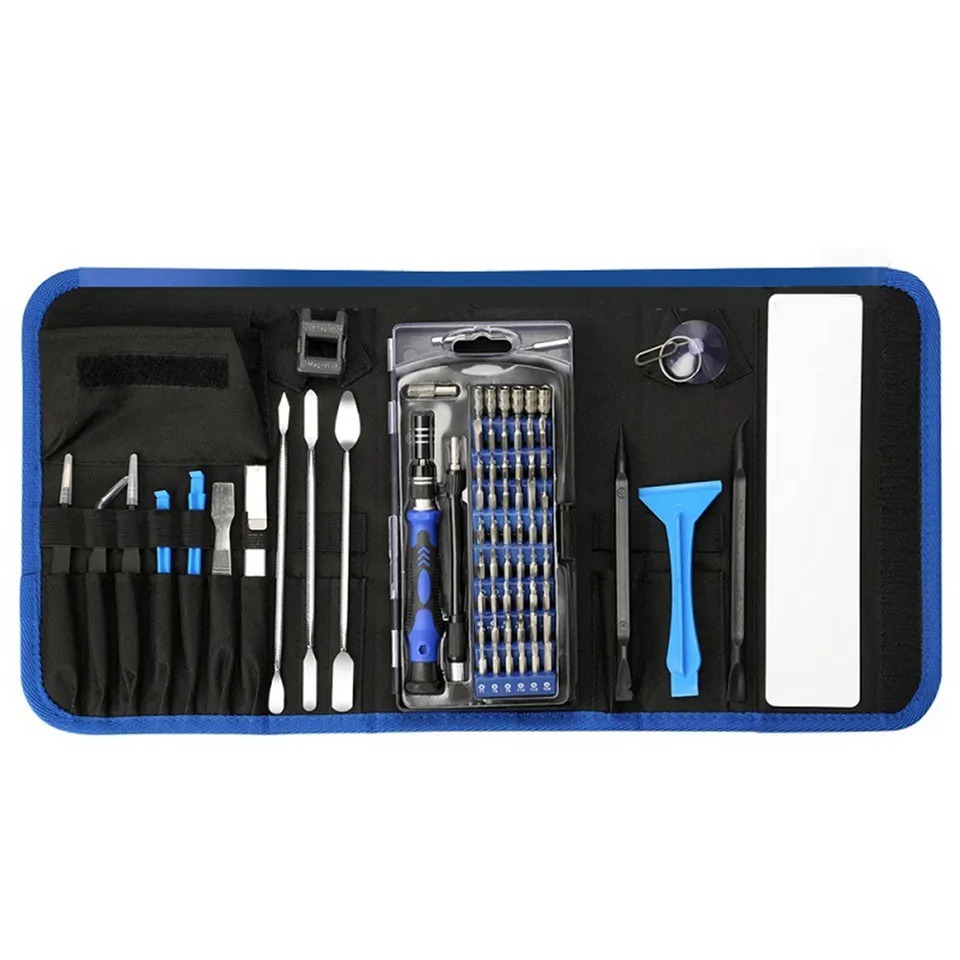
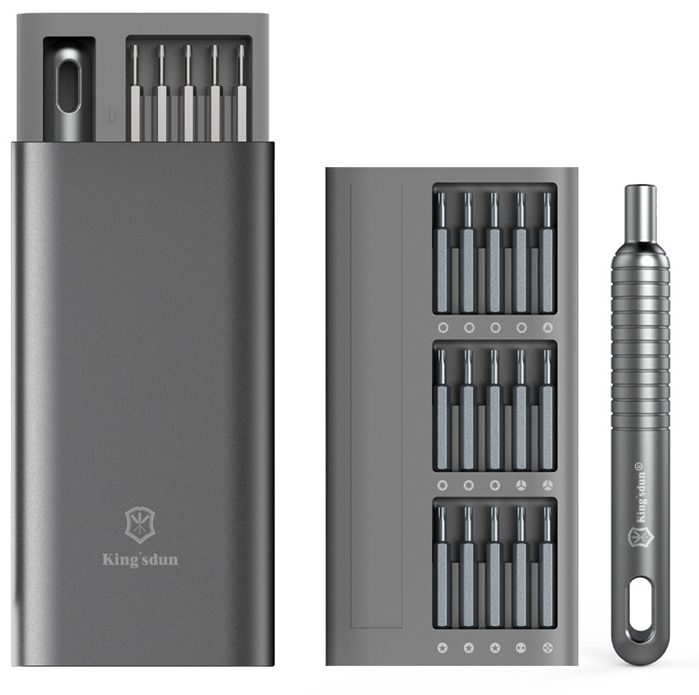
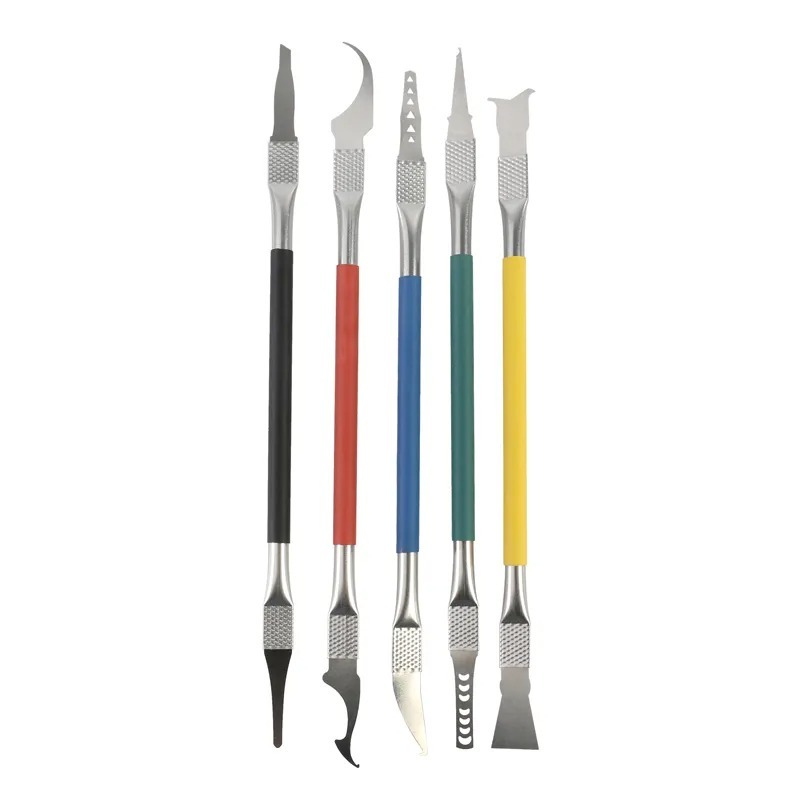
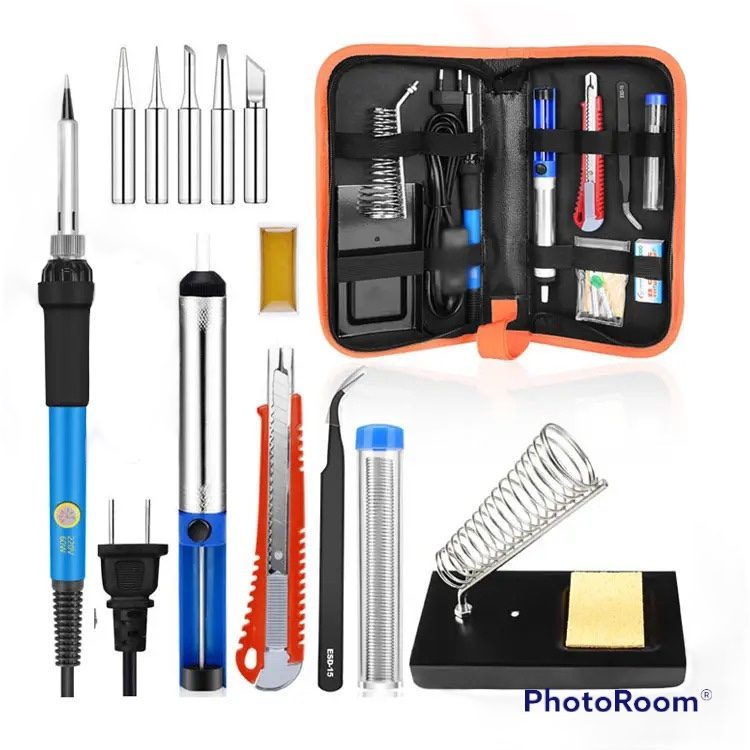
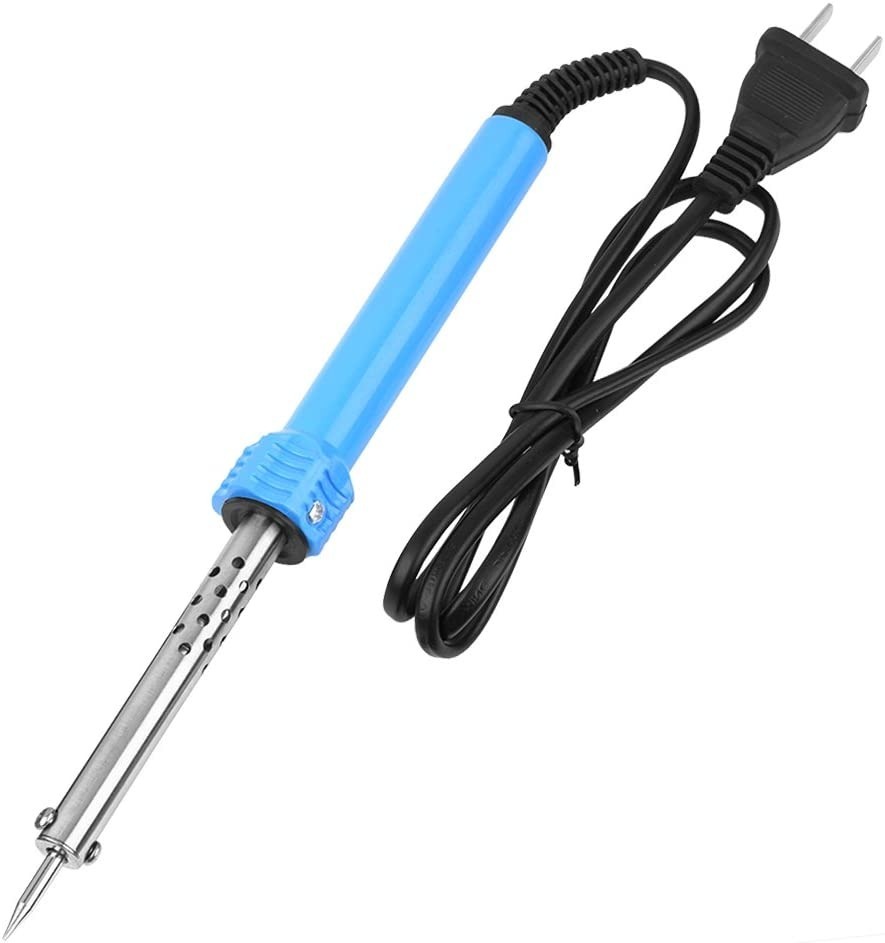
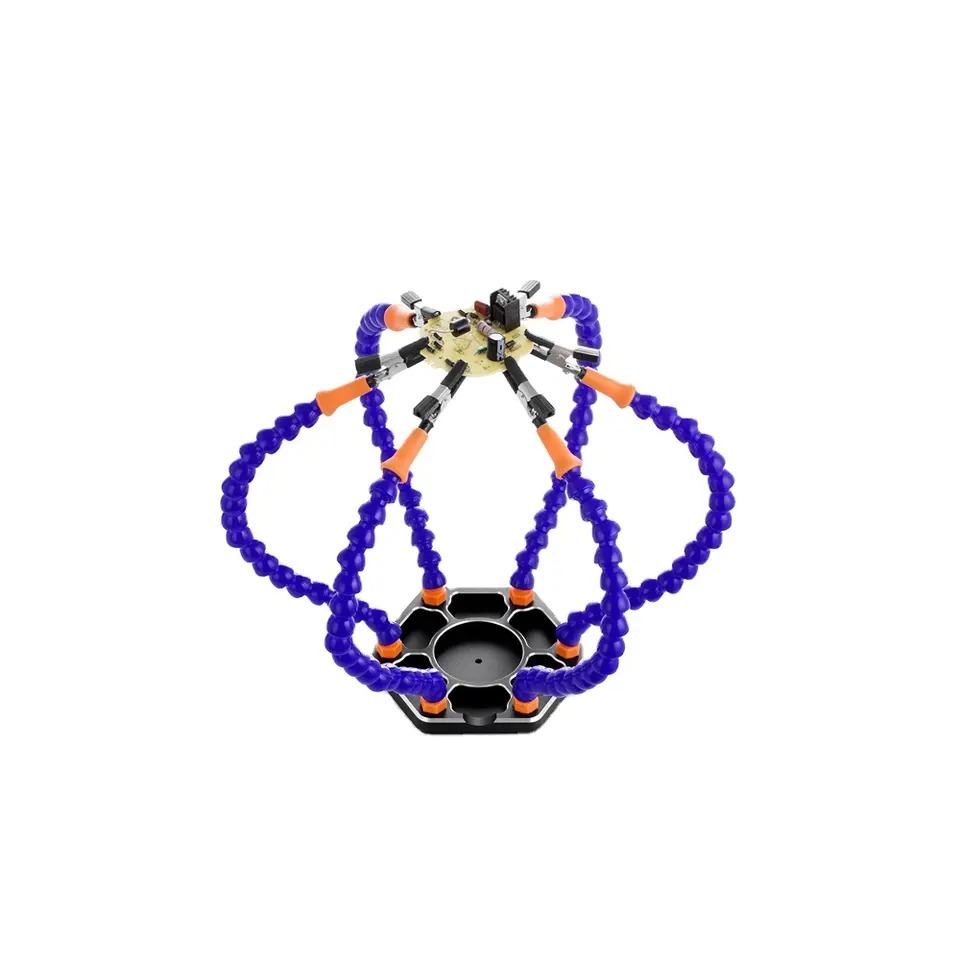
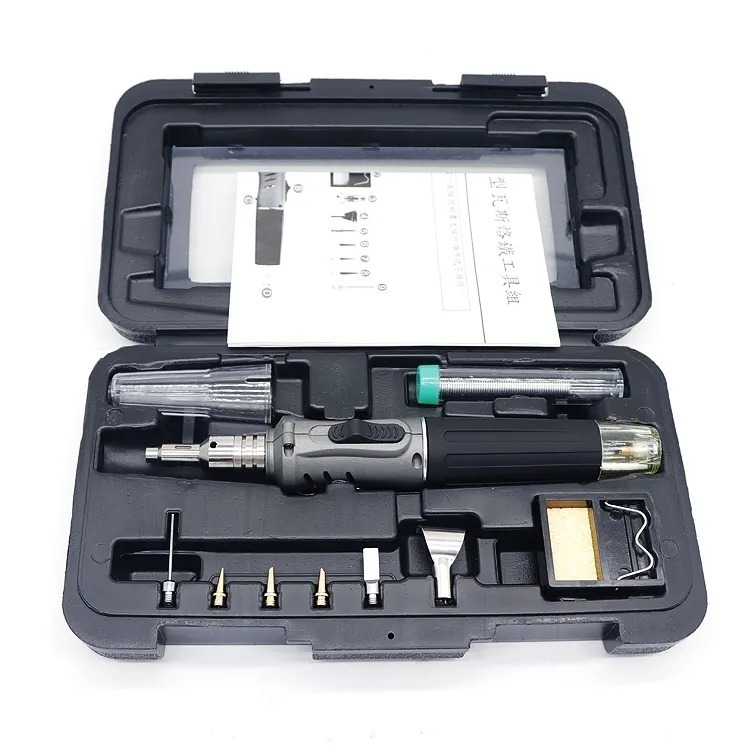
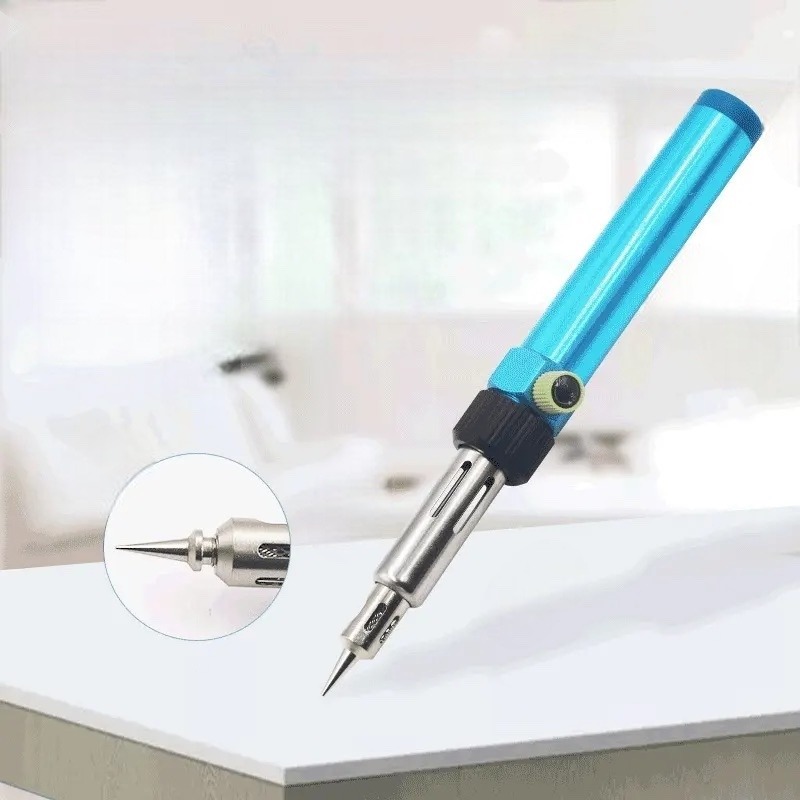
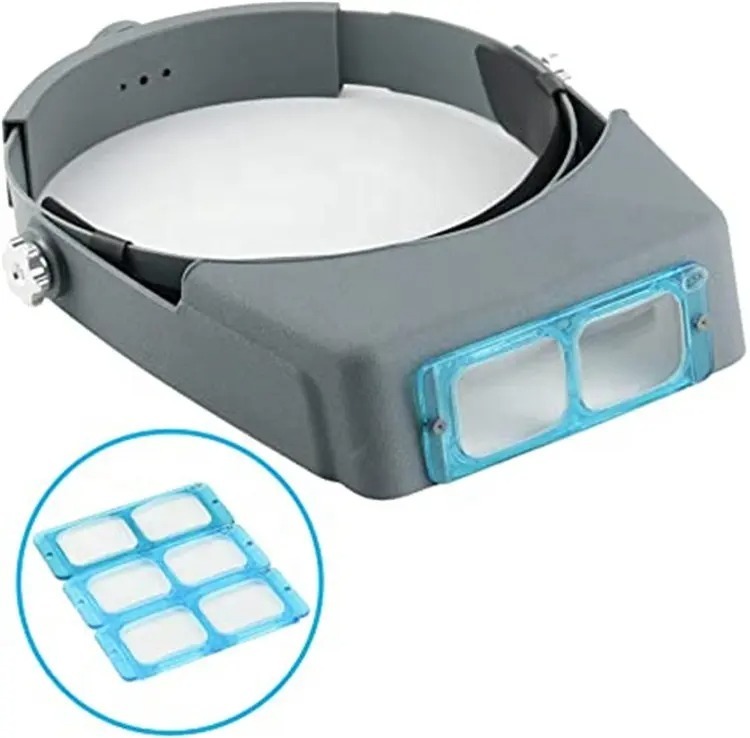
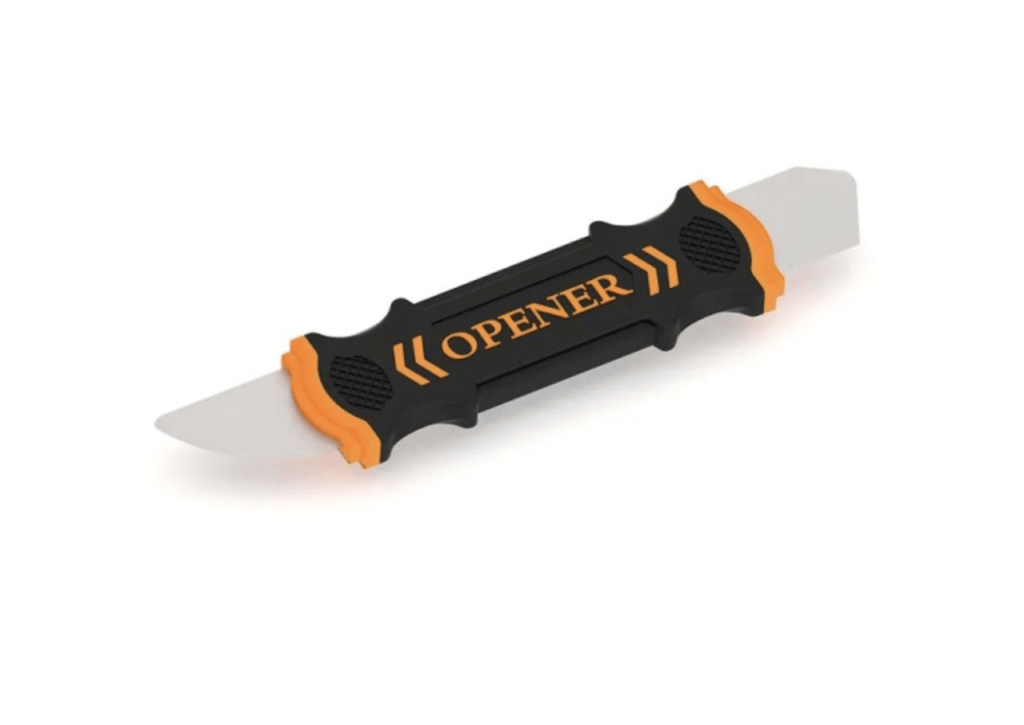
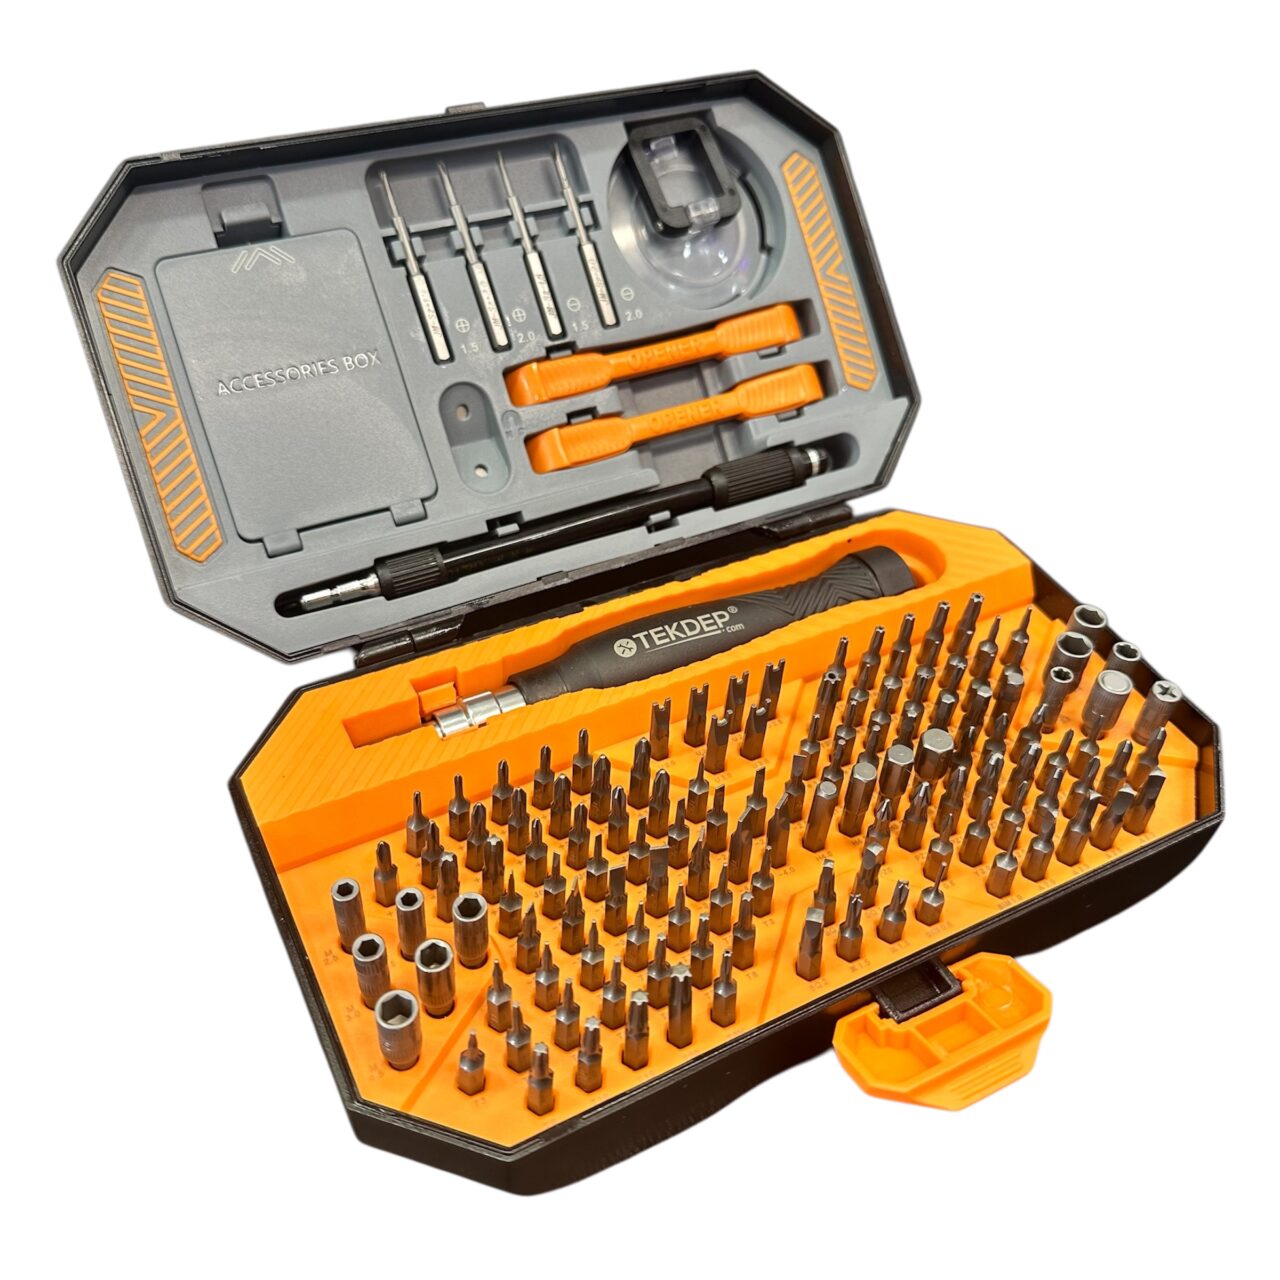
Tools: 145-in-1 toolkit, heat gun, soldering iron, flux, thermal paste
Is your console turning on but showing a “No Signal” or black screen on your TV? You likely need an Xbox Series X HDMI port replacement. Microsoft prioritized internal cooling for this generation, but the factory HDMI port remains surprisingly fragile.
Because kids and pets frequently pull the cables by accident, physical force breaks these connector pins off the logic board forever. A fresh port and a deep clean will get your system running like new.
Our lead technician, Omid, walks you through a complete teardown, deep cleaning, and microsoldering service. Let’s get started.
How to Do an Xbox Series X HDMI Port Replacement (Quick Overview)
- Undo the outer chassis to expose the internal trash-can design.
- Remove the main fans and disc tray to free the motherboard casing.
- Take off the main cooling block and clean out all the accumulated dust.
- Apply solder flux and heat to safely desolder the broken HDMI port.
- Solder the new HDMI pins directly to the motherboard contact pads.
- Apply fresh thermal paste to the CPU and GPU to improve performance.
- Reassemble all components and run a final display test.
🛠️ Required Tools & Preparation
Replacing the Xbox Series X HDMI port requires precision screwdrivers for the teardown and specialized microsoldering equipment for the motherboard. Power off and unplug the console before you start.
- Torx screwdrivers: to undo the outer chassis and remove the internal cooling components.
- Heat gun and soldering iron: required to melt the factory solder and lift the broken port off the board.
- Soldering flux: cleans the contact pads and helps the new solder flow properly without bridging.
- Thermal paste: necessary to replace the dried-out factory compound on the main processor chip.
⚠️ Before you start: Microsoldering requires a steady hand and proper temperature control. If you overheat the board or pull the port before the solder melts, you will rip the contact pads and permanently damage the console.
Get the Exact Tools Used by Our Techs:

Phase 1: Getting Inside (Chassis & Fans)
Before you can reach the Xbox Series X HDMI port on the motherboard, you must remove this tight, trash-can style shell first.
Step 1: Remove the Outer Casing
A heavy metal chassis holds the internal components and slides out of the plastic outer housing.
- Unscrew the fasteners on the back panel of the console.
- Carefully pry open and slide off the plastic outer casing to expose the massive internal cooling assembly.
Step 2: Extract the Fans and Disc Tray

Before you can access the logic board, you have to take off the other components first.
- Disconnect the large exhaust fan assembly at the top and lift it completely out of the chassis.
- Unplug the flex cables connecting the standard disc tray to the motherboard.
- Lift the disc tray up and out, freeing the main motherboard casing for removal.


Phase 2: Disassembly & Deep Cleaning
While your main goal is repairing the Xbox Series X HDMI connection, taking time to deep clean the console prevents airflow blockage and keeps your gaming sessions smooth.
Step 1: Remove the Main Cooling Block
The massive heatsink is clamped tightly to the motherboard to draw heat away from the main chip.
- Unscrew the heavy X-clamp holding the cooling block to the back of the motherboard.
- Carefully separate the cooling block from the logic board to expose the CPU and GPU.
- Clean all the dust and dirt out of the heatsink fins and the internal chassis.


Step 2: Clean the Old Thermal Paste
The factory thermal paste is likely dry, which leads to overheating.
- Wipe away the old, dry thermal compound from the main motherboard chip using isopropyl alcohol.
- Clean the mating surface on the bottom of the cooling block so both pieces are completely bare.

Phase 3: Microsoldering the New HDMI Port
Now that the motherboard is completely removed and clean, it is time to carefully desolder the damaged port and attach the replacement.
Step 1: Desolder the Broken HDMI Port
Four heavy anchor legs and multiple tiny signal pins hold the port. You must melt them all simultaneously.
- Apply a generous amount of soldering flux to the pins and anchor legs to lubricate the joint.
- Use your heat gun to warm the board while applying fresh solder to the anchor legs to lower their melting point.
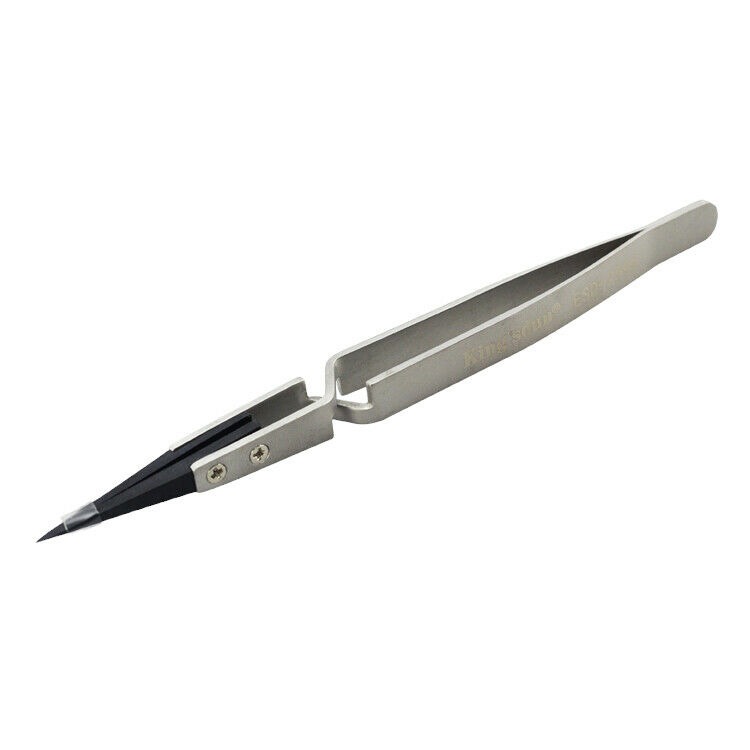
- Once the solder turns completely liquid, gently lift the old HDMI port straight off the board with tweezers.
- Clean off all the leftovers of the old solder using solder wick so the mounting holes are entirely clear.

TekDep Expert Warning: Never force or pry the port off the board before the solder is fully melted. If you pull too early, you will rip the copper contact pads straight off the motherboard, rendering the console unrepairable without advanced jumper wire tracing.
Step 2: Solder the New HDMI Port
The Xbox Series X HDMI port must be perfectly aligned and securely anchored so it survives future cable pulls.
- Drop the new HDMI port into the cleaned mounting holes and ensure it sits perfectly flush against the motherboard.
- Solder the four anchor legs first to lock the port physically into place.
- Apply flux to the back row, then microsolder each signal pin directly to its corresponding contact pad on the board.

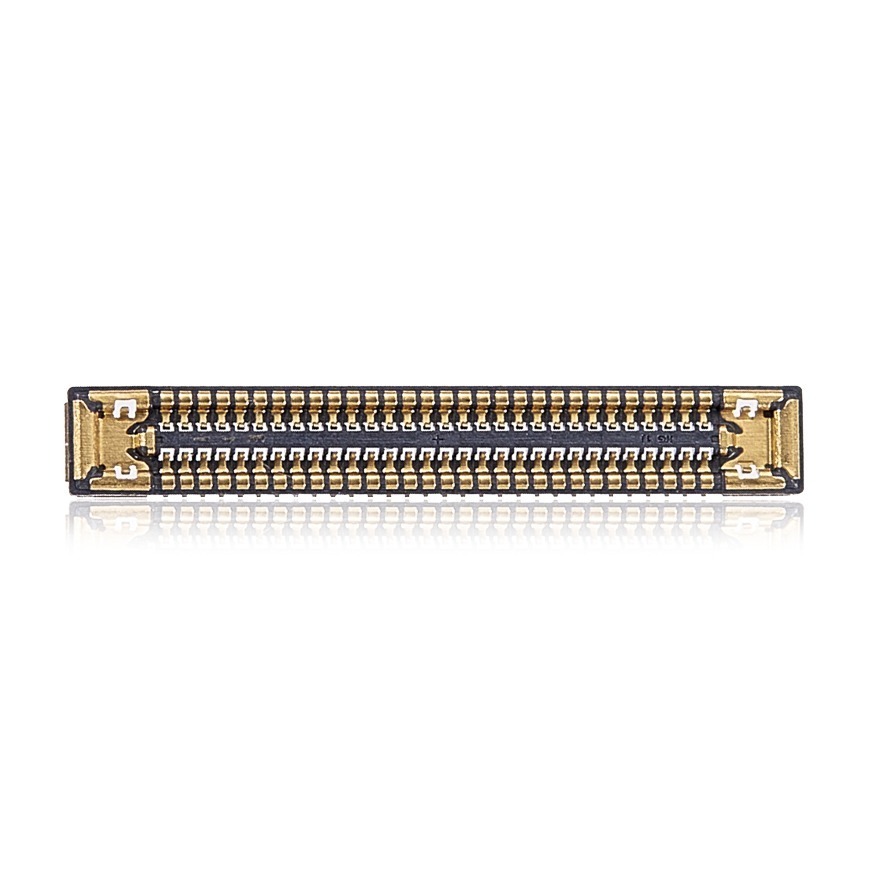
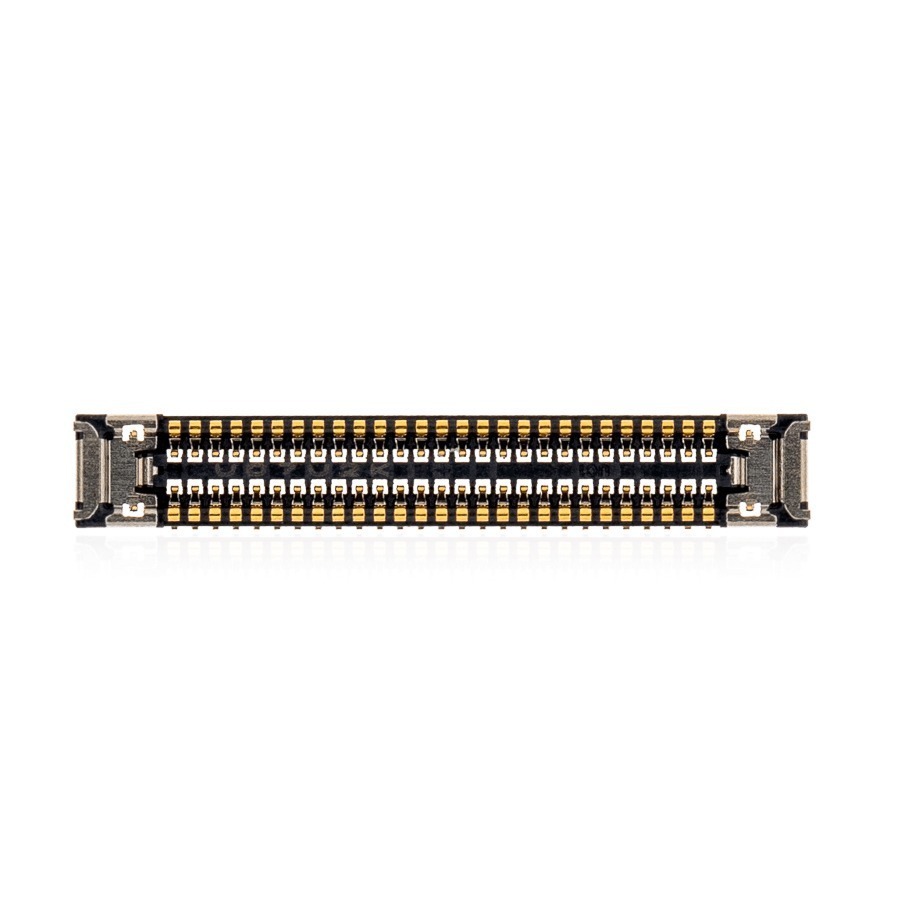
Get the replacement Xbox Series X HDMI port we installed:

Phase 4: Thermal Paste & Reassembly
With the board repaired and the dust cleared out, it is time to put the components back together.
Step 1: Apply Fresh Thermal Paste
Proper heat transfer keeps the system running fast and prevents random shutdowns.
- Apply a smooth, even layer of fresh thermal paste directly onto the bare main processor chip.
- Seat the cooling block back over the processor and clamp it down tightly with the original X-clamp.

Step 2: Reconnect the Peripherals
- Seat the disc tray back into the chassis and reconnect its flex cables to the motherboard.
- Drop the main exhaust fan into the top of the unit and plug it in.
- Slide the entire internal metal chassis back into the plastic outer casing and reinstall the rear fasteners.

Step 3: Xbox Series X new HDMI Power Test
Plug the power cable and a known-good HDMI cable into the back of the console. Power the system on and verify that a clear, stable image appears on your television screen without flickering.
Congratulations! You have successfully replaced the HDMI port on your Xbox Series X.
🛑 Not Comfortable Microsoldering on the Motherboard? If reading about melting solder and exposed contact pads has you second-guessing your DIY skills, don’t worry. The TEKDEP experts are here to help.
We offer clean, professional, and affordable Mail-In repair services for the entire Microsoft Xbox lineup.
Frequently Asked Questions
Why does my Xbox Series X turn on but show a black screen?
A black screen or “No Signal” message usually means the internal HDMI port pins have snapped off the logic board. Even if the outside of the port looks fine, the tiny solder joints underneath easily break when the cable is pulled or the console is bumped.
Is an Xbox Series X HDMI port replacement a DIY repair?
No, this is an advanced-level repair. You need a heat gun, soldering iron, flux, and strong microsoldering skills to safely desolder the broken port without ripping the fragile copper contact pads off the motherboard.
Why do you need to replace the thermal paste during this repair?
Reaching the motherboard requires removing the main cooling block. Once that clamp is released, the factory thermal paste breaks its seal and dries out, so applying a fresh layer is mandatory to prevent the console from overheating.
🛑 IMPORTANT: SAFETY & LIABILITY DISCLAIMER TEKDEP®️ TEKDEP.com assumes no liability for property damage or injury incurred as a result of any information in this blog post or associated videos. Dealing with internal computer components, specifically Lithium-Ion batteries, carries inherent risks including fire, toxic gas exposure, and irreversible device failure. Any injury, damage, or loss from improper use of tools, mishandling of components, or misinterpretation of this information is the sole responsibility of the user. Perform repairs at your own risk. If you are unsure of your capabilities, please utilize our professional Mail-In Repair Service.