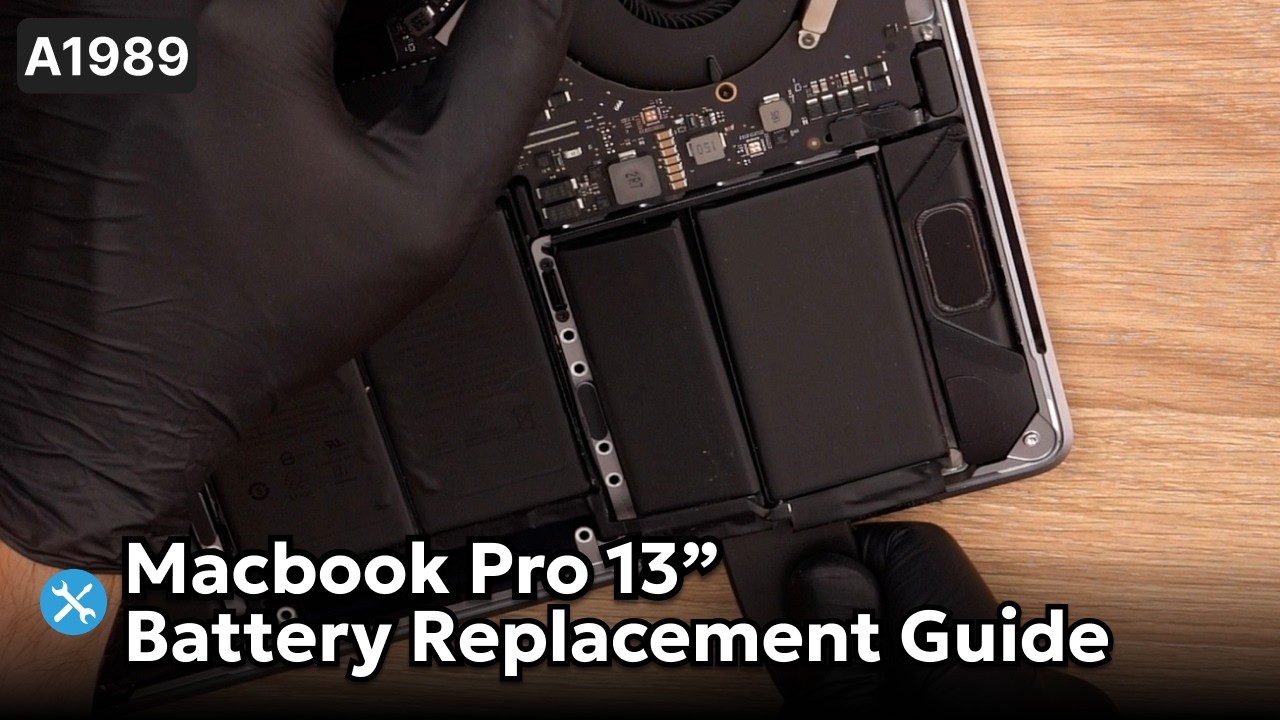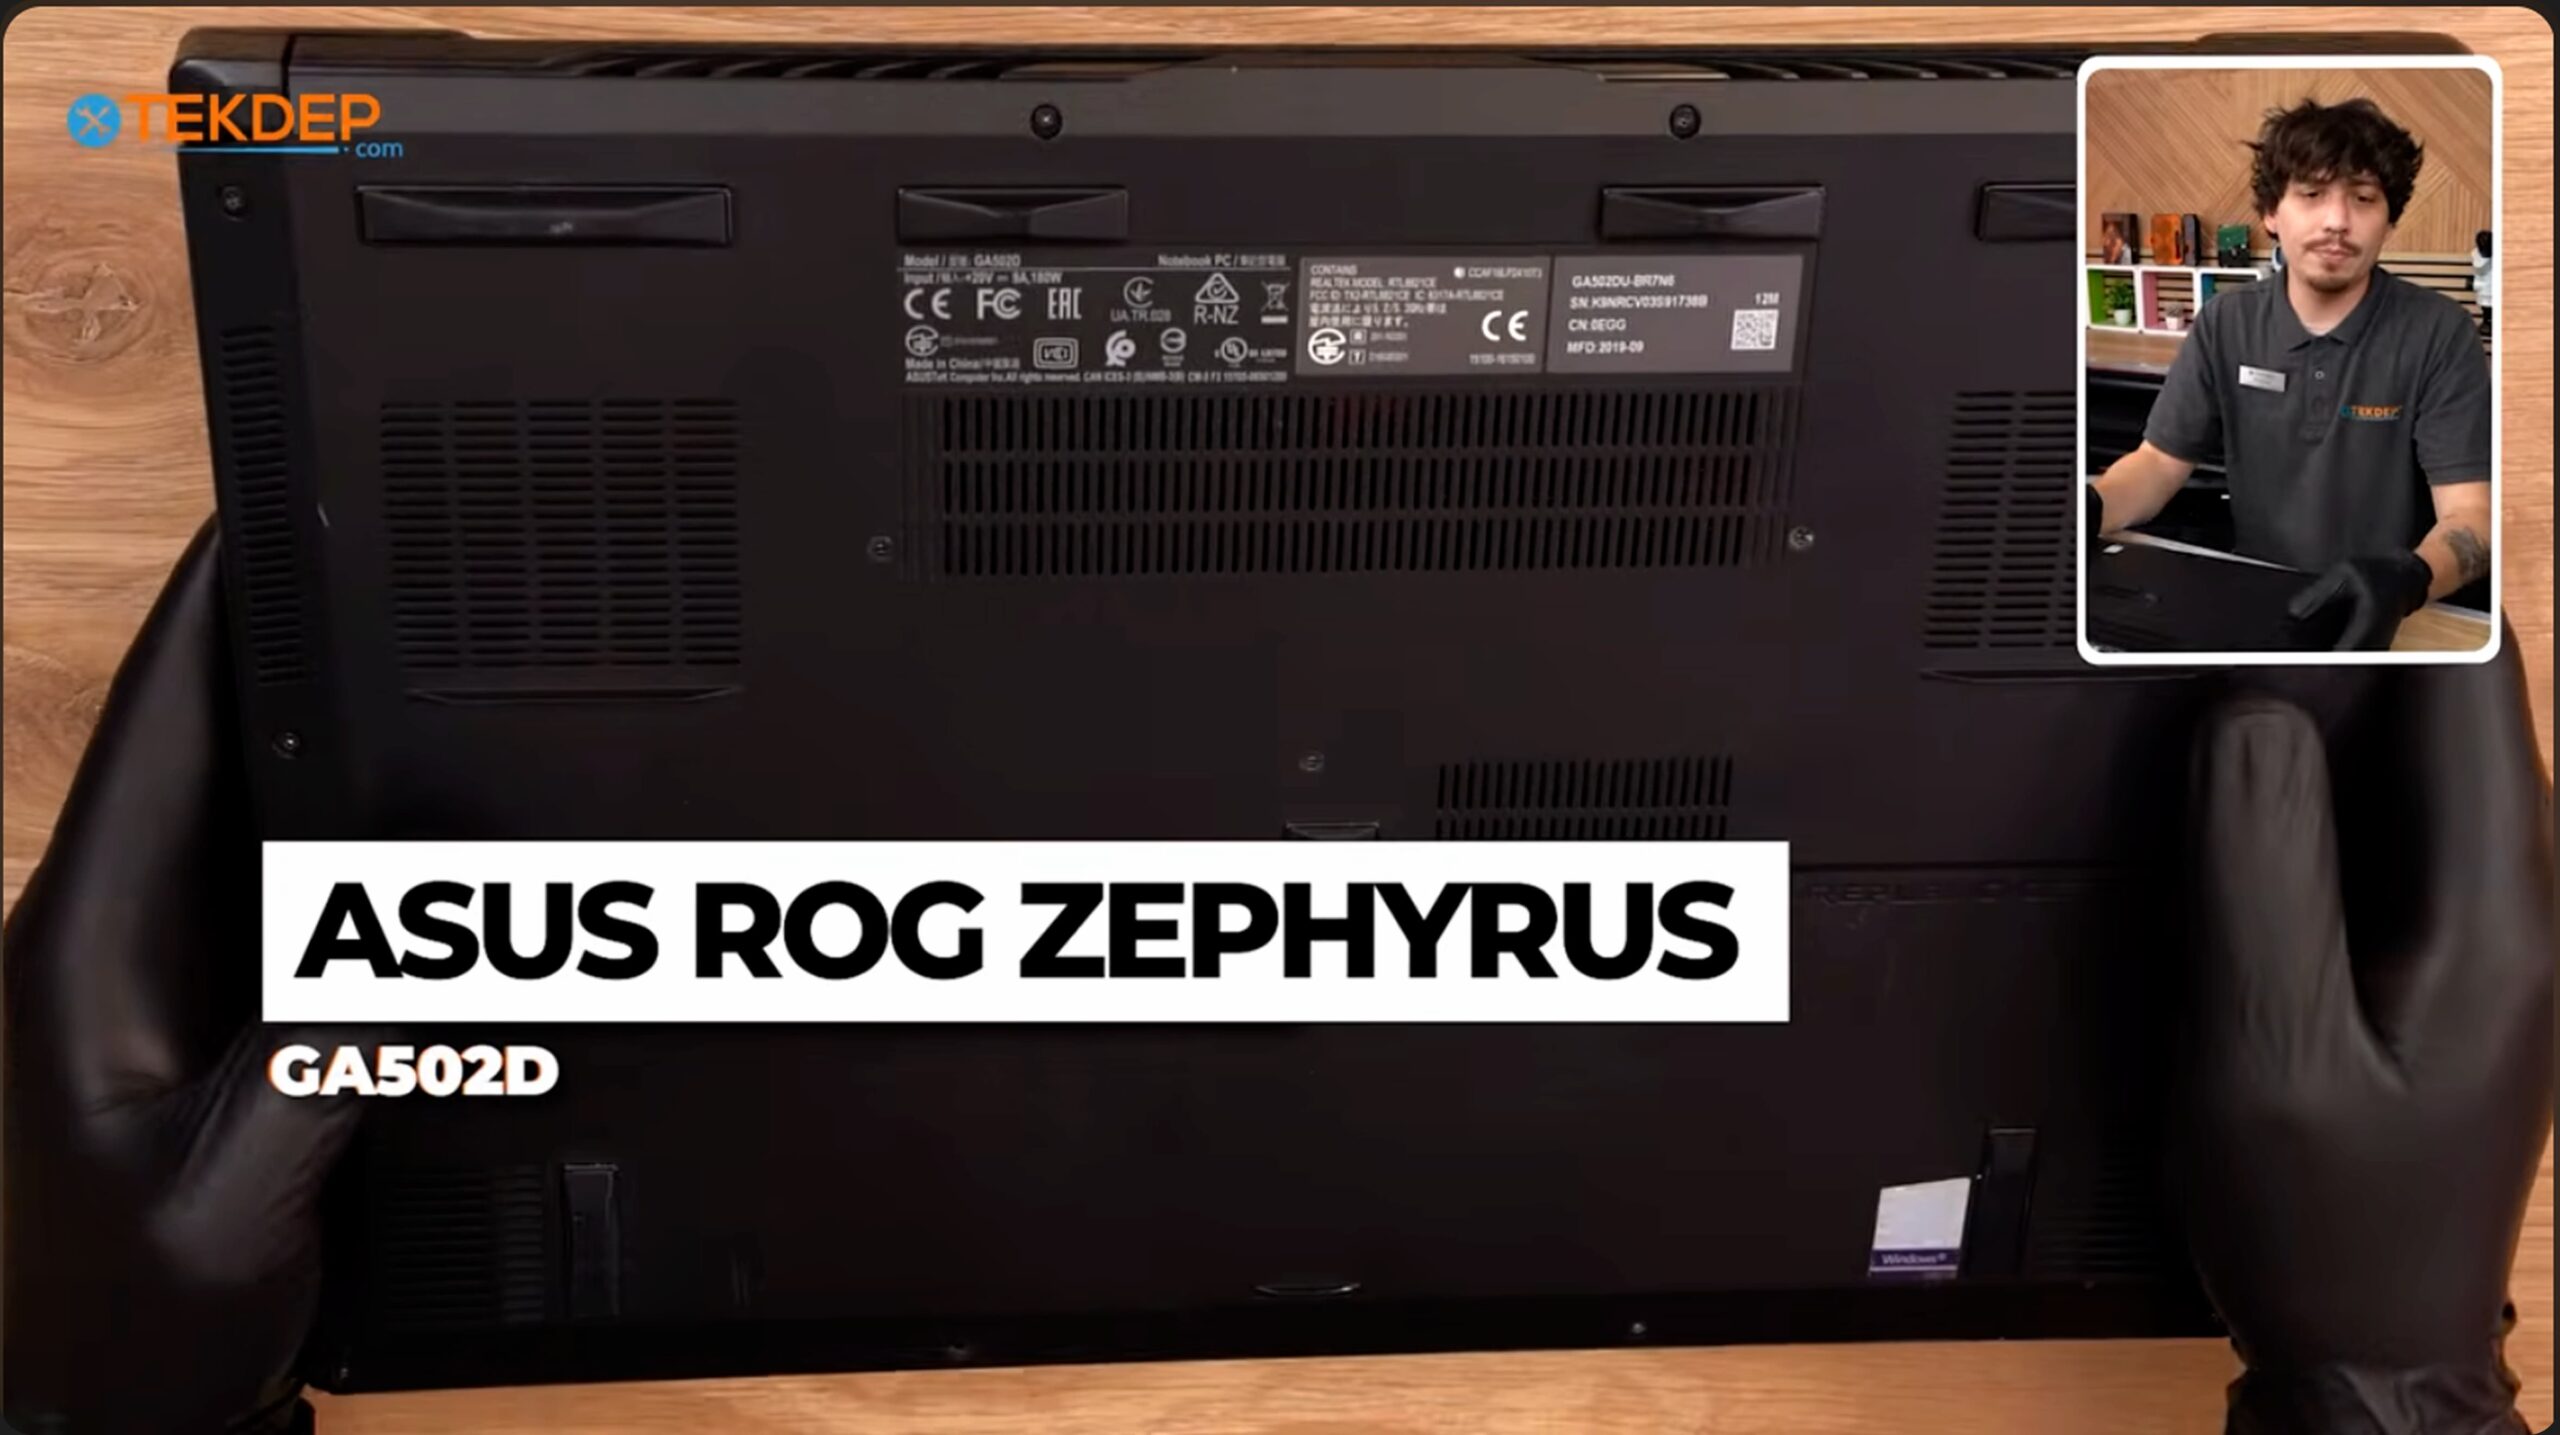

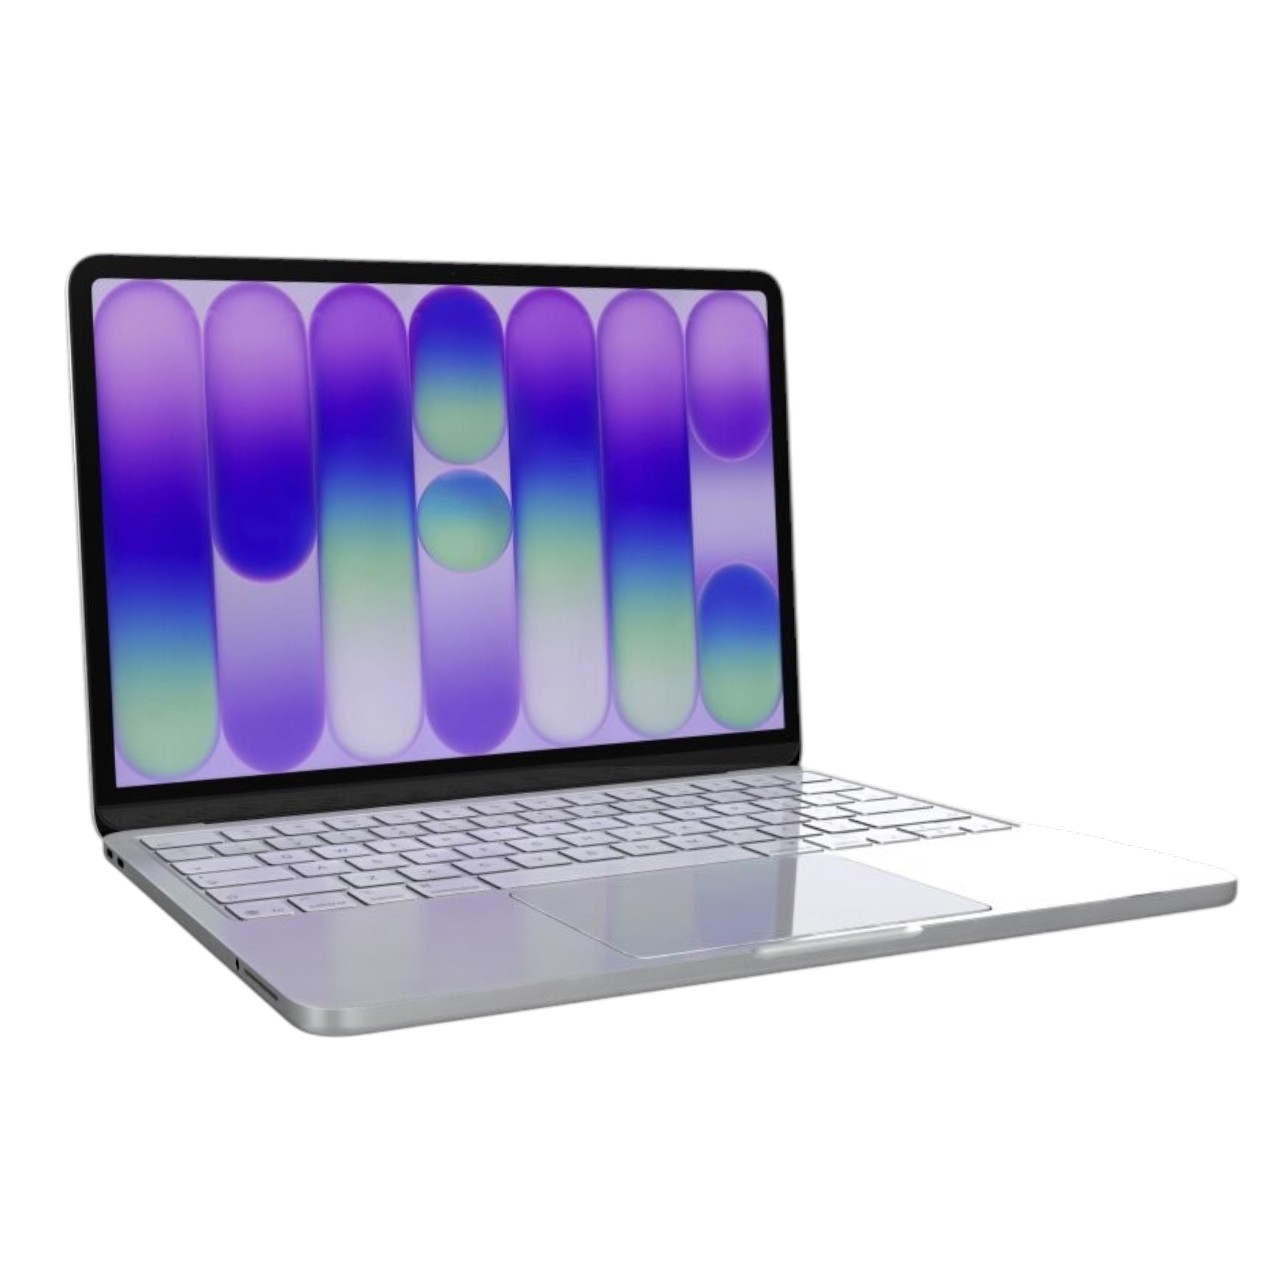



















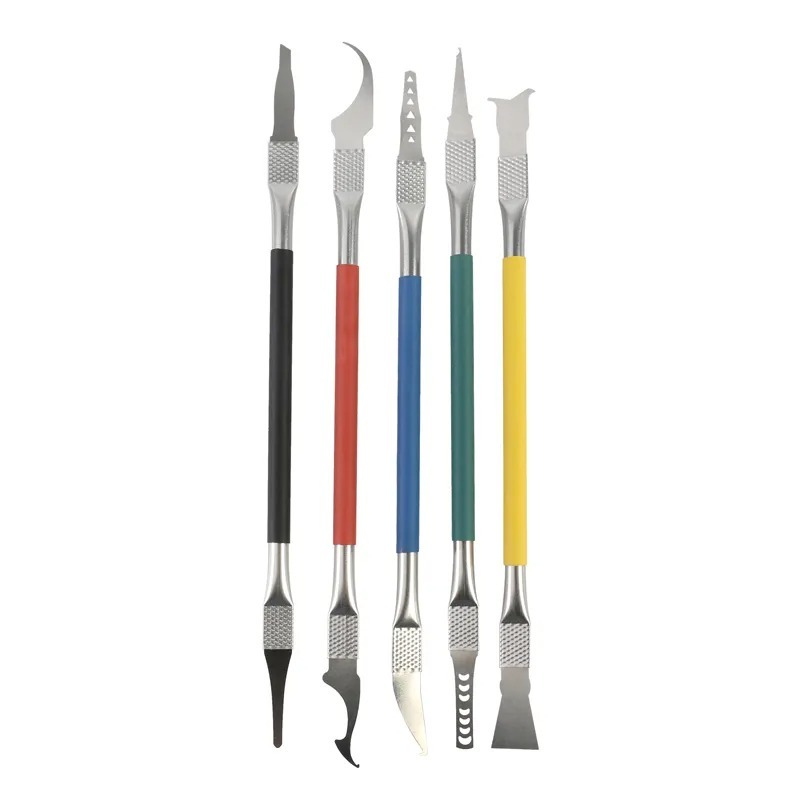
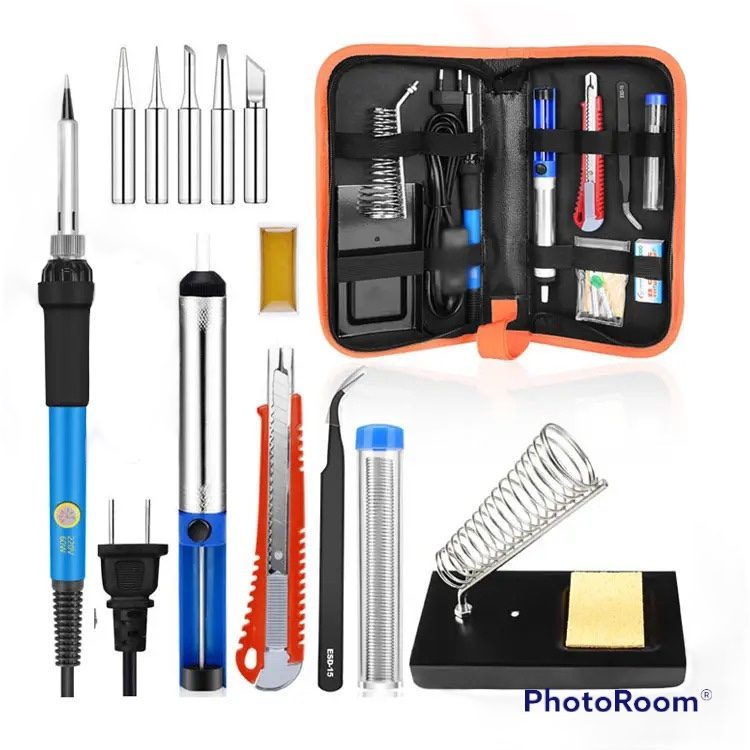

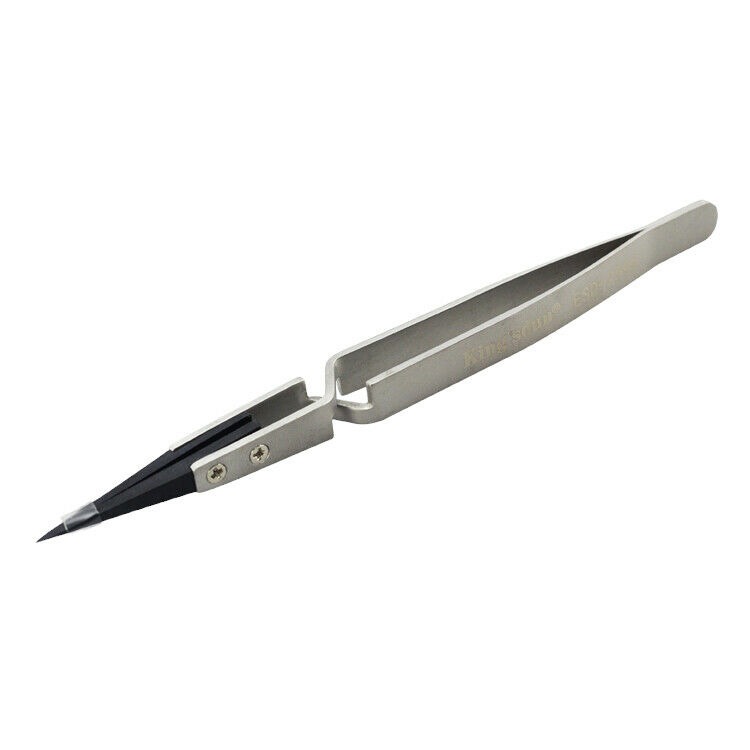



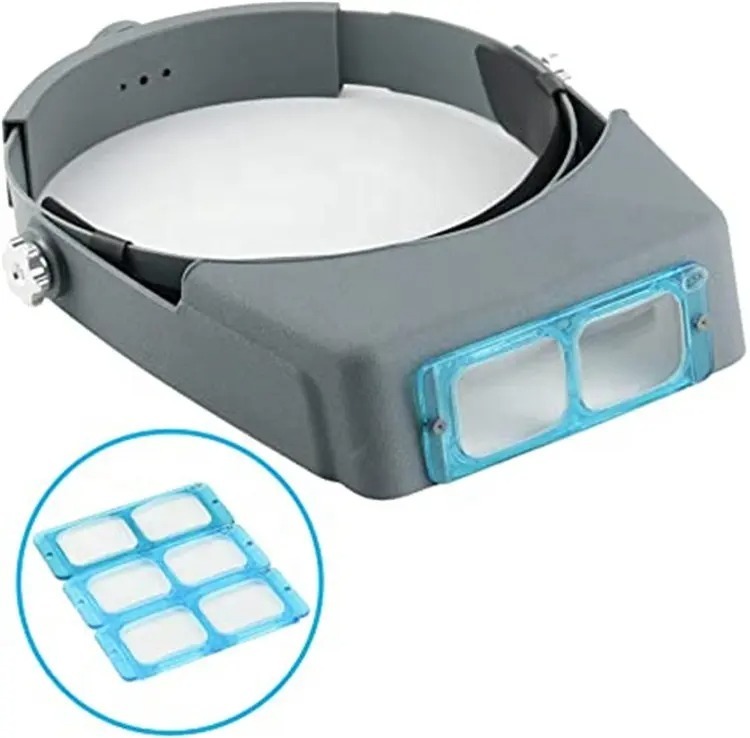

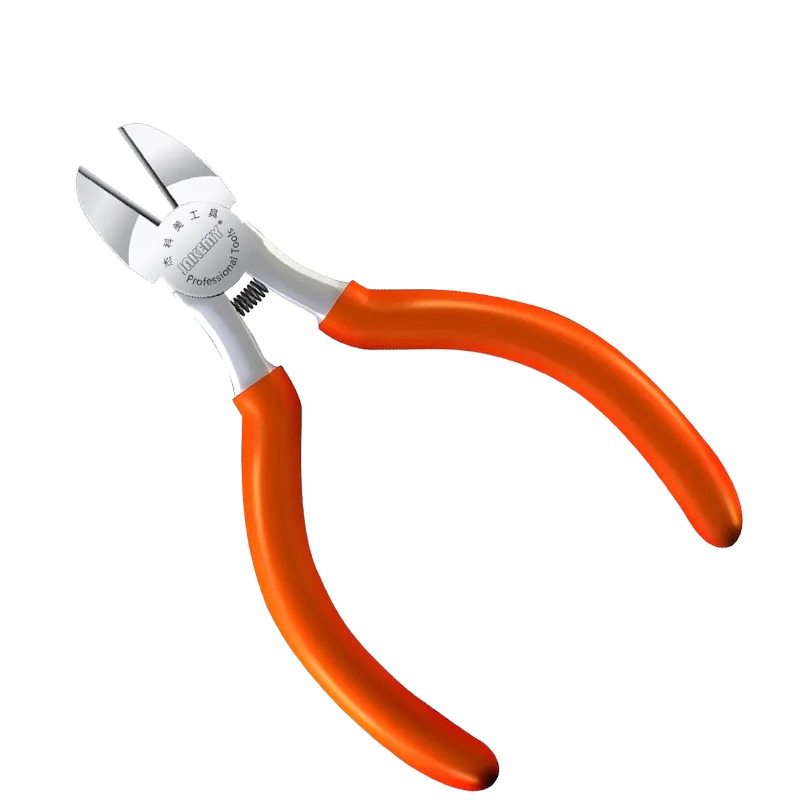

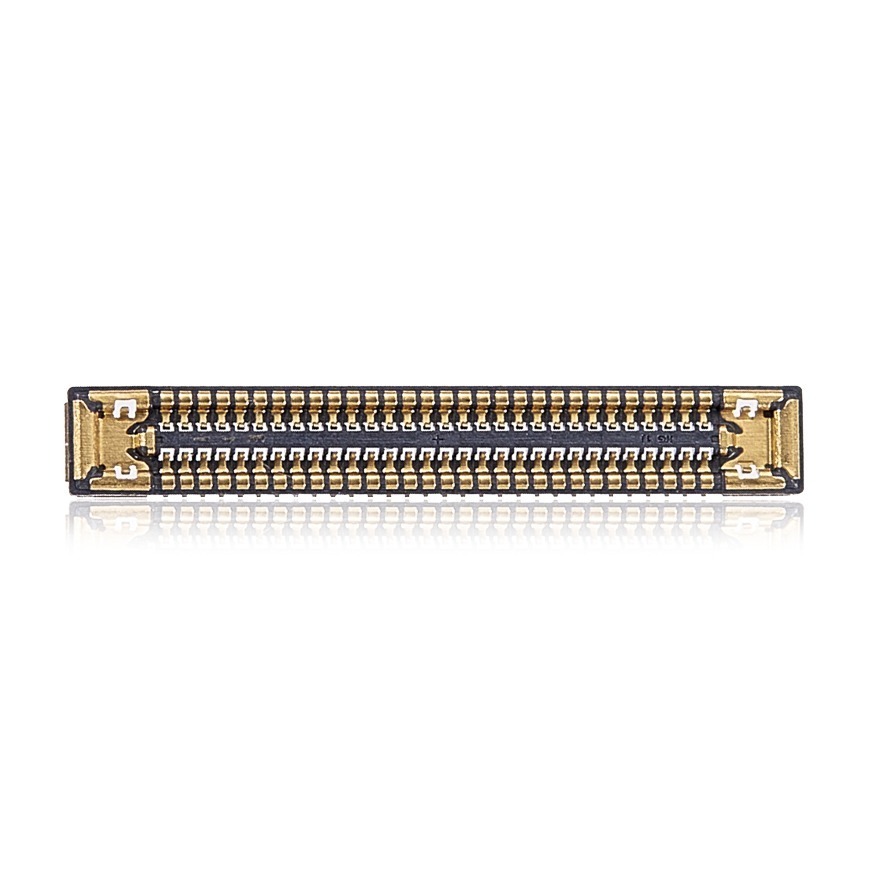

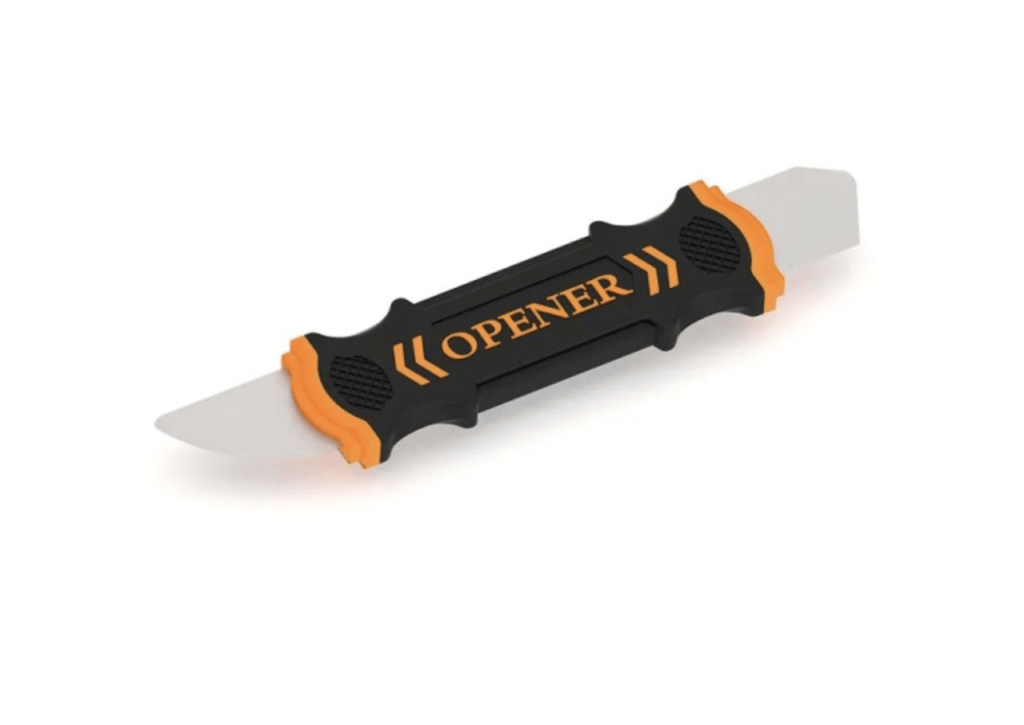





Model: MacBook Pro 14-inch M3 (2023) (A2918) | Level: Advanced | Tools: Pentalobe screwdriver, Torx screwdriver, metal pry bar
Performing an A2918 display replacement is the most reliable way to fix a shattered or faulty screen on your 14-inch MacBook Pro M3. Furthermore, this repair process requires careful logic board preparation to prevent blown fuses.
Consequently, completing this A2918 display replacement yourself saves hundreds compared to Apple Store quotes. Therefore, our lead technician, Nicholas, walks you through every teardown and installation step below. Let’s get started.
How to Complete an A2918 Display Replacement (Quick Overview)
- To begin, remove the backplate and disconnect the battery to prevent electrical damage.
- Secondly, discharge the logic board by holding the power button for 10 seconds.
- Afterward, uncover the flex cables and Wi-Fi antenna, removing the nine tiny Pentalobe screws.
- Then, remove the six hinge screws and bend the old display backward to detach it.
- Subsequently, slide the new panel in at a 45-degree angle and temporarily secure it.
- Following that, align the chassis perfectly by closing the lid and pushing the cases flush.
- Finally, reinstall the antenna, cables, and battery before performing a power test.
🛠️ Required Tools & Preparation for an A2918 Display Replacement
Executing a display replacement on the A2918 requires tiny Pentalobe and Torx bits. Therefore, power off and unplug the machine before beginning.
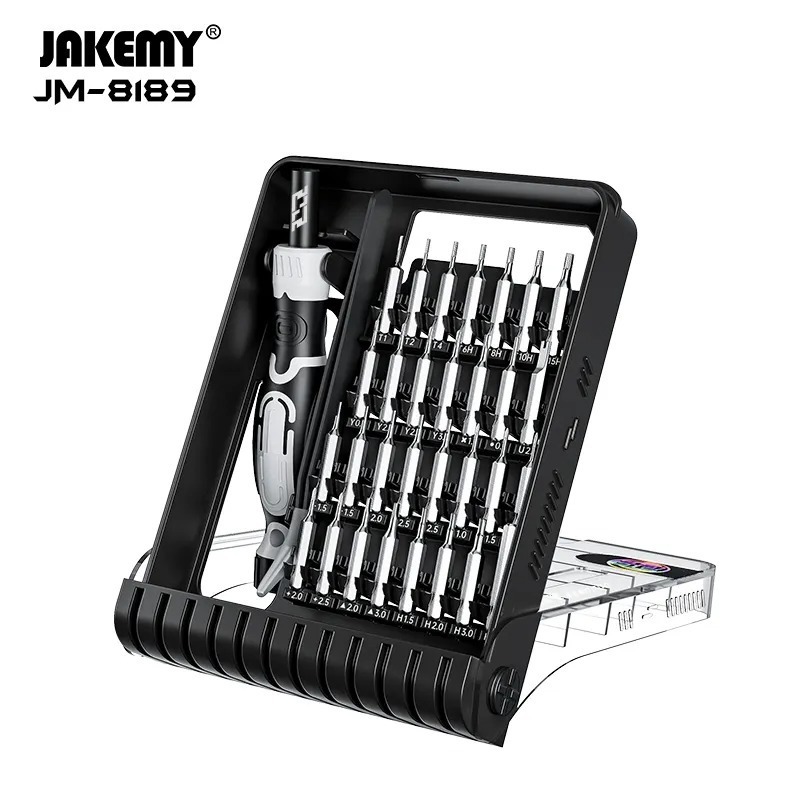
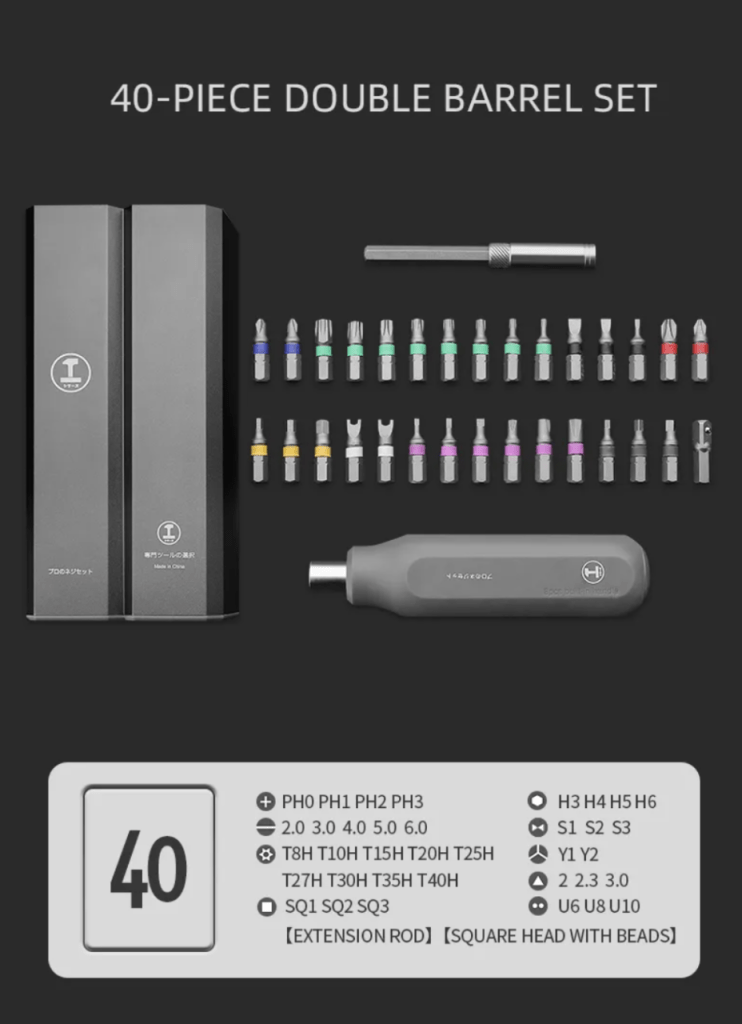
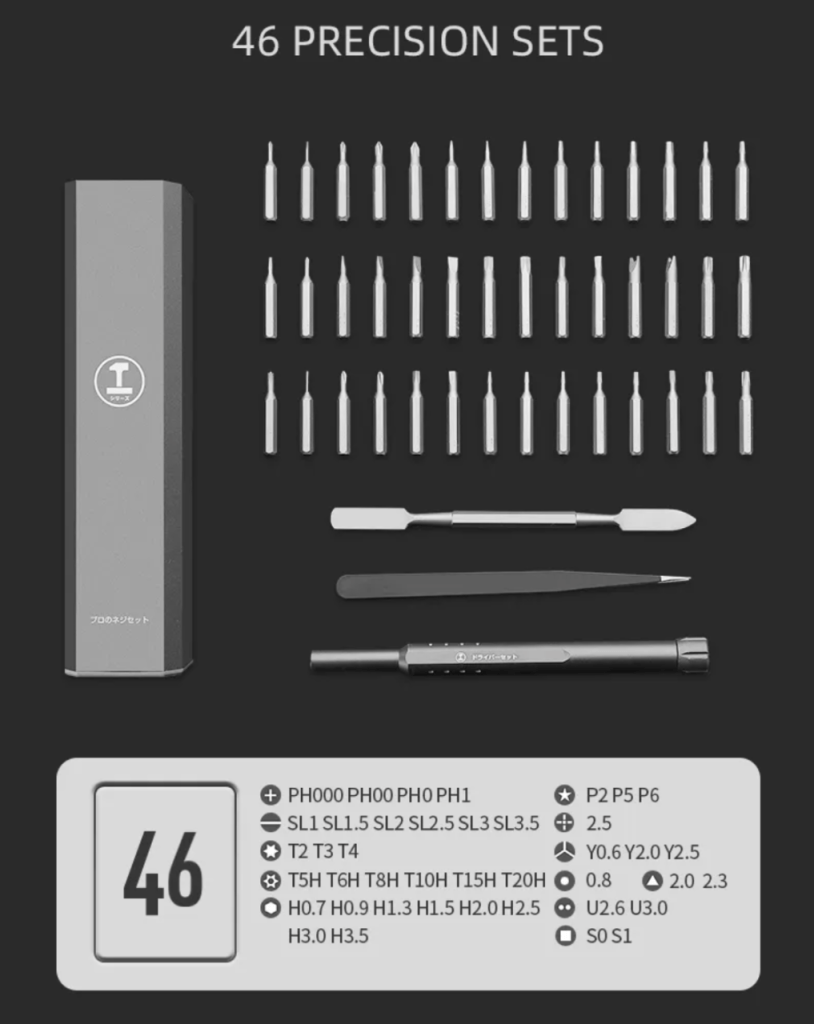
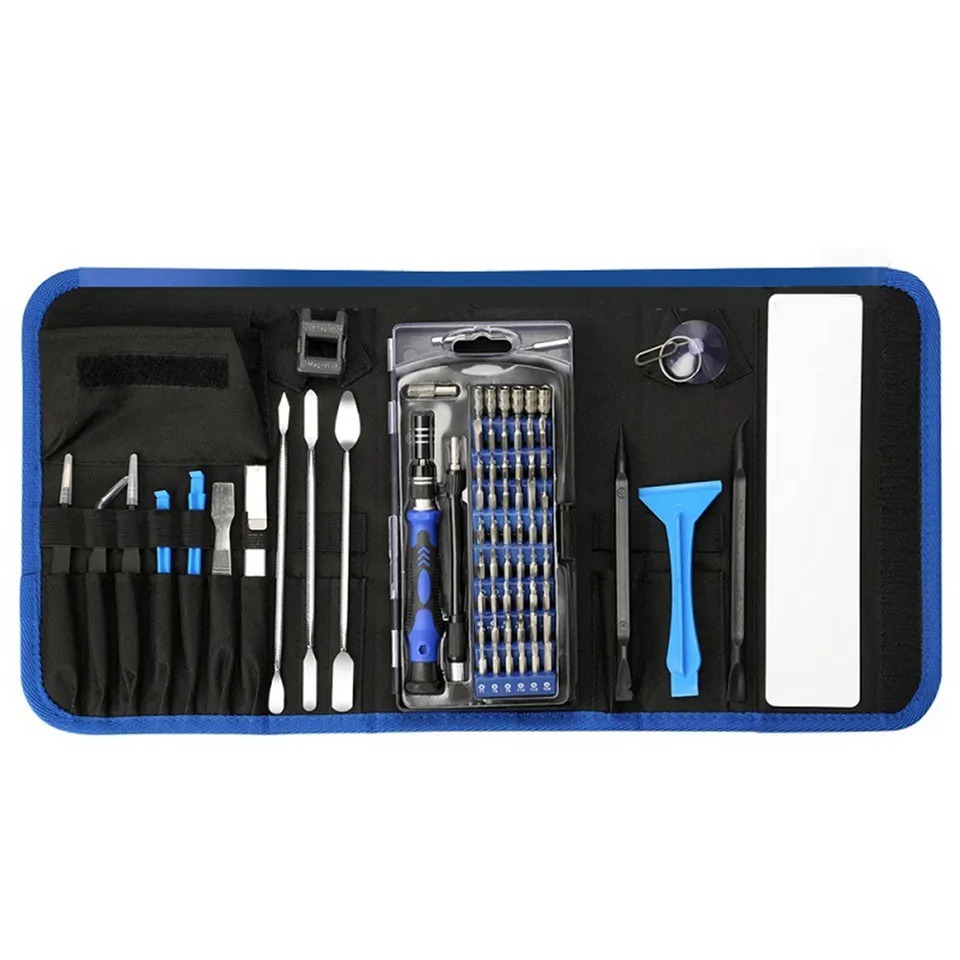
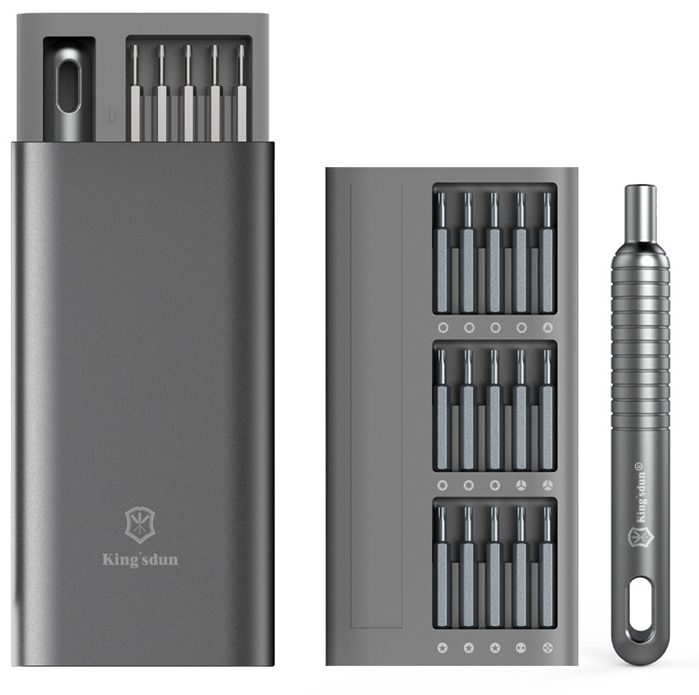
Recommended Repair Tools
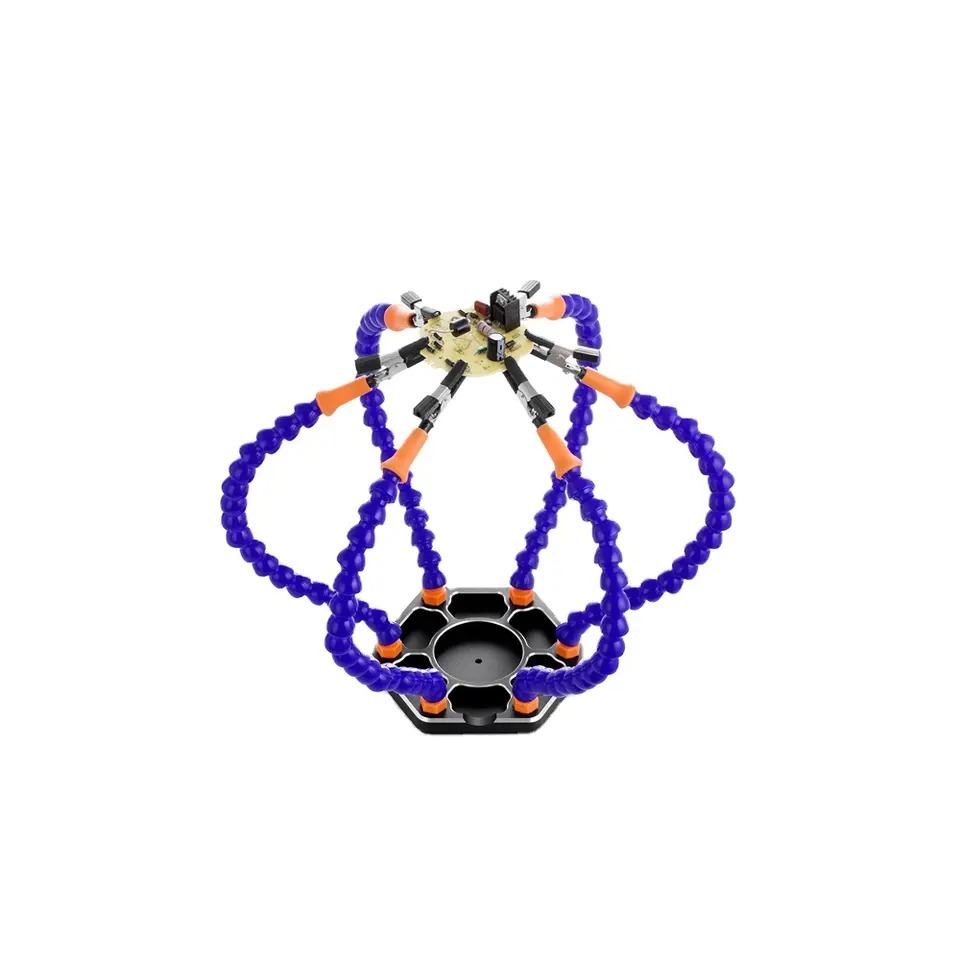
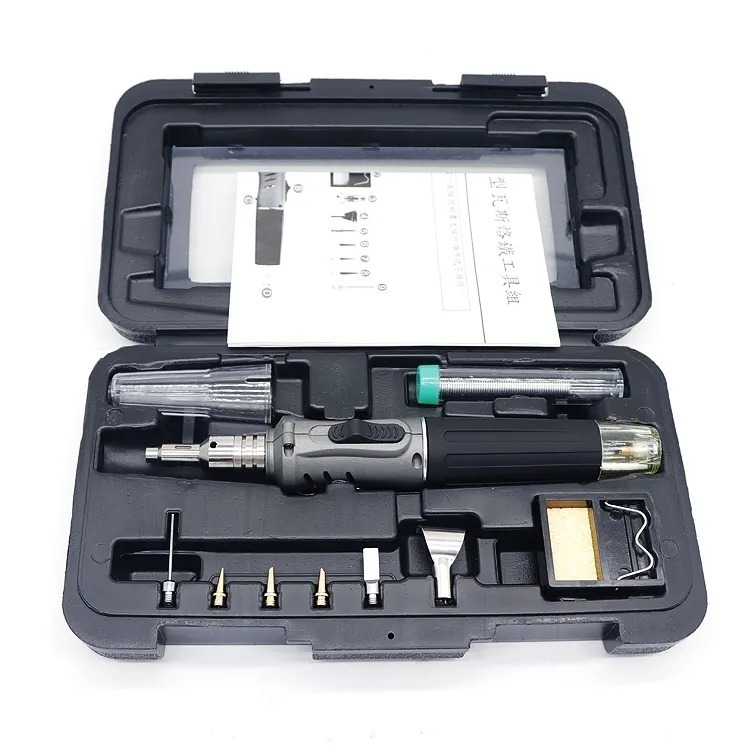
- Metal pry bar: Safely pops internal clips on the bottom case without gouging aluminum.
- Pentalobe screwdriver: Necessary for removing the nine easily lost Wi-Fi antenna screws.
- Torx screwdriver: Handles hinge screws and the battery pancake screw.
Model Verification & Safety Guidelines
Before ordering a replacement panel, confirm your exact hardware model. For example, the Apple Wiki entry for the MacBook Pro 14-inch (Nov 2023) lists A2918 as the M3 version. In addition, observe standard ESD anti-static safety precautions while handling exposed circuitry.
⚠️ Before you start: Disconnect the battery and completely discharge the logic board before touching any connector. Because tiny Apple Pentalobe screws get lost easily, keep a magnetic mat nearby.
Get the Exact Tools Used by Our Techs:

Phase 1: Getting Inside & Discharging Power (A2918 Display Replacement)
Before touching the screen assembly, you must fully disconnect the battery. This protects sensitive board components from short circuits.
Step 1: Remove the Bottom Backplate
The bottom panel uses external screws combined with heavy internal clips.
- Begin by removing the eight backplate screws. Keep them organized: longer screws belong on top, while shorter screws go on the bottom.
- Using your metal pry bar, slide across the side latches until you hear a pop.
- Carefully pull up from the bottom edge while pressing your thumb against the chassis to release the plate.

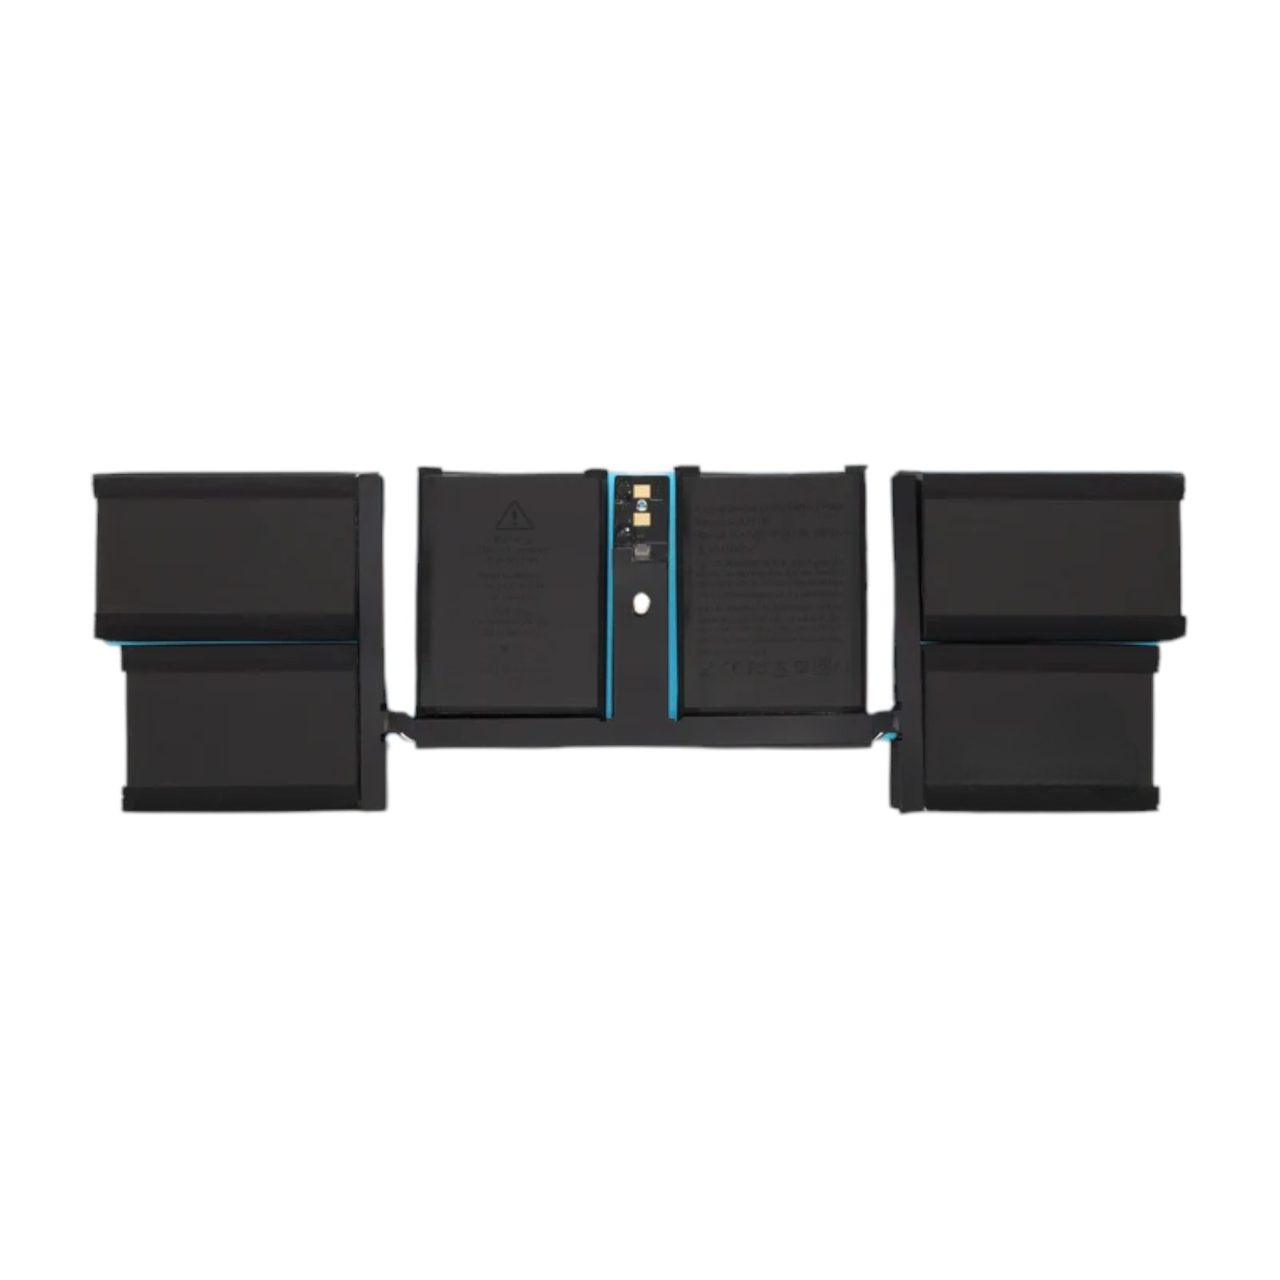
Step 2: Disconnect the Battery Cable
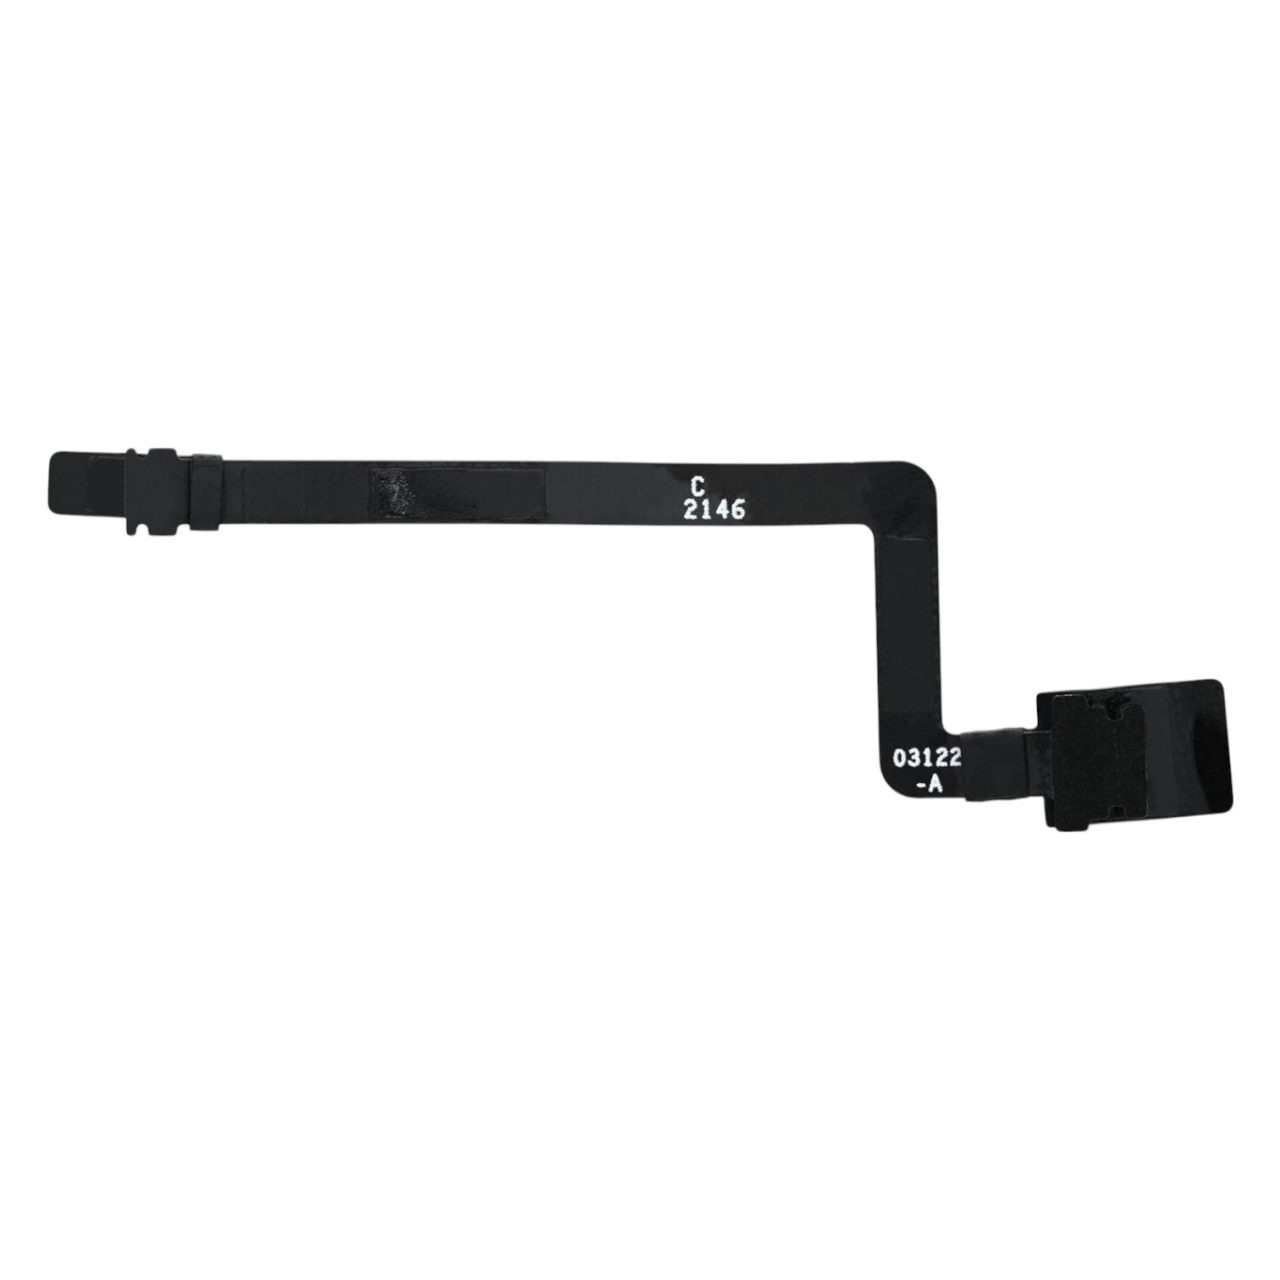
The battery connection sits hidden underneath the fragile trackpad flex cable.
- Gently lift the trackpad flex cable with your pry tool to expose the battery connector.
- Unfasten the single pancake screw securing the battery connection.
- Detach the battery tab upwards to cut main power.
Step 3: Fully Discharge the Logic Board
Even with the battery disconnected, internal capacitors hold residual electricity. Consequently, draining this charge is mandatory.

- Open the MacBook Pro lid slightly.
- Press and hold the power button for 10 full seconds to discharge the board.
- Because dropping a screw on a charged board causes instant damage, never skip this step.

TekDep Expert Warning: Failing to perform the 10-second discharge can fry the logic board backlight circuit instantly.
Phase 2: Removing Flex Cables & Wi-Fi Antenna
With power fully drained, you can safely clear the components covering the display hinges.
Step 1: Uncover the Protective Flex Cases
Several small protective covers shield flex cables along the top edge.
- Unscrew the protective cases, working systematically from left to right.
- Organize all removed covers and screws in precise order on your mat.
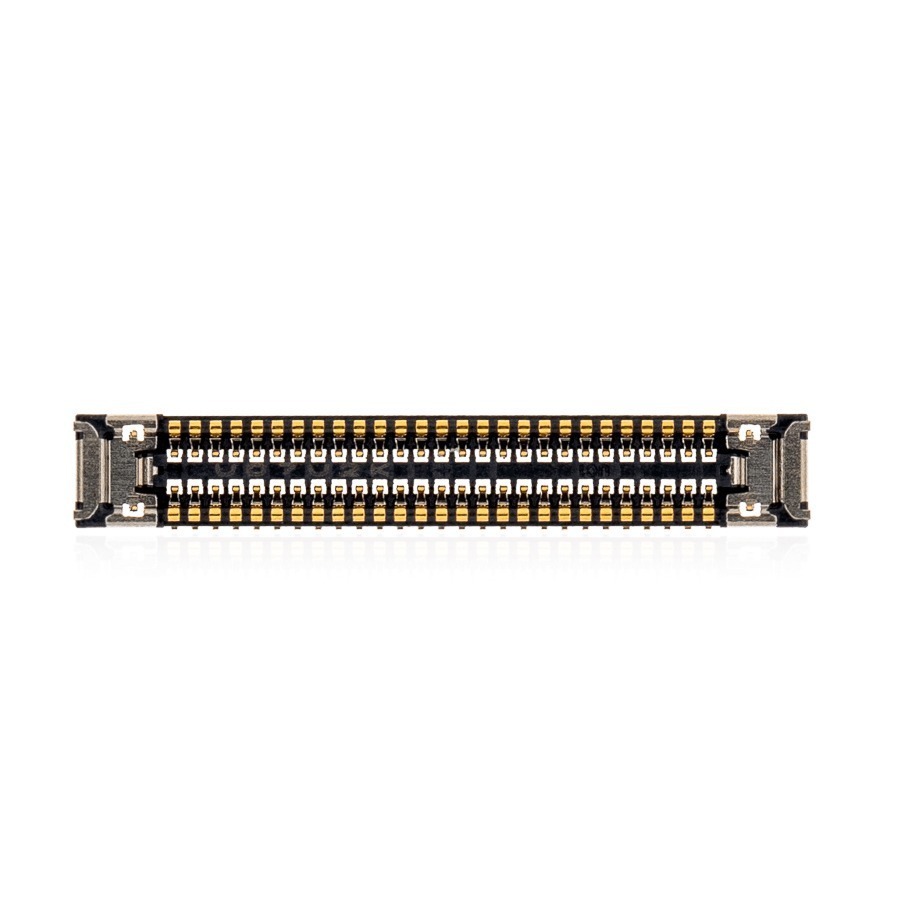
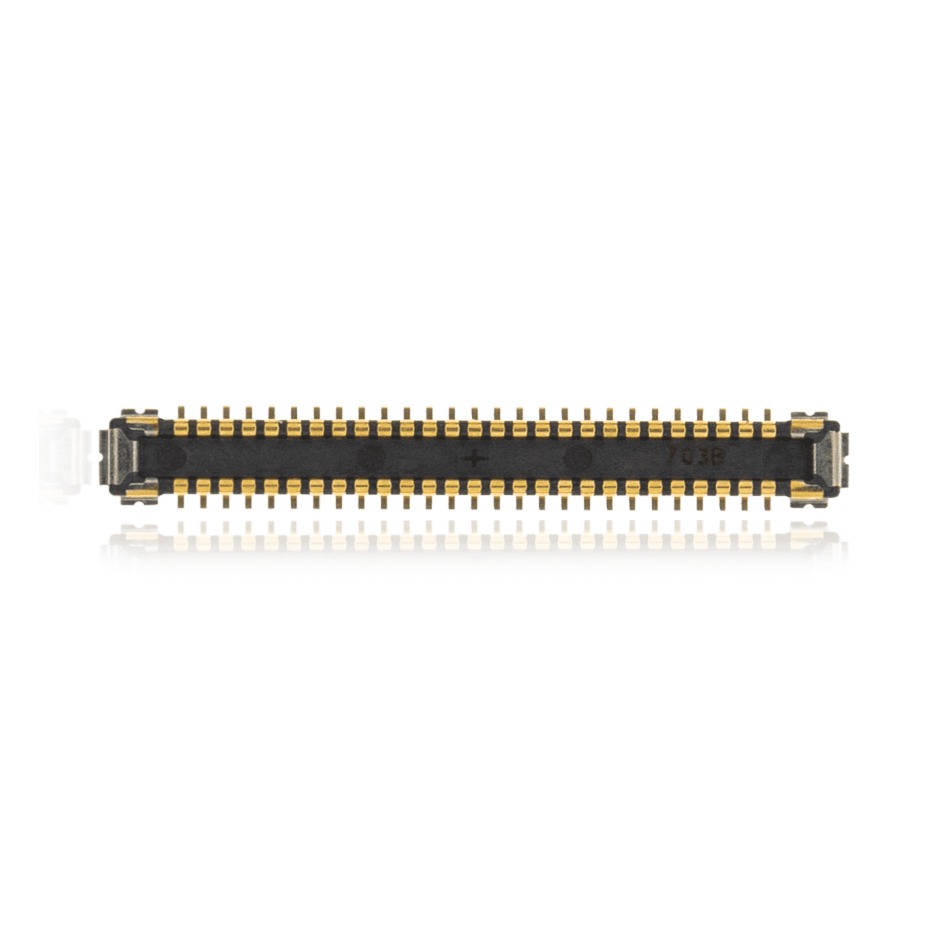
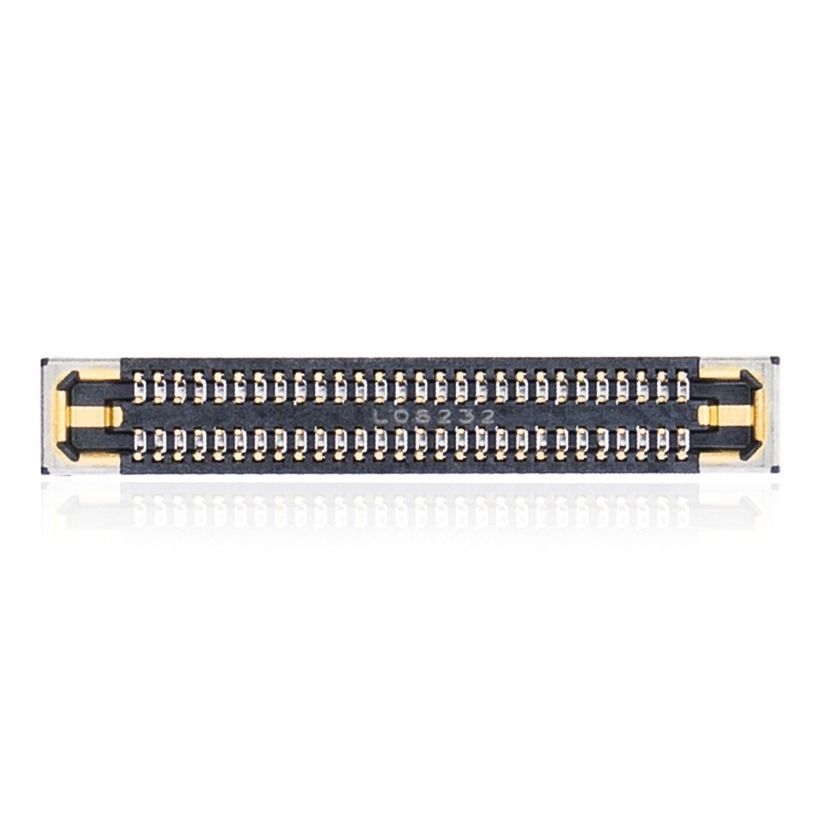
- Unplug the middle flex connectors for the Wi-Fi and Bluetooth antennas.

Step 2: Extract the Wi-Fi Antenna Bar
The antenna spans the gap between display hinges. Therefore, it must be removed to access the screen mounts.
- Disconnect the four central antenna cables.
- Utilize your Pentalobe screwdriver to unfasten the nine tiny Pentalobe screws on the bar.
- Lift away the antenna assembly after removing the two remaining side screws.

Step 3: Detach the Main Display Flexes
- Remove the two hinge covers on both sides and set them aside with their black screws.
- Pop up the connector tabs to detach the main display flex cables.
Crucial Note: Two small padded cushions sit under the tabs. Keep these safe for your new panel.
Phase 3: Detaching the Old Screen (A2918 Display Replacement)
Because electrical connections are free, the display is now held only by mechanical hinges.
Step 1: Unbolt Hinge Screws and Separate
- Unfasten the six hinge screws (three per side) holding down the display.
- Stabilize the hinges while opening the laptop panel to clear the chassis lip.
- Bend the display backward carefully to separate the old panel from the body.

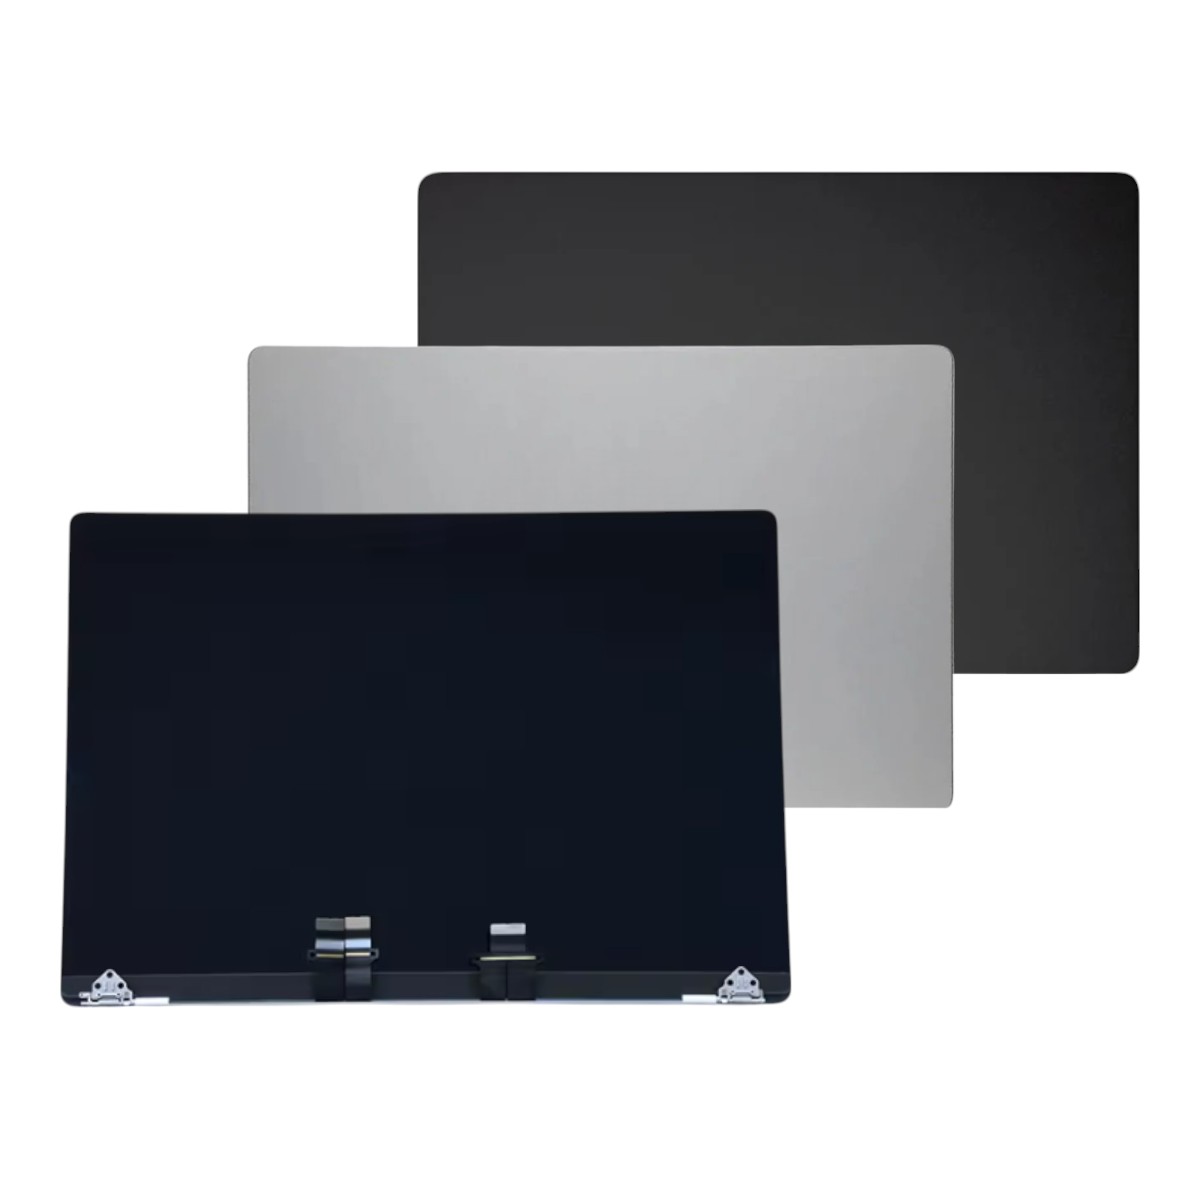
MacBook Pro A2918 parts we installed in this phase:
👉 MacBook Pro A2918 display replacement
Phase 4: Installing & Aligning the Replacement Screen
Mounting a new screen requires setting gaps evenly before locking down hardware. Otherwise, the lid will scrape when closed.
Step 1: Seat the Replacement Screen
- Angle the new A2918 display at 45 degrees relative to the body.
- Guide the display flex flaps upward so they stay out of the way.
- Slide the hinges smoothly into their matching chassis slots.
Step 2: Align the Chassis Edges
Do not tighten hinge hardware completely until alignment is verified.
- Insert one screw into each hinge side to provide temporary holding tension.
- Close the laptop lid to inspect outer edges for overlap or uneven gaps.
- Adjust top and bottom cases until completely flush, then tighten the temporary screws.
- Tighten the four remaining hinge screws once alignment is perfect.
- Reinstall both hinge covers using the dedicated black screws.

Phase 5: Reassembly & Final Testing
Once the screen is locked in, route connections carefully before applying power.
Step 1: Reattach Cable Cushions and Flexes
The flex cables are delicate; therefore, avoid forcing or creasing them.
- Position the saved padded cushions with the longer side facing up.
- Tuck the flex cable lip carefully under the longer cushion edge.
- Press the connectors down firmly into their board sockets.
Work incredibly slowly here, because a snapped display flex instantly ruins your expensive new panel.
Step 2: Secure the Wi-Fi Antenna
- Place the antenna bar back into the hinge gap.
- Fasten the side screws, middle screws, and nine Pentalobe screws securely.
- Snap all flex connections and antenna pins back into position.
- Replace all protective flex covers over the cable ends.
Step 3: Reconnect Battery and Backplate
- Push the battery cable tab back down into its socket.
- Fasten the pancake screw to secure the battery connection.
- Reattach the trackpad flex cover plate.
- Snap the back cover on, apply side pressure, and tighten all eight screws.
Step 4: Perform Final Power Test
Boot the machine to verify display output and confirm the Apple logo renders cleanly.
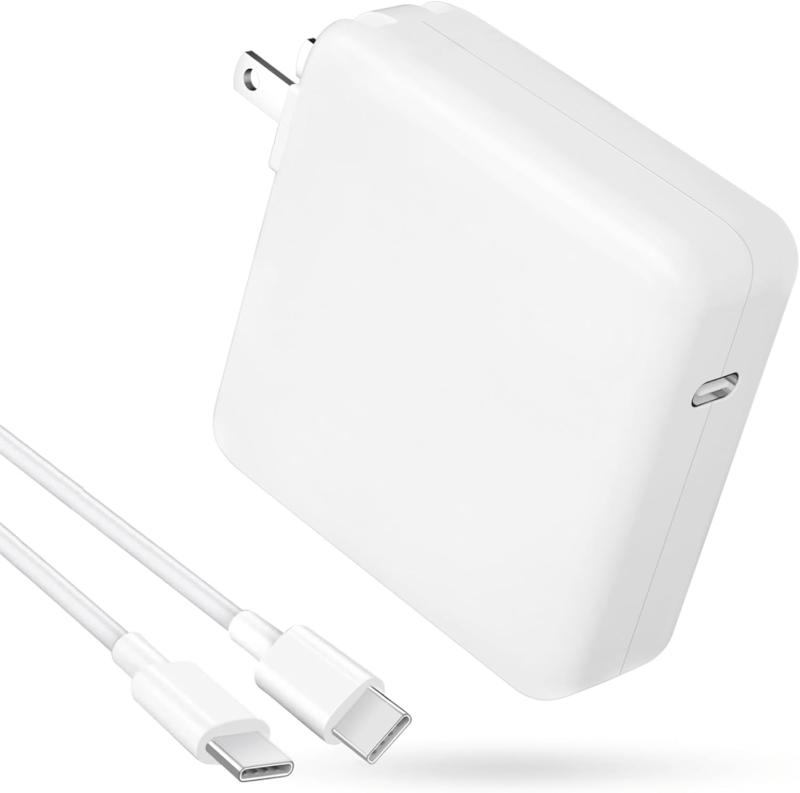
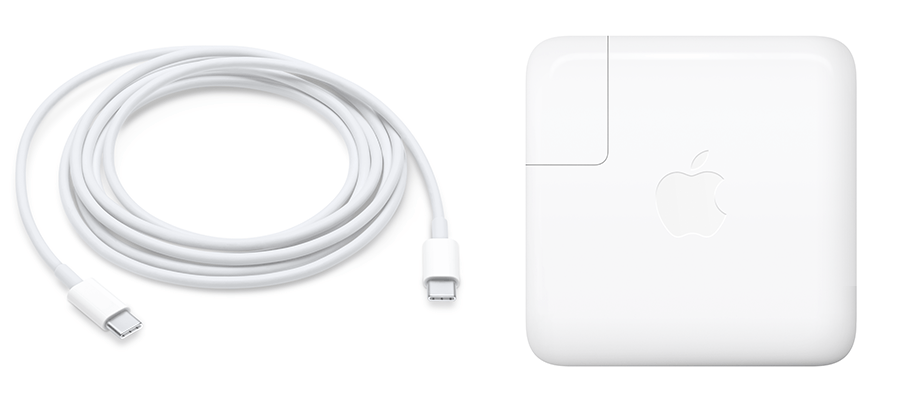
Connect your MagSafe charger to supply initial boot power.
🛑 Not Comfortable Handling Fragile Flex Cables? If reading about tiny Pentalobe screws and delicate display flexes has you second-guessing your DIY skills, don’t worry. The TEKDEP experts are here to help.
We offer clean, professional, and affordable Mail-In repair services for the entire Apple MacBook lineup.
Frequently Asked Questions
Where is the battery connector on the A2918 MacBook Pro?
The main battery connection sits directly underneath the wide trackpad flex cable. You must lightly peel back the trackpad flex to access the connector tab and its dedicated pancake screw.
Why do I need to hold the power button after disconnecting the battery?
To safely discharge the capacitors. If you skip this 10-second hold, residual power left on the logic board can instantly short a fuse if you drop a screw or touch the wrong pin.
How do I perfectly align the new screen when I replace the A2918 display?
Temporarily tighten exactly one screw per hinge, then close the laptop lid. Squeeze the top and bottom cases together so the outer edges are perfectly flush, and then retighten the screws to lock the alignment.
🛑 IMPORTANT: SAFETY & LIABILITY DISCLAIMER: TEKDEP®️ TEKDEP.com assumes no liability for property damage or injury incurred as a result of any information in this blog post or associated videos. Dealing with internal computer components, specifically Lithium-Ion batteries, carries inherent risks including fire, toxic gas exposure, and irreversible device failure. Any injury, damage, or loss from improper use of tools, mishandling of components, or misinterpretation of this information is the sole responsibility of the user.