



































Model: Asus TUF Gaming A16 (FA617) | Level: Advanced
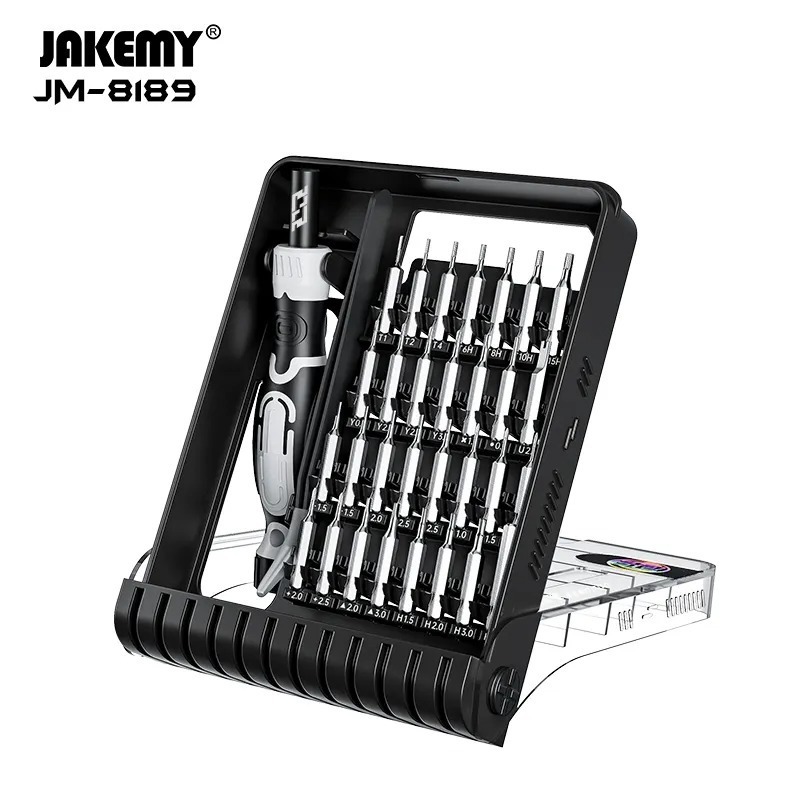
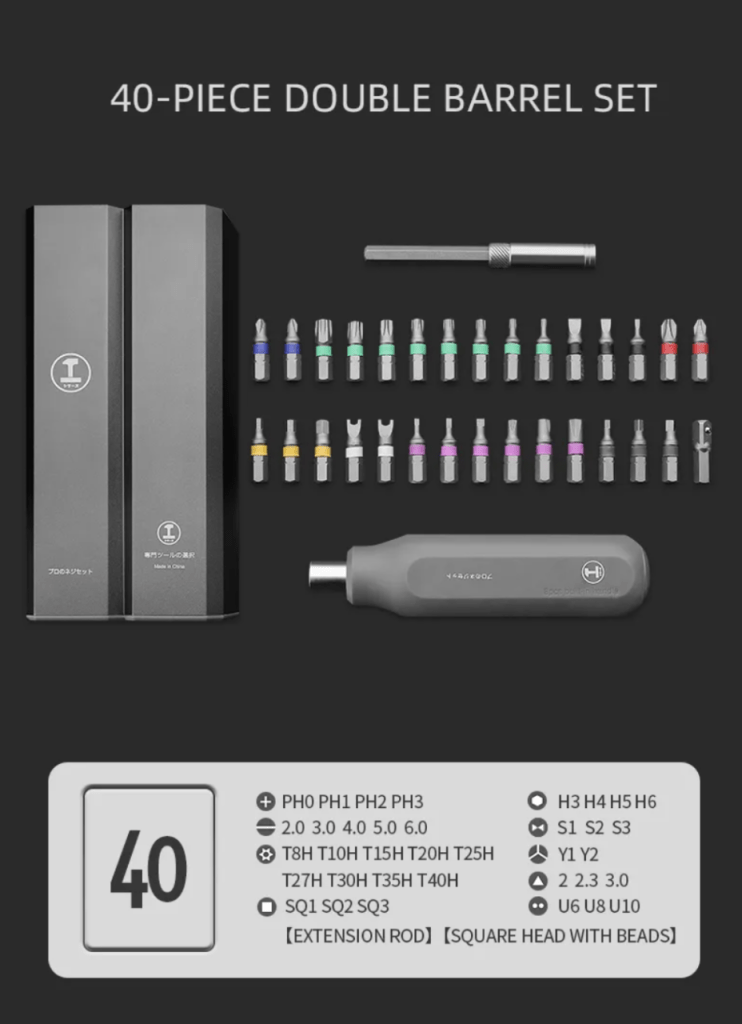
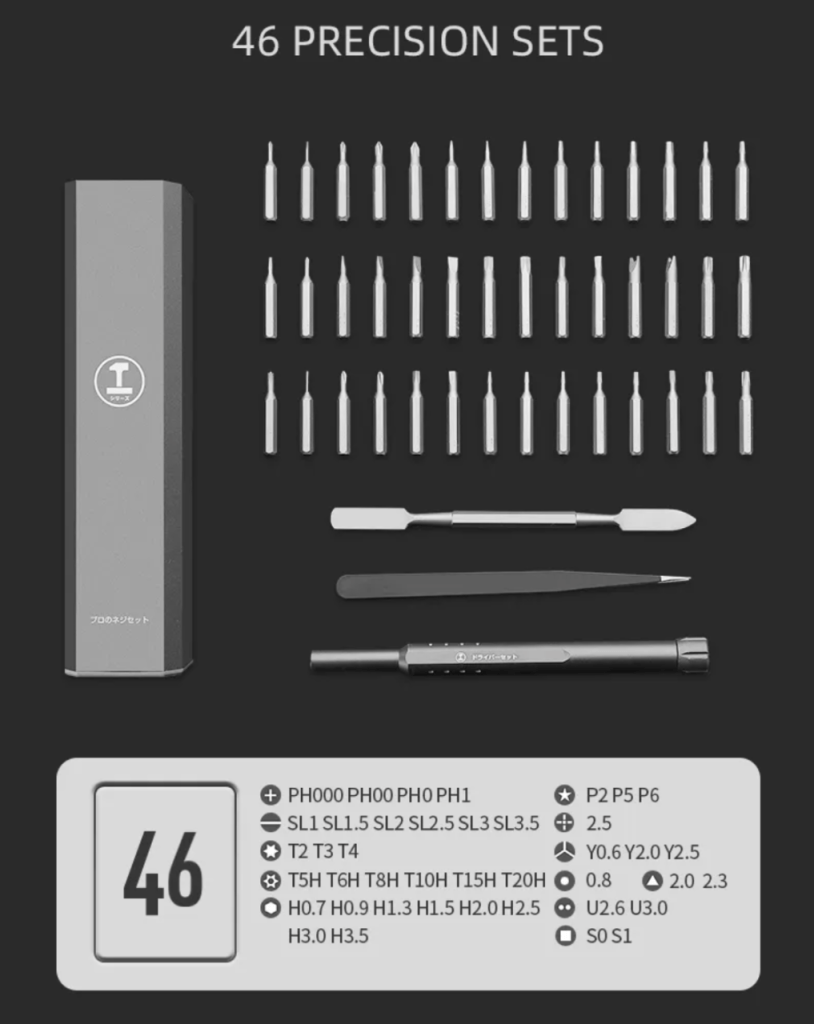
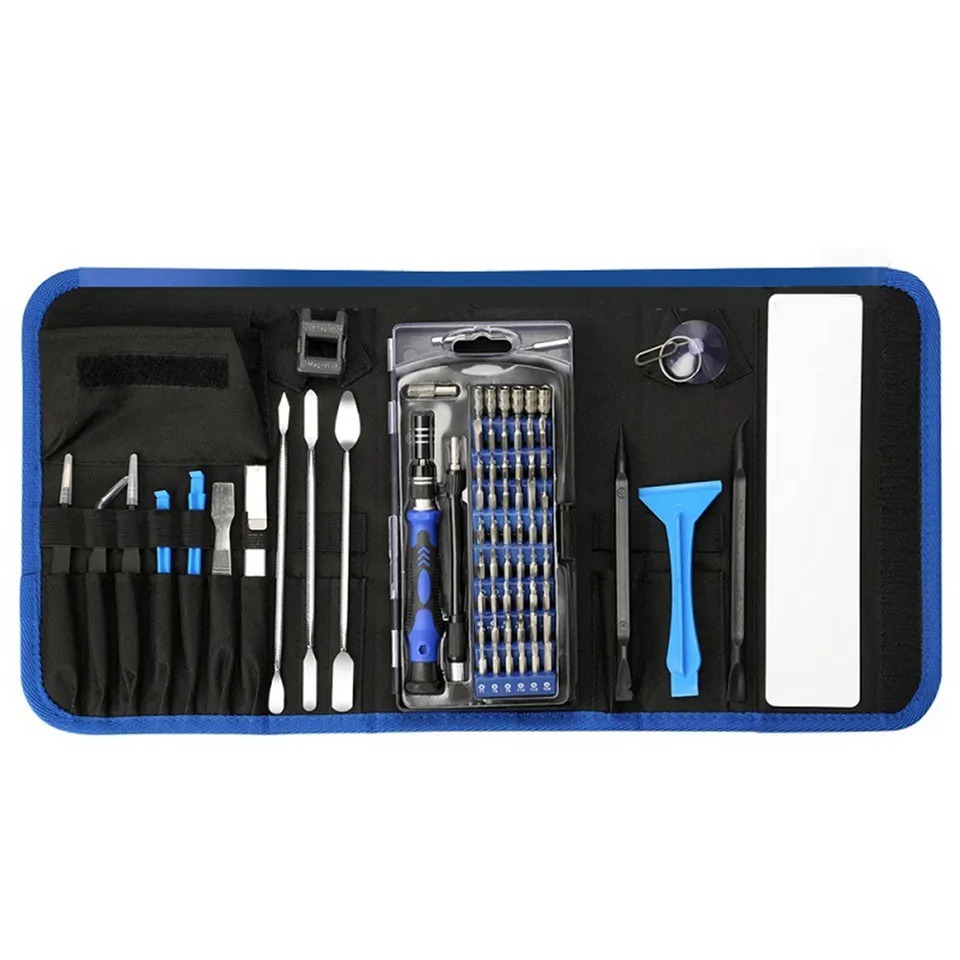
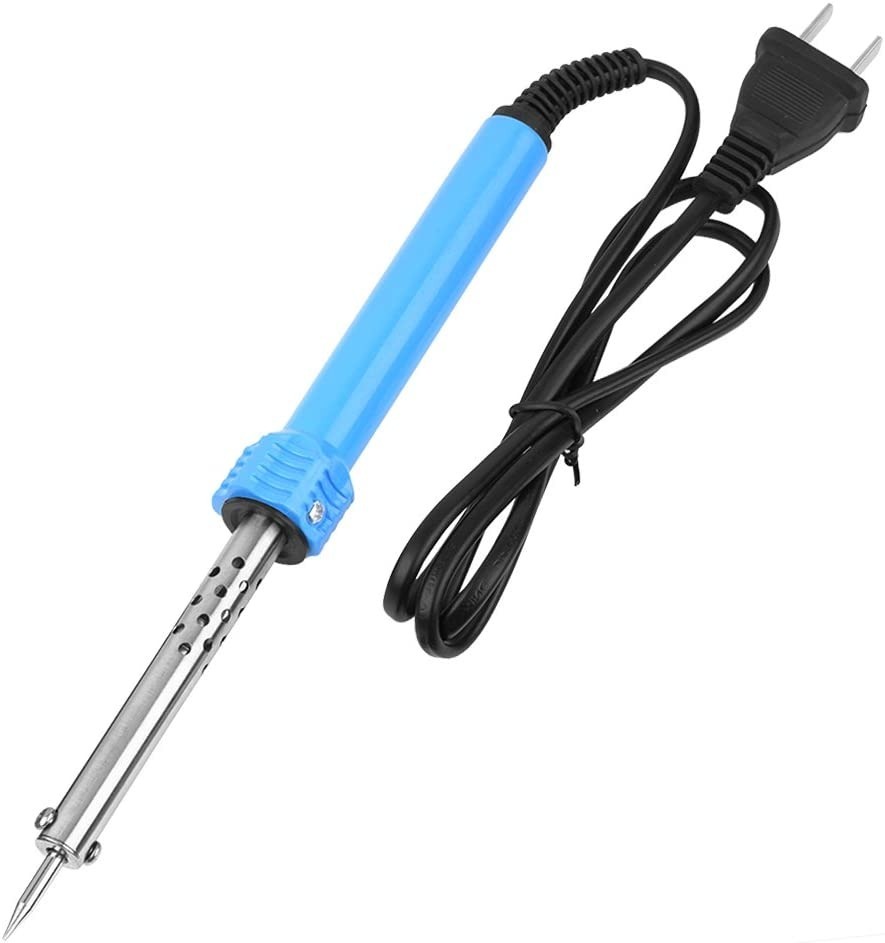
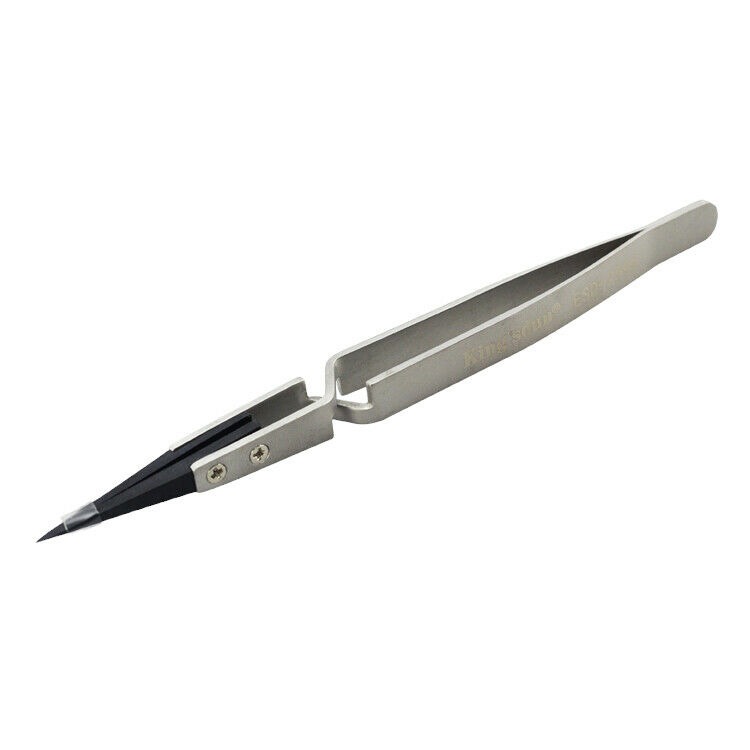
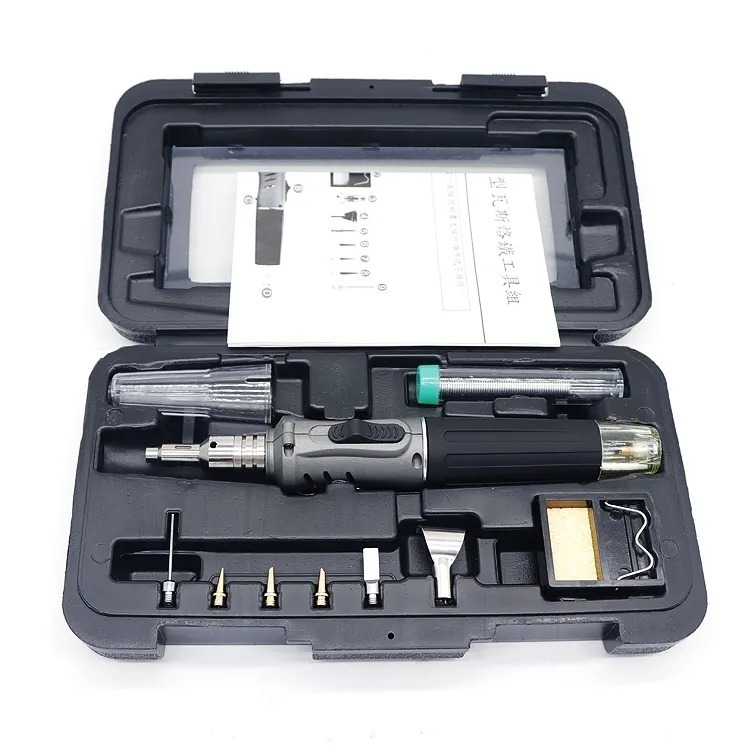
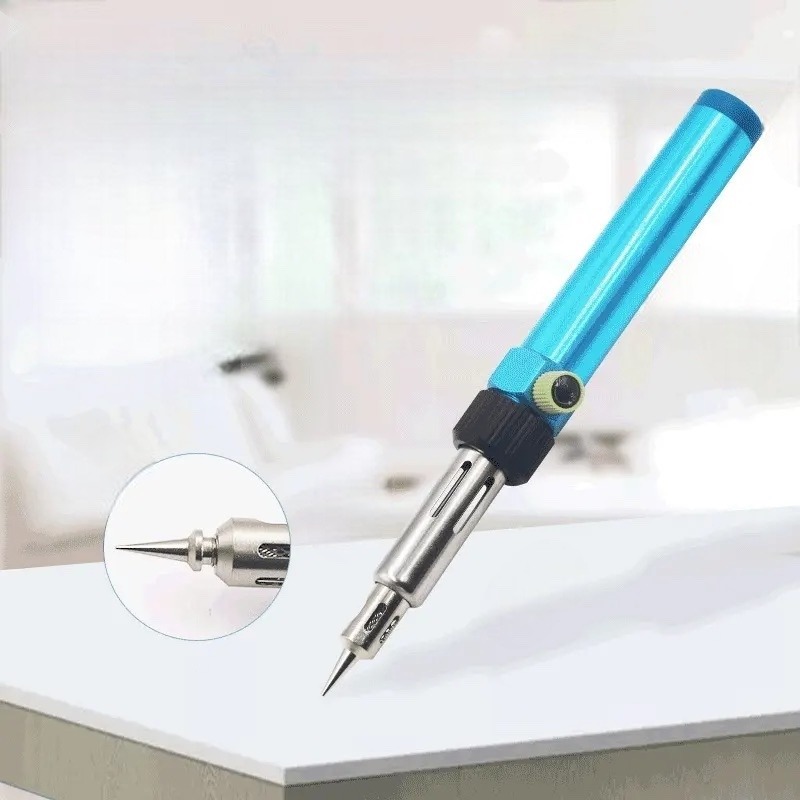
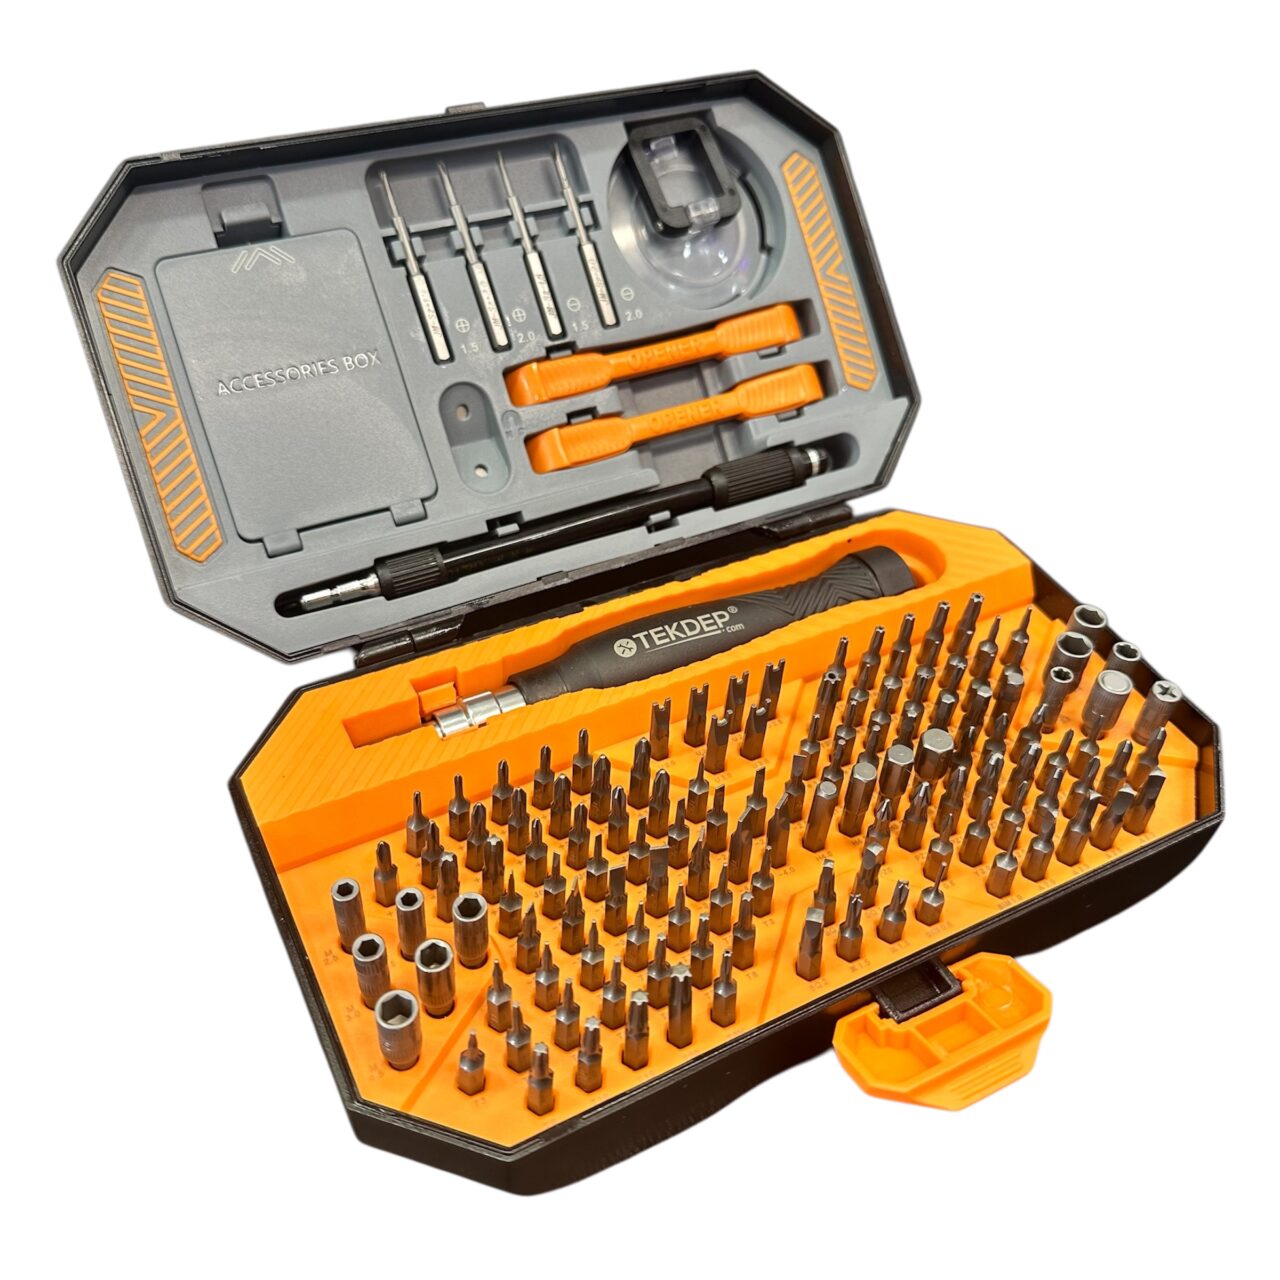
Tools: TEKDEP 145-in-1 Toolkit, plastic pry tool, isopropyl alcohol, thermal paste
A broken hinge pulled right out of the frame is a total nightmare, and it’s one of the most common issues with the Asus TUF A16. Since the keyboard and trackpad are built into the top shell, fixing it means swapping in a new case and moving your laptop parts over.
Whether you have loose screen hinges, a cracked frame, or a damaged keyboard, a top case swap gets your gaming laptop back to good as new.
Below, Lead Technician Nicholas walks you step-by-step through the entire DIY replacement process. Let’s dive in!
How to Replace the Asus TUF A16 Top Case (Quick Overview)
- Remove the backplate and display assembly to expose the internals.
- Extract the heat sink and motherboard carefully so you do not bend the board.
- Transfer the trackpad, speakers, and LED board to the new case.
- Free any stuck hinge screws using pliers or scissors.
- Reinstall the motherboard following the printed screw arrows.
- Clean and reapply thermal paste before seating the heat sink in numbered order.
- Reconnect the battery and test the keyboard, waiting for the CMOS reset.
🛠️ Required Tools & Preparation
An Asus TUF A16 top case swap requires a full teardown, so prepare your workspace carefully. Power the laptop off and unplug it before you start.
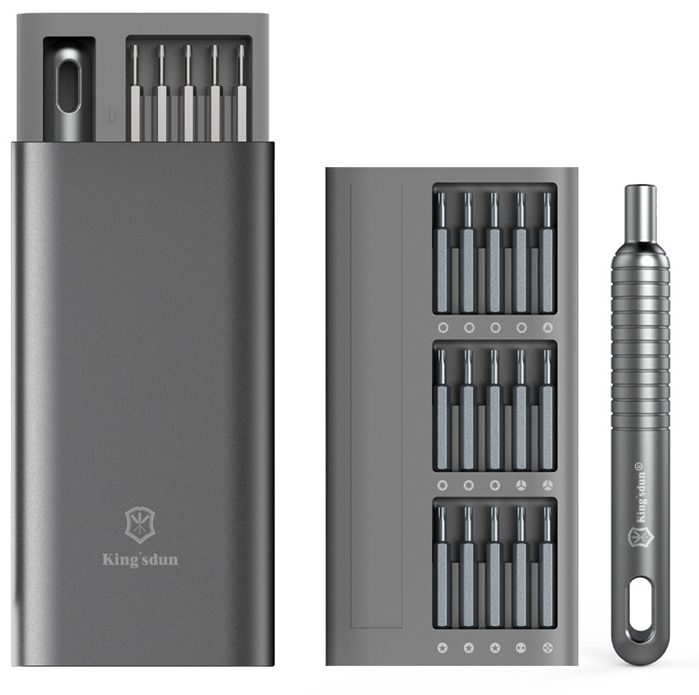
- TEKDEP 145-in-1 Toolkit: handles every internal Phillips screw.
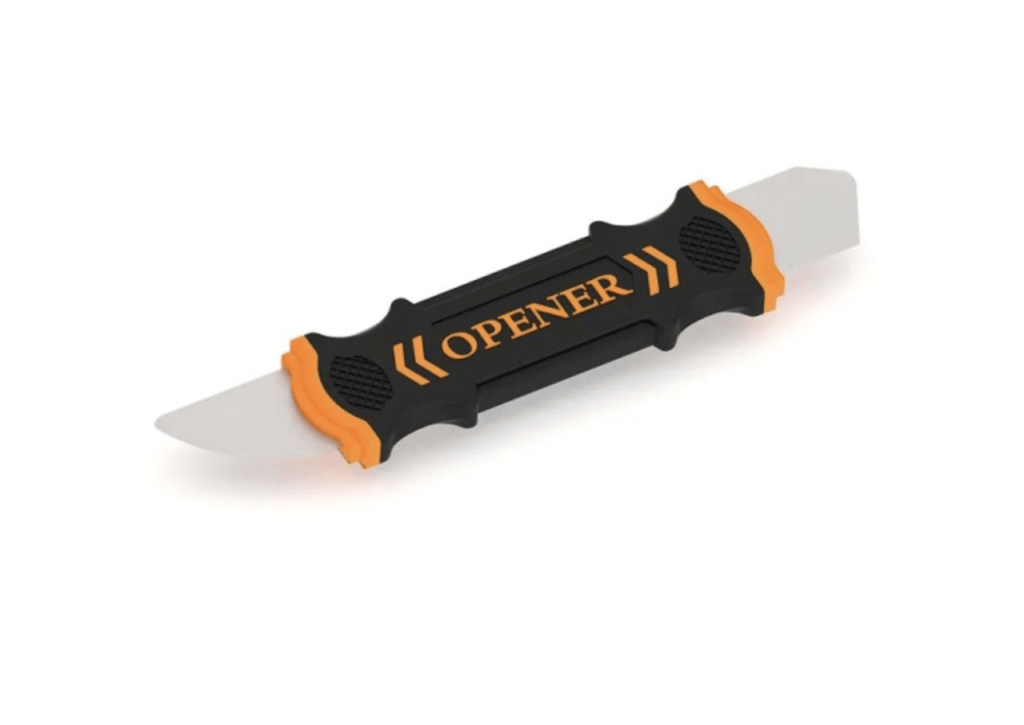
- Plastic pry tool: safely removes the backplate and delicate flex cables.
- Isopropyl alcohol and cloth: cleans old thermal compound safely without using water.
- Thermal paste: ensures the gaming laptop runs cool after reassembly.
Get the Exact Tools Used by Our Techs:
⚠️ Before you start: Disconnect the battery before you touch any connector. Work on an anti-static mat and keep each group of screws together.
Phase 1: Internal Component Teardown & Disassembly
This repair requires stripping the laptop down completely to isolate the damaged shell.
Step 1: Remove the Heat Sink and Motherboard
The gaming heat sink hides screws needed to release the logic board.
- Undo the fan connectors first so you do not bend the motherboard when removing it.
- Remove the heat sink screws and lift the cooling assembly out.
- Undo the motherboard screws and carefully extract the board.

Step 2: Detach the Display Assembly
The screen needs to come off safely before you can swap the chassis.
- Undo the hinge screws holding down the top LCD.
- Lift the display away and set it safely aside.
Step 3: Transfer the Trackpad, Speakers, and LED Board
Asus TUF A16 top cases Replacement rarely include every smaller component.
- Check your new top case to see what is missing.
- Remove the existing touchpad and speakers, and install them into the new shell.
- Locate the small LED board (which shows battery charge status) and swap it over.
Phase 2: Preparing the New Top Case & Display
With the old shell empty, prepare the hinges to mount on the pristine housing.
Step 1: Free the Stuck Hinge Screws
Often, the broken plastic screw mounts remain stuck to the metal hinge screws.
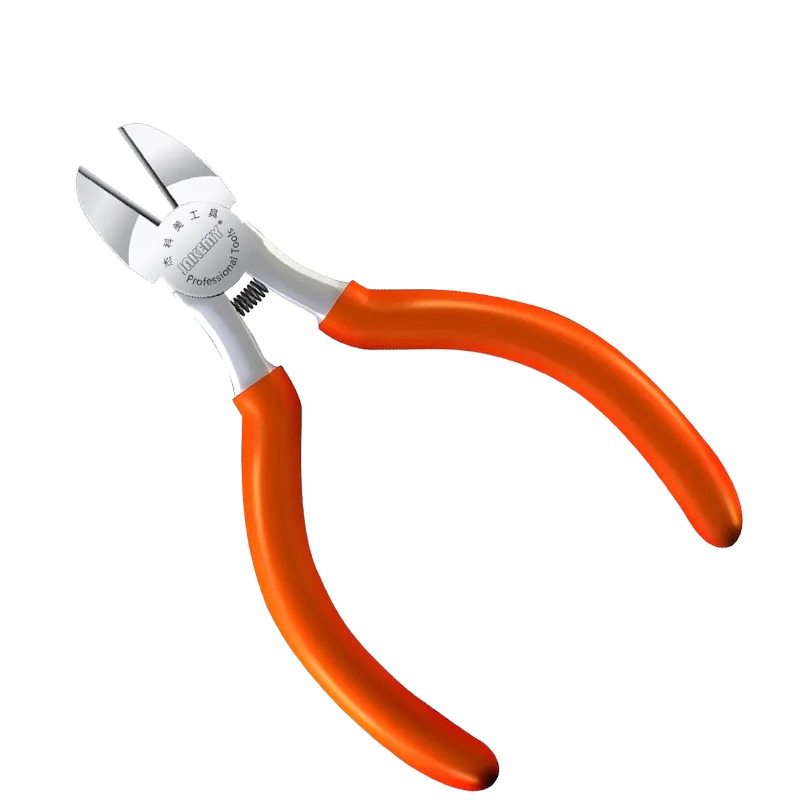
- Grip the plastic rivet with safety scissors or pliers.
- Unscrew the fastener from the other side.
- Clean the threads completely so they can seat into the new top case.
Step 2: Attach the Display Assembly
Mounting the heavy screen requires careful alignment to avoid pinching cables.
- Place the display face down on the bench.
- Roll the top case over the edge of the display hinges.
- Secure the hinge screws on either side.
TekDep Expert Warning: Make sure you are not creasing your display flex cable on the right side. A pinched cable will permanently damage the LCD panel.

Get the replacement Asus TUF A16 top case we installed:

Phase 3: Motherboard & Heat Sink Installation
Rebuilding the laptop requires strict attention to screw placement and cooling.
Step 1: Reinstall the Motherboard
Asus marks the internal screw holes to help you rebuild it correctly.
- Place the logic board and daughterboards into the chassis.
- Look for small arrows printed on the board pointing to screw holes.
- Install screws only where an arrow points; the empty holes are reserved for the outer backplate.
Step 2: Reapply Thermal Paste and Seat the Heat Sink
Reusing old thermal compound will cause your gaming laptop to overheat.
- Spray a bit of isopropyl alcohol onto a cloth or tissue and wipe the cooling blocks and chips clean.
- Apply a tiny amount of new thermal compound (do not over-apply).
- Reinstall the cooling block, securing the two hidden screws first.
- Tighten the heat sink screws in the numbered order (1 to 8) stamped on the metal.

Phase 4: Reassembly Notes & Testing
Reconnect all peripheral cables before closing the system.
Step 1: Reconnect Components and Close the Chassis
- Reinstall all fan screws.
- Reconnect every internal flex cable and the main battery.
- Snap the bottom backplate back on and secure all outer screws.
Step 2: Power and Function Test
Plug the laptop in and power it on. Because the battery was disconnected, the CMOS battery resets; the BIOS will take a moment to start up the first time. Verify all keyboard and trackpad functions are working.
Congratulations! You have successfully completed a top case assembly replacement on your Asus TUF Gaming A16 (FA617).

Not Comfortable Managing Delicate Components? If reading about hidden screws and delicate flex cables has you second-guessing your DIY skills, don’t worry. The TEKDEP experts are here to help.
We offer clean, professional, and affordable Mail-In repair services for the entire Asus TUF lineup.
Frequently Asked Questions
Is it hard to perform an Asus TUF A16 top case replacement?
Because the top case houses the keyboard and trackpad, swapping it requires a complete motherboard and display teardown. It is an advanced repair that demands careful cable management and precise thermal paste application.
What do the numbers on the Asus TUF heat sink mean?
The numbers from one through eight indicate the exact tightening sequence. Following this numbered order ensures the heat sink applies even pressure across the new thermal paste, which keeps the gaming chips cool.
Why does my laptop take a long time to boot after this repair?
Disconnecting the internal battery resets the CMOS and BIOS. The first time you power the laptop on after reassembly, it will take a moment to initialize before showing the Asus logo.
What should I do if my keyboard or trackpad doesn’t respond after the reassembly?
If either component is unresponsive, power down the laptop and disconnect the main battery. Carefully reseat the flex cables connecting the top case to the motherboard, ensuring they are inserted completely straight, and the retaining latches are securely clamped down.
⚠️ IMPORTANT: SAFETY & LIABILITY DISCLAIMER TEKDEP®️ TEKDEP.com assumes no liability for property damage or injury incurred as a result of any information in this blog post or associated videos. Dealing with internal computer components, specifically Lithium-Ion batteries, carries inherent risks including fire, toxic gas exposure, and irreversible device failure. Any injury, damage, or loss from improper use of tools, mishandling of components, or misinterpretation of this information is the sole responsibility of the user. Perform repairs at your own risk. If you are unsure of your capabilities, please utilize our professional Mail-In Repair Service.