









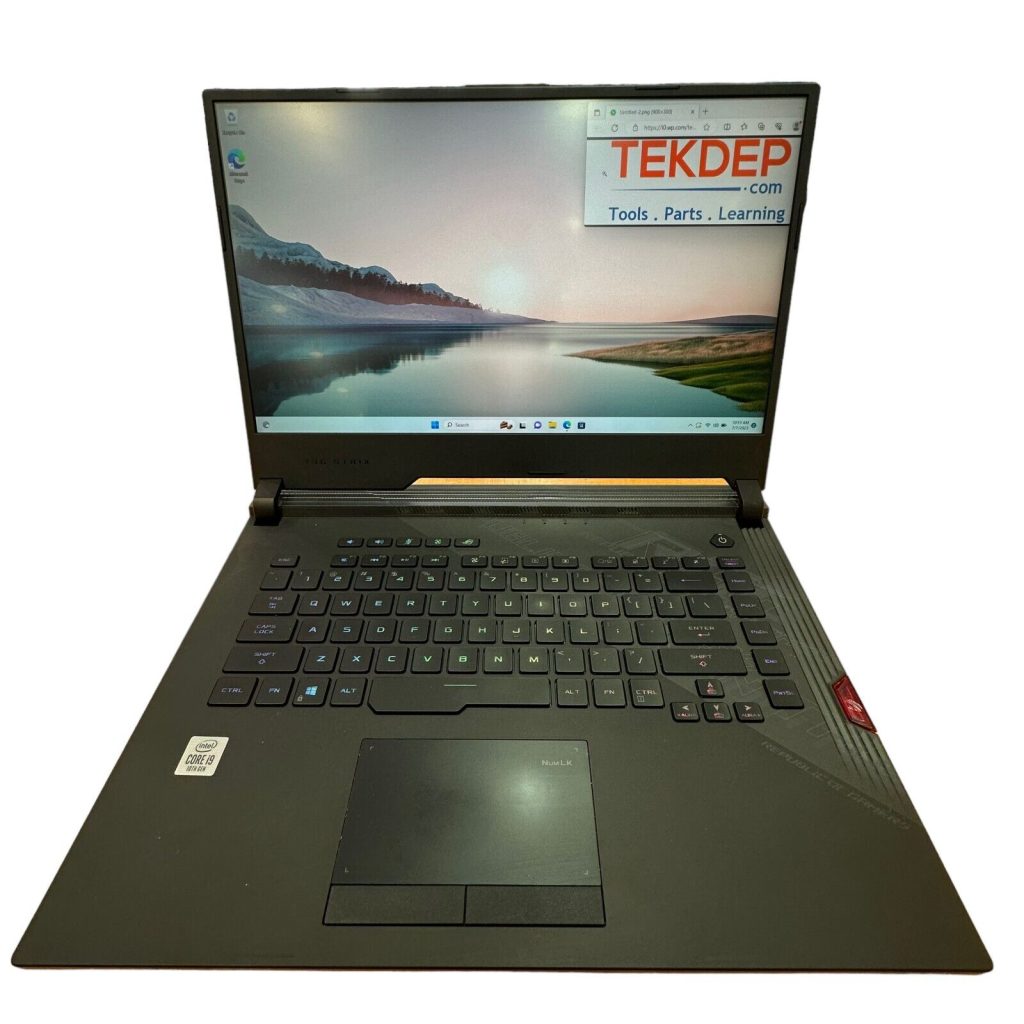



















Model: ASUS ROG Zephyrus GA502D | Level: Advanced | Tools: Phillips screwdriver, plastic pry tool
A GA502D teardown is an advanced repair because getting the cooling fans out requires undoing the display hinges and removing the numbered heat sink. If your ASUS ROG Zephyrus is overheating, running out of storage space, or randomly shutting down, upgrading the internal components will revive it.
Want to confirm your hardware before opening it? The GA502DU specifications on Notebookcheck list the CPU, GPU, RAM, and storage. Our lead technician Nicholas walks you through the entire process in the video below. Let’s get started.
How to Perform a GA502D Teardown (Quick Overview)
- Remove the backplate by undoing the bottom screws and prying the right hinge.
- Disconnect the battery and hold the power button to drain residual power.
- Extract the fans and heat sink following the numbered screw order.
- Upgrade the SSD and RAM by removing their single screws and metal clips.
- Disconnect the logic board cables to fully remove the motherboard and top case.
🛠️ Required Tools & Preparation for a GA502D Teardown
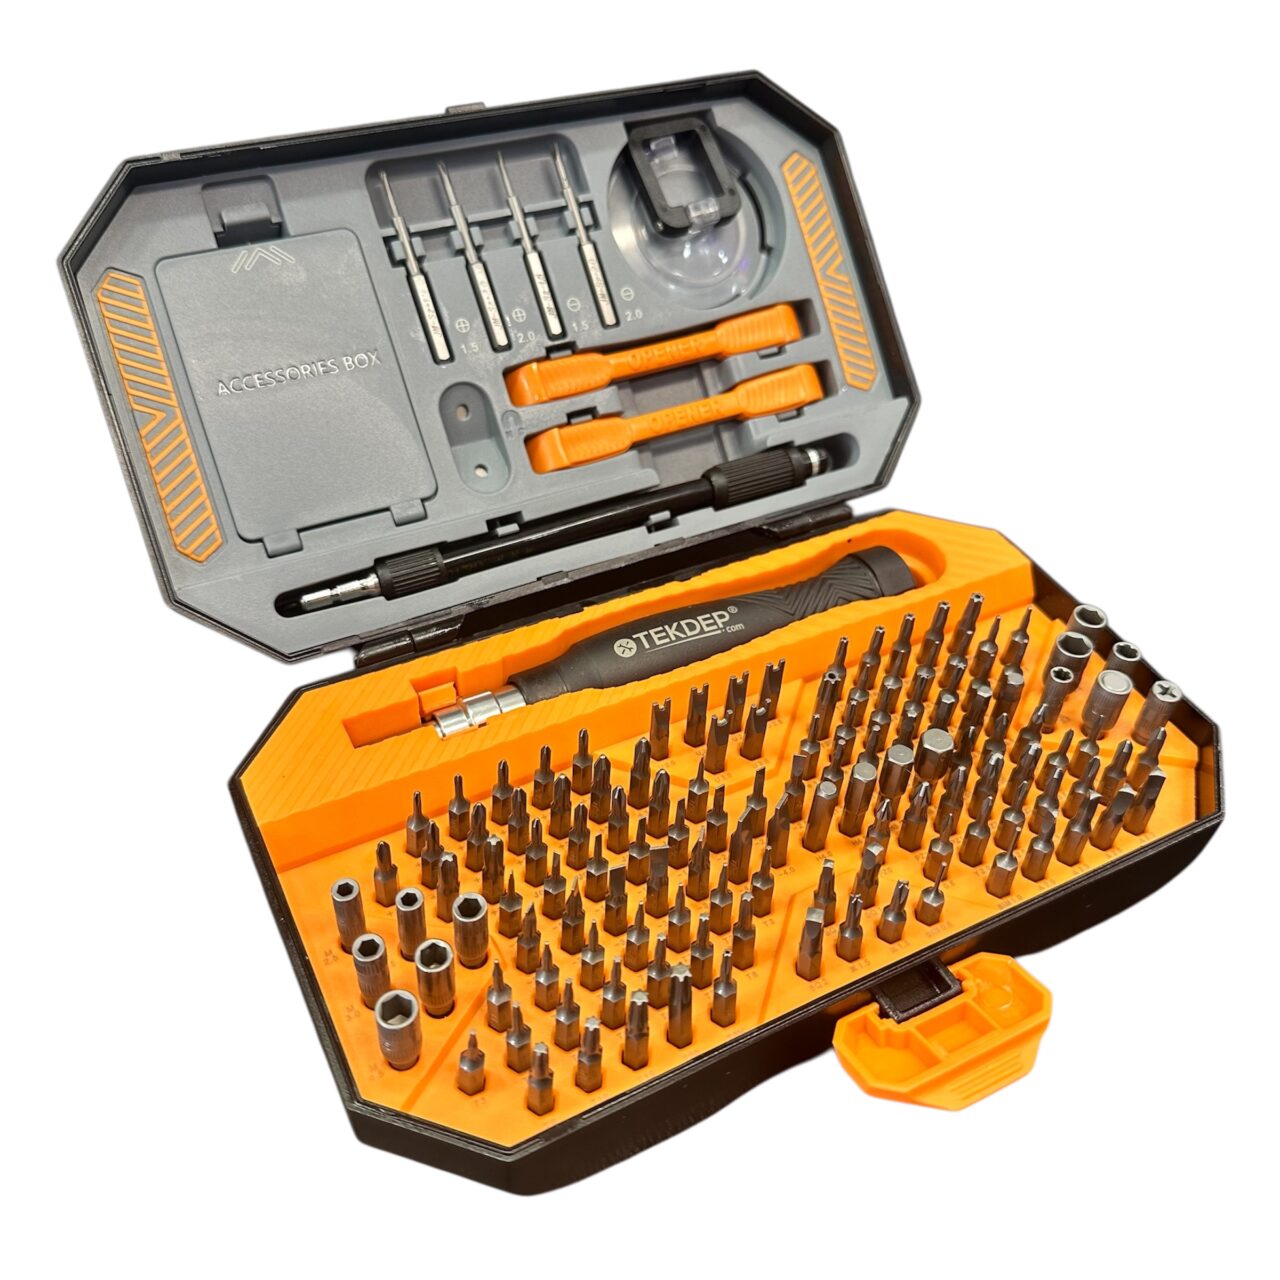
A GA502D teardown requires only two tools. Power the laptop off and unplug it before you start.
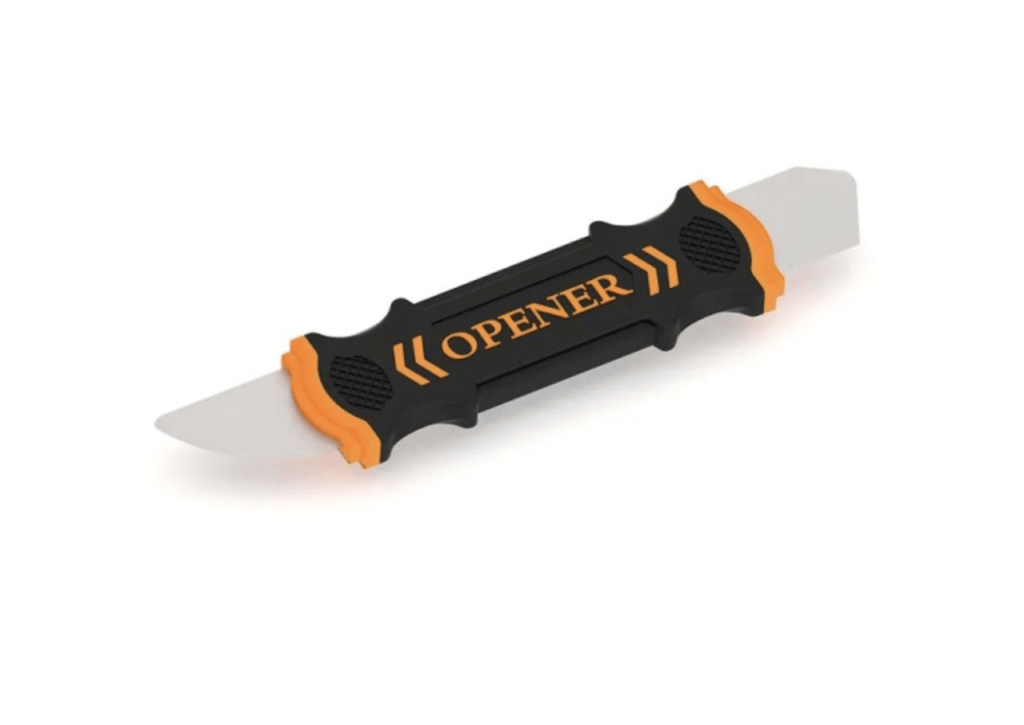
- Plastic pry tool: unclips the backplate and removes the delicate Wi-Fi antennas.
- Phillips screwdriver: removes every internal screw, from the battery to the heat sink.
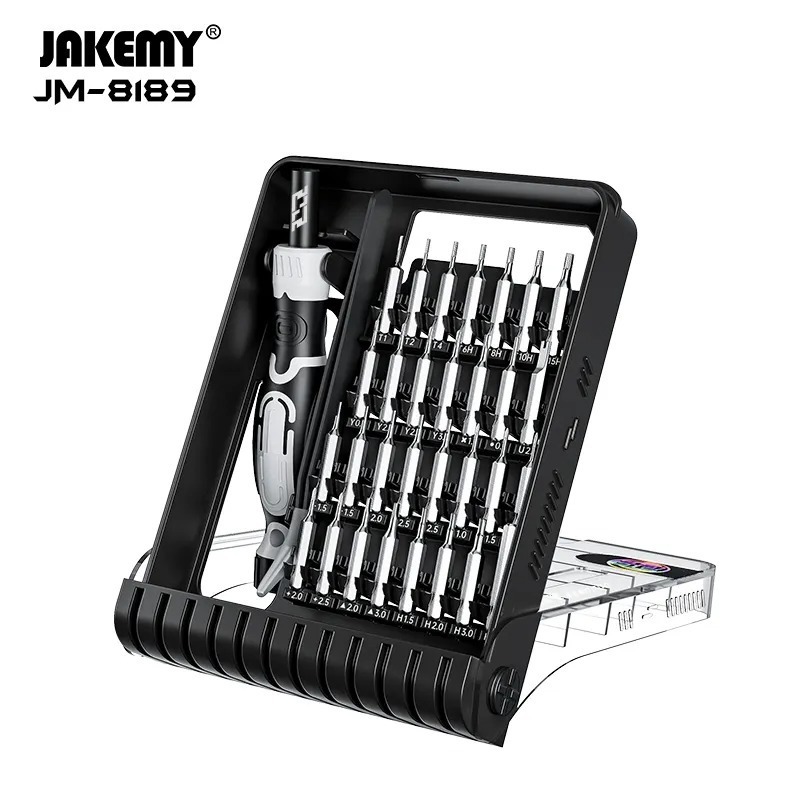
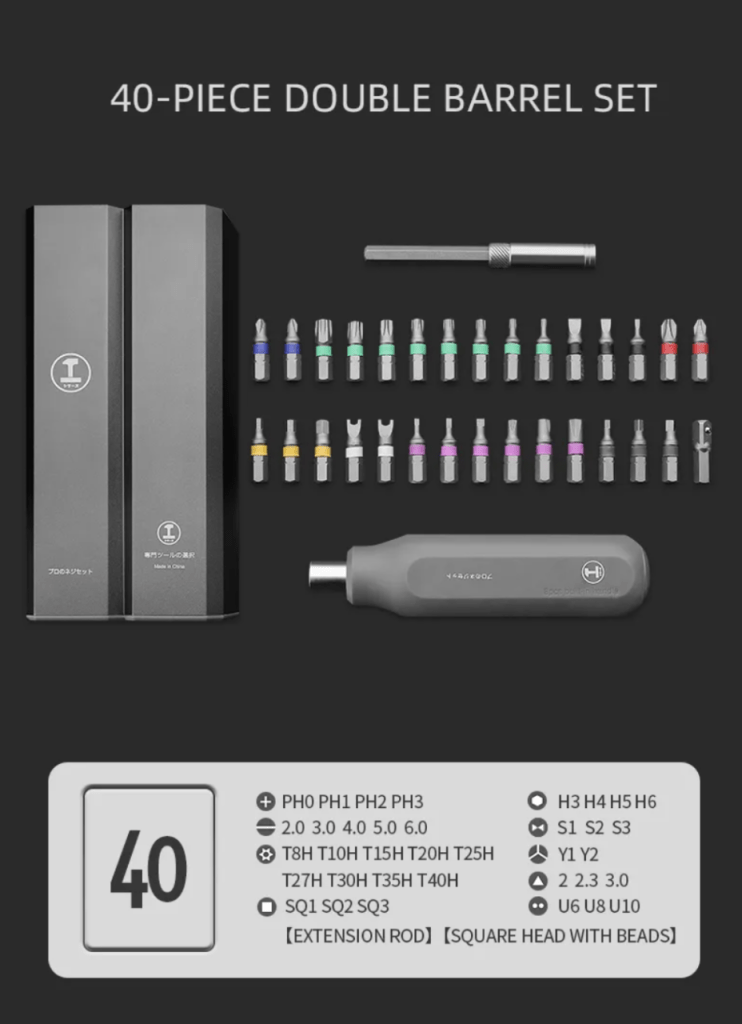
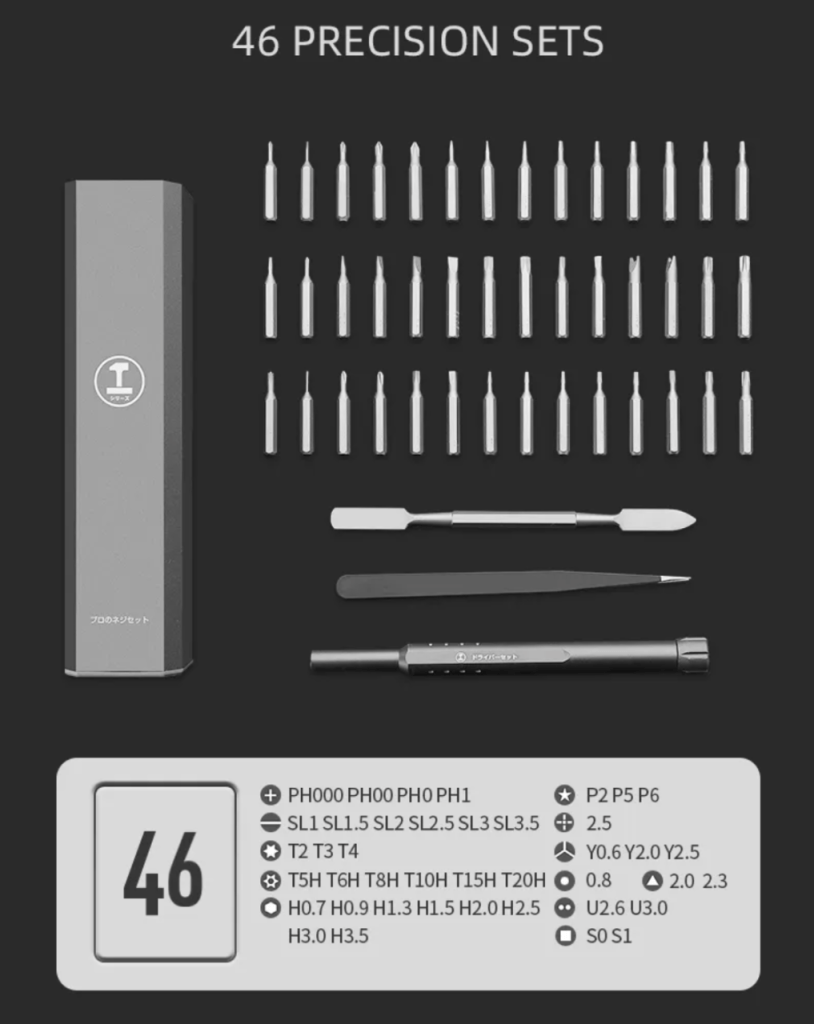
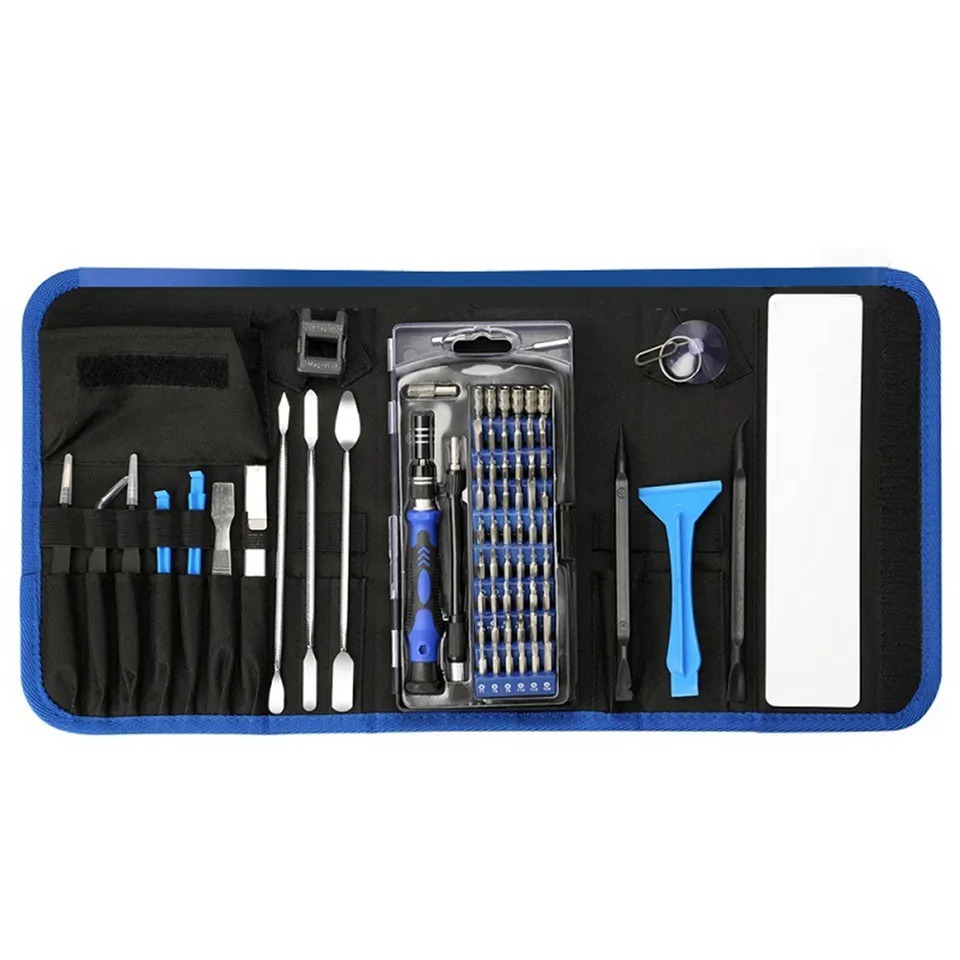
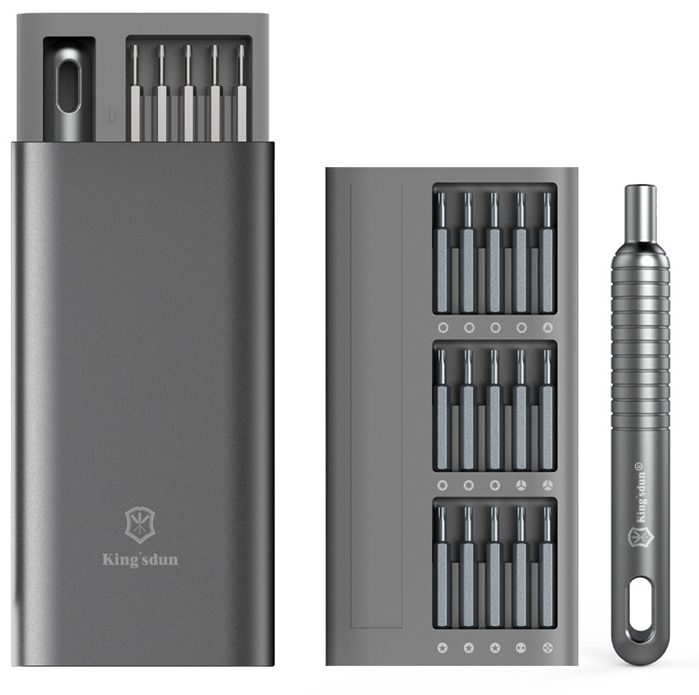
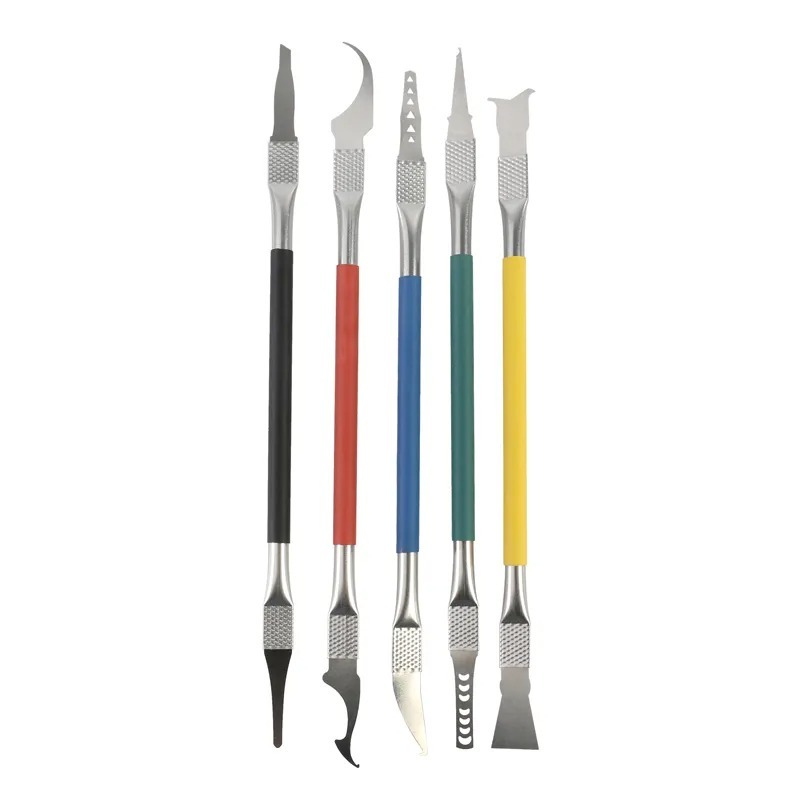
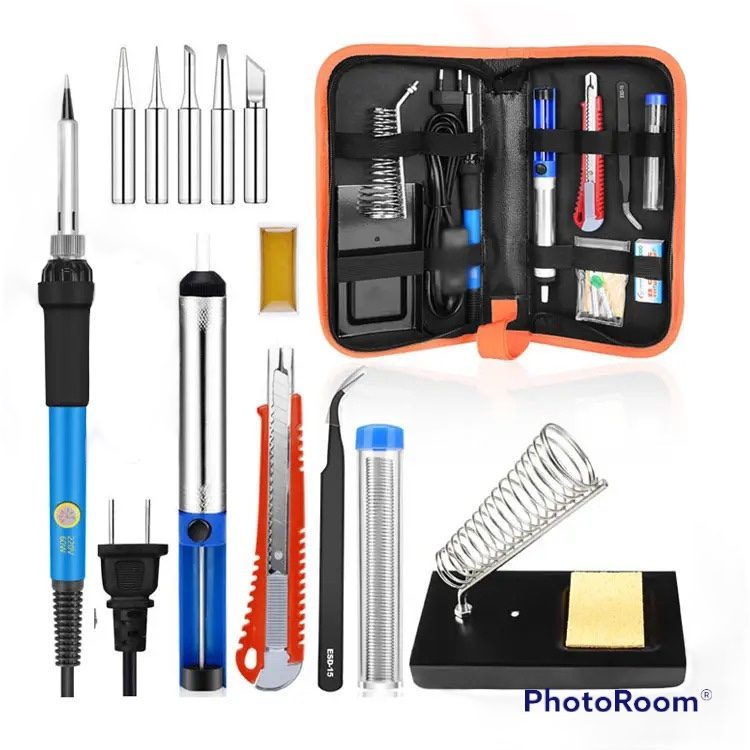
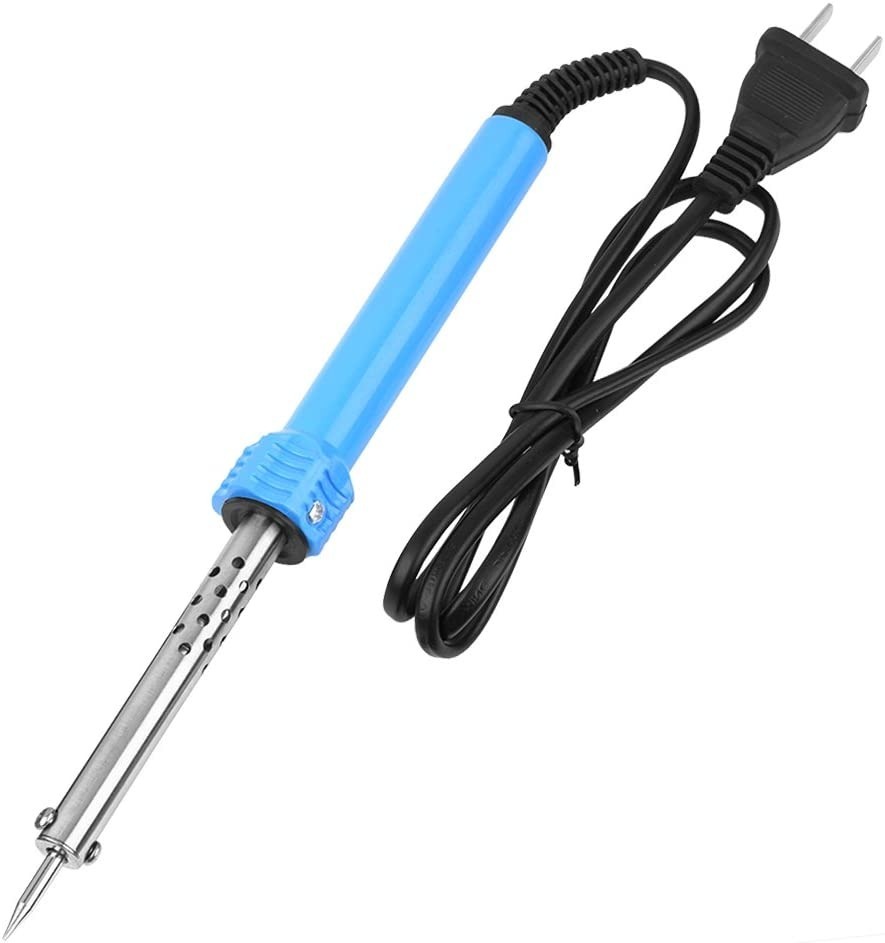
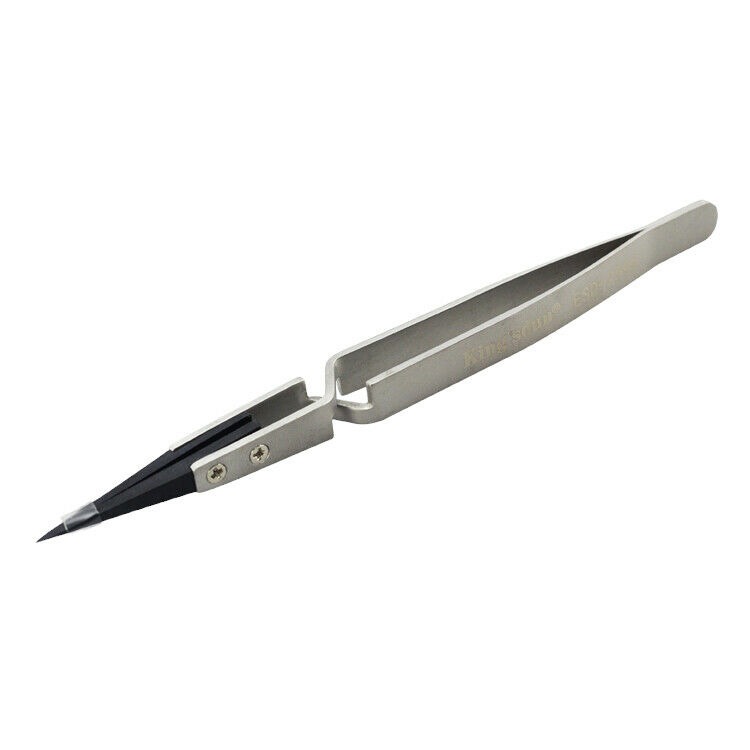
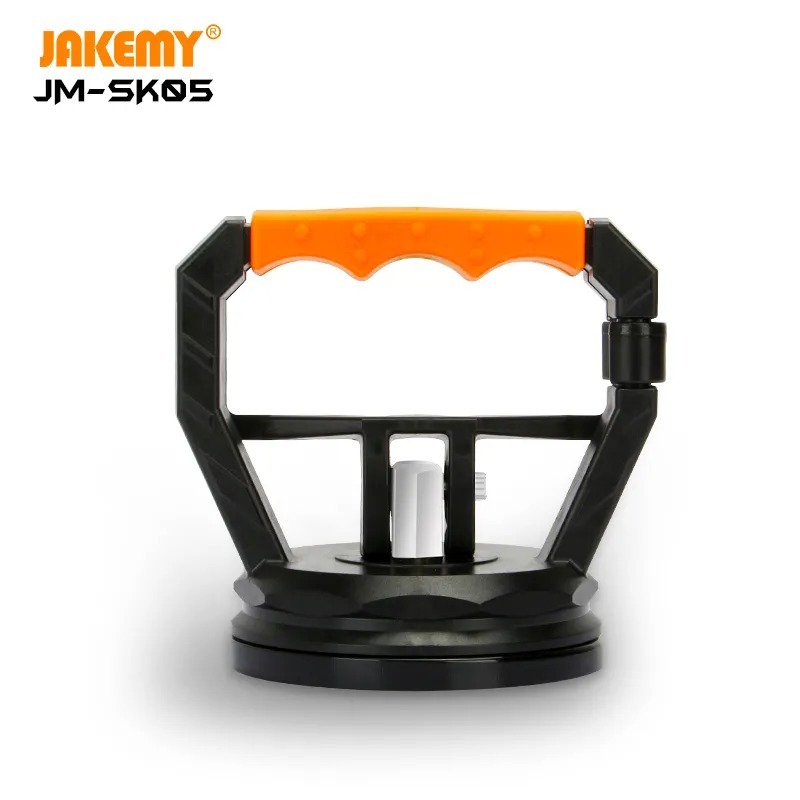
Get the Exact Tools Used by Our Techs:
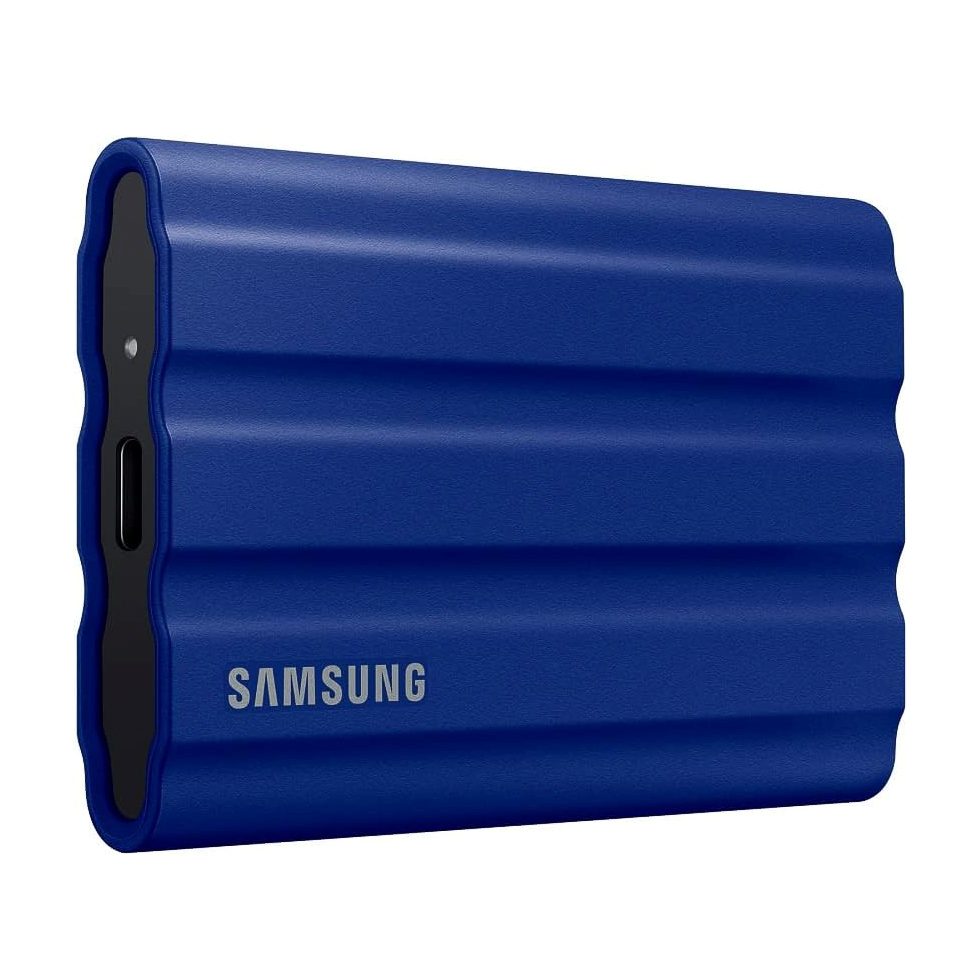
You can find every part we stock for this model in our store.
⚠️ Before you start: Disconnect the battery before you touch any connector. Work on an anti-static mat and keep each group of screws together. Removing the heat sink means you must clean and reapply thermal paste before reassembly.
Phase 1: Getting Inside for the GA502D Teardown (Backplate & Battery)
The bottom cover provides direct access to the main internal components.
Step 1: Remove the Backplate
The backplate is secured by basic Phillips screws and snap clips along the edges.
- Undo every Phillips screw on the bottom cover one by one.
- Slide your plastic pry tool under the outside hinge on the right-hand side.
- Go along the outside to undo all the clips, then pull up to remove the backplate.

Step 2: Safely Disconnect the Battery
Always disconnect the battery first to prevent electrical shorts while working on the logic board.
- Push the small clip on the battery connector forward.
- Pull straight up on the connector to disconnect it from the board.
- Hold down the laptop’s power button for 10 seconds to clear out lingering electricity.

Step 3: Remove the Battery
The battery usually degrades from age, but replacing it is completely straightforward.
- Remove the Phillips screws holding the battery down on the outer ends.
- Gently lift up the battery to remove it.
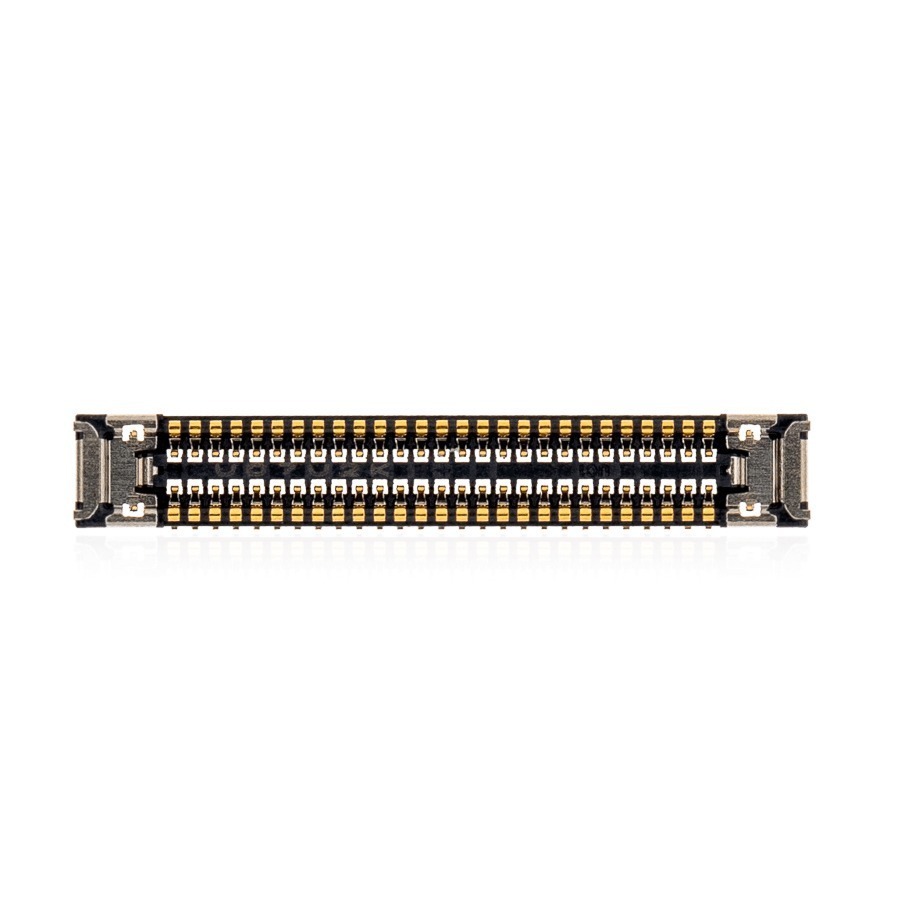
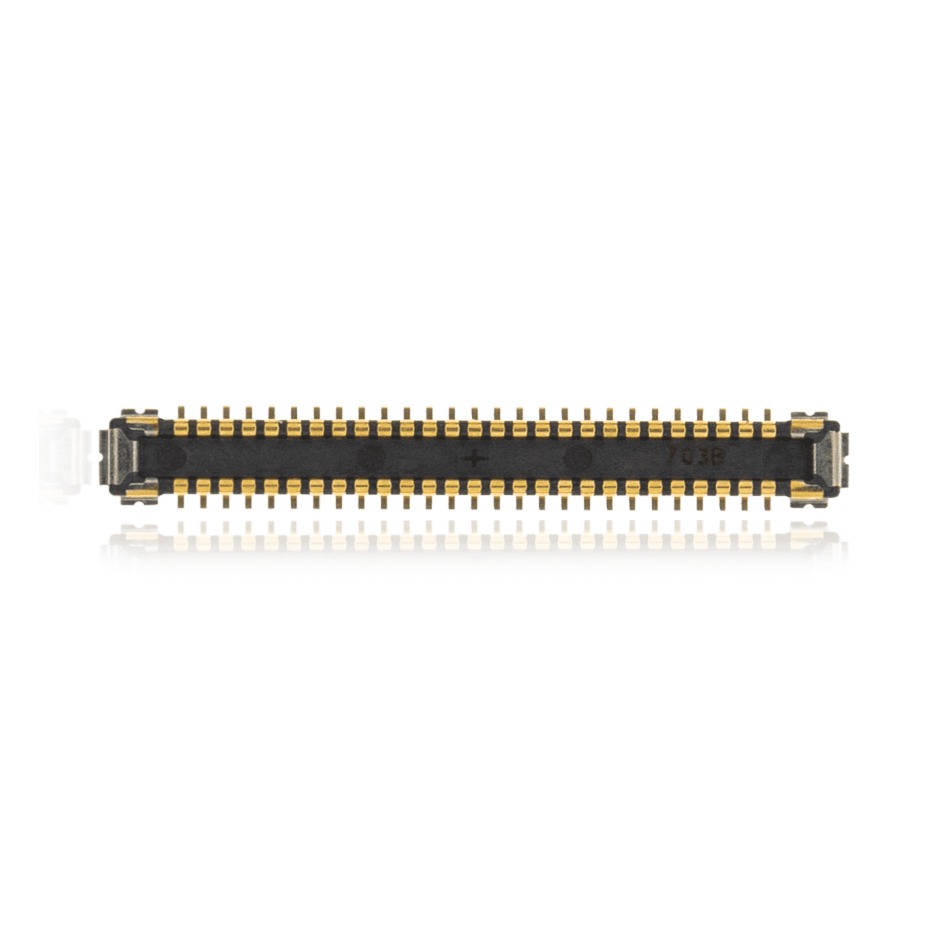
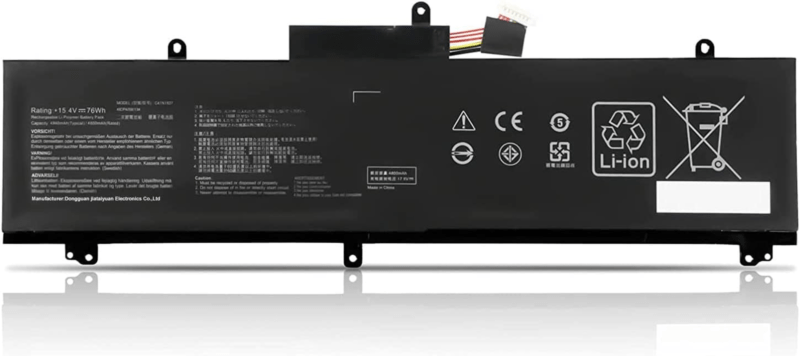
Get the replacement parts for this phase:
Phase 2: Removing the Cooling System in a GA502D Teardown (Fans & Heat Sink)
The cooling system must come out to access the motherboard, but one fan screw is hidden.
Step 1: Uncover the Left Fan
Taking out the fans requires undoing part of the display hinge.
- Peel back the pieces of tape on the left fan.
- Remove the visible fan screws with your screwdriver.
- Undo the screws for the left hinge, bend it up slightly with your pry tool, and remove the hidden fan screw underneath.


Step 2: Disconnect the Right Fan
The right fan requires removing a delicate display cable first.
- Peel back the adhesive holding the display cable down and pull it directly backwards.
- Gently pull the right fan connection out of its motherboard socket.
- Remove the right fan screws.
Step 3: Remove the Heat Sink
The heat sink covers the CPU and GPU, and its screws are numbered to ensure even pressure.
- Undo the middle screws in the exact order labeled on the metal (1, 2, 3, 4, and 5, 6, 7, 8).
- Gently lift the heat sink, applying a bit of pressure with your pry tool if needed.
- Remove the heat sink and the left fan entirely.

TekDep Expert Warning: Removing the heat sink breaks the thermal paste seal. You must clean off the old thermal paste and apply a fresh layer before reinstalling the heat sink, or your gaming laptop will severely overheat and throttle.
Phase 3: Upgrading Storage & Memory During the GA502D Teardown (SSD, Wi-Fi & RAM)
Both memory and storage are highly accessible, making this the perfect time for an upgrade.
Step 1: Remove the M.2 SSD
This model features an expandable slot, allowing you to add a secondary drive or swap the main one.
- Remove the single Phillips screw holding the SSD in place.
- Gently lift and pull the M.2 SSD out of its slot.
Step 2: Disconnect the Wi-Fi Card
The Wi-Fi and Bluetooth card connects to the delicate LCD antennas.
- Use your pry tool to lift the two antenna cables and gently pop them off.
- Remove the Phillips screw and slide the card out.

Step 3: Upgrade the RAM
This motherboard has non-soldered DDR4 RAM hidden under a black protective tab.
- Push the metal clips on both sides of the RAM outward until the stick pops up.
- Slide the old RAM out.
- Insert your new DDR4 RAM between the clips and push down until it locks.

Get the replacement parts for your GA502D full teardown:
Phase 4: Motherboard & Top Case Extraction in a GA502D Teardown
Extracting the logic board is required if you are fixing liquid damage or repairing the keyboard.
Step 1: Disconnect Motherboard Cables
The logic board has several delicate flex cables that must be undone before removal.
- Disconnect the top case connection on the far left side.
- Undo the keyboard and trackpad cables in the middle of the board.
- Disconnect the tiny hidden cable at the very top of the board.
- Pull the logic board connection for the speakers directly out.
Step 2: Remove the Motherboard
With the cables disconnected, you can safely extract the main logic board.
- Remove all the logic board Phillips screws, working from left to right.
- Look closely for any forgotten connections before lifting to avoid tearing a flex cable.
- Disconnect the final hidden cable at the bottom, then lift the logic board out.


Step 3: Remove the Speakers
The speakers have no screws, but their cable runs tightly underneath the motherboard area.
- Grab the speaker on the other side.
- Reroute the cable underneath the remaining connections.
- Lift both speakers out together.

Step 4: Separate the Screen and Top Case
With the internal components out, separating the display allows for quick screen or keyboard replacements.
- Undo the screws on the right hinge.
- Fold both hinges up fully.
- Open the top case and slide it entirely away from the hinges.
Step 5: Reassembly and Power Test After Your GA502D Teardown
Reverse these steps to reassemble your laptop, remembering to apply fresh thermal paste. Plug in the charger before pressing the power button to confirm everything boots correctly.
Congratulations! You have completed a GA502D teardown on your ASUS ROG Zephyrus.
🛑 Not Comfortable Handling Delicate Motherboard Cables? If reading about hidden screws and thermal paste application has you second-guessing your DIY skills, don’t worry. The TEKDEP experts are here to help.
We offer clean, professional, and affordable Mail-In repair services for the entire ASUS ROG lineup.
Frequently Asked Questions
Do I have to remove the heat sink to upgrade the RAM or SSD?
No. You only need to remove the heat sink and fans if you are performing a full motherboard replacement. The RAM and M.2 SSD are easily accessible the moment the backplate is off.
Why do I need to undo the left hinge during a GA502D full teardown?
ASUS hid one of the left cooling fan screws directly beneath the display hinge. You must remove the hinge screws and bend the hinge upward with a pry tool to access this hidden fastener.
What does the numbered guide on the ASUS heat sink mean?
The numbers (1 through 8) dictate the exact order to remove and reinstall the heat sink screws. Following this sequence ensures even pressure on the CPU and GPU dies, preventing physical damage.
🛑 IMPORTANT: SAFETY & LIABILITY DISCLAIMER: TEKDEP®️ TEKDEP.com assumes no liability for property damage or injury incurred as a result of any information in this blog post or associated videos. Dealing with internal computer components, specifically Lithium-Ion batteries, carries inherent risks including fire, toxic gas exposure, and irreversible device failure. Any injury, damage, or loss from improper use of tools, mishandling of components, or misinterpretation of this information is the sole responsibility of the user.