

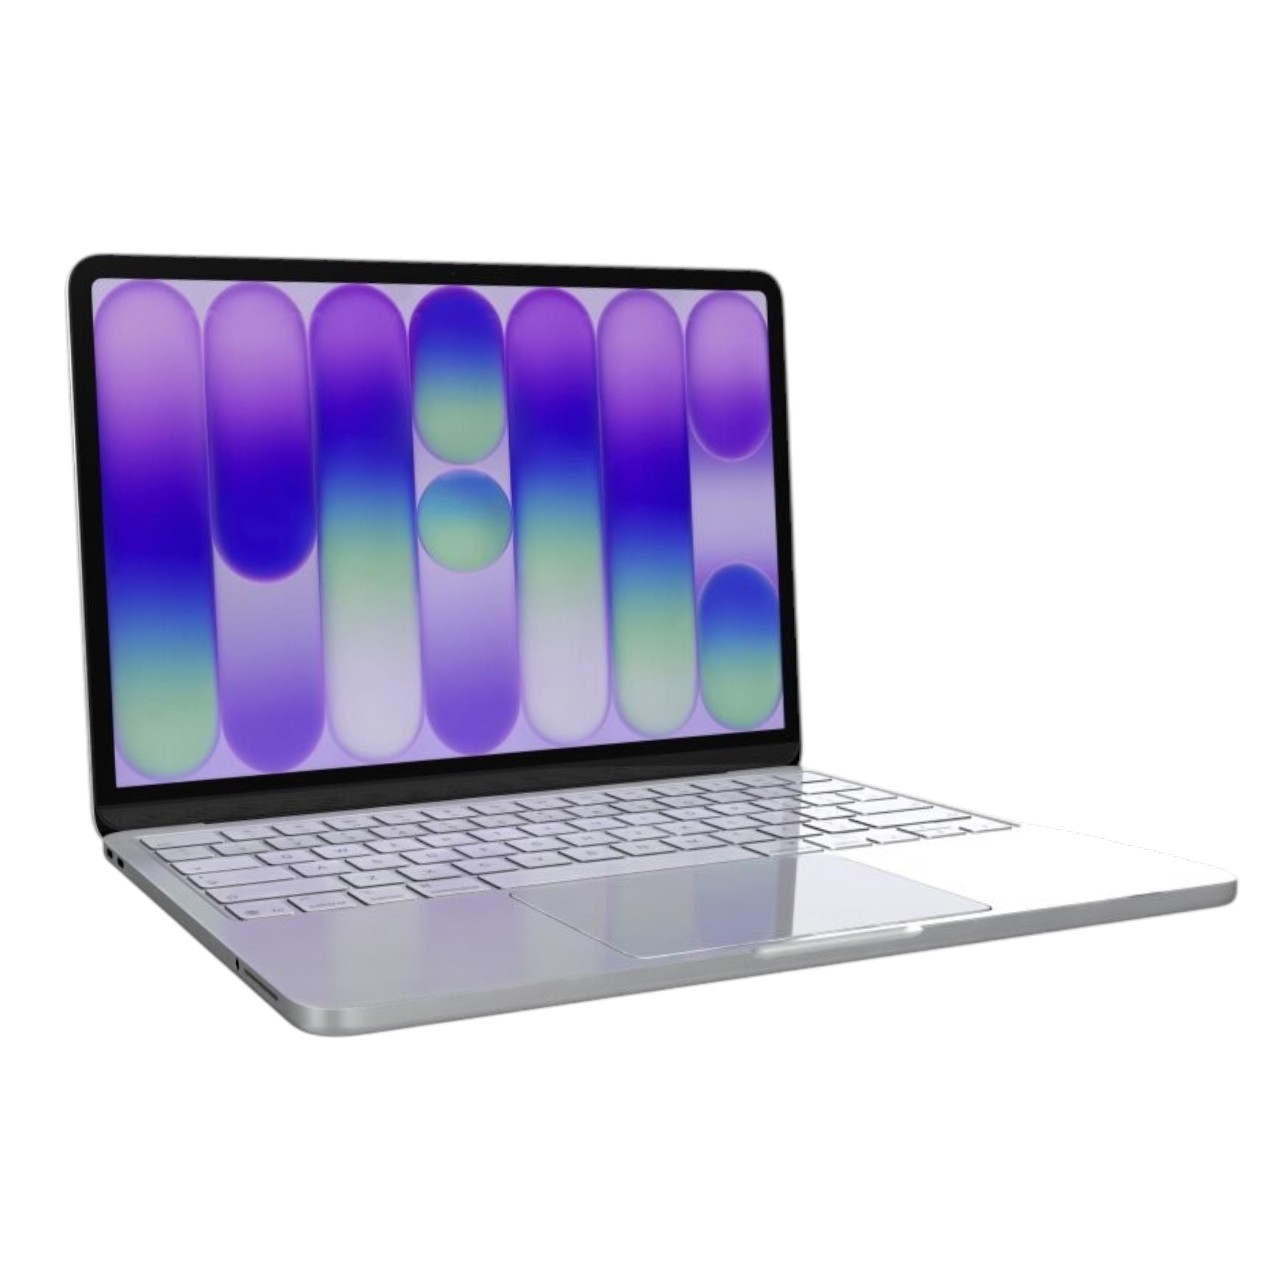
















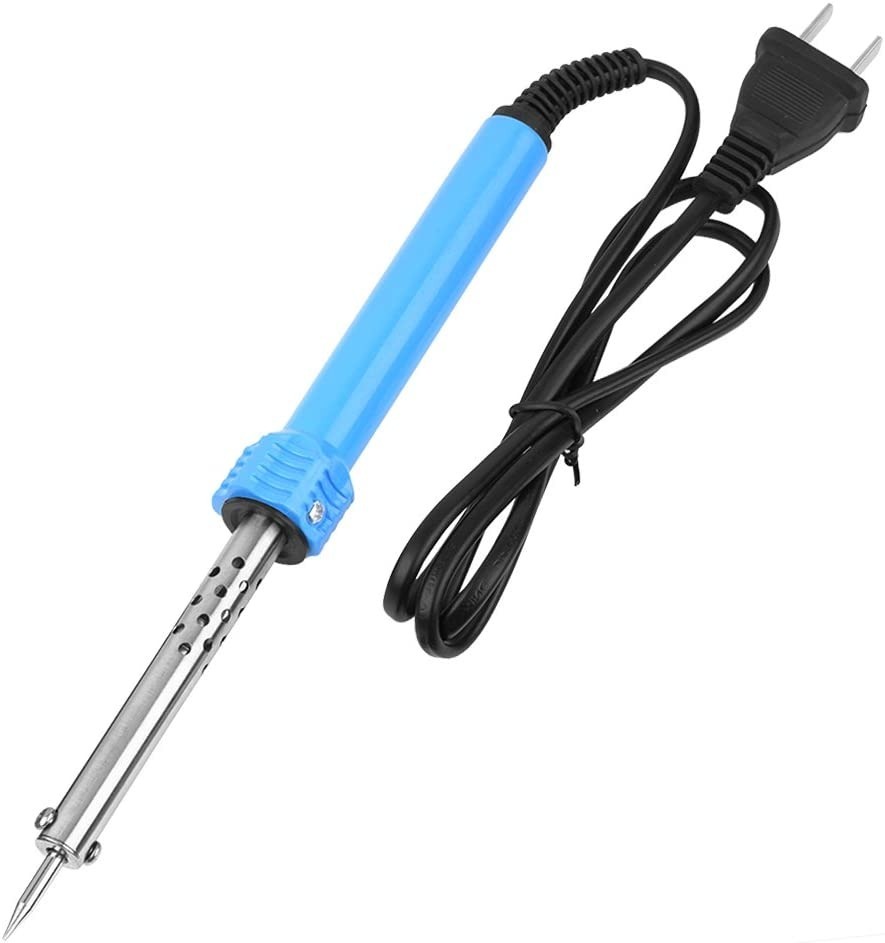
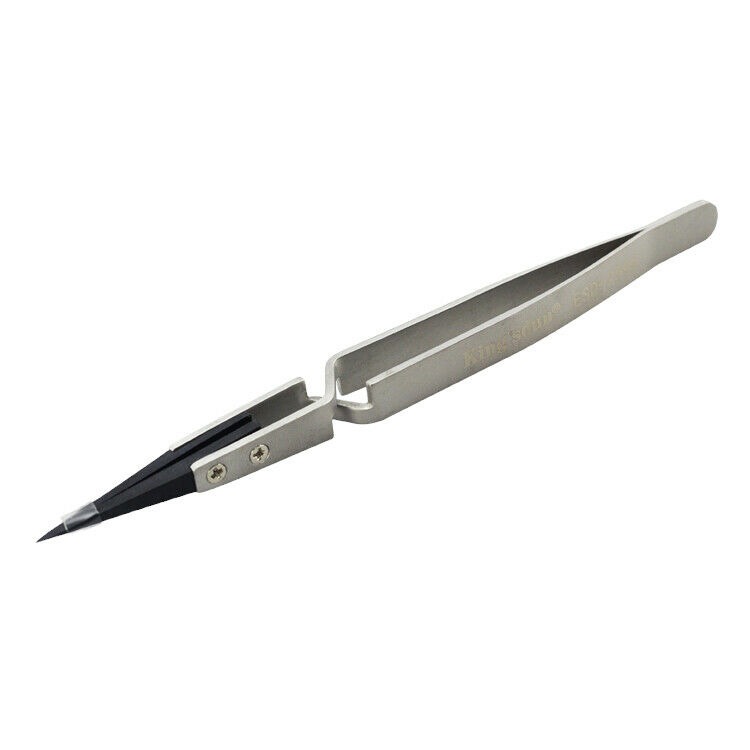

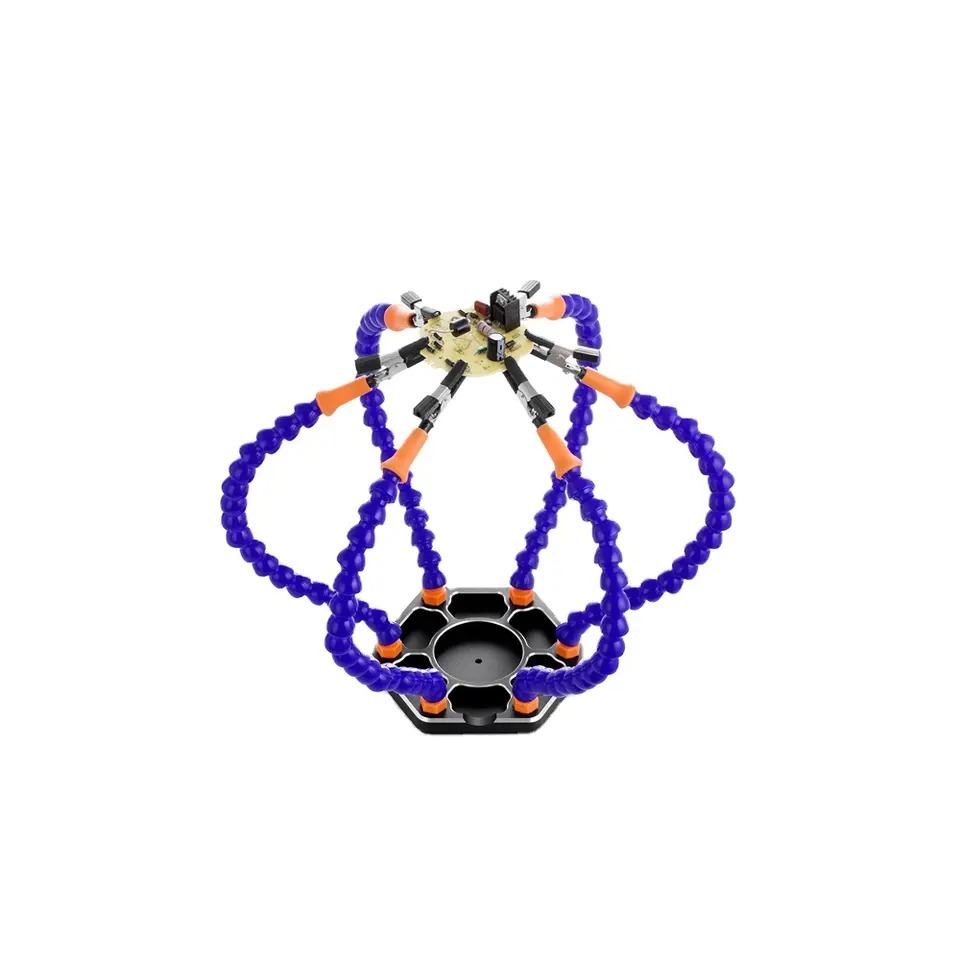
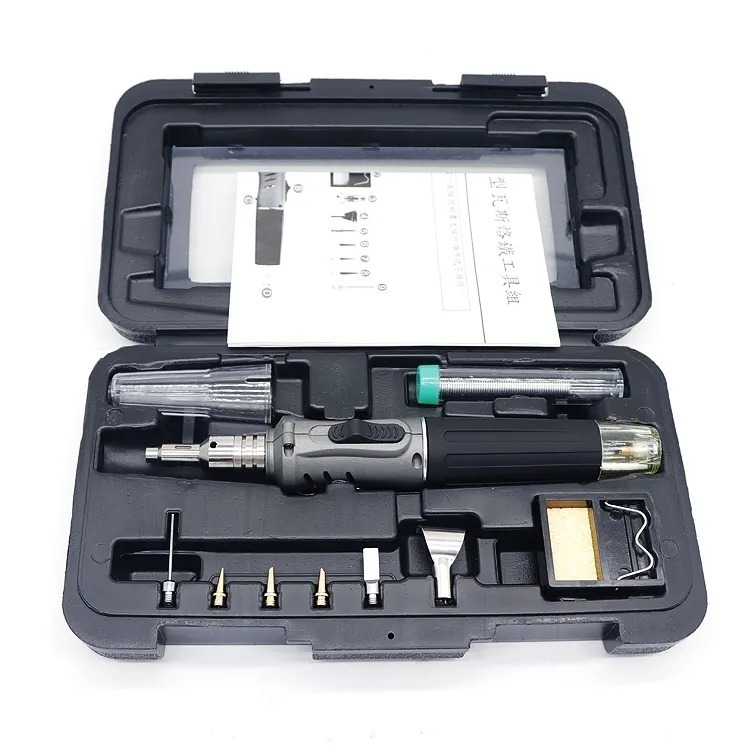










Model: Apple MacBook Pro 14″ M3 (A2992) | Level: Intermediate | Tools: Pentalobe screwdriver, T3, T5, and T8 Torx screwdrivers, plastic pry tool
An A2992 screen replacement requires careful navigation of fragile flex cables and tiny fasteners, but it is highly accessible for an intermediate DIYer. Just follow the exact sequence to safely discharge the power and free the delicate Wi-Fi antenna.
If your 2023 MacBook Pro has a shattered glass panel, bleeding LCD pixels, or a completely dead display, a pristine new assembly will bring it back to life.
Our lead technician Nicholas walks you through the entire swap in the video below. Let’s get started.
How to Perform an A2992 Screen Replacement (Quick Overview)
- Remove the bottom backplate to access the internals.
- Disconnect the battery and discharge static power to make the logic board safe.
- Unscrew the flex cable covers and the Wi-Fi antenna from the top of the board.
- Unbolt the T8 hinge screws and slide the broken display out at a 45-degree angle.
- Hook the new display hinges into the top case and bolt them down flush.
- Reinstall the Wi-Fi antenna, flex cables, and hinge covers in their exact order.
- Reconnect the battery and trackpad, then secure the bottom cover and test.
🛠️ Required Tools & Preparation
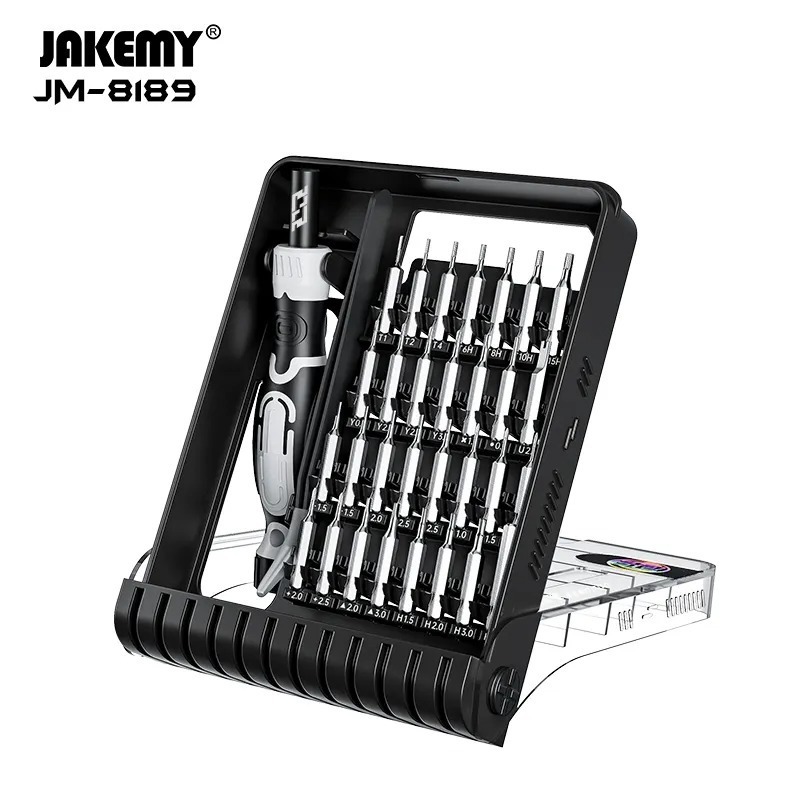
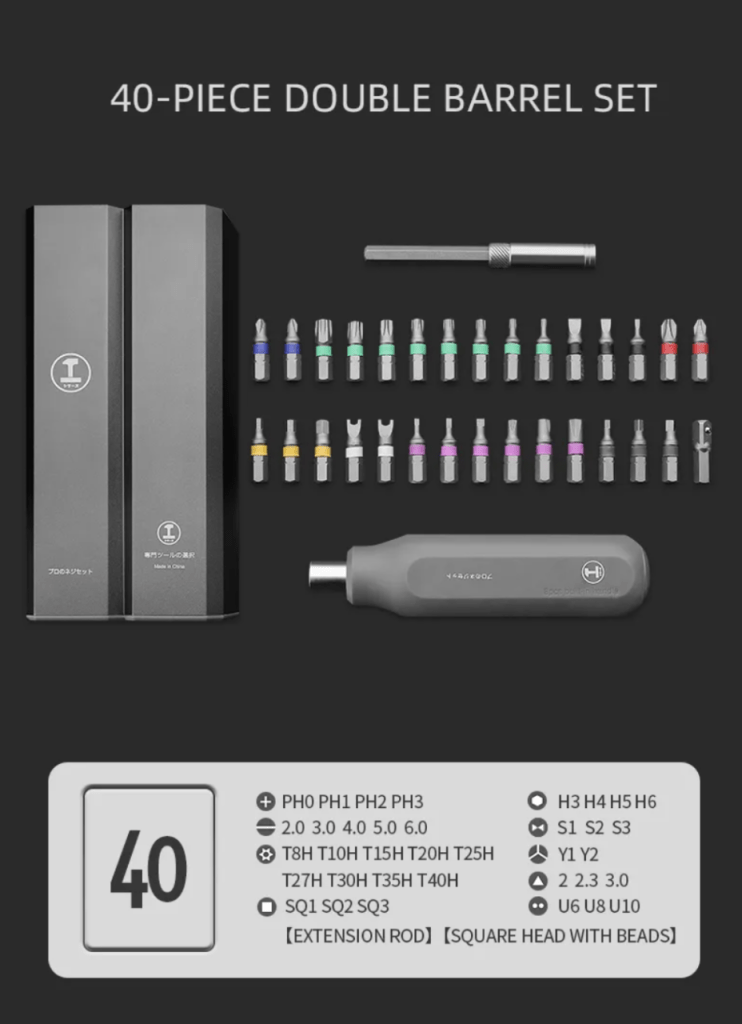
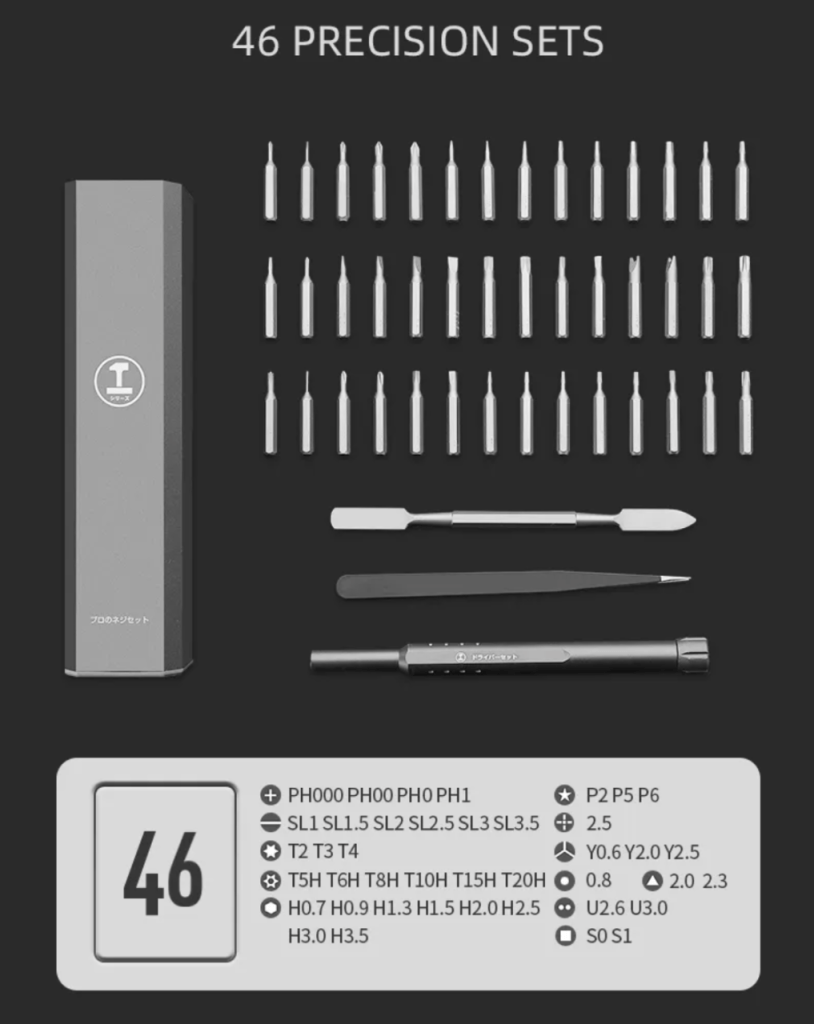
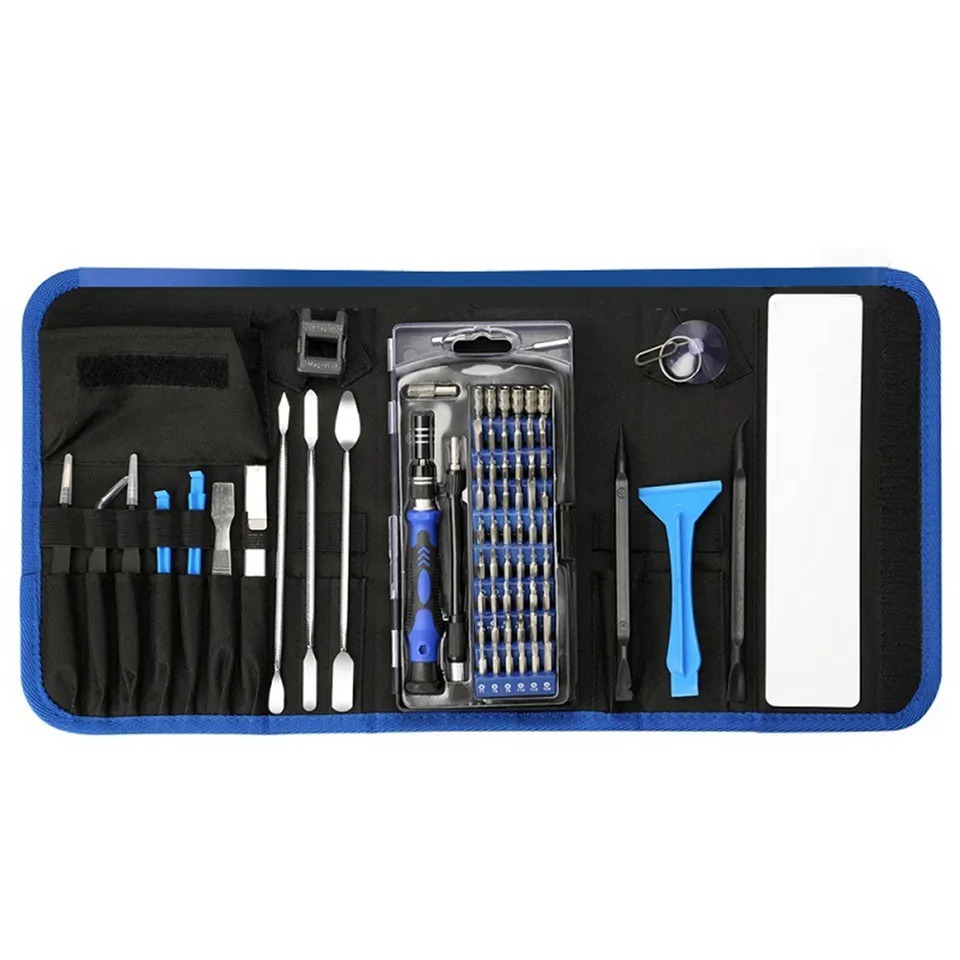
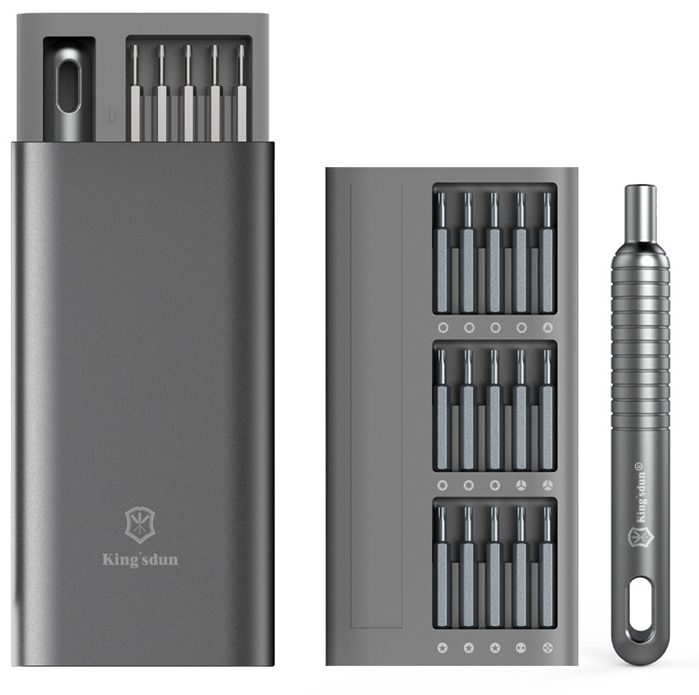
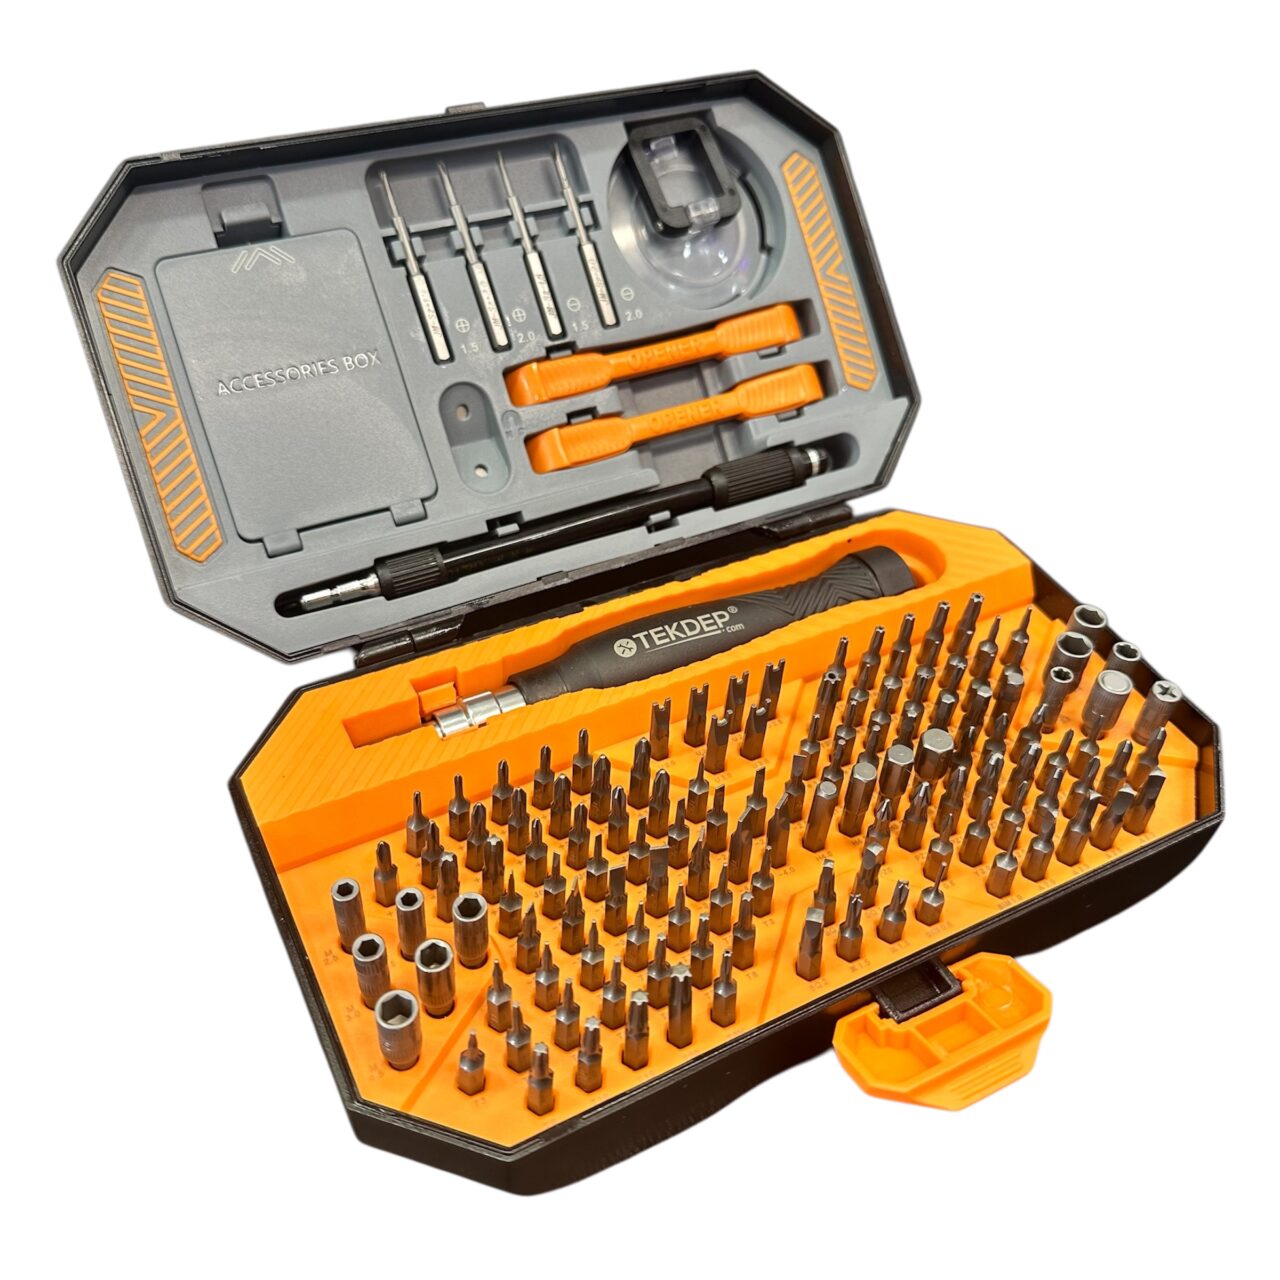
An A2992 screen swap requires four different driver bits and a plastic pry tool. Power off and unplug your MacBook before you start.
- Pentalobe screwdriver: required for the backplate and the tiny Wi-Fi antenna screws.
- T3 Torx screwdriver: removes the flex cable protective covers.
- T5 Torx screwdriver: handles the hinge covers and the battery pancake screw.
- T8 Torx screwdriver: unbolts the main display hinges.
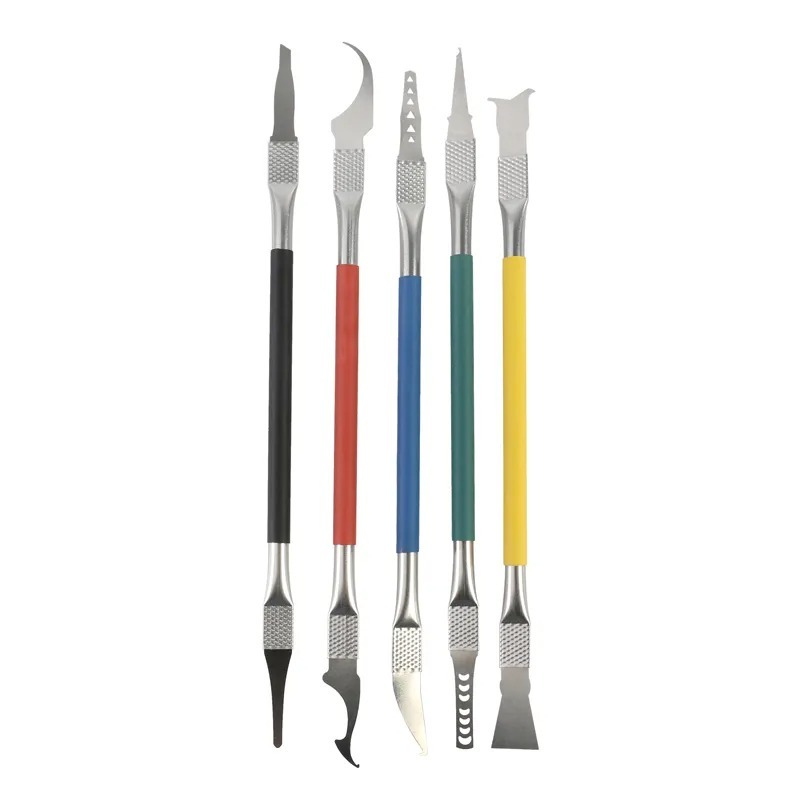
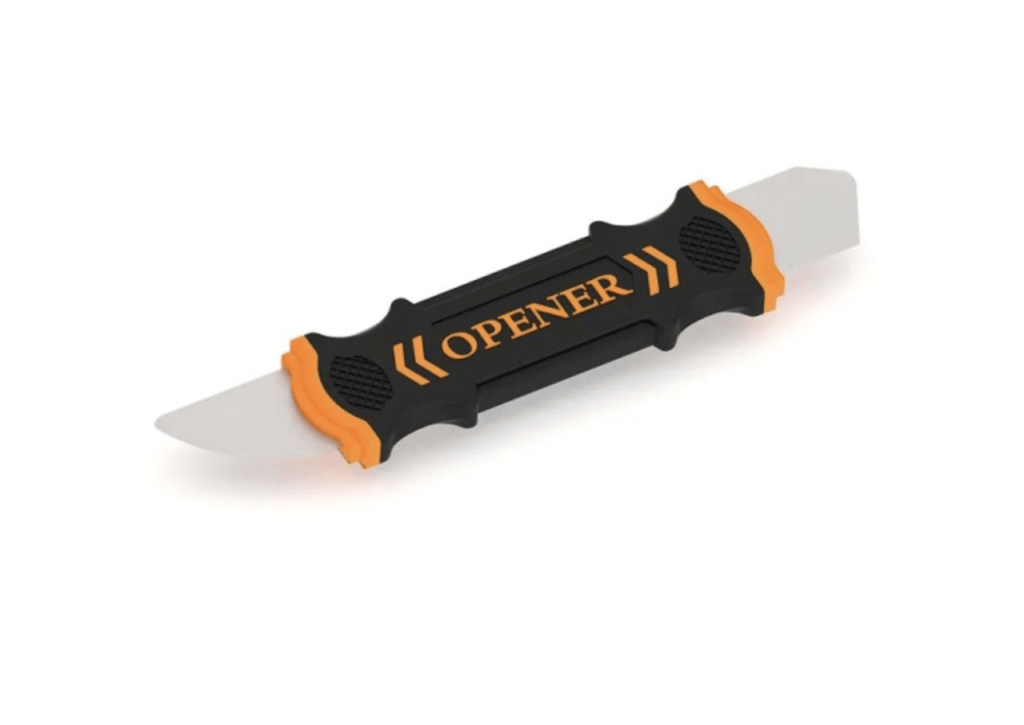
- Plastic pry tool: unclips connectors and releases the backplate latches safely.
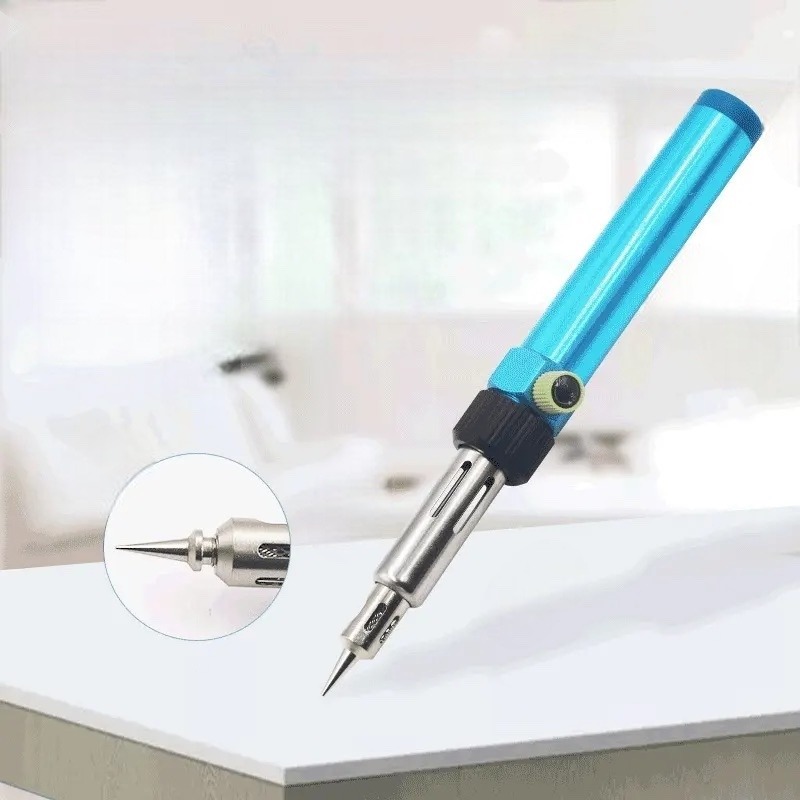
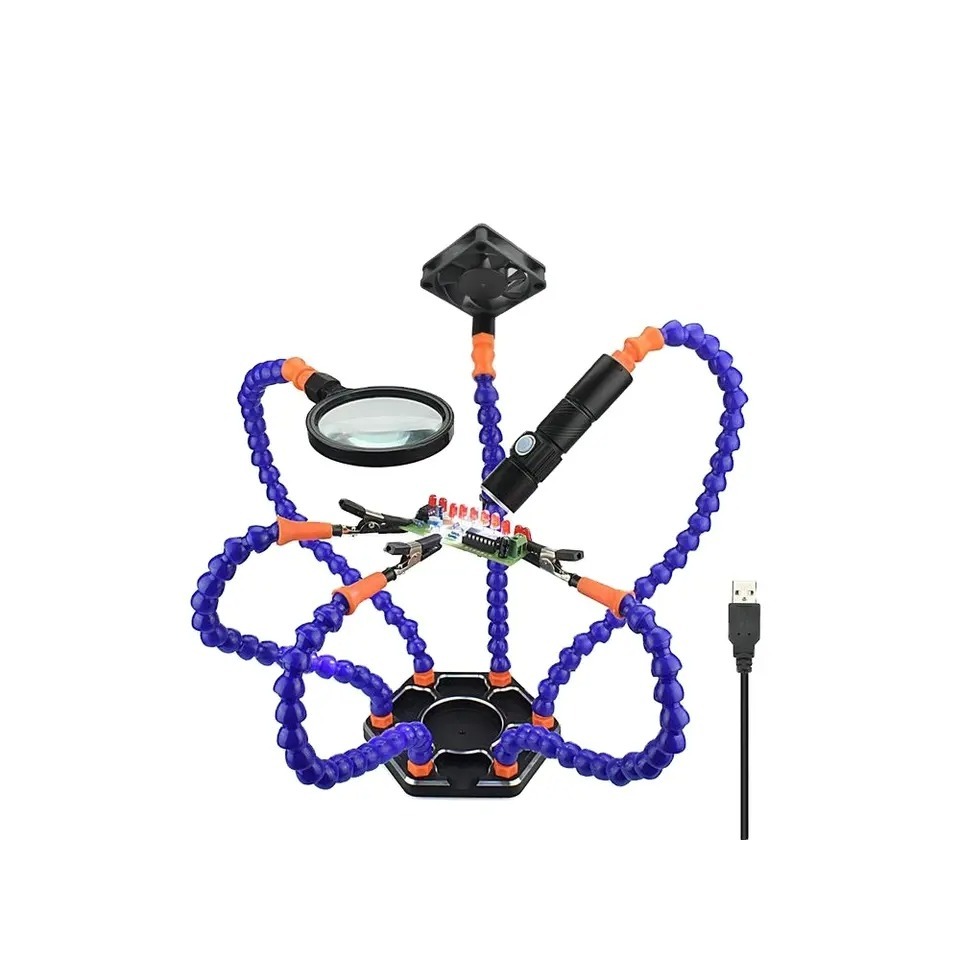
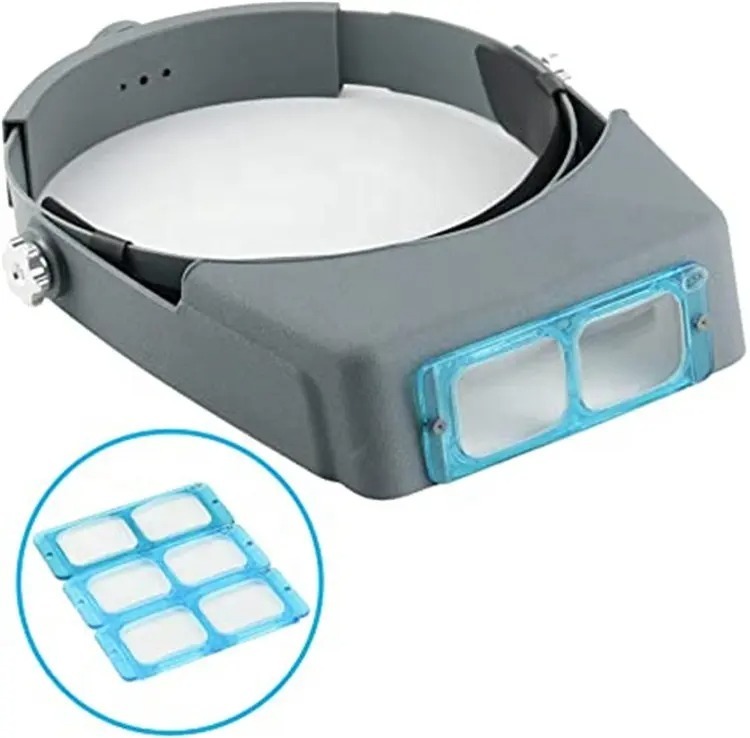
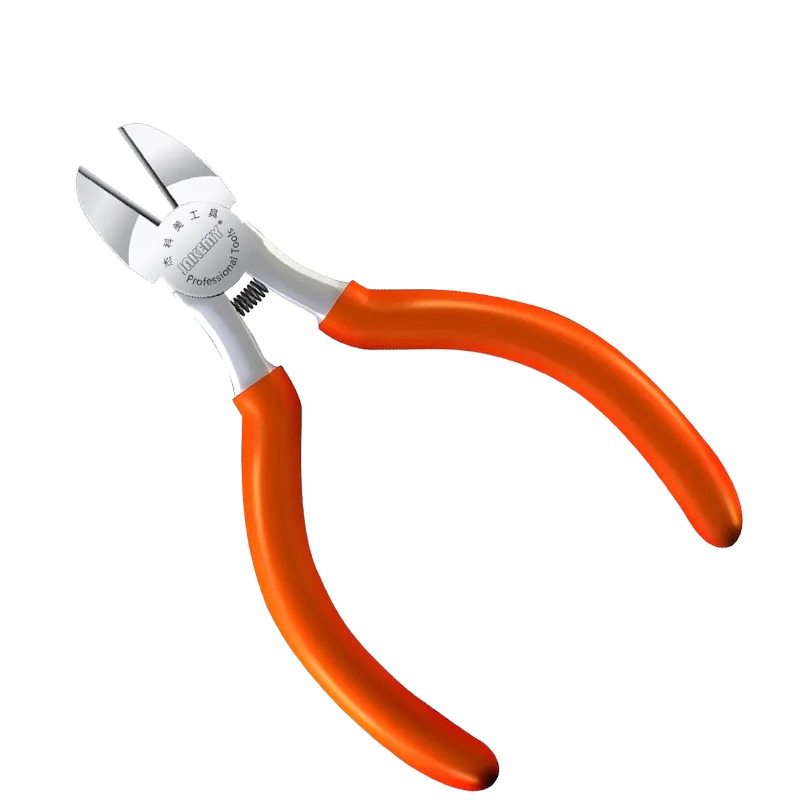
Get the Exact Tools Used by Our Techs:
You can also find every part we stock for this model directly in our store.
⚠️ Before you start: Disconnect the battery before you touch any connector. Work on an anti-static mat and keep each group of screws together. The Pentalobe screws are small enough to hide on the display magnets and crack the screen when you close the lid.
Phase 1: Getting Inside & Disconnecting Power
Apple secures the MacBook Pro internally, so you must unclip the battery and discharge the logic board before touching the display cables.
1st Step: Remove the Bottom Cover
The backplate relies on strong internal clips in addition to the outer screws.
- Flip the MacBook over and undo the eight Pentalobe screws securing the bottom plate.
- Slide your plastic pry tool along the right and left sides to pop the two internal latches.
- Pull up on the bottom edge, push down on the top with your thumb, and pop the plate completely off.
2nd Step: Access the Battery Connection
On the A2992, the primary battery connection is hidden under the trackpad flex cable.
- Use your T3 Torx screwdriver to remove the protective metal cover over the trackpad flex cable.
- Use your pry tool to flip up the connector latch, then carefully pull the trackpad flex cable straight back.
3rd Step: Disconnect and Discharge the Battery
Even with the flex cable unplugged, the board holds residual static power that can short the backlight circuit during a display swap.
- Lift the retaining clip on the main battery flex cable, break the light adhesive beneath it, and pull the cable free.
- Unclip the secondary battery connection at the bottom in the exact same way.
- Remove the one T5 pancake screw holding down the battery board, then flip up the motherboard connection hatch.
- Open the MacBook and hold down the power button for 10 seconds to fully discharge the computer.
TekDep Expert Warning: Never skip holding the power button. If you disconnect the display cables while the board retains static electricity, you can blow the backlight fuse, requiring an expensive micro-soldering repair.

Phase 2: Removing the Wi-Fi Antenna & Defective Display
The display hinge system shares its mounting points with the Wi-Fi and Bluetooth antenna module. You must remove the antenna before unbolting the hinges.
1st Step: Remove the Covers and Antenna
- Use your T5 Torx to remove the screws securing the hinge covers and the Wi-Fi flex cable down to the board.
- Swap to your T3 Torx and unbolt the metal shields protecting the display flex cables.
- Swap back to your Pentalobe driver and remove the nine screws holding down the Wi-Fi and Bluetooth antenna module.
2nd Step: Disconnect the Display Cables
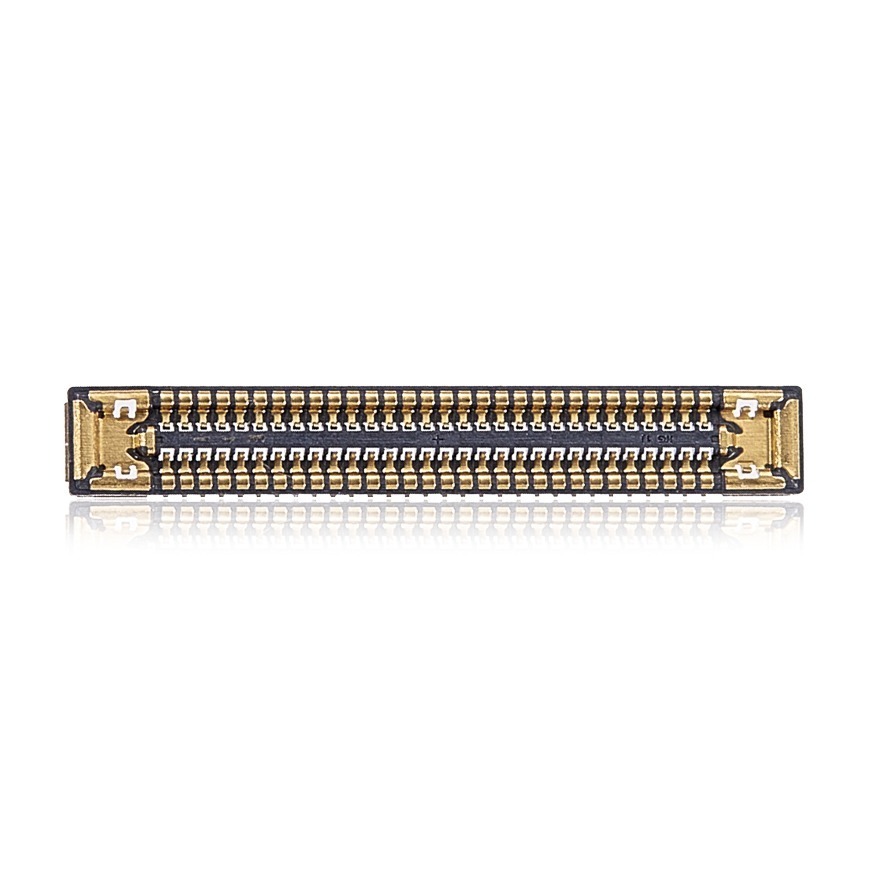
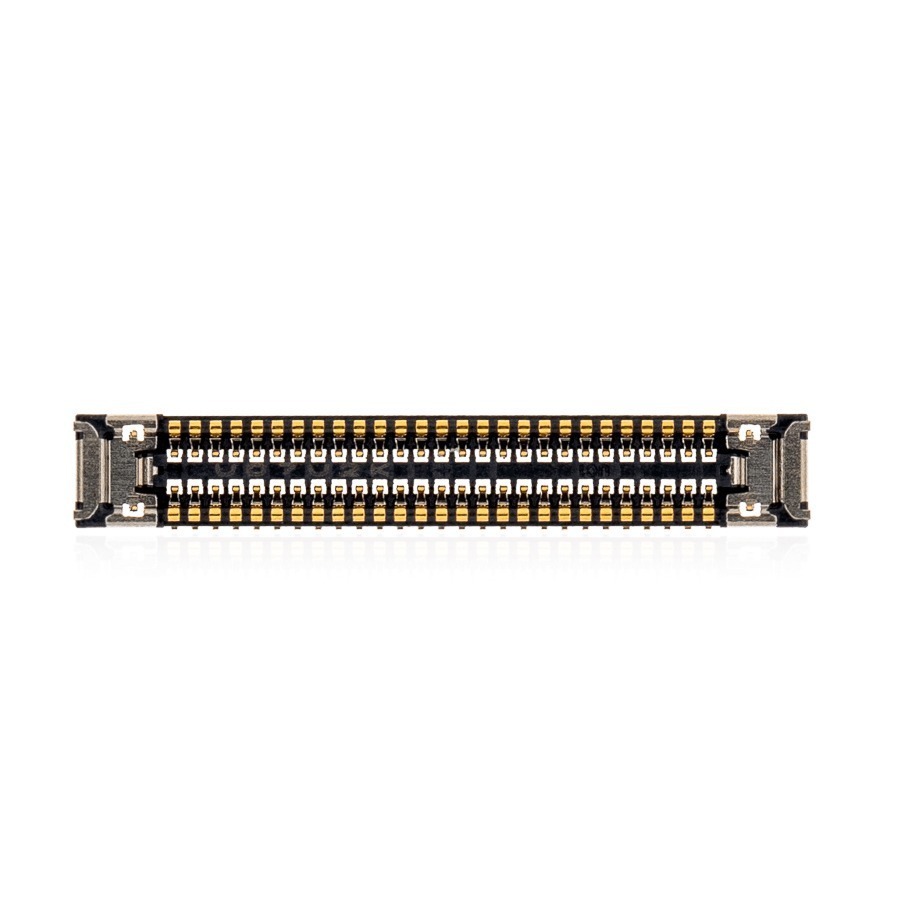
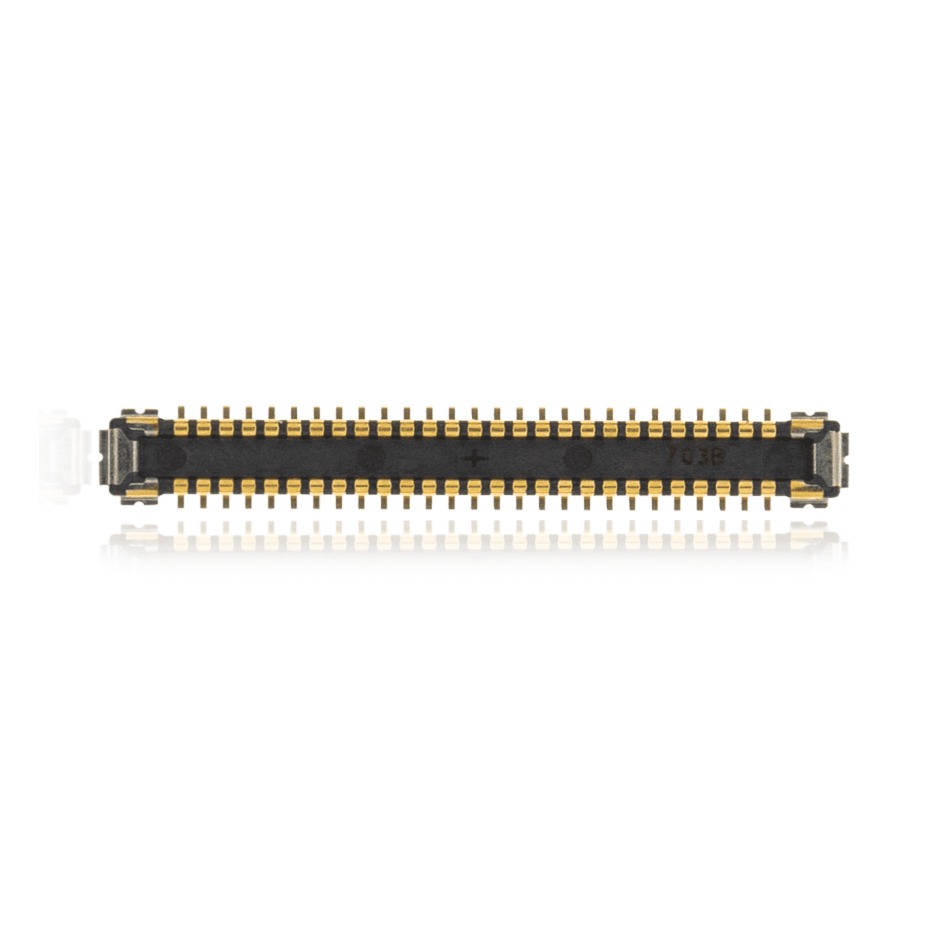
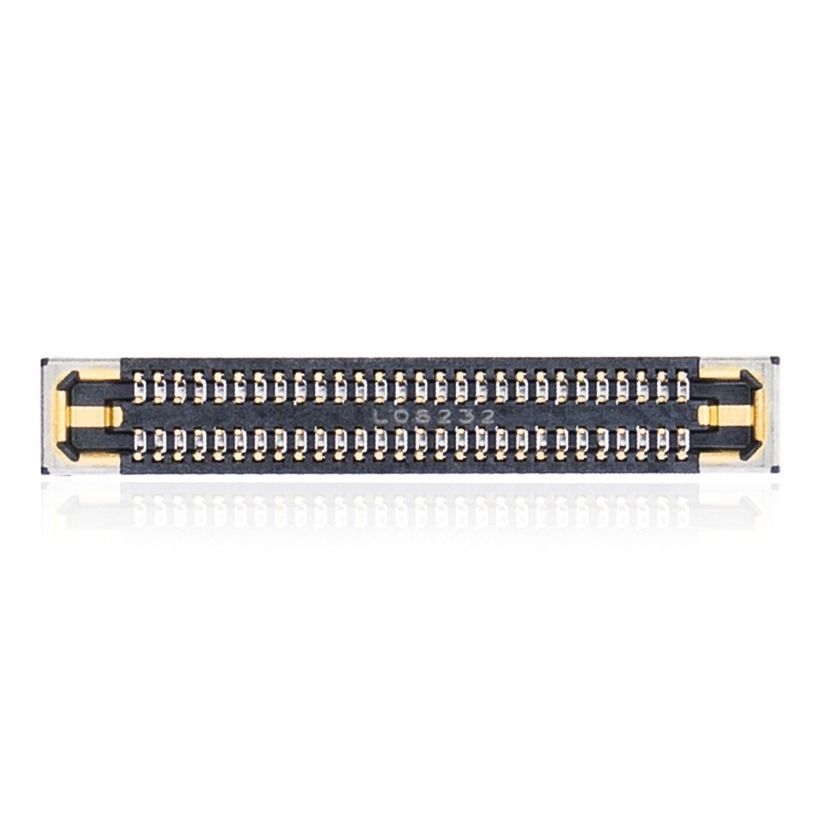
- Use your pry tool to carefully pop up the display flex connectors, the three antenna wires, and the sleep sensor on the right side.
- Lift the entire Wi-Fi and Bluetooth antenna module up and set it aside.
- Remove the two hinge protectors and peel back the small protective pads so the cables do not crease.
3rd Step: Unbolt the Hinges and Remove
The screen is heavy; support it from behind while unbolting it.
- Use your T8 Torx to remove the six screws holding down the left and right display hinges.
- Open the device slightly, holding onto each hinge with your hands.
- Open the hinges just past a 45-degree angle, and slide the defective display straight out of the top case.

Get the replacement A2992 screen we installed:
👉 MacBook Pro 14″ (A2992) LCD Display Assembly:
Phase 3: Installing the New Display & Cables
Prepping the new assembly ensures the flex cables do not get crushed when you tighten the hinges.
1st Step: Seat the New Screen
- Prep the new A2992 screen by pulling all the flex cables flat out the back and flipping both hinges up as far as they can go.
- Lift the top case of the MacBook and hook it underneath the new display hinges.
- Gently apply pressure on both hinges with your thumbs until the display and top case sit flush together.
2nd Step: Secure the Hinges
- Run your finger over the outside edge. If the top or bottom sits too far forward, press from both sides to straighten the alignment.
- Install one T8 screw on each hinge to secure the position.
- Verify the alignment is still flush, then tighten down the remaining T8 hinge screws.

3rd Step: Reinstall the Antenna & Flex Cables
The exact installation order prevents the delicate pins from bending.
- Fold the display flex cables back and tuck the protective pads underneath, long side facing outward, clipping them down gently.
- Drop the two hinge covers onto the outside screw holes.
- Lay the Wi-Fi and Bluetooth antenna directly on top and install the tiny Pentalobe screws first.
- Install the T5 screws for the hinge covers and antenna mounts.
- Carefully press all the flex cable and antenna connectors straight down until they click. If you feel resistance, reposition them; forcing a connection bends the pins.
- Install the protective metal plates over the connections using your T3 Torx.
Phase 4: Reassembly & Testing
With the display secure and connected, you can safely restore power to the logic board and close up.
1st Step: Reconnect the Battery & Trackpad
- Reinstall the T5 pancake screw on the battery board and close the hatch.
- Slide the bottom battery flex cable straight into its socket and pop the latch down. Repeat for the top battery flex cable.
- Slide the trackpad flex cable back into its socket, secure the latch, and lay it flat onto its adhesive.
2nd Step: Close the Bottom Cover
- Align the top edge of the backplate with the chassis just above the hinge line.
- Press forward firmly to slide the plate directly into the top retaining clips.
- Press down along both sides and the middle to snap the internal latches securely.
- Reinstall the eight Pentalobe screws around the perimeter.
3rd Step: Power Test
Turn the MacBook over, plug in your charger, and press the power button. Verify the Apple logo appears cleanly, and the Wi-Fi connects properly in macOS.
Congratulations! You have successfully replaced the screen on your 2023 MacBook Pro 14-inch (A2992).
🛑 Not Comfortable Handling Delicate Flex Cables? If reading about tiny Torx screws and fragile display connectors has you second-guessing your DIY skills, don’t worry. The TEKDEP experts are here to help.
We offer clean, professional, and affordable Mail-In repair services for the entire Apple MacBook lineup.
Frequently Asked Questions
Is it hard to replace the A2992 screen?
The repair is highly accessible for an intermediate technician, but you must be incredibly gentle. The display connections sit directly under the Wi-Fi antenna, and forcing any flex cable into place will instantly crush the tiny connecting pins.
Where are the battery screws on the MacBook Pro M3?
The primary battery connection hides completely underneath the trackpad flex cable. You must remove the T3 metal shield, disconnect the trackpad cable, and peel it back to reveal the battery latches and the single T5 pancake screw.
What if the display flex cables won’t click in?
Stop pressing immediately. The flex cables must slide backward slightly over the alignment rectangle before they can drop straight down. If you feel severe resistance, pulling back gently will line up the pins so they snap cleanly into place.
🛑 IMPORTANT: SAFETY & LIABILITY DISCLAIMER TEKDEP®️ TEKDEP.com assumes no liability for property damage or injury incurred as a result of any information in this A2992 screen replacement blog post or associated videos. Dealing with internal computer components, specifically Lithium-Ion batteries, carries inherent risks including fire, toxic gas exposure, and irreversible device failure. Any injury, damage, or loss from improper use of tools, mishandling of components, or misinterpretation of this information is the sole responsibility of the user. Perform repairs at your own risk. If you are unsure of your capabilities, please utilize our professional Mail-In Repair Service.