

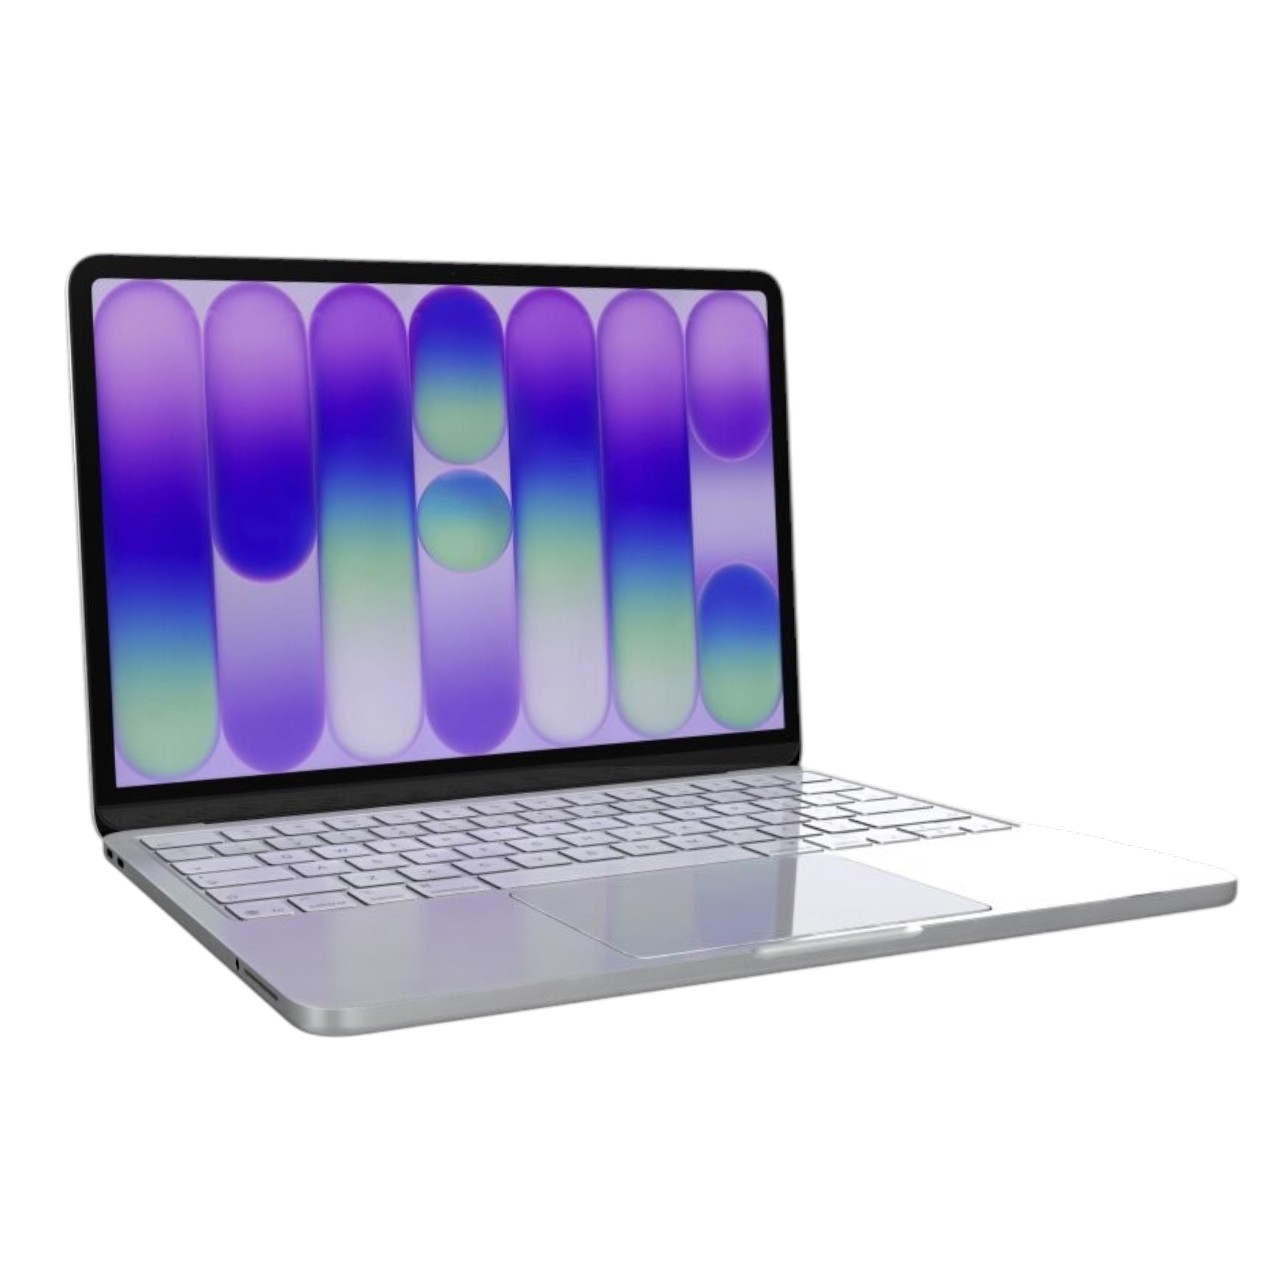














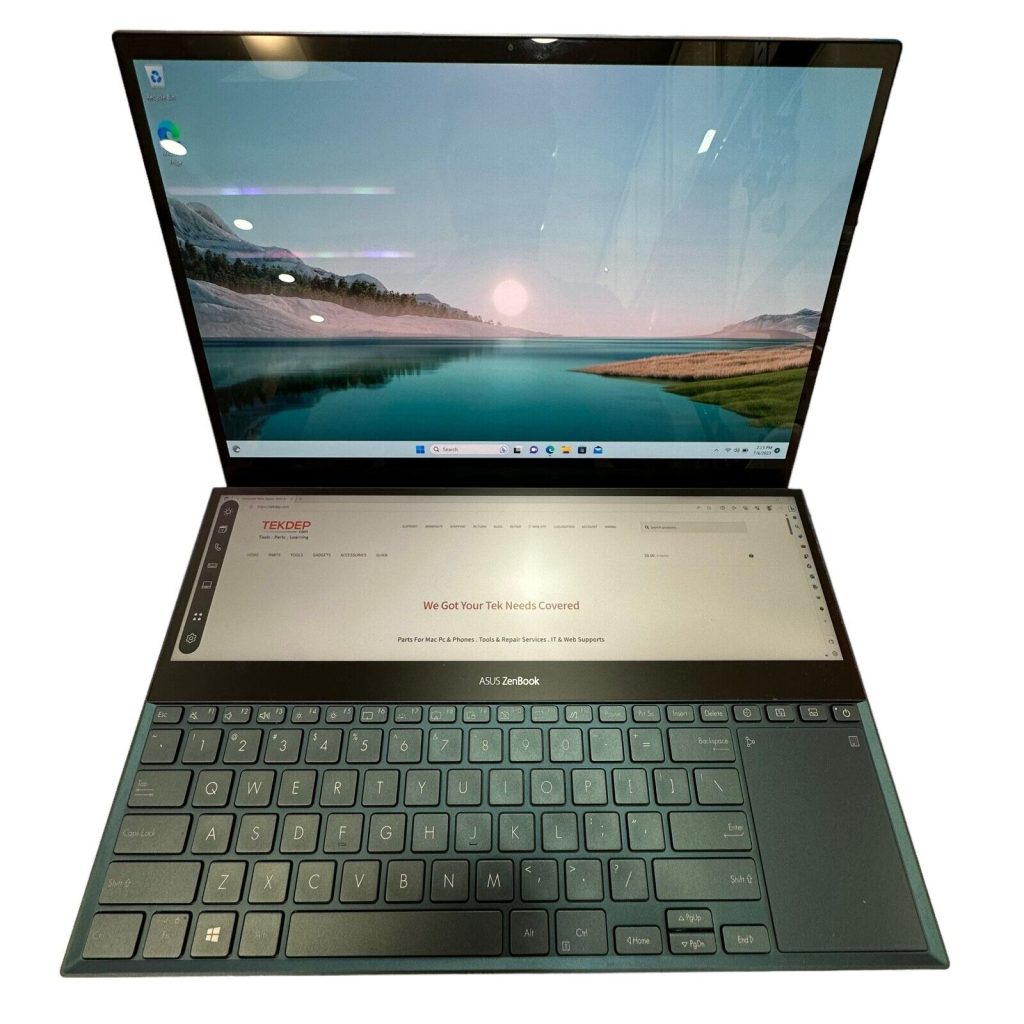




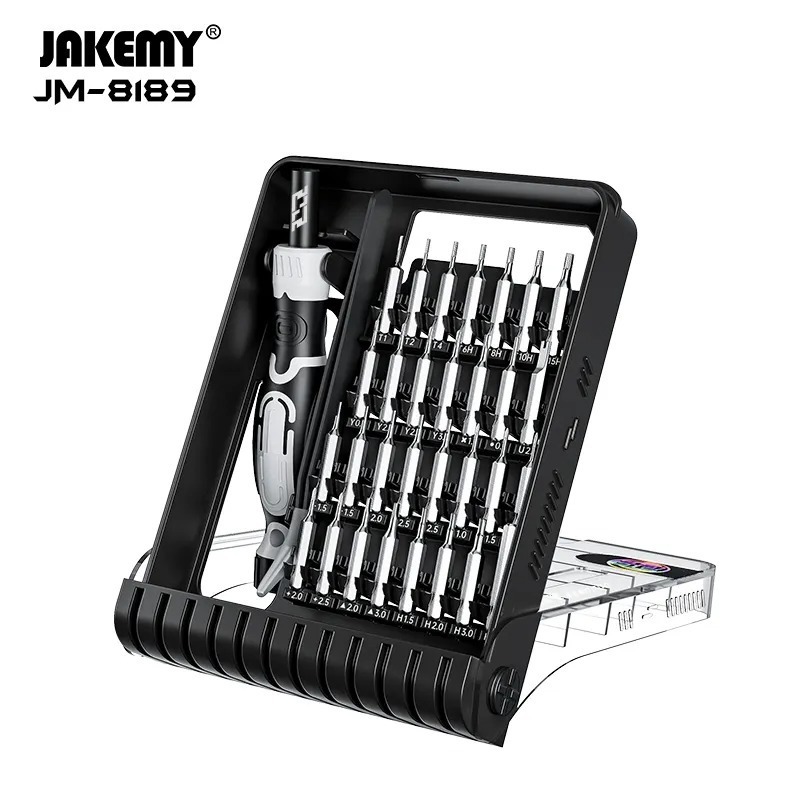
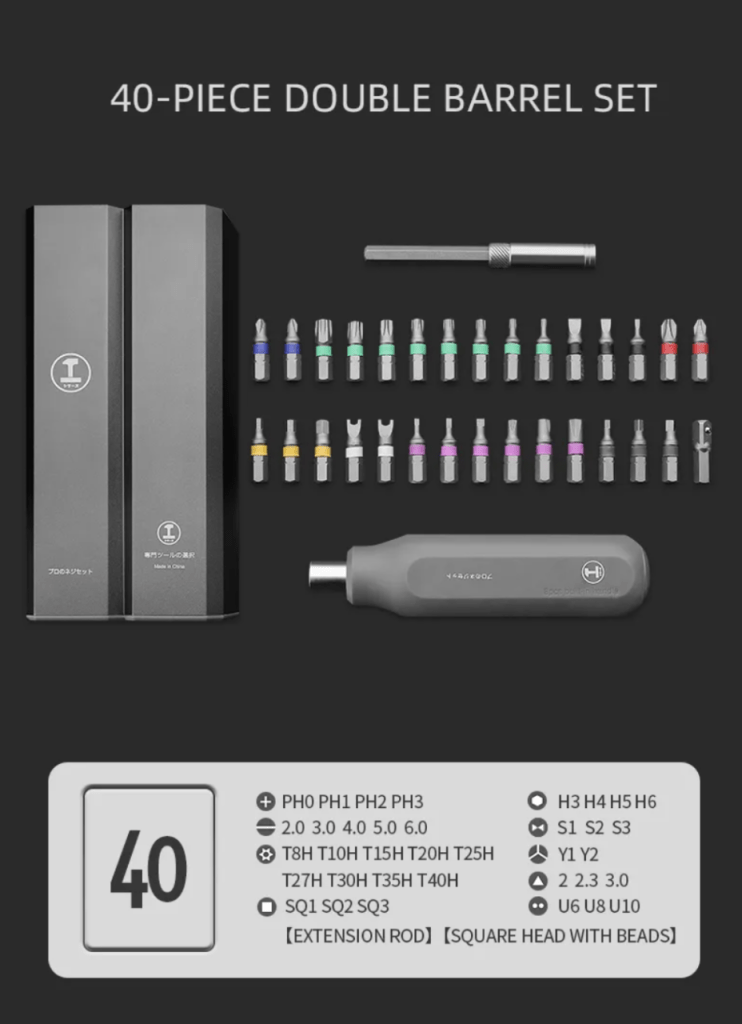
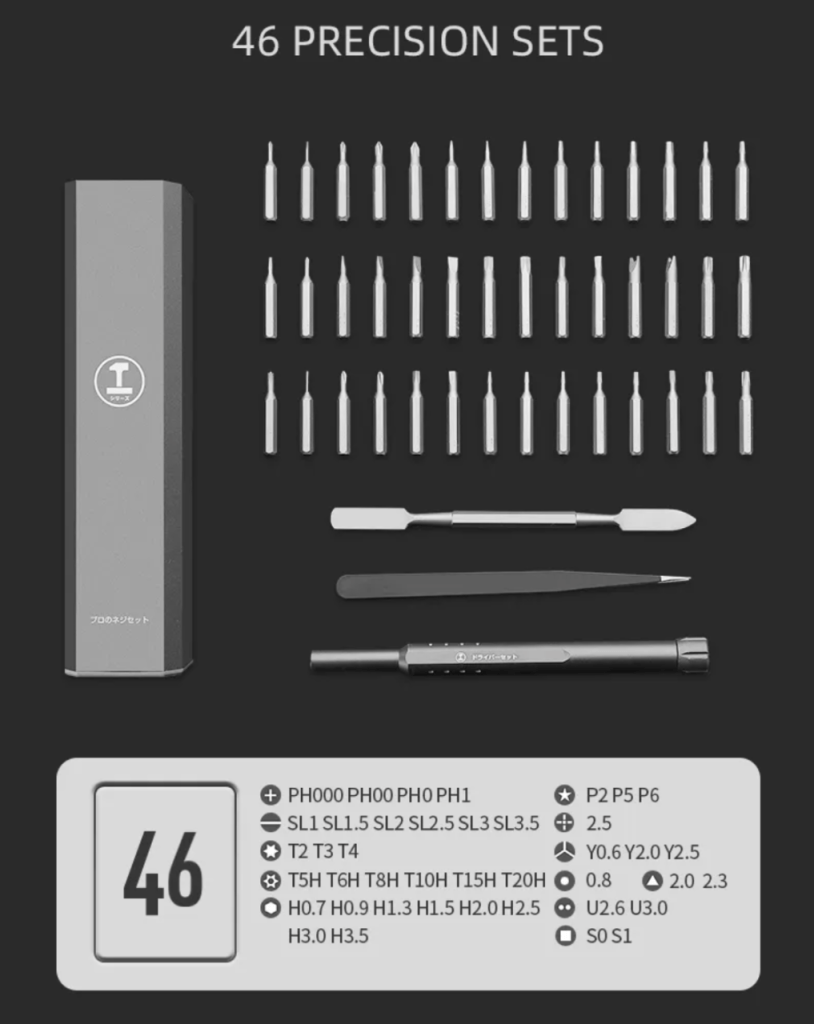
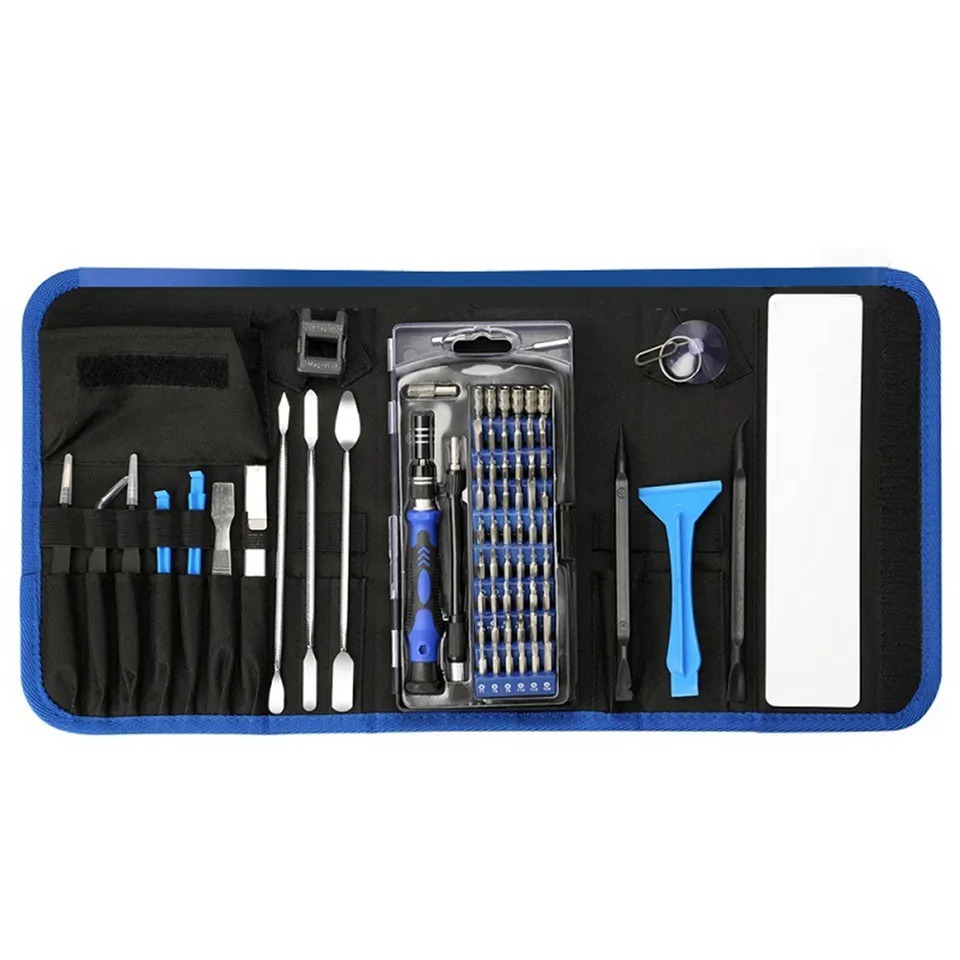


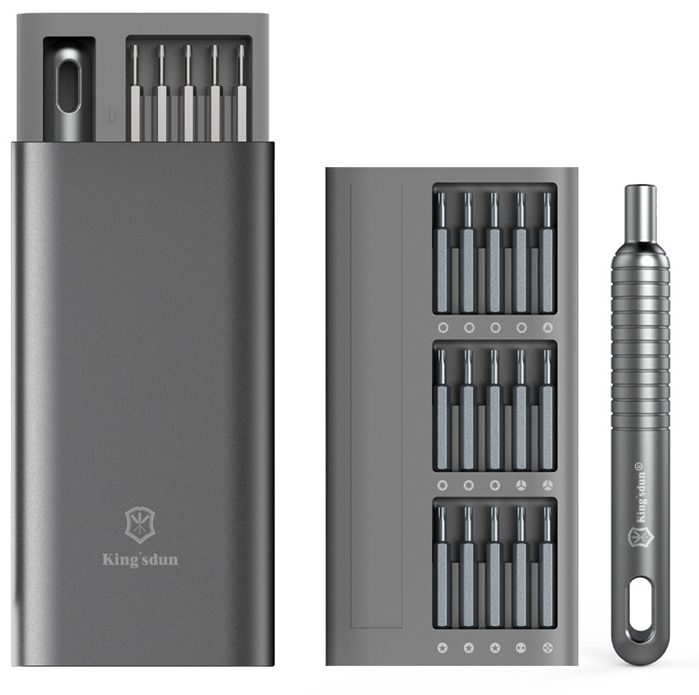


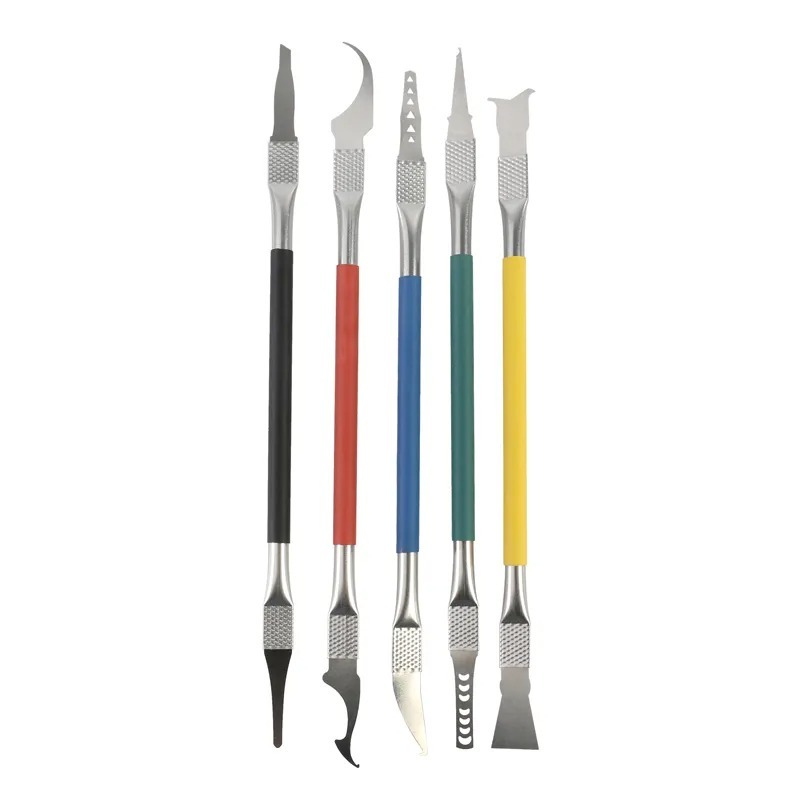
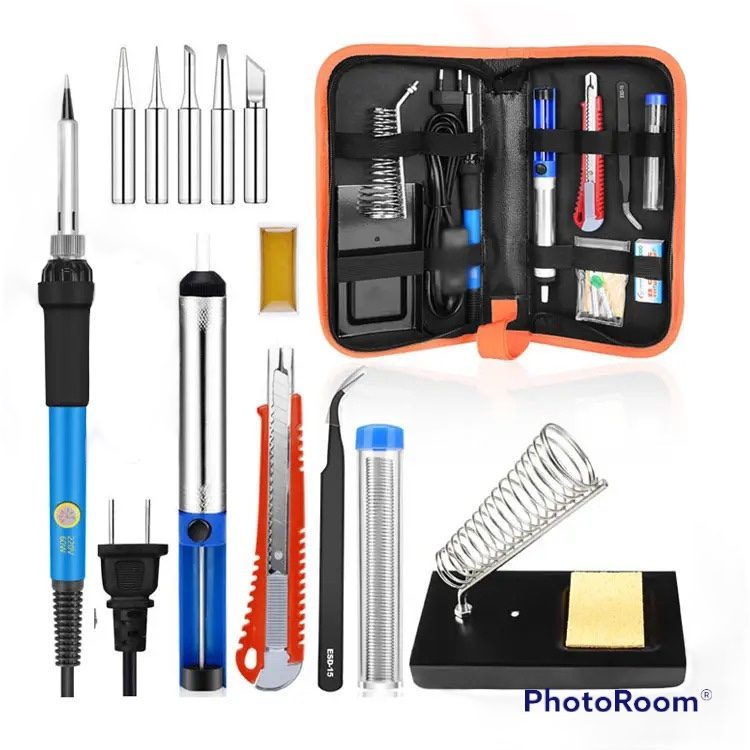

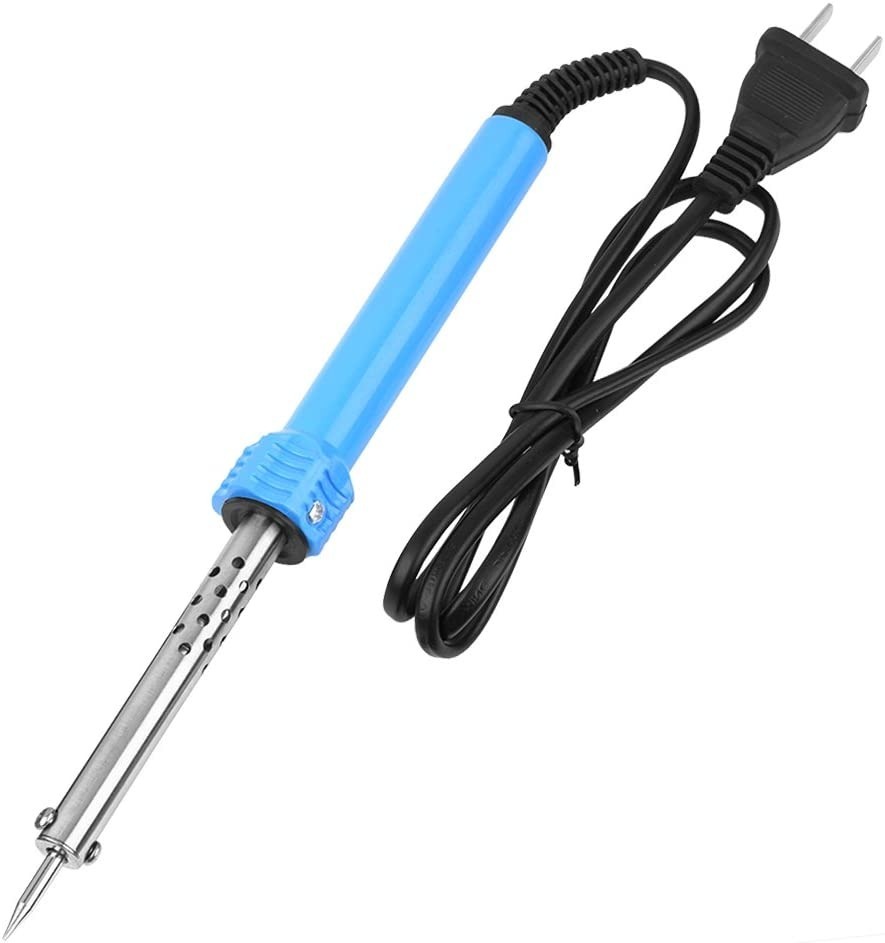
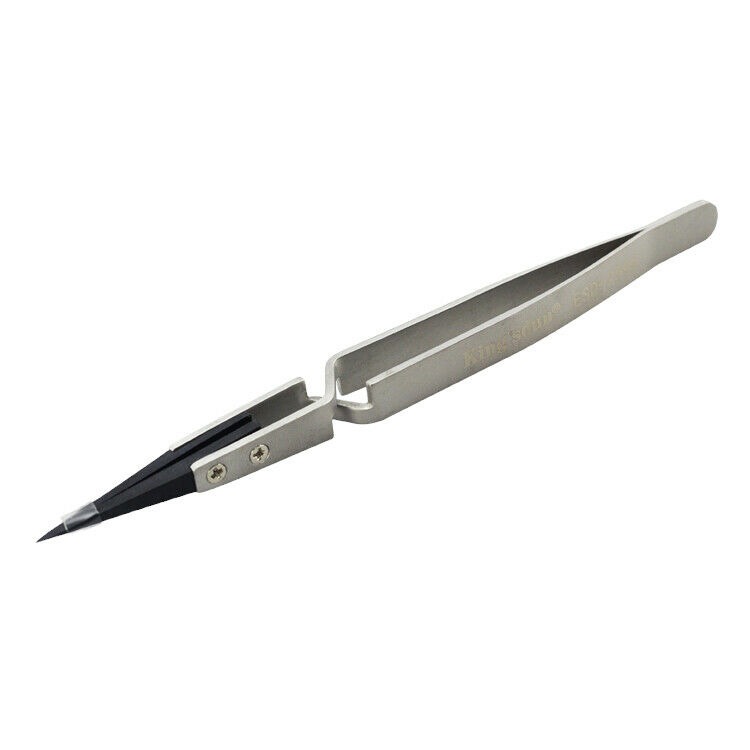




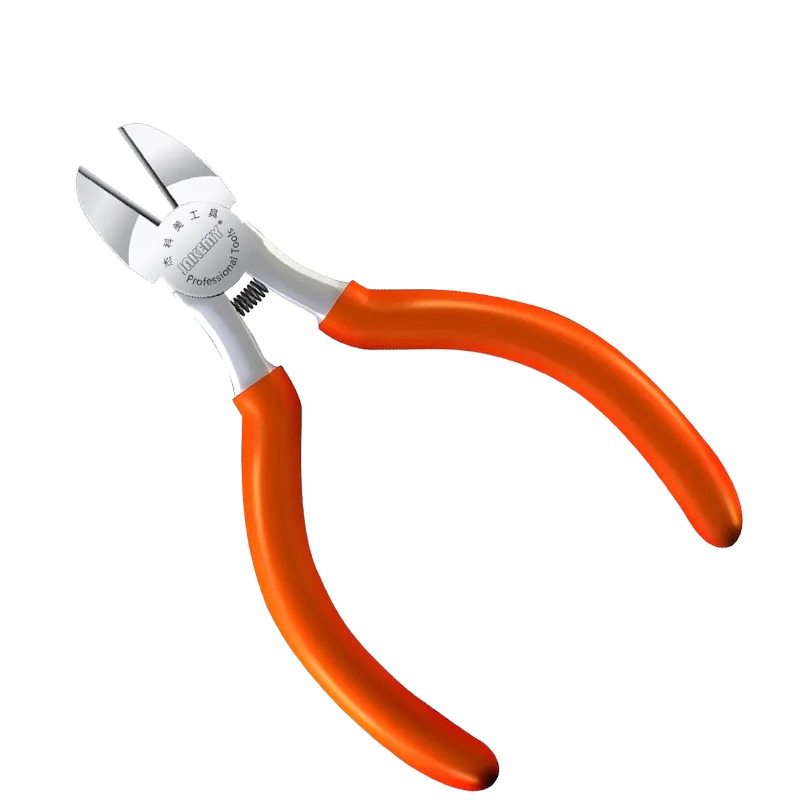

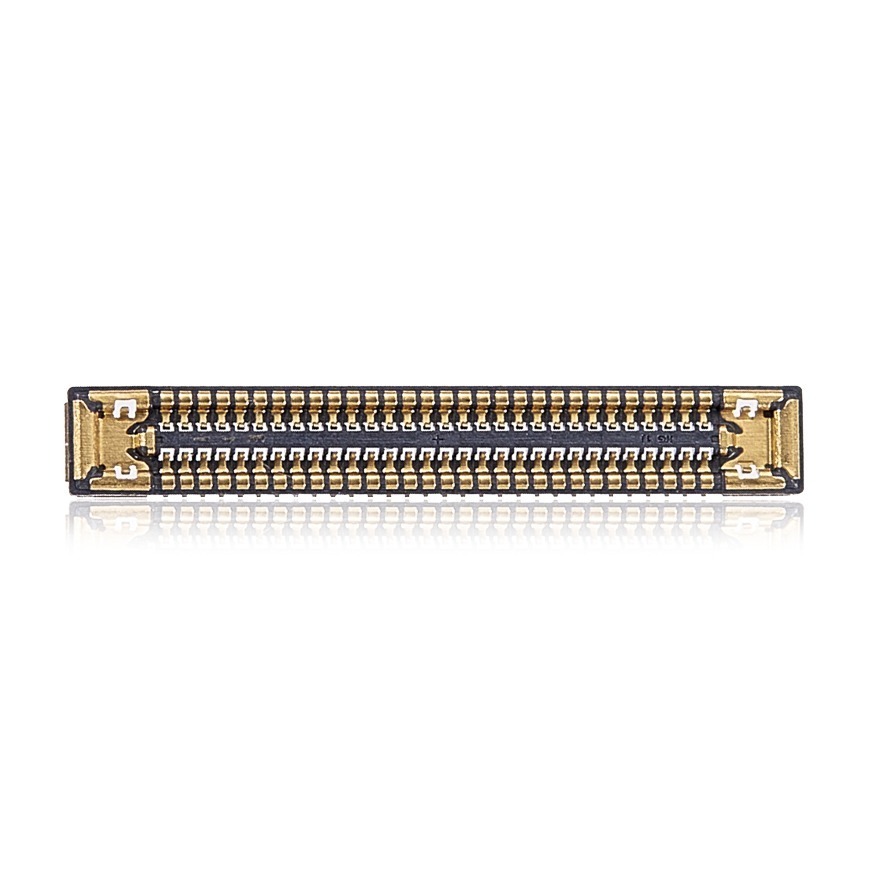

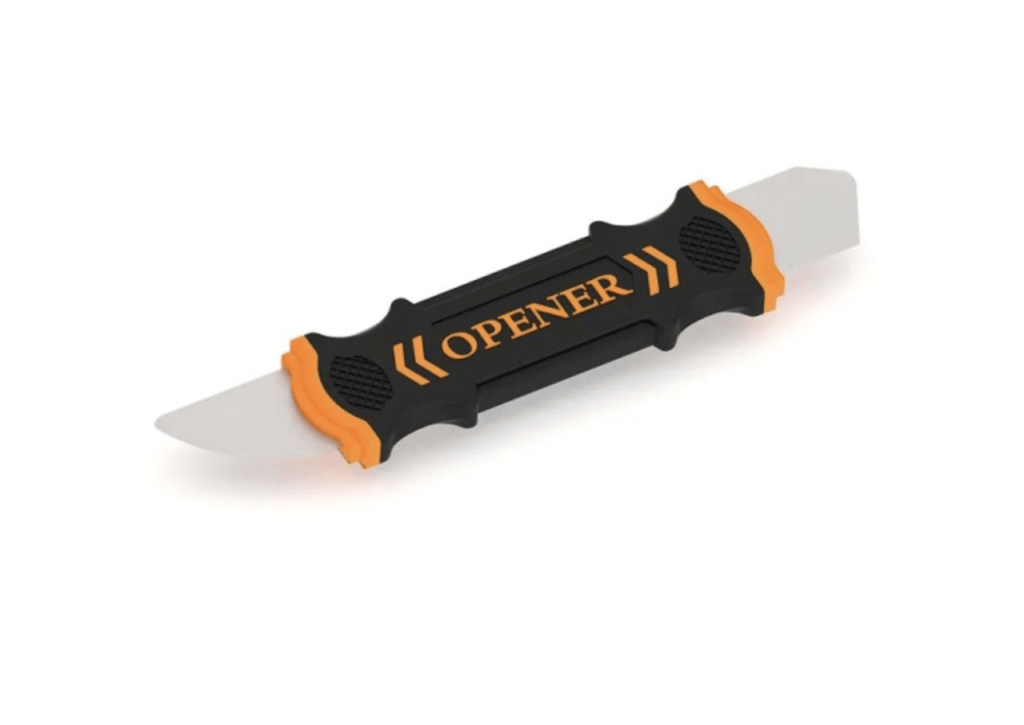

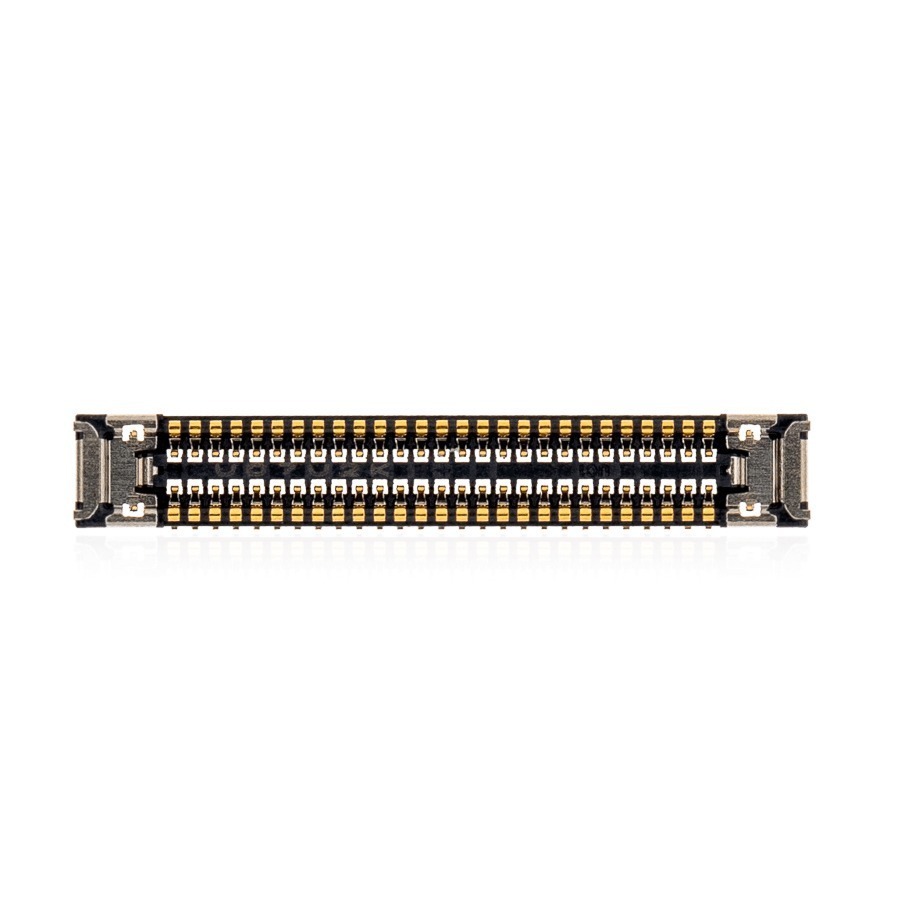




Model: 15-inch MacBook Air M2 (2023) (A2941) | Level: Advanced | Tools: Pentalobe screwdriver, T3 Torx screwdriver, T5 Torx screwdriver, T8 Torx screwdriver, suction cup, plastic pry tool, precision tweezers
Executing an A2941 Apple M2 MacBook Air 15-inch disassembly reveals significant structural design updates compared to previous generations, starting right at the bottom case with a new retention system. Navigating the internal layout and component architecture is essential whether addressable issues involve the battery, display, or trackpad. Reviewing Apple’s official 15-inch MacBook Air M2 technical specifications shows how tightly integrated this hardware is. Our lead technician, Nicholas, walks through every component step-by-step in this complete teardown guide. Let’s get started.
How to Perform an A2941 Apple M2 MacBook Air 15-inch Disassembly (Quick Overview)
- Release the bottom case retention using a suction cup.
- Unplug the trackpad and battery cables to cut power.
- Disconnect the ribbon cables and ports from the mainboard.
- Remove the Wi-Fi assembly and hinge covers.
- Free the cables and glued parts to lift the mainboard out.
- Remove the daughterboard and Touch ID sensor.
- Take out the trackpad after applying heat.
- Separate the LCD from the top case.
🛠️ Required Tools & Preparation for MacBook Air Disassembly
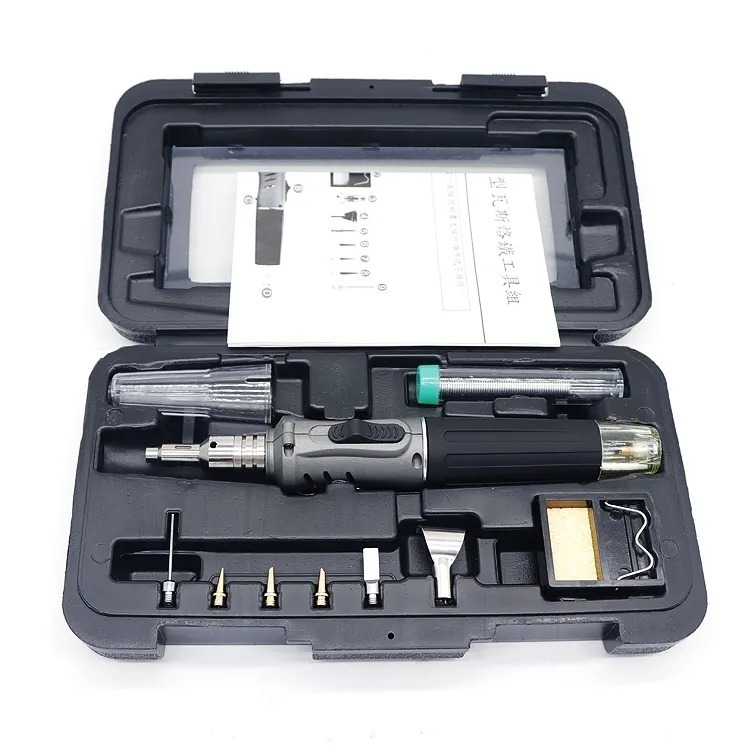
A full A2941 teardown requires a few specific bits and tools. Review basic ESD anti-static safety guidelines before you begin, and always power off and unplug the laptop first.
- Pentalobe screwdriver: for the exterior bottom case screws.
- T3, T5, and T8 Torx screwdrivers: for internal components and hinges.
- Suction cup: to help persuade the new bottom case retention loose.
- Plastic pry tool: to safely disconnect ribbon cables without shorting anything.
- Precision tweezers: to carefully unplug the fragile Wi-Fi antennas.
Find every part we stock for this model here.
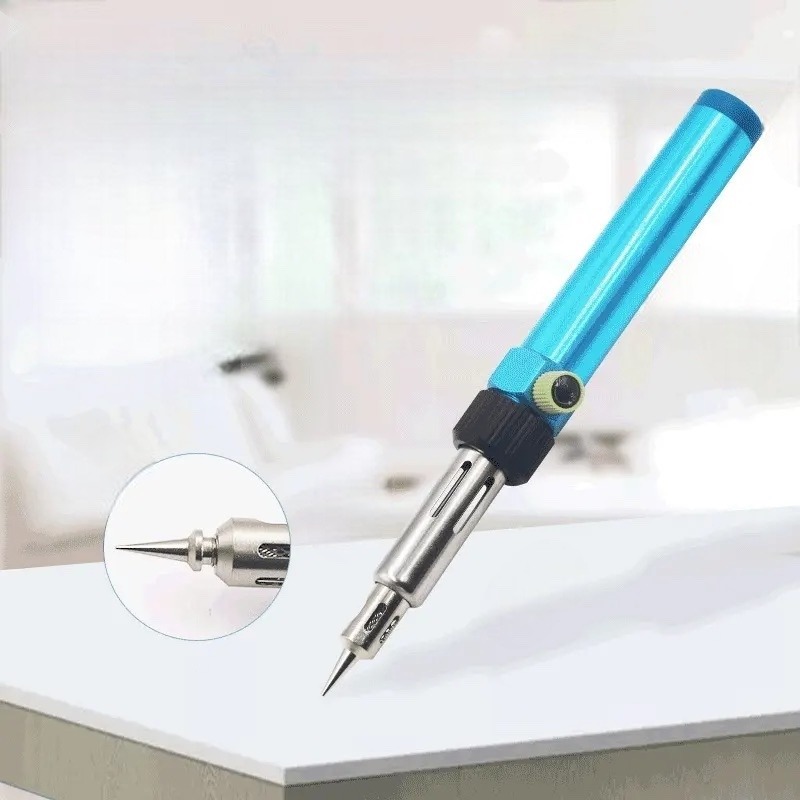
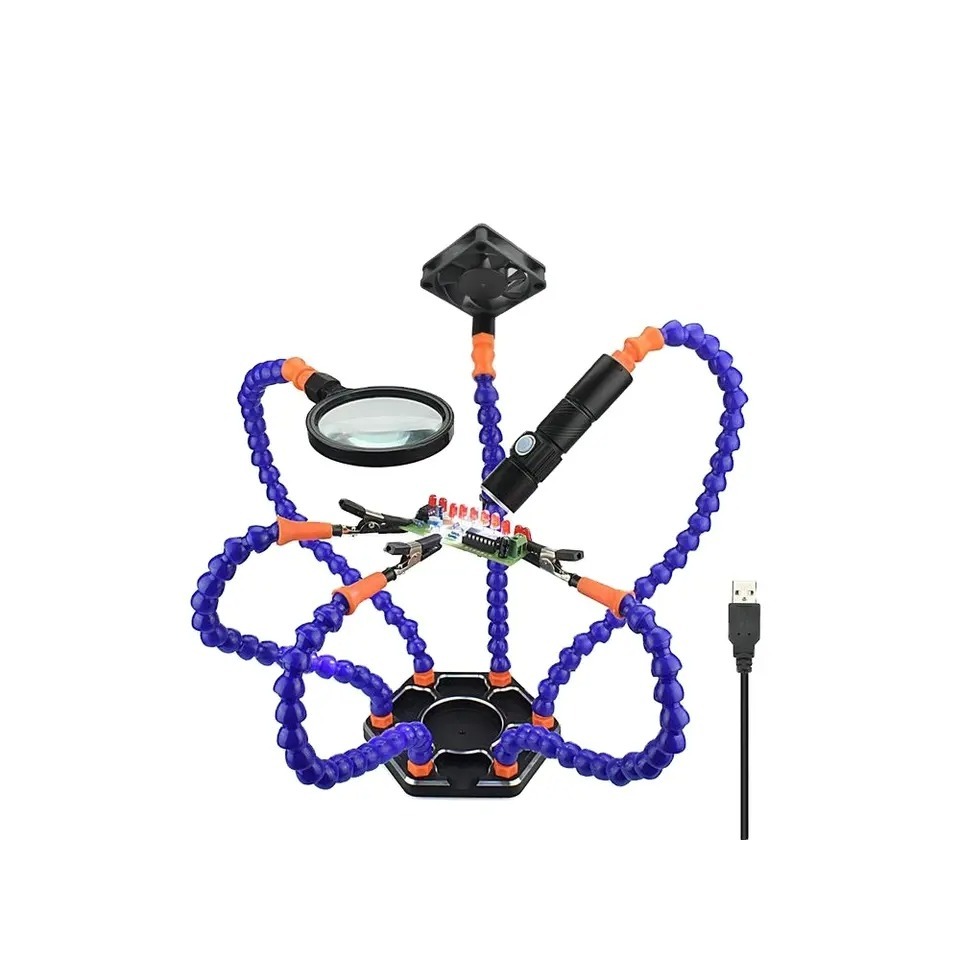
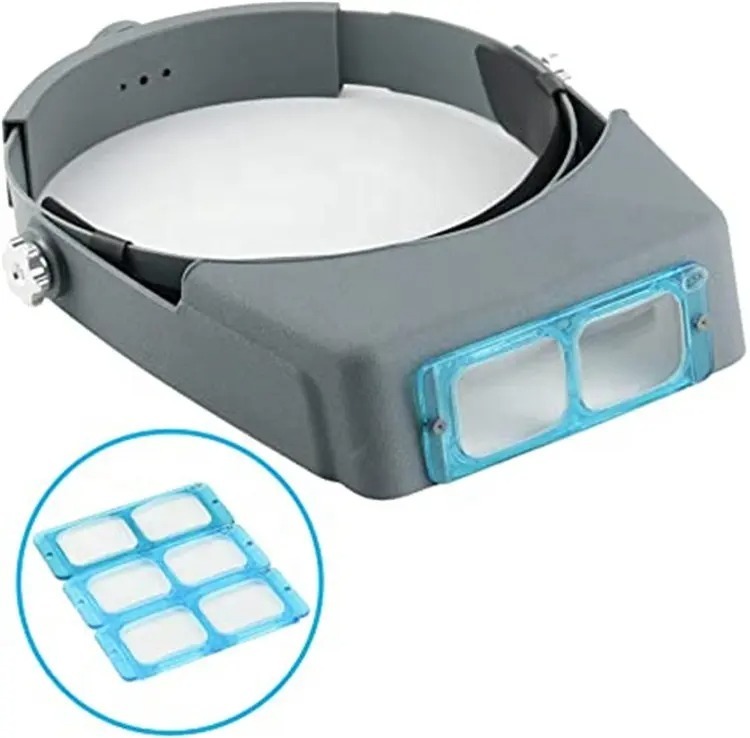
Get the Exact Tools Used by Our Techs:
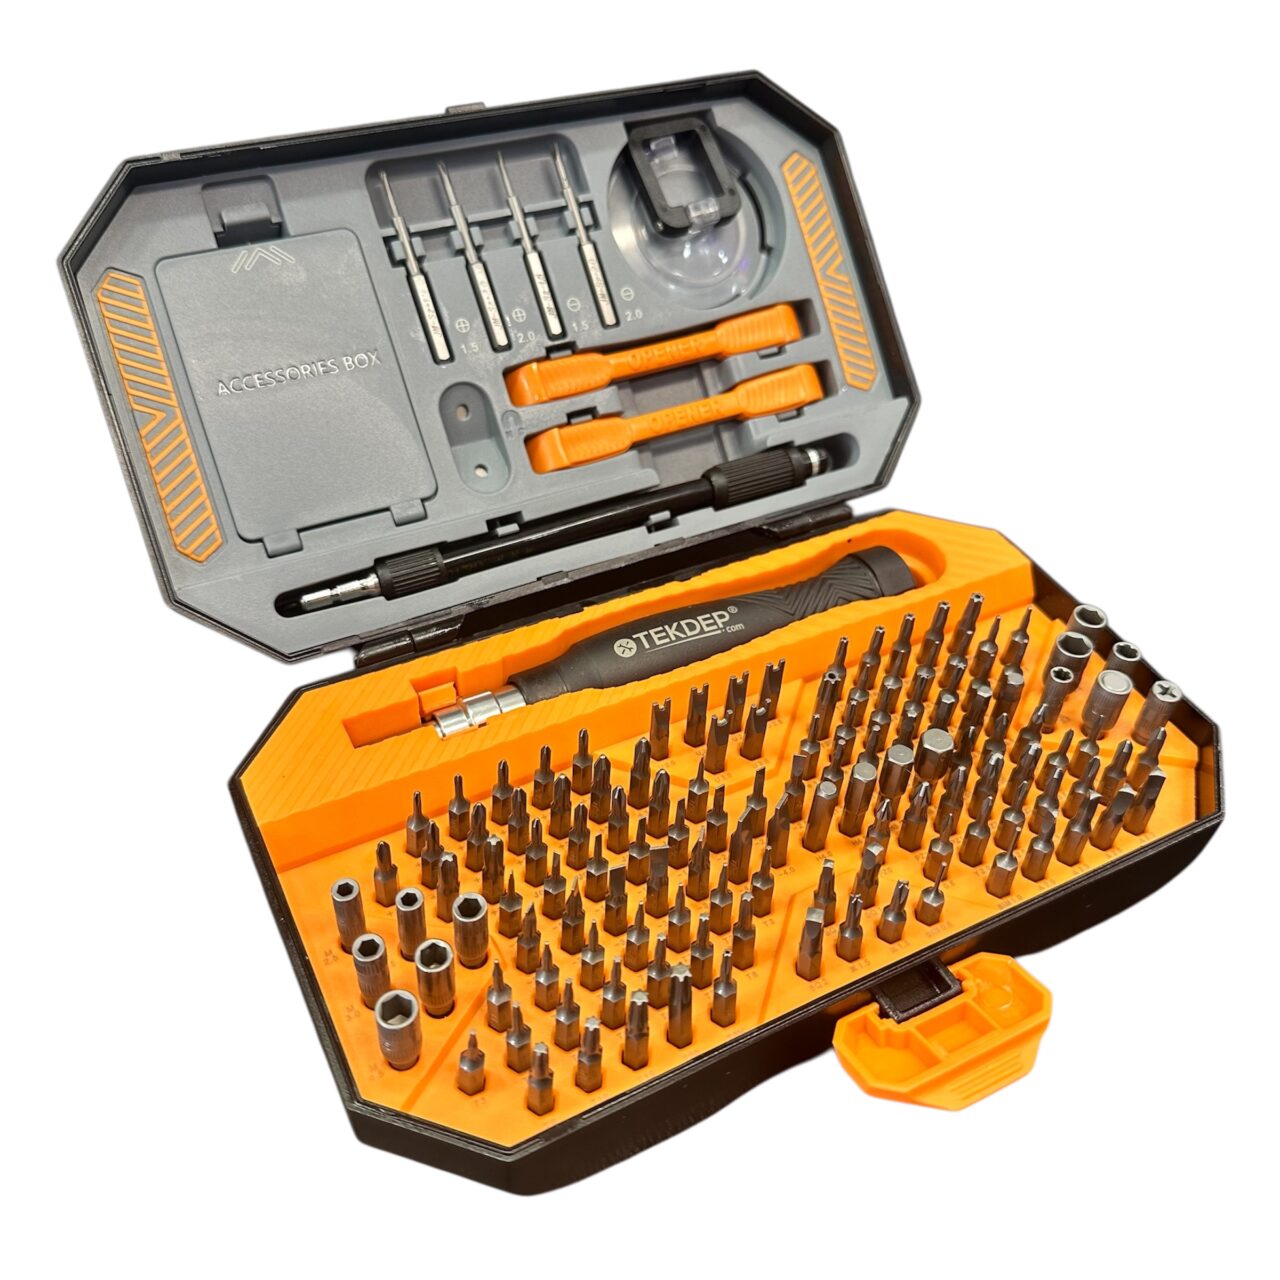
⚠️ Before you start: Disconnect the battery before you touch any other connector. Work on an anti-static mat and keep each group of screws together.
Phase 1: Getting Inside & Disconnecting Power (A2941 MacBook Air 15-inch Disassembly)
The first step in this Apple M2 MacBook Air 15 disassembly process is to bypass the new retention system and cut power to the board.Step 1: Remove the Bottom Case
Step 1: Remove the Bottom Case
The A2941 uses a strong magnet and clip system near the trackpad.
- Unfasten the four Pentalobe screws along the perimeter of the unit.
- Apply a suction cup near the trackpad and pull up to release the magnets. Repeat around the sides, but not near the hinges.
- Pull the case towards the trackpad (away from the LCD) to slide it off the four retention points.

Step 2: Disconnect the Trackpad Cable
The trackpad flex cable crosses over the battery connector, so it must be moved first.
- Lift the tape covering the screws on both sides of the connector.
- Use a T3 screwdriver to unfasten the screws and remove the retention bar.
- Safely unplug the long trackpad cable and move it out of the way.
Step 3: Disconnect the Battery
Always disconnect the battery before unplugging anything else to avoid shorting the logic board.
- Repeat the same process as with the trackpad cable on the battery connector.
- Unplug the battery connector from the mainboard.
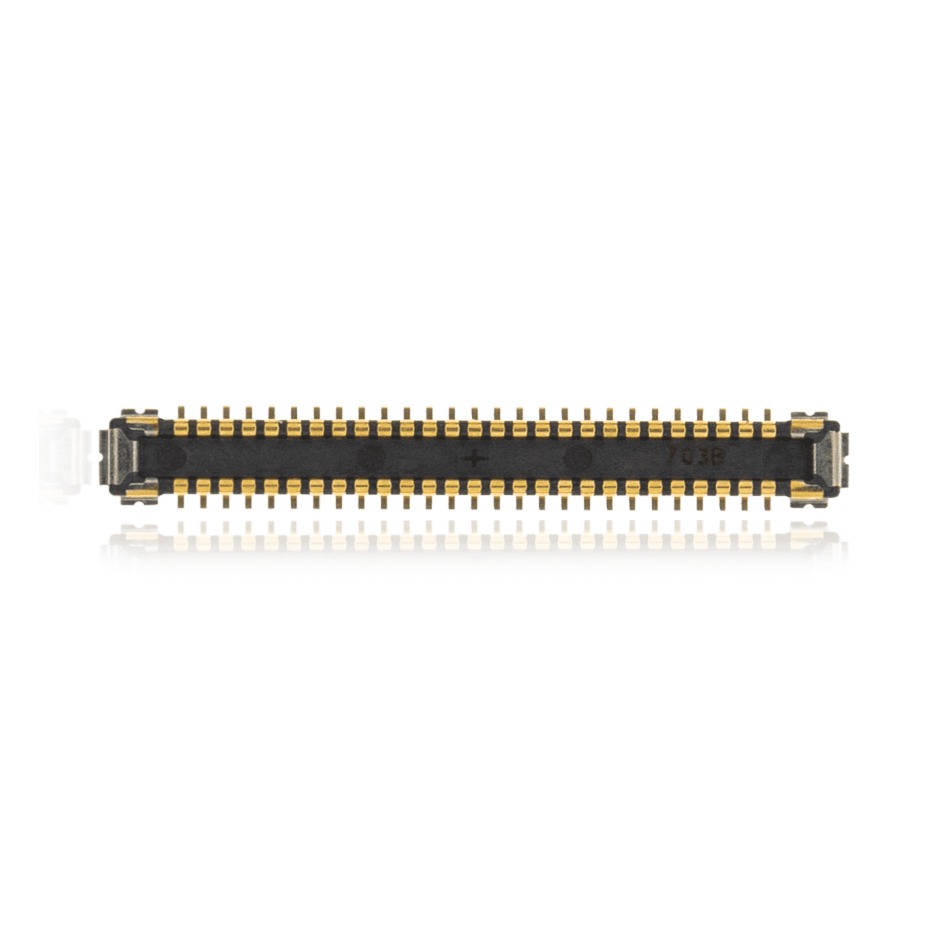
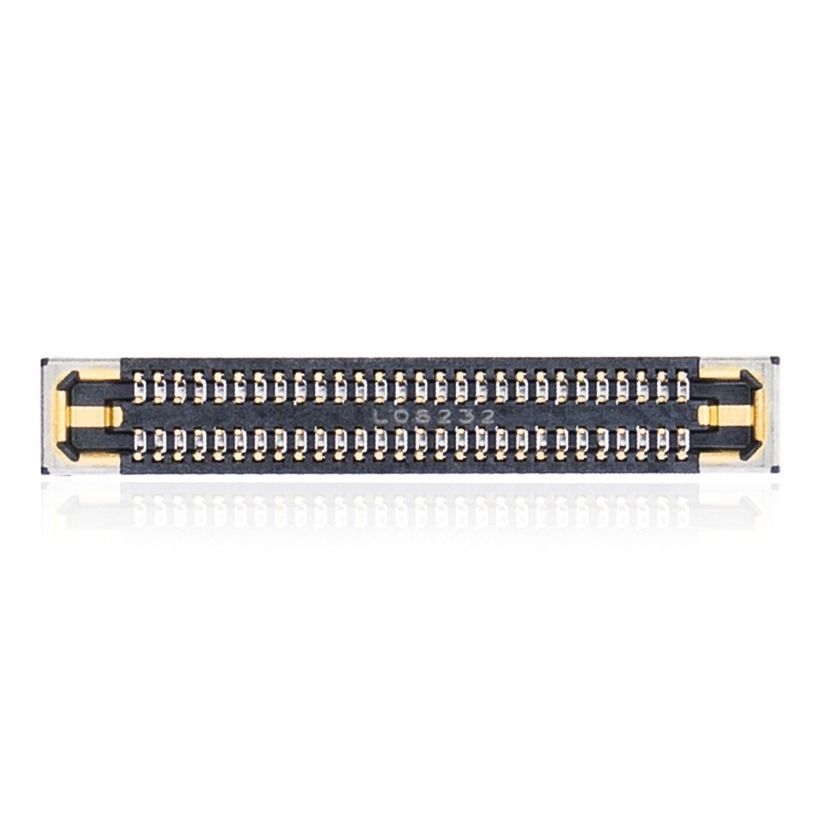
A2941 parts we removed in this phase:
Phase 2: Removing Mainboard & Wi-Fi Components
We need to clear the way to extract the logic board by unplugging a series of small, fragile connectors.
Step 1: Unfasten the Board Screws & Disconnect Cables
Use a pry tool to lift the ribbon cables; metal tools can cause short circuits during this stage of the
A2941 Apple M2 MacBook Air 15-inch disassembly.
- Unfasten the mainboard screws using your T3 and T5 screwdrivers. A magnet may help lift them out.
- Use the T3 screwdriver to remove the retention bars holding various connectors.
- Use a plastic pry tool to disconnect and lift the ribbon cables away from their connection points.
- Use tweezers to carefully unplug the fragile Wi-Fi antennas.
TekDep Expert Warning: The Wi-Fi antennas are extremely delicate. Take your time and use tweezers; ripping these cables means replacing the whole antenna assembly.

Step 2: Disconnect the Ports
Several ports line the edges and must be freed:
- Remove the two T5 screws holding the MagSafe 3 connector.
- Remove the two T3 screws holding each of the two Type-C connectors.
- Remove the two T3 screws holding the 3.5 mm aux port.
Step 3: Remove the Wi-Fi Assembly & Hinge Covers
- Remove the four screws at the top of the unit holding the Wi-Fi assembly.
- Unfasten two T5 screws on either side of the unit to release the hinge covers.
- Pull the hinge covers towards the trackpad and up to remove them from the top case edges.
Step 4: Remove the Speakers
- Unfasten the two T5 screws under the hinge covers holding both sets of speakers.
- Gently lift the speakers out of the unit. Double-check that the wires are disconnected if they stick.
A2941 parts we removed in this phase:
Phase 3: Mainboard & Component Disassembly (Logic Board & Touch ID)
The mainboard is still held by adhesive and secondary connections.
Step 1: Disconnect the Daughterboard & Aux Port
- Remove the T3 screw and panel on the left side of the mainboard, then disconnect the daughterboard connector underneath.
- Peel the cover off the LCD connector to expose and remove two T3 screws, unfasten the retention bar, and unplug the three connections below.
- Lift the tape cover on the left side, unfasten the T3 screw, dislodge the cover, and disconnect the aux board ribbon cable.
Step 2: Free the Cables & Glued Parts
- Use a pry tool to carefully lift the cables off the case and out of the port slots.
- Free the sensor cable glued right below the bottom Type-C connector.
- Carefully dislodge the glued-in aux board assembly from the top case; it requires patience.

Step 3: Remove the Daughterboard & Touch ID
- Disconnect the daughterboard from the battery cable, keyboard, backlighting, and the Touch ID sensor (held by a T3 screw and bar).
- Remove the T5 screw holding the daughterboard and break the glue loose underneath to remove it.
- Use a T3 screwdriver to remove the remaining four screws holding the Touch ID sensor in place.
A2941 parts we removed in this phase:
Phase 4: Trackpad & Display Disassembly Steps
The final steps of the A2941 Apple M2 MacBook Air 15-inch disassembly pull the trackpad out and separate the screen from the body.
Step 1: Remove the Trackpad
- Remove the 18 T5 screws holding the trackpad. Don’t miss the center two on both sides covered by tape.
- Apply a small amount of heat to soften the glue holding the trackpad flex cable.
- Lift the top case and untangle the cable, then lift the retention bar and gently pull the cable out.

Step 2: Separate the LCD from the Top Case
- Use a T8 Torx screwdriver to unfasten the four hinge screws on both sides.
- Open the unit until the hinges are free from the bottom case.
- Lift the top case out and away from the LCD.
- Remove the Touch ID sensor from the top case, being careful not to damage its brittle flex cable.
Step 3: Teardown Complete
If you were reassembling, you would work backward from this step, ensuring all tiny flex cables are seated perfectly.
Congratulations! You have completed the A2941 Apple M2 MacBook Air 15-inch disassembly process for model A2941.
🛑 Not Comfortable Handling Fragile Ribbon Cables? If reading about glued components and delicate flex cables has you second-guessing your DIY skills, don’t worry. The TEKDEP experts are here to help.
We offer clean, professional, and affordable Mail-In repair services for the entire Apple MacBook lineup
Frequently Asked Questions
Is it hard to do an A2941 teardown?
Yes, it is an advanced repair. Apple uses extensive glue, tiny ribbon cables, and hidden screws. You need patience and specific precision tools to safely extract the mainboard without tearing the Wi-Fi antennas or trackpad cable.
How is the bottom case different on the 15-inch MacBook Air M2?
Compared to older models, the A2941 uses a much stronger retention system. After removing the four exterior Pentalobe screws, you need a suction cup to pull the strong magnets loose near the trackpad before sliding it off the retention clips.
Where are the Wi-Fi antennas located?
The Wi-Fi assembly is tucked at the very top of the unit under the hinge covers. The small, fragile antenna cables plug into the mainboard and are very hard to reach; use precision tweezers to carefully disconnect them.
🛑 IMPORTANT: SAFETY & LIABILITY DISCLAIMER TEKDEP®️ TEKDEP.com assumes no liability for property damage or injury incurred as a result of any information in this blog post or associated videos. Dealing with internal computer components, specifically Lithium-Ion batteries, carries inherent risks including fire, toxic gas exposure, and irreversible device failure. Any injury, damage, or loss from improper use of tools, mishandling of components, or misinterpretation of this information is the sole responsibility of the user.