



















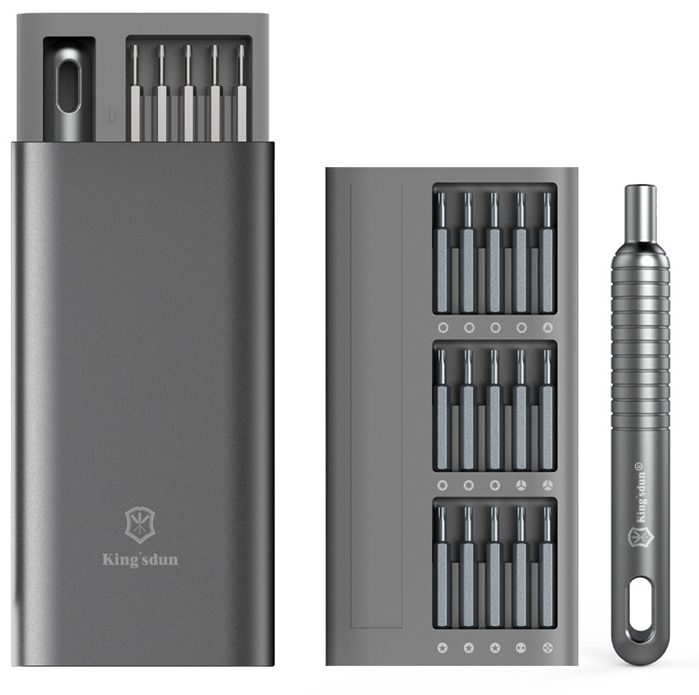










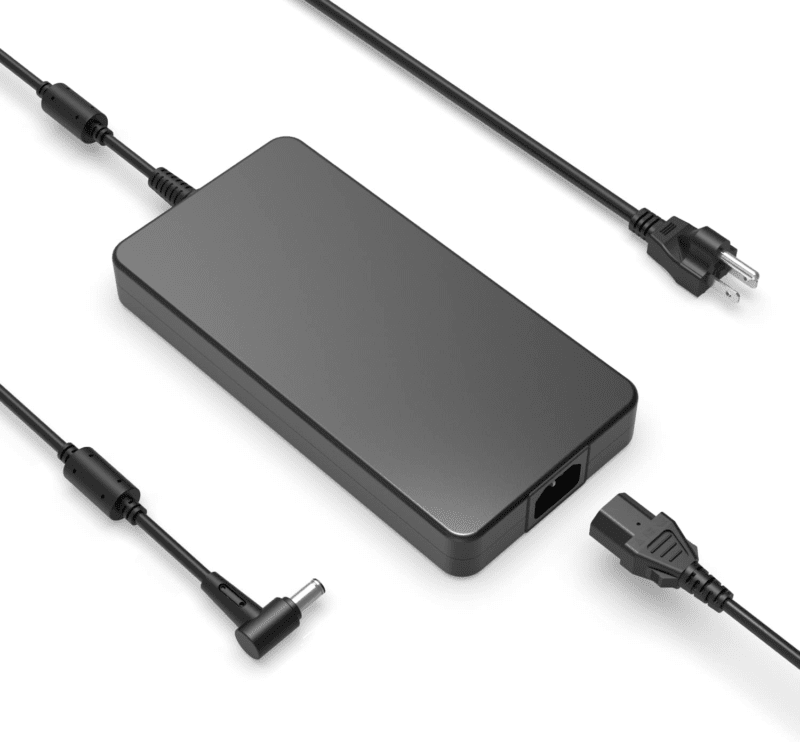




Model: Dell XPS 13 (9350) | Level: Intermediate | Tools: T5 Torx screwdriver, Phillips screwdriver, plastic pry tool. This guide will walk you through an XPS 13 9350 teardown step by step.
A complete Dell XPS 13 9350 teardown gives you access to almost every major component without dealing with heavy adhesive. The 9360 and the earlier 9350 share a nearly identical internal layout, making this process highly straightforward.
Whether your laptop is losing charge fast, suffering from random shutdowns due to a faulty logic board, or just needs a storage upgrade, reaching the parts safely is half the battle.
This tutorial walks you through the entire disassembly down to the bare enclosure. Let’s get started.
How to Perform a Dell XPS 13 9350 Teardown (Quick Overview)
- Remove the back plate screws, including the hidden center screw.
- Disconnect the battery and untape the fragile speaker cables.
- Extract the speakers, cooling fan, and SSD by undoing their securing screws and connectors.
- Disconnect all ribbon cables from the main logic board and the daughterboard.
- Remove the motherboard screws and lift out both internal boards.
- Undo the hinge screws and separate the LCD assembly from the top case.
🛠️ Required Tools & Preparation
A Dell XPS 13 9350 teardown requires only a few standard bits and tools. Power the laptop off and unplug it before you start.
- T5 Torx screwdriver: used for all the external back plate fasteners.
- Phillips screwdriver: required for almost all internal components, including the battery and fan.
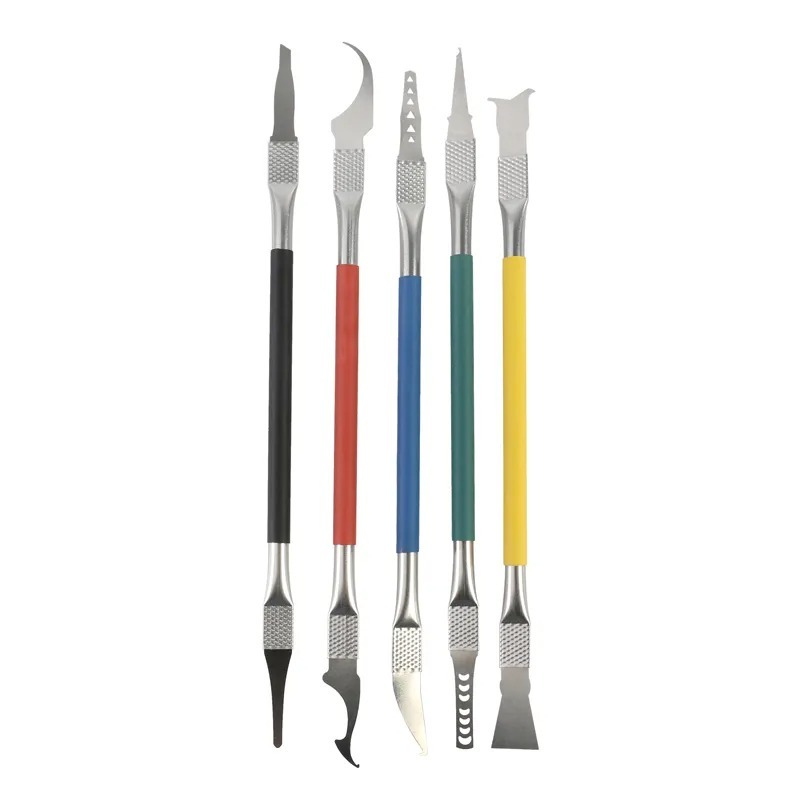
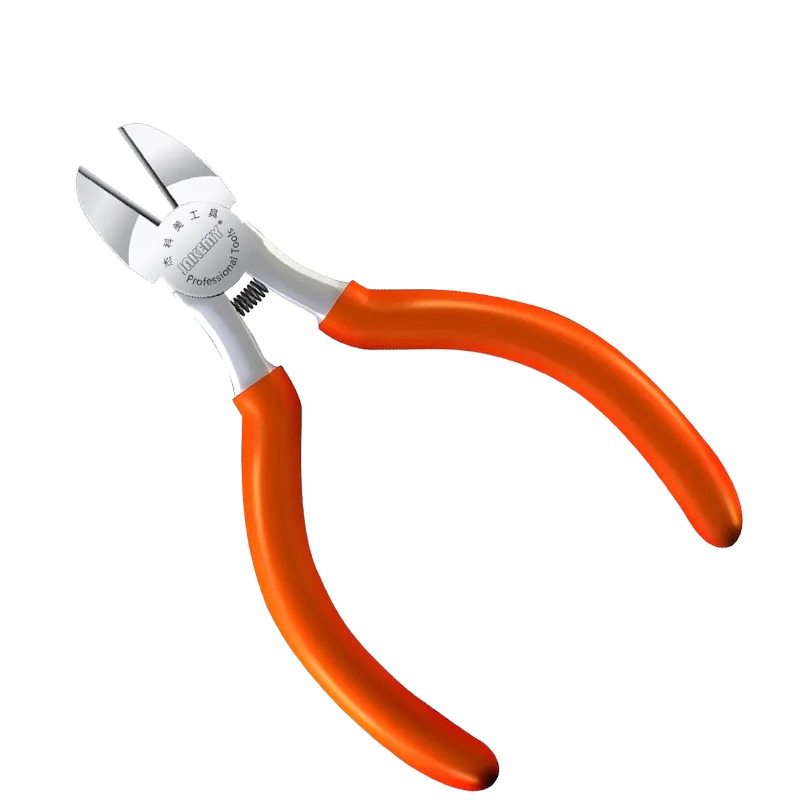
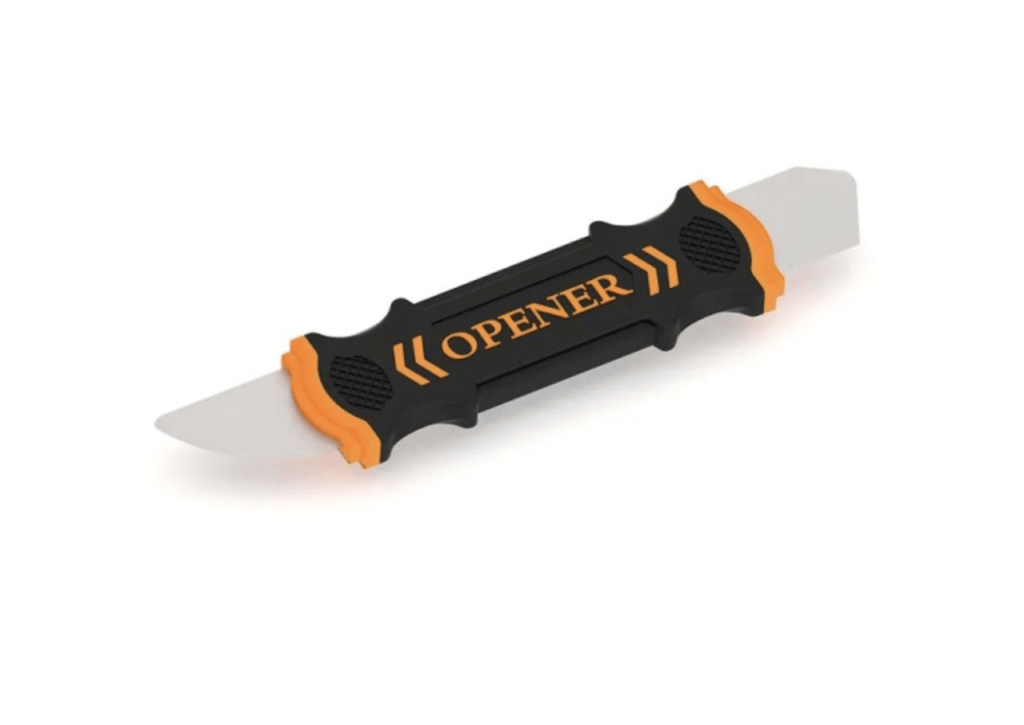
- Plastic pry tool: unclips the back plate safely and detaches delicate connectors.
Want to double-check a screw type before you start? The official XPS 13 9350 service manual includes a full screw list and recommended tools.
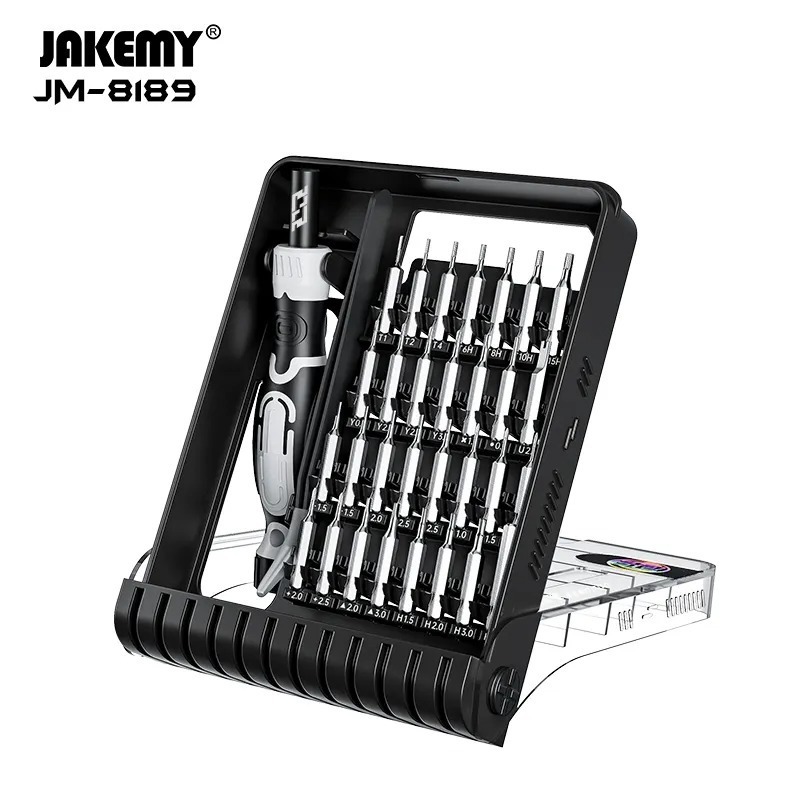
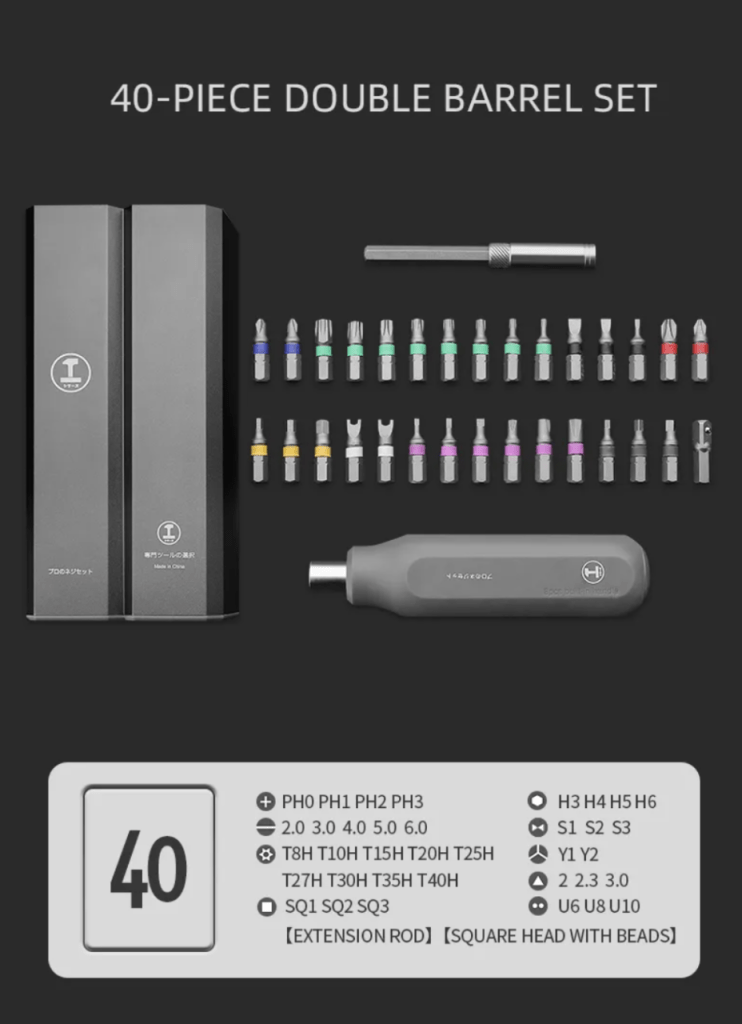
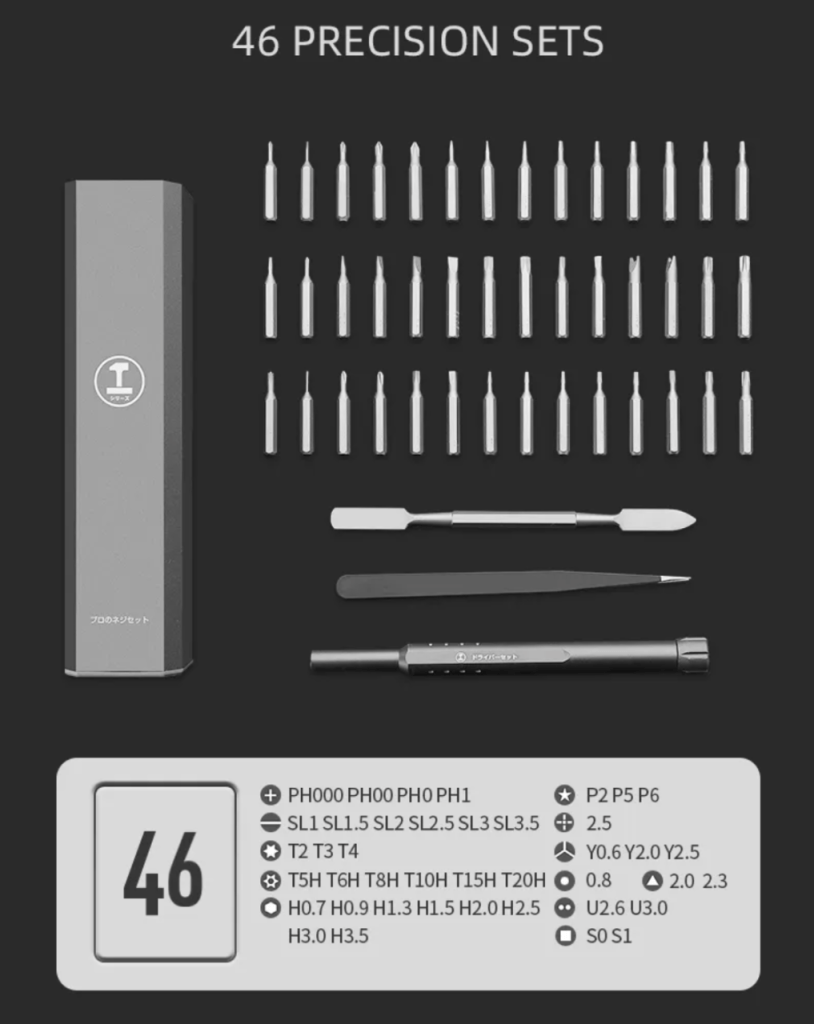
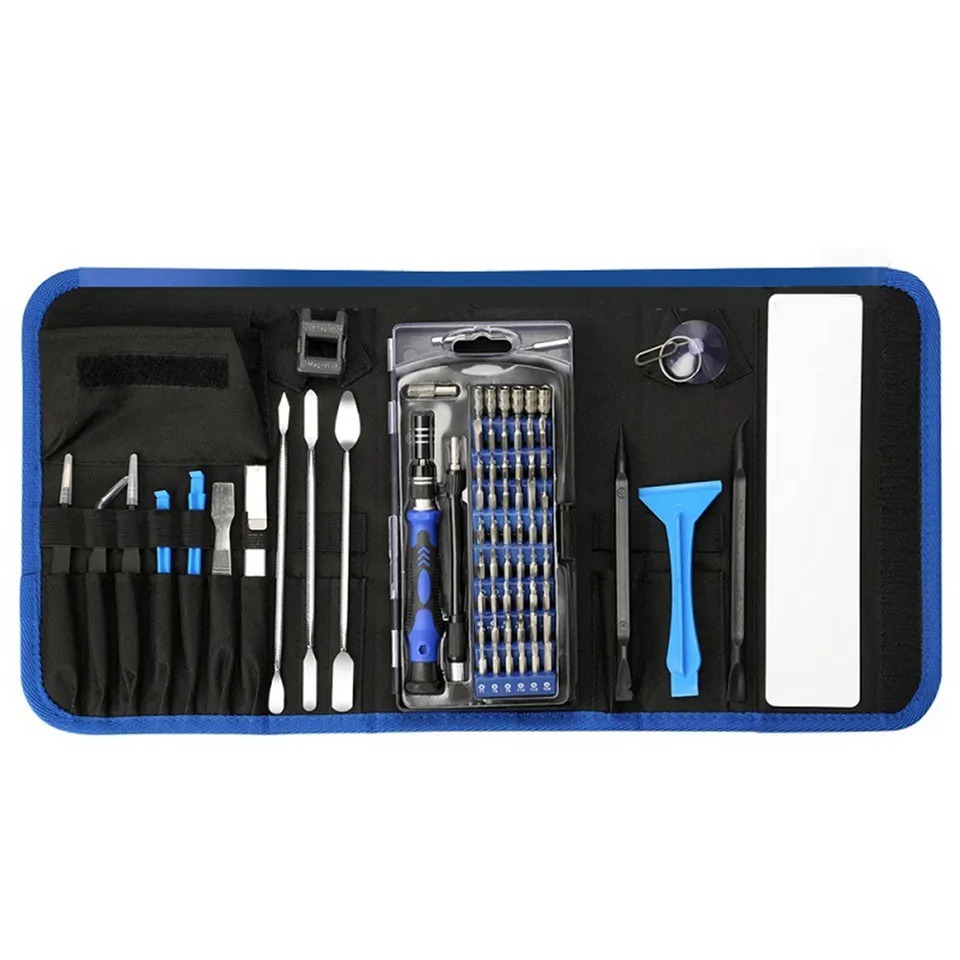
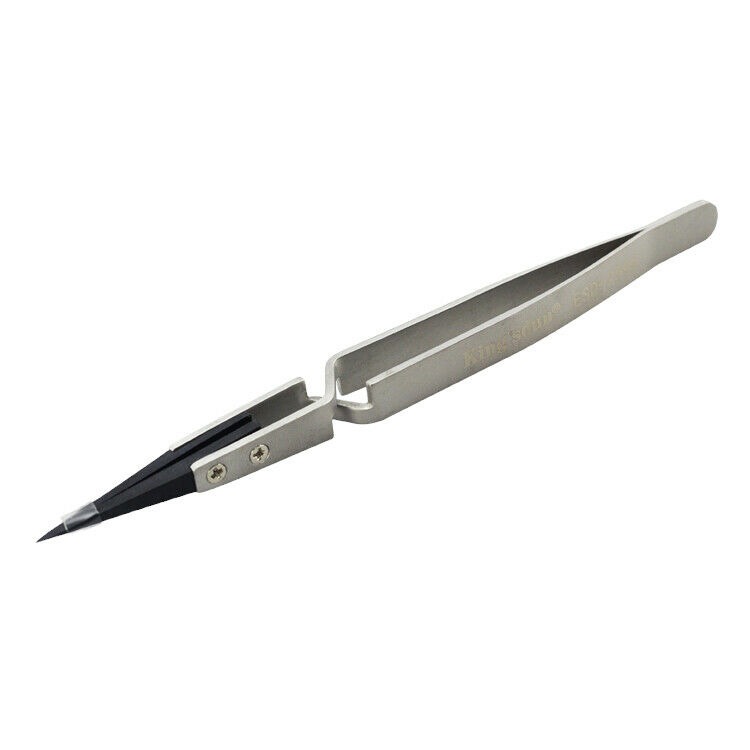
Get the Exact Tools Used by Our Techs:
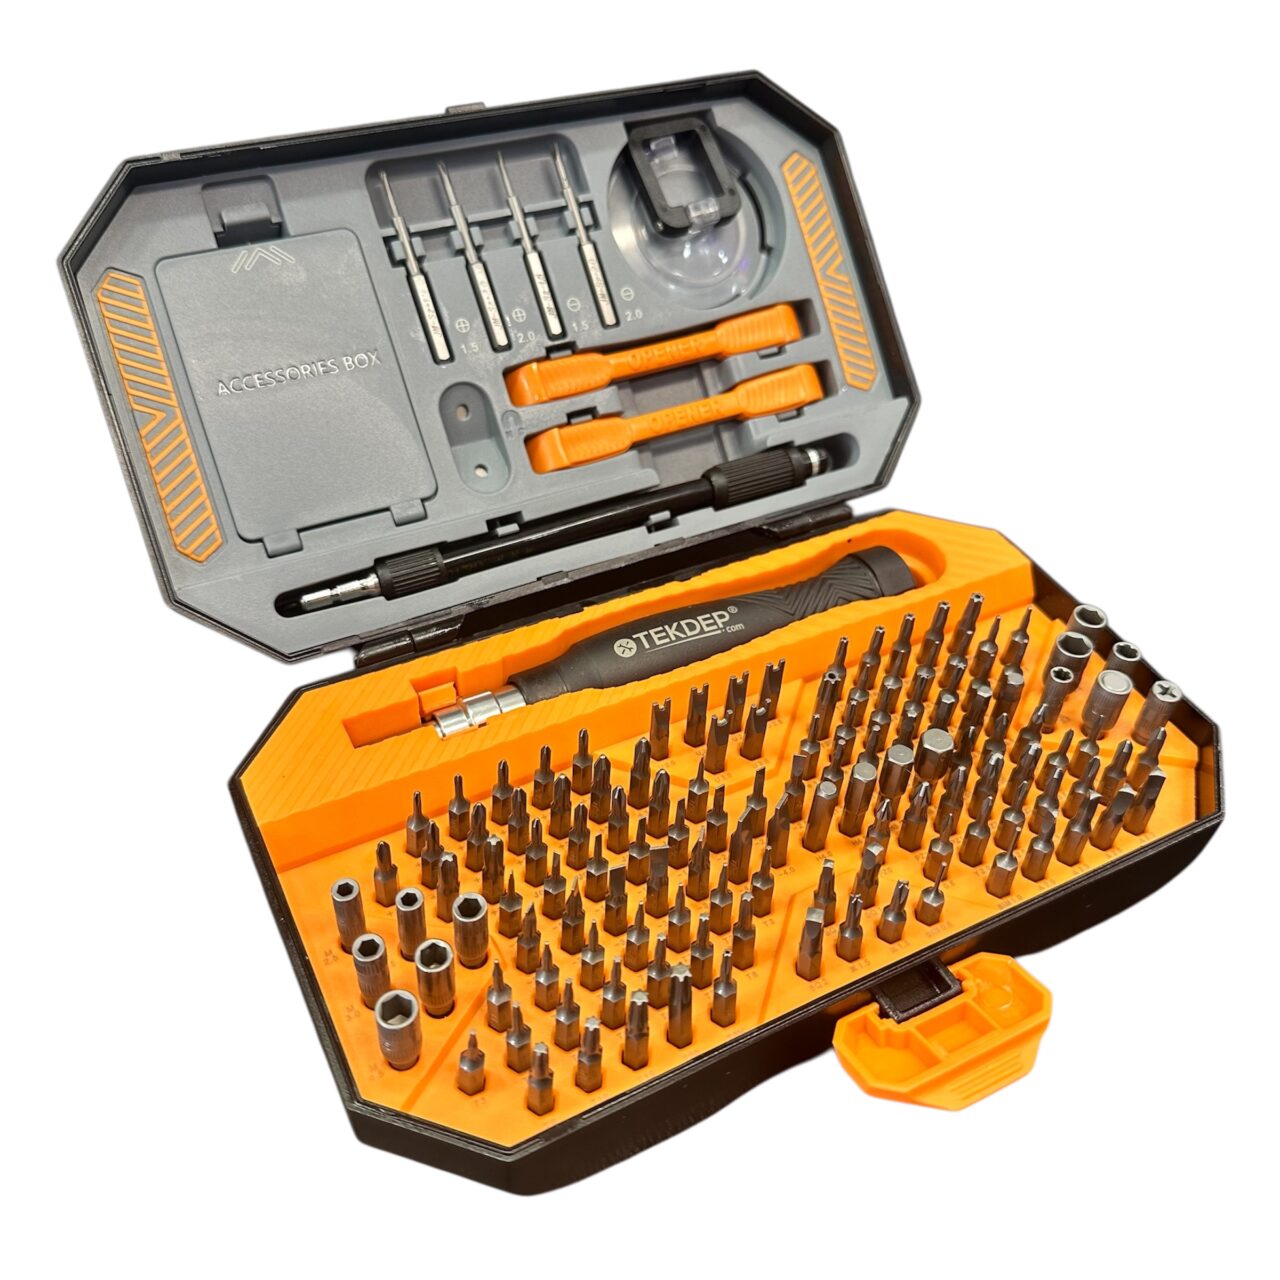
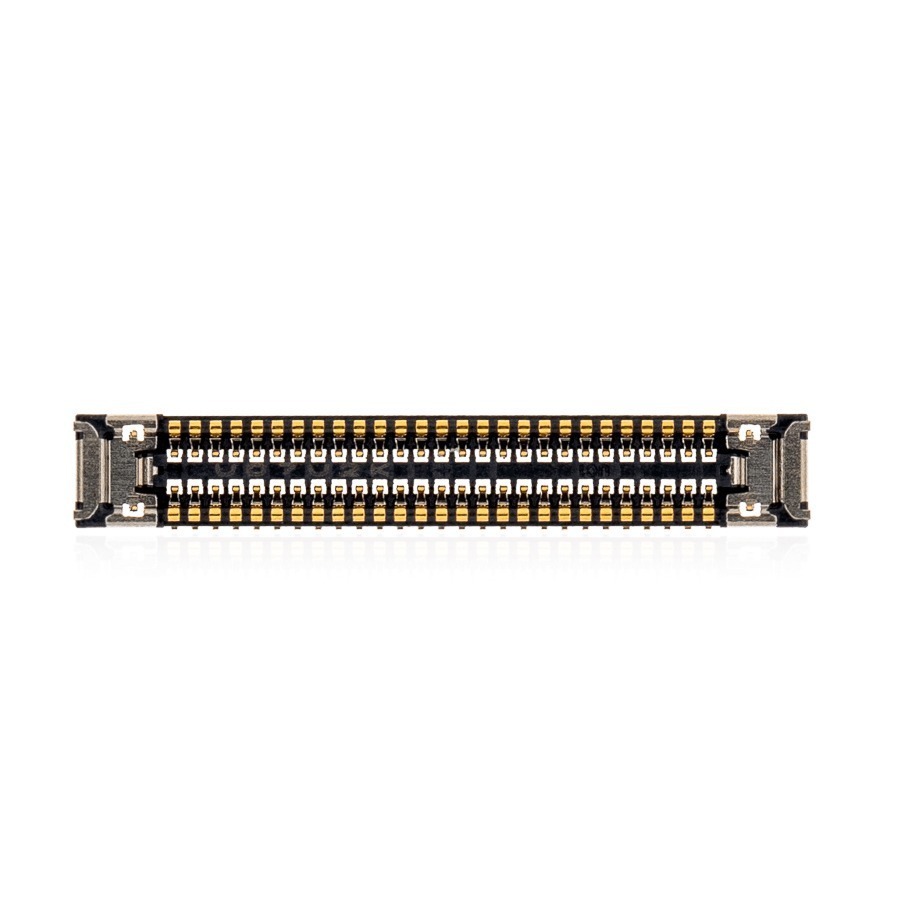
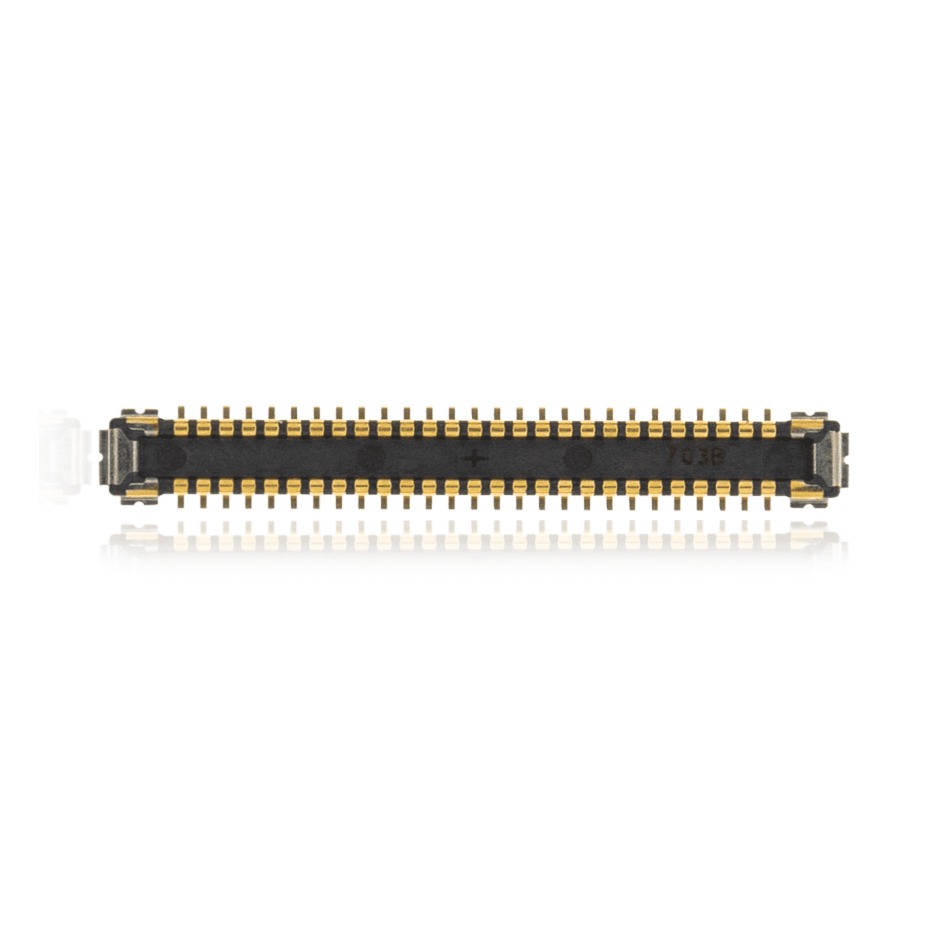
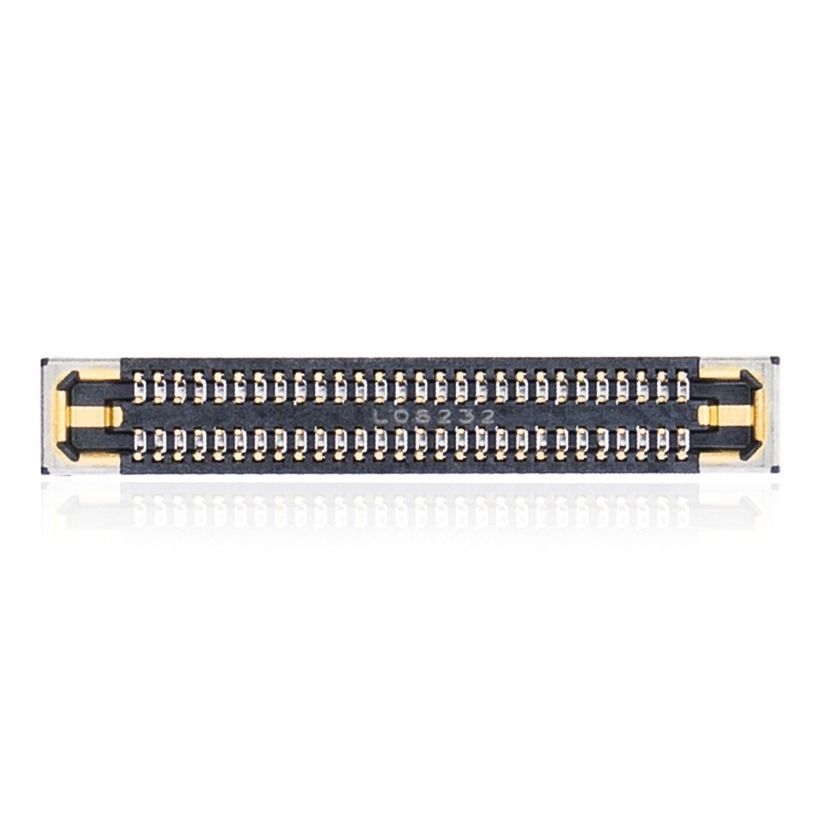
Check out every part we stock for this model if you need additional replacements.
⚠️ Before you start: Disconnect the battery before you touch any connector. Work on an anti-static mat and keep each group of screws together.
Phase 1: Getting Inside & The Battery
Before you dive into your Dell XPS 13 9350 teardown, always disconnect the power to prevent electrical shorts.

Step 1: Remove the Back Plate
The bottom panel has standard perimeter screws, plus one hidden fastener in the center.
- Remove all T5 Torx screws along the back plate’s outer edge.
- Flip up the center metal flap to reveal and remove the one hidden screw underneath.
- Slide your plastic pry tool under the back corner, then trace it along the sides and front to pop the plate off.

Step 2: Disconnect and Remove the Battery
With the panel off, disconnect the main power immediately. Do not rip the battery straight out; speaker cables are taped across it.
- Pull the battery tab straight out to fully disconnect it from the logic board.
- Gently peel back the tape holding the fragile speaker cables down to the battery.
- Remove the four Phillips screws securing the pack, locating the final screw hidden under the right-side cable.
- Gently pry up and lift the old battery out of the chassis.


TekDep Expert Warning: Always disconnect the battery first to prevent electrical shorts. Handling metal tools near a live logic board can cause irreversible damage if you slip.

Phase 2: Removing Peripherals (Speakers, Fan & SSD)
Next, clear out the secondary components blocking access to the main logic board.
Step 1: Extract the Speakers
The speakers are secured by both screws and a bit of light adhesive.
- Unscrew the four Phillips fasteners connecting the speakers to the chassis.
- Use your pry tool to pull the speaker connector straight away from the logic board to pop it out.
- Lift the speakers out gently, peeling away any adhesive stuck to the logic board.
Step 2: Remove the Cooling Fan
The fan assembly is trapped under the logic board on the right side, so it must be angled out.
- Remove the two Phillips screws holding the display cable bracket and pull the display cable straight up.
- Grab both sides of the 4-pin fan connector and pull it straight out of its socket.
- Remove the two Phillips screws holding the fan down.
- Lift the fan on its left side and gently slide it out from its connection under the logic board on the right.


Step 3: Remove the SSD and Wi-Fi Card
Both storage and networking chips use standard M.2 slots.
- Undo the single screw holding the SSD and pull the drive out.
- Undo the screw holding the Wi-Fi/LAN card bracket.
- Slide your pry tool under the two antenna cables and pop them up to disconnect them.
- Pull the Wi-Fi card out safely.

Phase 3: The Motherboards (Main & Daughterboard)
The Dell XPS 13 splits its logic board into two sections connected by a ribbon cable.
Step 1: Disconnect the Ribbon Cables
You must free the main board from all surrounding components before touching its screws.
- Lift the retaining clips and pull out the trackpad, keyboard, and left daughterboard cables.
- Disconnect the CMOS battery on the right side.
- Unplug the charging port connector at the top right, and the final cable tethered to the top case.


Step 2: Extract the Main Motherboard
- Take out the remaining motherboard screws holding the unit down.
- Gently pull the main motherboard out, making sure you do not catch or rip any loose cables.


Step 3: Remove the Daughterboard
The left-side daughterboard houses the USB and SD card reader.
- Unplug the main display connection bridging across to it.
- Remove the final two screws, disconnect the remaining cable, and lift the board out.

Phase 4: Display Assembly & Reassembly Notes
With the core logic boards removed, separating the display is surprisingly simple.
Step 1: Separate the LCD Display Assembly
You do not need to remove the logic boards to do this, as long as the battery, display, and Wi-Fi cables are already unplugged.
- Undo the two screws securing each hinge on the left and right sides.
- Bend the hinges upward manually.
- Once bent enough, the top case will just fall right off, cleanly separating the halves.

Step 2: Reassembly Notes & Power Test
Reassemble the laptop in reverse order. Be gentle when snapping the Wi-Fi antennas back on (black to aux, white to main), and remember to slide the fan under the logic board carefully. Plug the charger in before turning the laptop on to wake the board up.
Congratulations! You have successfully performed a full teardown on your Dell XPS 13 (9350).
🛑 Not Comfortable Handling Internal Logic Boards? If reading about hidden screws and delicate ribbon cables has you second-guessing your DIY skills, don’t worry. The TEKDEP experts are here to help.
We offer clean, professional, and affordable Mail-In repair services for the entire Dell XPS lineup.
Frequently Asked Questions
Is it hard to perform a Dell XPS 13 9350 teardown?
Surprisingly, no. A complete Dell XPS 13 9350 teardown is straightforward because there is almost no heavy adhesive blocking the major components. You only need standard screwdrivers and a plastic pry tool to navigate the internal layout.
Are the Dell XPS 13 9360 and 9350 internally the same?
Yes. The Dell XPS 13 9360 and the earlier 9350 share a nearly identical internal chassis layout. The screws, component locations, and repair steps shown in this guide work perfectly for both laptop models.
Where is the hidden screw on the Dell XPS 13 back plate?
Right under the center panel. After removing the visible perimeter fasteners, you must flip up the metal flap in the middle of the back plate to expose and remove the final screw before prying the cover off.
🛑 IMPORTANT: SAFETY & LIABILITY DISCLAIMER TEKDEP®️ TEKDEP.com assumes no liability for property damage or injury incurred as a result of any information in this blog post or associated videos. Dealing with internal computer components, specifically Lithium-Ion batteries, carries inherent risks including fire, toxic gas exposure, and irreversible device failure. Any injury, damage, or loss from improper use of tools, mishandling of components, or misinterpretation of this information is the sole responsibility of the user.