Model: A2847 (iPhone 15 Plus) | Level: Intermediate
The iPhone 15 Plus (Model A2847) represents a massive structural pivot for Apple. Embracing a highly modular, dual-entry chassis, the device allows technicians to bypass the fragile OLED display and access the internal components directly through the rear glass.
However, while physical access has become easier, the electrochemical and software landscape has grown exponentially more complex. This isn’t just a simple plug-and-play battery swap. The A2847 utilizes sophisticated cryptographic component pairing, meaning a DIY battery swap will trigger persistent “Unknown Part” warnings in iOS 18 unless advanced BMS (Battery Management System) transfer techniques are utilized.
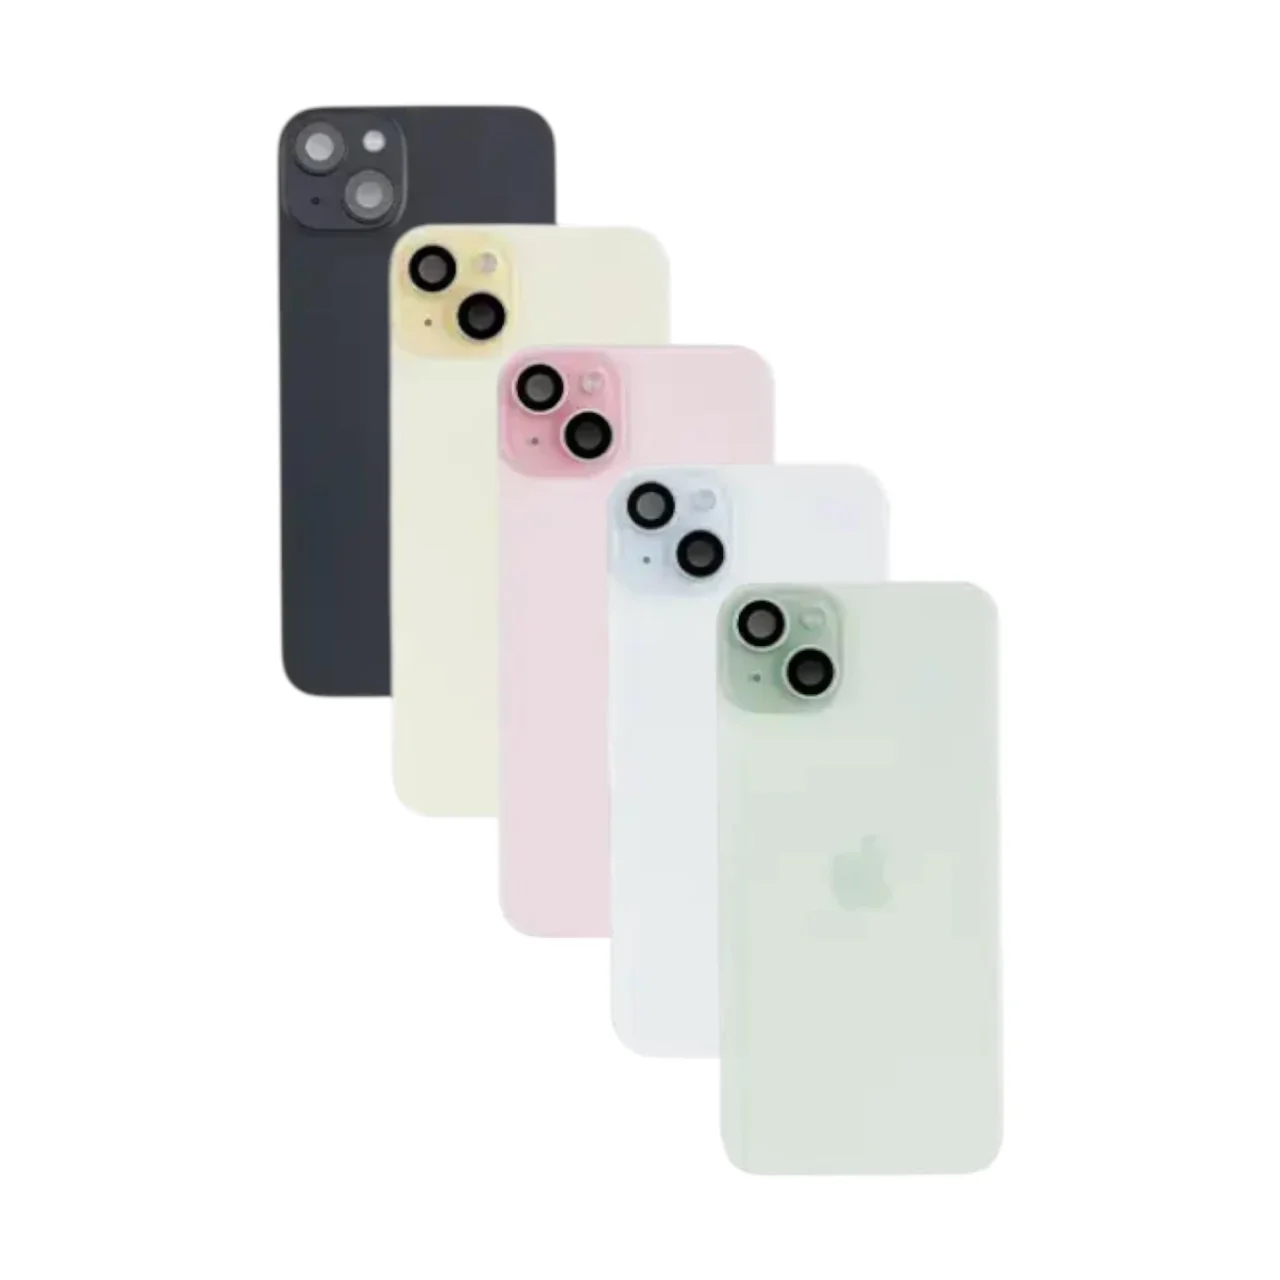
In this definitive TekDep master guide, we break down a complete iPhone 15 Plus battery replacement. From discharging the sandwich-board capacitors and safely extracting a swollen cell, to the elite micro-soldering protocols required for a perfect BMS transfer, this is your blueprint for achieving a factory-grade repair in 2026.$$WP Gallery Location: Top Banner / Hero$$
The Technical Reality: Chemistry, SEI Layers, and The “Unknown Part” Moat
Before applying heat to the chassis, it is crucial to understand why this battery failed and what happens when you replace it.
Electrochemical Degradation
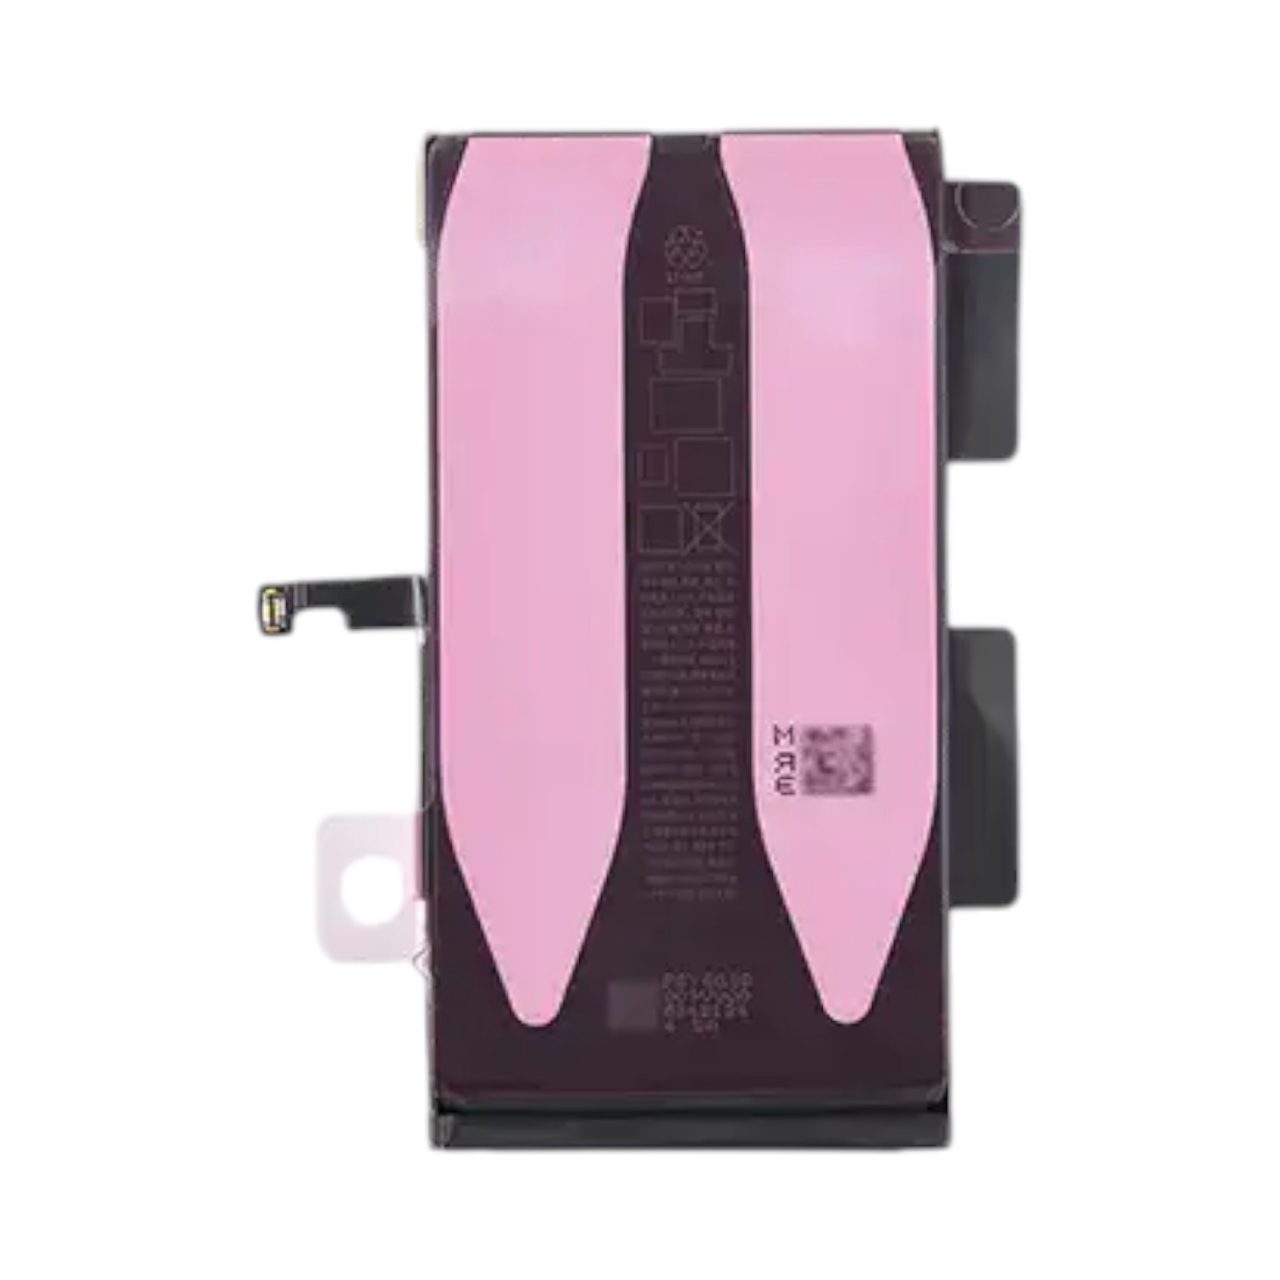
The A2847 houses a massive 4383 mAh (16.95 Wh) Lithium-ion Polymer (Li-Po) battery. Over time, physical reactions cause the Solid Electrolyte Interphase (SEI) layer on the anode to thicken, consuming active lithium and raising the internal electrical resistance. When internal resistance spikes, the battery experiences severe “voltage sag” under high-current loads (like using 5G or recording 4K video), causing the logic board to trigger an unexpected shutdown.
The Cryptographic Moat (BMS Serialization)
Apple enforces a strict software verification protocol on the iPhone 15 series. The original battery features a BMS board with an EEPROM chip containing a unique serial number cryptographically paired to your logic board. If you simply install a new, high-quality aftermarket battery, the iPhone will reject its serial number. You will receive an “Important Battery Message / Unknown Part” notification, and you will lose access to Maximum Capacity and Cycle Count metrics in your settings.
TekDep Expert Insight: “To achieve a true, factory-level repair that retains 100% Battery Health visibility, technicians must execute a ‘BMS Transfer.’ This involves cutting the BMS board off the degraded battery, grinding the nickel tabs, and pulse spot-welding it onto a new aftermarket core cell, followed by calibrating it with an i2C tag-on flex cable. This is a highly advanced micro-soldering procedure.”
⚠️ Critical Safety & Professional Tooling
The iPhone 15 Plus contains exactly 66 internal screws of varying lengths. “Long-screw damage” (putting a long screw in a short hole) will instantly sever the underlying traces of the logic board, bricking the device. Organization is paramount.
Furthermore, punctured or swollen lithium-ion batteries are severe fire hazards.
Required Tooling for the A2847:
- Heating Mat or Heat Gun: Essential for softening the IP68 frame adhesive (Set to 80°C – 85°C).
- Pentalobe P2 & Tri-point Y000 Screwdrivers: For external chassis and internal retaining brackets.
- Non-Marring Pry Tools (3mm depth limit): To separate the glass without severing cables.
- 99% Isopropyl Alcohol: Crucial for dissolving the battery stretch-release adhesive without causing electrical shorts.
- Pulse Spot Welder & Ceramic Cutters: (Only required if performing the advanced BMS transfer protocol).
Get the Professional Grade Tools Used by Our Techs:


Phase 1: Breaching the Dual-Entry Chassis
We begin by removing the rear glass panel. This requires precision heat application to break the factory water-resistant seal.
Step 1: Removing Pentalobe Screws
Turn off the iPhone. Using your P2 Pentalobe screwdriver, turn counter-clockwise to remove the two screws flanking the USB-C port at the bottom of the device.


Step 2: Thermal Softening
Place the iPhone face-down on a heating mat or using preset to 80°C to 85°C (176°F to 185°F). Let it sit for 2 to 3 minutes. If you do not have a mat, apply even heat around the perimeter of the back glass using a heat gun.

Step 3: Slicing the Adhesive (The 3mm Rule)
Attach a heavy-duty suction cup to the bottom of the rear glass. Pull up gently to create a hairline gap between the glass and the titanium/aluminum frame. Insert your plastic pry tool. CRITICAL WARNING: Do not insert the pick deeper than 3 millimeters. The wireless charging and NFC flex cables run tightly along the right edge of the device.


Step 4: Opening the “Book”
Once you have sliced the adhesive around the perimeter, gently tilt the back glass open from the left side to the right (like opening a book). The logic board is situated on the right side, tethering the back glass to the device.

Phase 2: Power Disconnection & Capacitor Discharge
With the device open, you are staring at a live logic board. Your immediate priority is cutting the power.
Step 1: Removing Retaining Brackets
While supporting the back glass with one hand (or leaning it against a stable object), use your Y000 Tri-point screwdriver to remove the screws holding the lower retaining bracket over the battery terminal.

Step 2: Disconnecting the Battery
Use a nylon spudger (never metal) to pop the battery connector straight up from its socket on the logic board.

Step 3: The 10-Second Discharge Rule
The iPhone 15 Plus utilizes a densely packed “sandwich” logic board filled with surface-mounted capacitors that retain a residual electrical charge even after the battery is disconnected. Turn the phone over and press and hold the Power Button for 10 full seconds. This completely drains the capacitors, rendering the board electrically inert and safe to work on.

Phase 3: Clearing the Peripherals
To safely extract the massive 4383 mAh battery, we must completely remove the back glass from the workspace.
Step 1: Upper Bracket Removal
Locate the upper retaining bracket covering the MagSafe wireless charging coil and LED flash connectors. To remove this specific bracket, apply gentle pressure on its upper-left corner and slide it out of its retaining groove.

Step 2: Disconnecting Back Glass Flex Cables
Using your anti-static pry tool, gently disconnect the two flex cables bridging the rear glass to the logic board. Once disconnected, set the entire rear glass assembly safely aside.

Phase 4: Extracting the Degraded A2847 Battery
The client’s device in this teardown was sent to our Mail-In Repair Service because it wasn’t powering on and was emitting a funky, chemical odor—the tell-tale sign of a ruptured, swollen lithium-ion cell.
Step 1: Softening the Pull-Tabs
Place the chassis back onto your heating mat (80°C) for 3 to 4 minutes. This softens the heavy-duty adhesive strips located underneath the battery.

Step 2: The Isopropyl Alcohol Technique
If the pull-tabs snap (which is common on older, degraded batteries), do not aggressively pry with a metal tool. Tilt the phone slightly and drip a small amount of 99% Isopropyl Alcohol along the edge of the battery. Note: High-purity alcohol is non-conductive and evaporates rapidly. It breaks down the chemical bonds of the adhesive without damaging the sandwich board.

Step 3: Safe Extraction
Use a wide, flat plastic pry tool to gently lever the battery out, utilizing the largest possible surface area to avoid puncturing the soft Li-Po pouch. Immediately isolate the swollen battery. Place tape over its exposed terminal contacts and store it in a fireproof or anti-static bag for proper recycling.


Phase 5: The Advanced BMS Transfer Protocol (Optional but Recommended)
If you are installing a standard aftermarket battery, skip to Phase 6. Be aware that you will trigger the “Unknown Part” message.
To maintain the “Genuine” status and 100% Battery Health metrics, a BMS Swap is required.
- Extraction: Use ceramic snips to cut the original BMS board off the swollen battery. Ceramic prevents cross-terminal short circuits.
- Grinding: Use a precision rotary tool to grind down the residual nickel tabs on the original BMS until they are perfectly flat and clean.
- Spot Welding: Take a new “Core” cell (a battery sold without a BMS). Align the original BMS onto the new cell’s tabs. Use a pulse spot welder to fuse the nickel tabs together. (Never use a soldering iron; the thermal mass will boil the internal electrolyte).
- Calibration: Attach an i2C or JC tag-on flex cable to the newly welded assembly. Connect it to a programming box to reset the cycle count to zero and bump the programmed health to 100%.
TekDep Expert Insight: “A BMS transfer represents the pinnacle of modern mobile repair. It restores factory functionality and preserves the secondary resale value of the iPhone 15 Plus. At TEKDEP, this advanced micro-soldering service is standard on our premium battery replacements.”
Phase 6: Reassembly, IP68 Resealing, and Final Testing
With your new, high-capacity battery prepped—whether an aftermarket cell or a seamlessly spot-welded genuine core—it is time to reassemble the A2847 and ensure all systems pass inspection.
Step 1: The Terminal Alignment Trick
Remove the protective film from the pre-installed adhesive strips on the back of your new battery. Instead of dropping the battery blindly into the chassis tray, use this professional trick: Connect the battery terminal to the logic board first. This acts as a physical guide, ensuring the battery is perfectly aligned in its housing without straining the flex cable. Once aligned, press the battery down firmly to set the adhesive. Immediately disconnect the battery terminal again and press the power button for 10 seconds to discharge the capacitors before proceeding.


Step 2: Reconnecting Back Glass Peripherals
Bring your rear glass assembly back to the chassis and rest it like an open book. First, reconnect the MagSafe and LED flash flex cables.
CRITICAL WARNING: Do not apply too much pressure. These connecting pins are microscopic and incredibly fragile; if you bend them, you will lose wireless charging functionality. You should feel a gentle, tactile click. Once the upper peripherals are secured, you can safely connect the main battery terminal back to the logic board. Reinstall both the upper retaining bracket (sliding it into its groove) and the lower battery retaining bracket, securing them with your Y000 Tri-point screws.


Step 3: Restoring the IP68 Water Seal
As noted in the teardown video, because we utilized a heating mat to carefully open the device, you can technically reuse the original adhesive. However, this repair will affect the water resistance of the phone.
For the highest quality repair, we recommend stripping the old adhesive with isopropyl alcohol and a scraping tool, then applying a new, pre-cut iPhone 15 Plus waterproof frame adhesive. Once prepped, fold the back glass down, making sure you line up the camera array properly. Press firmly around the edges and corners of the phone to make sure it is completely snug.

Step 4: Reinstalling Pentalobe Fasteners
With the rear glass sitting flush and snug, take your two bottom P2 pentalobe screws and secure them back into the bottom of the device, flanking the USB-C port. Turn clockwise to tighten, but do not overtighten to avoid stripping the soft metal heads.
Step 5: Final Testing and Boot Up
Once everything is installed, it is time for the moment of truth. Let’s power on the phone. Hold the power button and wait for the Apple logo. Once booted into iOS:
- Test the touchscreen responsiveness.
- Plug a USB-C cable into the port to ensure the device registers a charge and the new battery accepts a current.
- Open the Settings > Battery > Battery Health menu. If you performed a BMS transfer successfully, this will display “100% Maximum Capacity” with zero cycle counts. If you simply swapped the battery, this is where you will verify the “Important Battery Message” notification.

🛑 Not Comfortable with Spot-Welding or Opening the Chassis?
The iPhone 15 Plus dual-entry chassis is fantastic for repairability, but the risks of severing flex cables or triggering “Unknown Part” messages remain high.
Let the TEKDEP experts handle it. We offer BMS Transfers and cleanroom-grade battery replacements. 👉 Start Your Worldwide Mail-In Repair Here
iOS 18 Software & Battery Longevity
Once your repair is complete, maximizing the lifespan of your new 4383 mAh battery requires understanding iOS 18’s new algorithmic controls.
The Chemistry of the 80% Limit: In the Battery settings, iOS 18 introduces hard charging limits at 80%, 85%, 90%, and 95%. From an electrochemical perspective, forcing lithium ions into a nearly saturated anode (the final 20% of the charge) creates immense internal mechanical stress and heat. By capping your daily charge at 80%, you keep the lithium-ion chemistry in its “sweet spot.” This single software toggle can double the chronological time it takes for your battery to hit its 1000-cycle degradation threshold.
Frequently Asked Questions (FAQ)
Why is my iPhone 15 Plus shutting down at 30%?
This is a classic symptom of high internal impedance caused by chemical aging. When the degraded battery tries to supply high current (voltage sag), the output voltage drops below the logic board’s minimum operating threshold, causing the BMS to trigger an emergency shutdown to prevent data corruption. A battery replacement is required.
How is replacing the iPhone 15 Plus battery different from the iPhone 13?
The biggest difference is the entry point. Older models required removing the delicate front OLED screen. The iPhone 15 Plus (A2847) features a dual-entry chassis, meaning we open the rear glass to access the battery. This vastly reduces the risk of accidentally breaking an expensive display panel during a routine battery swap.
What happens if I don’t transfer the BMS to the new battery?
The phone will still power on and function normally. However, you will have a persistent “Important Battery Message” on your lock screen for 4 days, and you will permanently lose the ability to view your “Maximum Capacity” percentage and “Cycle Count” in the Battery Settings.
Can I use a battery from an iPhone 15 Pro Max in an iPhone 15 Plus?
No. While they share similar dimensions, the flex cable lengths, terminal connectors, and internal BMS programming are completely different. You must use a battery explicitly designed for the A2847 / A3039 specification.
🛑 IMPORTANT: SAFETY & LIABILITY DISCLAIMER TEKDEP®️ TEKDEP.com assumes no liability for property damage or injury incurred as a result of any information in this blog post or associated videos. Dealing with internal smartphone components, specifically Lithium-Ion Polymer batteries, carries inherent risks including fire, toxic gas exposure, and irreversible device failure. Any injury, damage, or loss from improper use of tools, mishandling of components, or misinterpretation of this information is the sole responsibility of the user. Perform repairs at your own risk. If you are unsure of your capabilities, please utilize our professional Mail-In Repair Service.

Microsoft Surface Laptop Studio Battery Replacement: Beginner’s Guide
The Microsoft Surface Laptop Studio is notoriously complex, but replacing its battery is surprisingly simple. Follow our step-by-step beginner's guide to safely remove the hidden fasteners and swap the backplate-mounted battery.

A3112 MacBook Pro M4 Teardown: Logic Board Extraction and Parts Pairing Rules
The 14-inch MacBook Pro M4 (A3112) brings powerful Apple Intelligence, but introduces a cryptographic minefield for DIY repair. Learn how to extract the logic board and bypass parts pairing restrictions.

MacBook Pro A1706 Teardown & Flexgate Diagnostic Guide
The MacBook Pro A1706 introduced the Touch Bar and a host of internal complexities. Our expert teardown guide breaks down the glued battery challenge, logic board extraction, and the infamous Flexgate issue.

Official TEKDEP Tutorials
Subscribe for expert tutorials, pro tech tips, and teardowns.
