
How to Replace MacBook Pro 16″ A2141 LCD Assembly Replacement Guide & Tutorial
OVERVIEW:
In this guide, we’ll walk you through the full LCD screen replacement process for the 2019 16-inch MacBook Pro (Model A2141). This specific model features the Intel Core i9 processor and was one of the last Intel-powered MacBook Pros. The repair involves internal disassembly, including the removal of Wi-Fi vent modules, hinge covers, proximity sensors, and battery safety steps. If you’re looking for OEM or aftermarket parts for this model, they’re available at tekdep.com or linked in the video description. Follow along carefully to perform this repair successfully.
See official Apple specs for this model
REPAIR TIME & SKILL LEVEL:
This repair is estimated to take about 2-3 HOURS to complete and is of ADVANCED difficulty, requiring skilled handling of internal MacBook components and knowledge of proper disassembly techniques.

STEPS:
Tools You Need
For this repair, you will need a Pentalobe screwdriver to remove the bottom screws, a suction cup for lifting the bottom cover, a plastic spudger for safe cable disconnection, a T5 Torx screwdriver for Wi-Fi module and logic board screws, a T3 Torx screwdriver for display and hinge-related components, and a PH1 screwdriver for Wi-Fi vent module fasteners. Optional tweezers are helpful for guiding cables during reinstallation.
-

140 in 1 Steel Bit Precision Magnetic Screwdriver Tool Set with Case for Phone PC Electronics
$25.00 -

9 in 1 Disassemble Multi Opening Repair Tools Kit Metal Pry Bar
$9.00 -
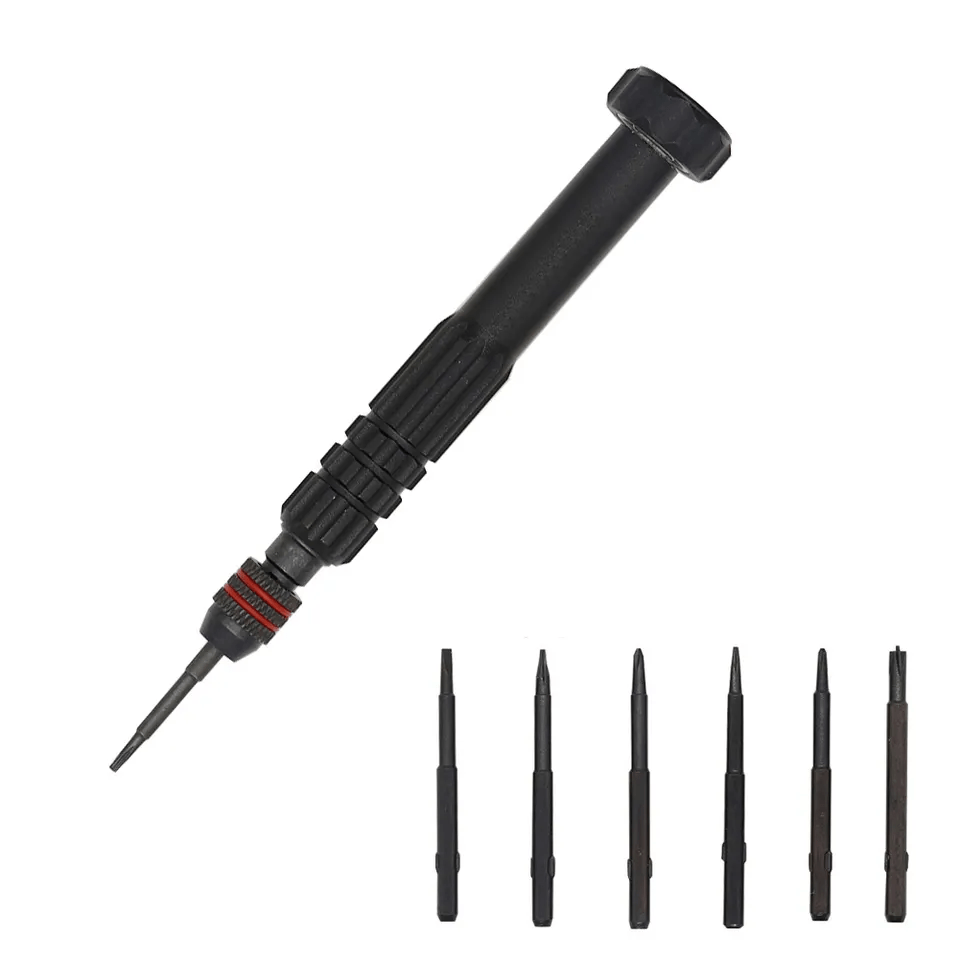
6 in 1 Steel Bit Precision Magnetic Screwdriver Tool Set with Case for Phone PC Electronics
$8.00 -

2X Suction Cup Repair Opening Tool For Phone Computer Tablet Heavy Duty Screen
$8.00 -

Professional Stainless Steel Curved Straight Tip Precision Tweezers
$7.00
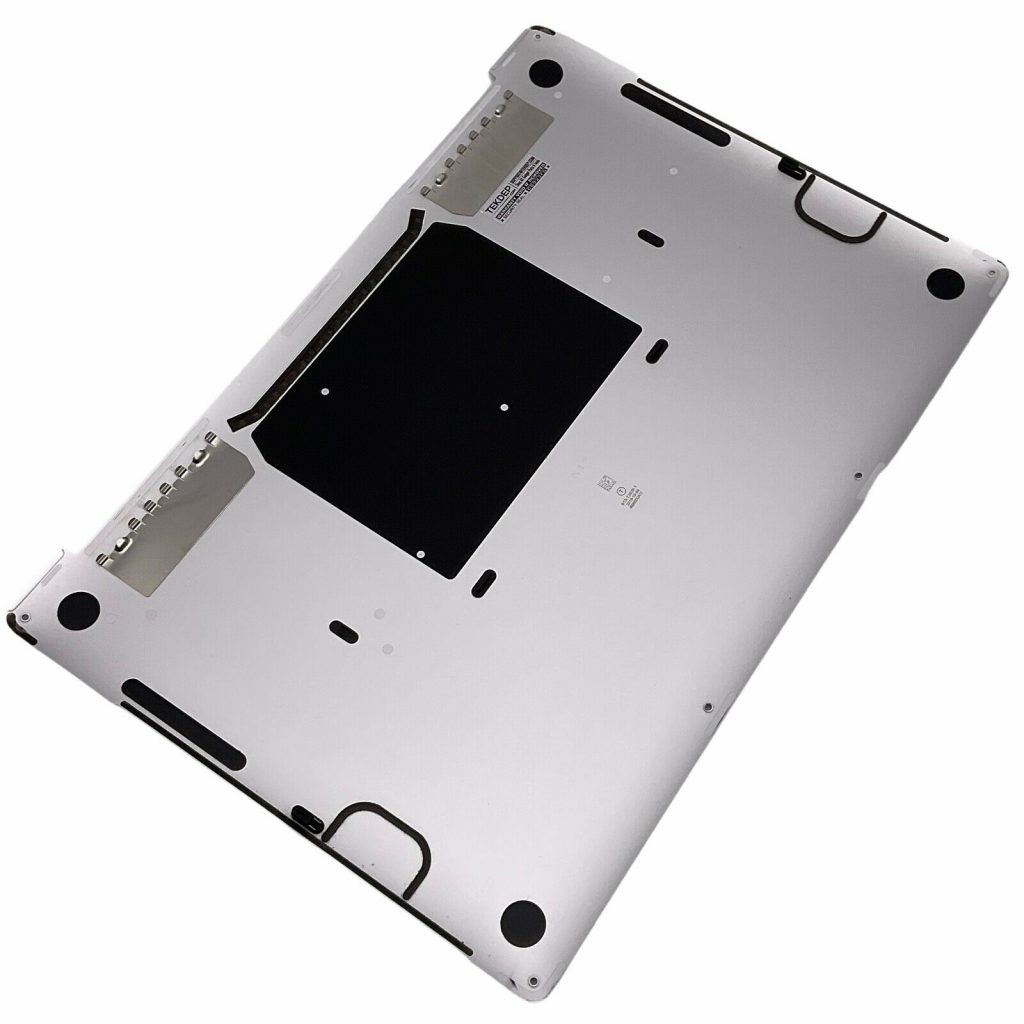
Remove Bottom Case
- Flip the MacBook over and remove the six pentalobe screws on the bottom case: four short ones at the bottom and two long ones at the top.
- Use a suction cup or your hands to lift and loosen the bottom case from the frame.
- Slide the bottom case outward by pushing the top away and pulling the bottom toward yourself to release the internal latches.

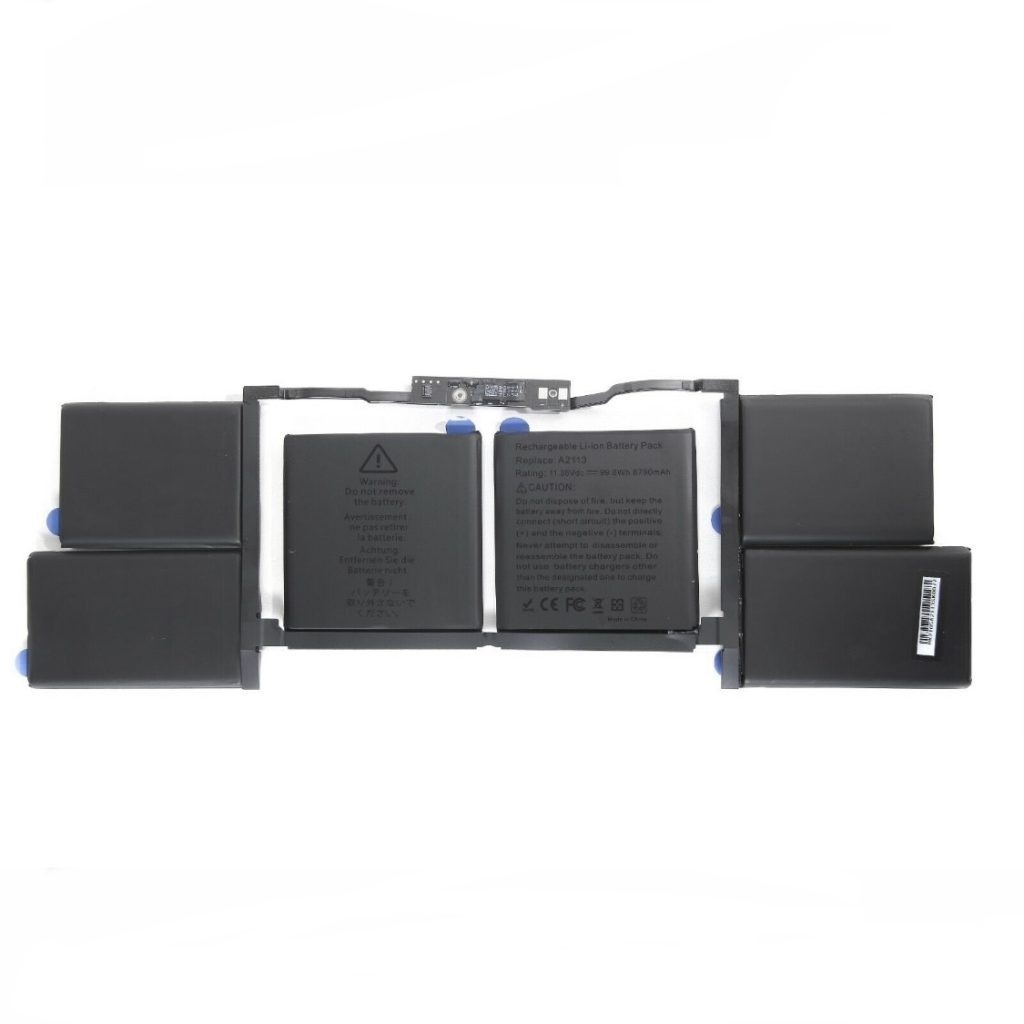
Disconnect the Battery
- Use a plastic spudger to disconnect the battery management flex cable first.
- Remove the T5 pancake screw securing the battery jumper from the logic board to the battery board.
- Once these are disconnected, the MacBook is safe to work on internally.
Remove T5 Screws from Wi-Fi Vent and LCD Board
- Using a T5 screwdriver, remove four screws holding the Wi-Fi vent module and LCD board to the top case.
- Unplug the Wi-Fi antenna cables before removing the T5 screw that secures the antenna bracket.
- Set the T5 screwdriver aside once this part is complete.

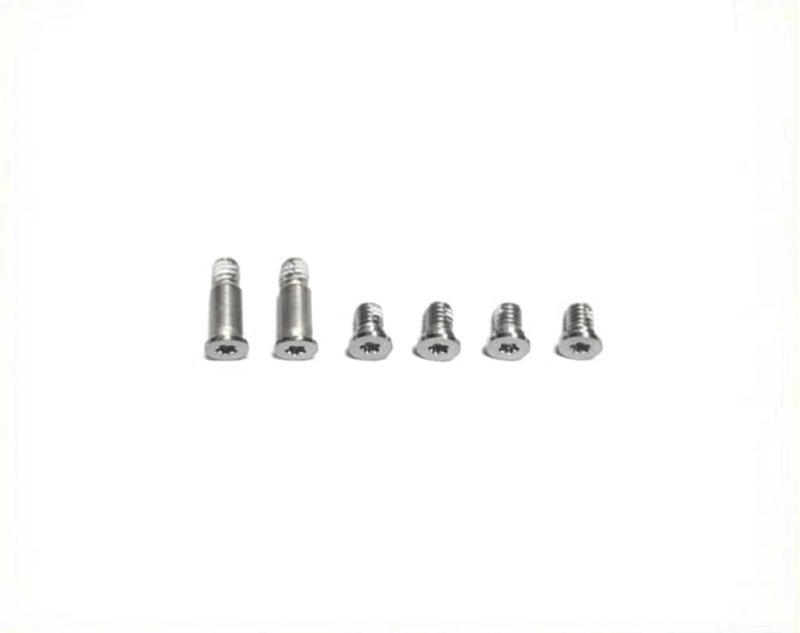
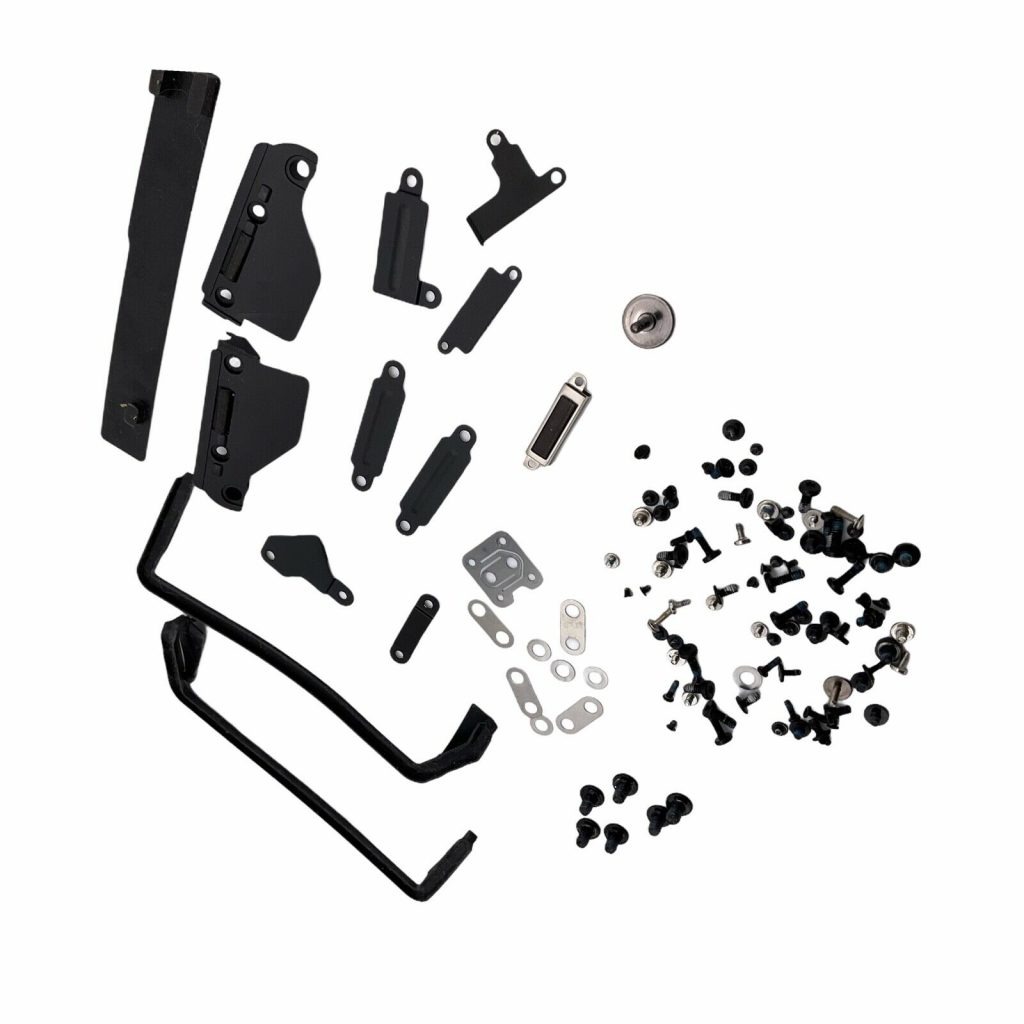
-
A2141 Original Screws Brackets and Gaskets for 2019-2020 MacBook Pro 16â€
-18% $18.00Was:$22.00
Disconnect LCD Proximity Sensor
- Switch to a T3 screwdriver and remove the two screws securing the LCD proximity sensor.
- Unplug the sensor from the logic board; it controls screen sleep/wake functionality.
- Carefully lift the sensor out and set it aside.
Remove Hinge Covers
- Still using the T3 screwdriver, remove four screws (two on each side) to release the LCD hinge covers.
- Remove the hinge covers completely to expose the LCD hinge area.
- Set covers and screws aside for later reassembly.

Remove LCD Bungee Screws
- With the T3 screwdriver, remove four long screws securing the LCD bungees that help with hinge tension.
- These can be stubborn; even when loose, they might require gentle wiggling to remove.
- These screws ensure hinge resistance and help hold the screen’s position.

Remove LCD Display Connector Bracket
- Still on T3, remove four screws securing the LCD display connector bracket: two short screws at the top and two longer ones at the bottom.
- This bracket protects the display cable from being kinked or damaged.
- Once removed, lift the bracket and unplug the display cable.

Remove Wi-Fi Vent Module Screws
- Use the PH1 screwdriver to remove all screws on the Wi-Fi vent modules on both sides of the logic board.
- Be sure to collect and organize these screws for later use.
- These modules include cable routing and protective structures near the hinge.

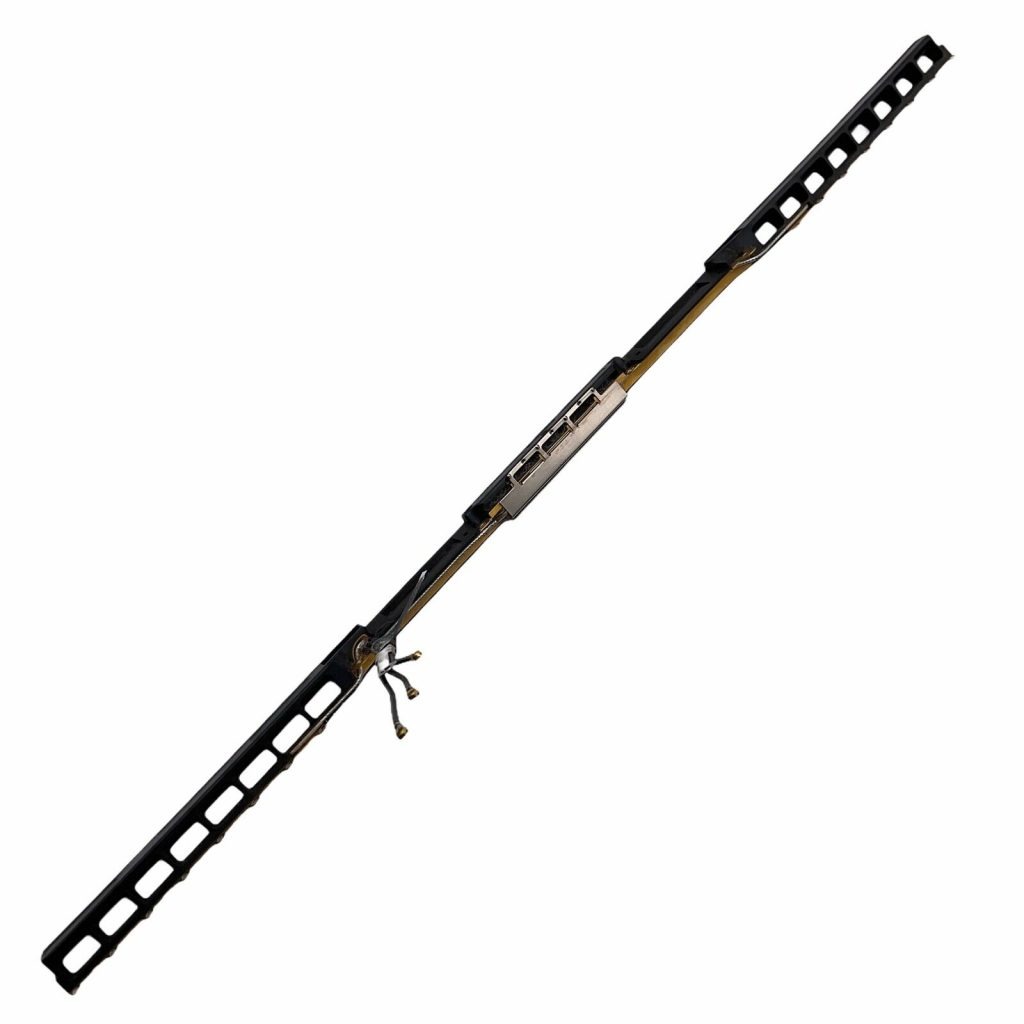
-
A2141 Original WiFi Antenna Vent Module 817-04043 for 2019-2020 MacBook Pro 16â€
-69% $9.00Was:$29.00
Remove Hinge Screws
- Use a T8 screwdriver to remove the six screws (three on each side) securing the LCD hinge to the bottom case.
- Hold the screen firmly while doing this to avoid it falling or shifting.
- Once screws are removed, the display assembly is free from the MacBook.
Remove Old LCD Assembly
- Disconnect the LCD display connector if not already done.
- Open the MacBook and carefully lift off the top case with the damaged LCD.
- Set aside the damaged display and prepare the new screen.
Prep and Install New LCD
- Open the hinges of the new LCD to make insertion into the base easier.
- Carefully lift and guide all cables through the top case cutouts as you lower it into place.
- Close the unit slightly while holding the hinges to avoid pinching or damaging cables.
Secure Hinges with T8 Screws
- Using the T8 screwdriver, reinstall the six hinge screws to secure the new display to the bottom case.
- Tighten all screws evenly to ensure smooth and stable hinge movement.
- A loose hinge may cause the screen to close on its own.

Reconnect LCD Proximity Sensor
- Plug the proximity sensor back into its port on the logic board.
- Confirm the hook on the logic board side is aligned correctly before securing.
- Fasten with the two T3 screws previously removed.
Reinstall LCD Bungees
- Insert and align the bungee tension screws with the T3 screwdriver.
- You’ll feel a slight snap when the alignment is correct.
- These screws help maintain display tension and alignment.
Reinstall Wi-Fi Vent Module and Cables
- Guide Wi-Fi cables through the heat pipe cutout near the right hinge.
- Use tweezers if needed to route cables correctly and prevent pinching.
- Align and reinstall the Wi-Fi vent module.

Reconnect Wi-Fi Antennas and Secure Brackets
- Plug in all Wi-Fi antenna cables into their respective sockets.
- Use the T5 screwdriver to secure the bracket that holds the antenna cables in place.
- Secure the Wi-Fi module and LCD board with the remaining T5 screws

Reconnect LCD Display Connector
- Plug in the LCD display connector to the top of the logic board.
- Reinstall the bracket over the connector using two short T3 screws at the top and two long ones at the bottom.
- Confirm all cable connections are firm and secure.

Secure Touch Bar and Sensor Bracket
- Reinstall the bracket that holds the Touch Bar connector and proximity sensor.
- Align the hook side before screwing down with two T3 screws.
- Confirm the bracket is flush with the board.

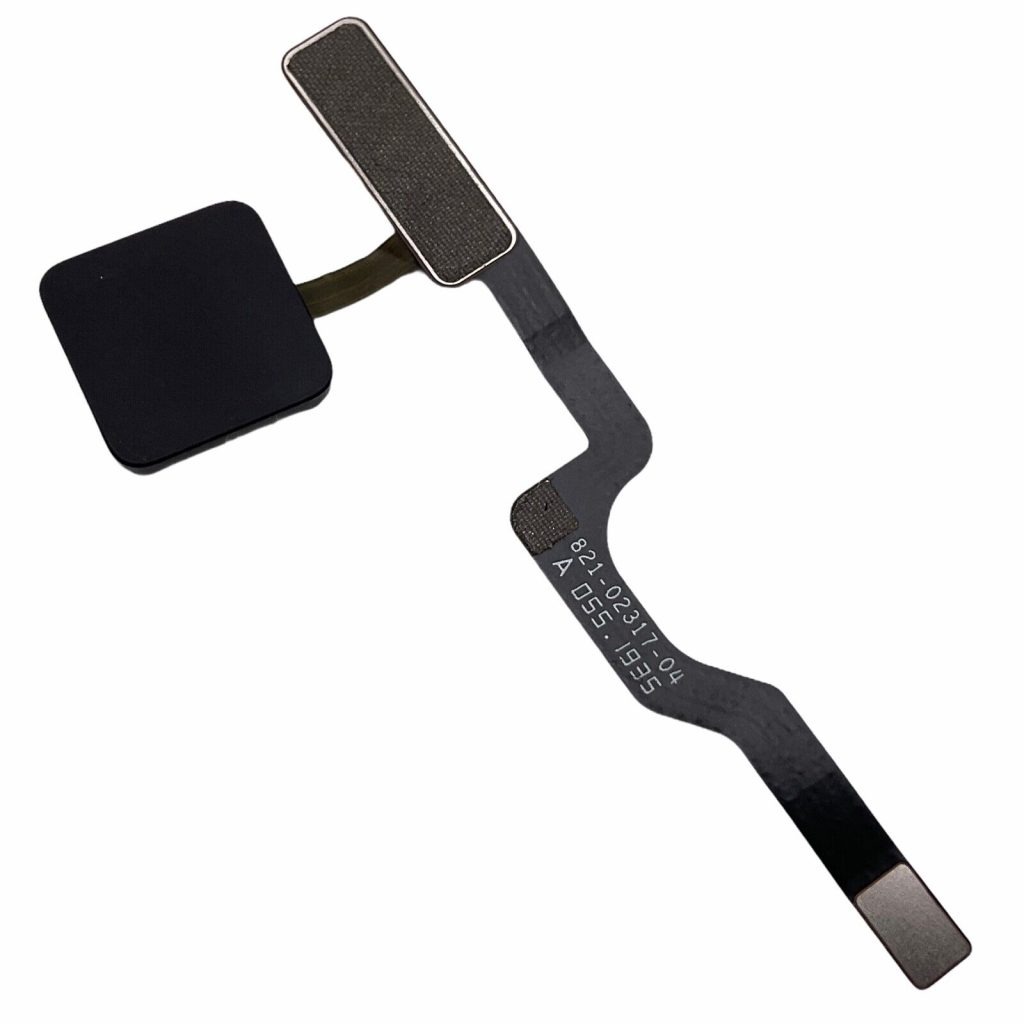
-
A2141 Original Touch ID Power Button Flex Cable 821-02317-A for 2019 MacBook Pro 16″
-35% $32.00Was:$49.00
Reinstall PH1 Screws on Vent Module
- With the PH1 screwdriver, reinstall all screws on the Wi-Fi vent module.
- Start from the outer screws and work inward for even pressure.
- Double-check cable paths to ensure nothing is pinched.

Replace Hinge Covers
- Reposition the hinge covers over the hinges.
- Use the T3 screwdriver to reinstall the four screws that secure them.
- Ensure the covers sit flush and don’t block hinge movement.
Reconnect Battery
- Use the T5 screwdriver to secure the pancake screw that connects the logic board to the battery board.
- Plug in the battery management flex cable to re-enable power monitoring.
- This step is critical for power-up, charging, and battery status.

Test Before Reassembly
- Plug in a charger to confirm the MacBook powers on and displays correctly.
- Confirm that it charges properly and stays on when unplugged.
- Check the proximity sensor by closing the lid and waiting for sleep mode activation.

Replace Bottom Case
- Align one corner of the bottom case slightly offset, then slide it forward to engage the fingers.
- Push down along the edges to snap all clips into place.
- Reinstall all six pentalobe screws—two long ones at the top and four short ones at the bottom.
CONCLUSION:
This 2019 MacBook Pro LCD replacement involves careful disassembly, intricate cable routing, and precise screw management. Taking your time and following each step ensures a safe and successful repair. Always double-check cable connections and test functionality before final reassembly. With patience and the right tools, even a challenging repair like this can be completed. Remember, you can always find OEM and aftermarket parts at tekdep.com if needed.


VIDEO TUTORIAL:
Looking for a more in-depth tutorial? Check out our complete teardown video for a detailed step-by-step walkthrough.
MAIL-IN REPAIR SERVICE:
We offer professional screen replacement services. If you’re unsure about doing this repair yourself, send your device to our expert technicians for fast and reliable repair.
SHOP PARTS:

2019 MacBook Pro A2141
SHOP TOOLS:
Using precision tools ensures a safe and efficient repair. Always use the right tools to prevent damage to delicate components. We carry all the tools you saw in today’s repair at tekdep.com.

REPAIR TOOLS
Discover an extensive range of tools, including screwdrivers, tweezers, pry tools, and more, essential for all your repair and maintenance needs.
HAVE QUESTIONS?
We’re here to help! Contact us:
- Phone: 818-456-4479
- Email: [email protected]

YOUR EXPERIENCE MATTERS:

Microsoft Surface Laptop Studio Battery Replacement: Beginner’s Guide
The Microsoft Surface Laptop Studio is notoriously complex, but replacing its battery is surprisingly simple. Follow our step-by-step beginner's guide to safely remove the hidden fasteners and swap the backplate-mounted battery.

A3112 MacBook Pro M4 Teardown: Logic Board Extraction and Parts Pairing Rules
The 14-inch MacBook Pro M4 (A3112) brings powerful Apple Intelligence, but introduces a cryptographic minefield for DIY repair. Learn how to extract the logic board and bypass parts pairing restrictions.

MacBook Pro A1706 Teardown & Flexgate Diagnostic Guide
The MacBook Pro A1706 introduced the Touch Bar and a host of internal complexities. Our expert teardown guide breaks down the glued battery challenge, logic board extraction, and the infamous Flexgate issue.

Official TEKDEP Tutorials
Subscribe for expert tutorials, pro tech tips, and teardowns.
