
14-Inch 2022 MacBook Pro M2 Model A2779 – Basic Teardown Tutorial
OVERVIEW:
In this teardown guide, we walk through the complete disassembly of the 14-inch MacBook Pro M2 Model A2779. This model shares many similarities with its M1, M3, and M4 counterparts, with only slight internal differences. From removing the bottom case to extracting the logic board and LCD assembly, every detail is covered. This step-by-step guide is intended to help you understand the internal layout and aid in any part replacements or deep repairs you might need. Follow the steps carefully, and always use the right tools.
See the official Apple specs for the MacBook Pro M2
REPAIR TIME & SKILL LEVEL:
This repair is estimated to take about 2 to 3 HOURS to complete and is of ADVANCED difficulty, requiring technical precision, proper disassembly tools, and careful handling of delicate internal components.

STEPS:
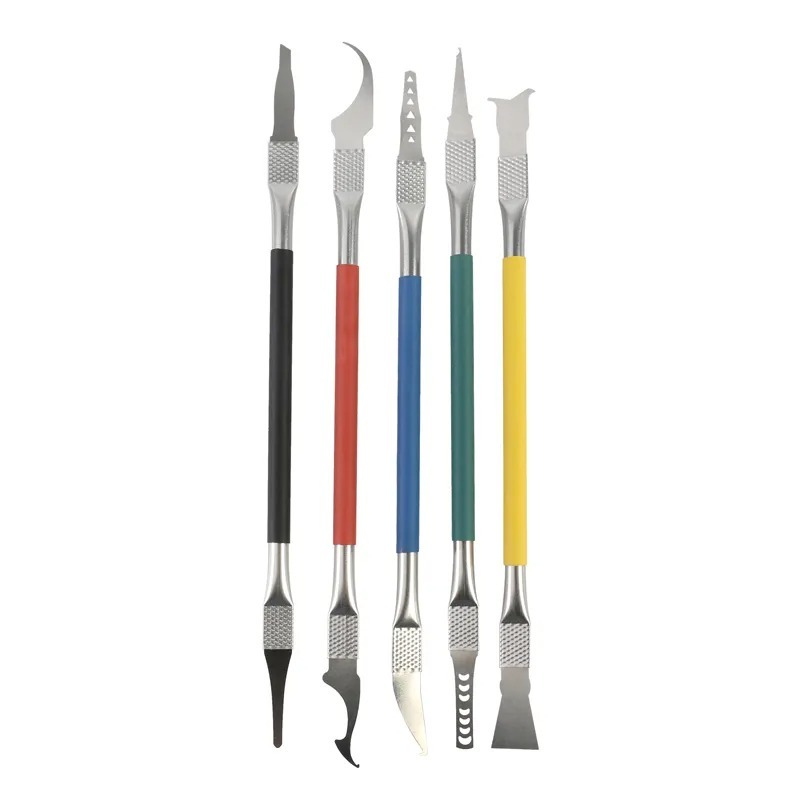
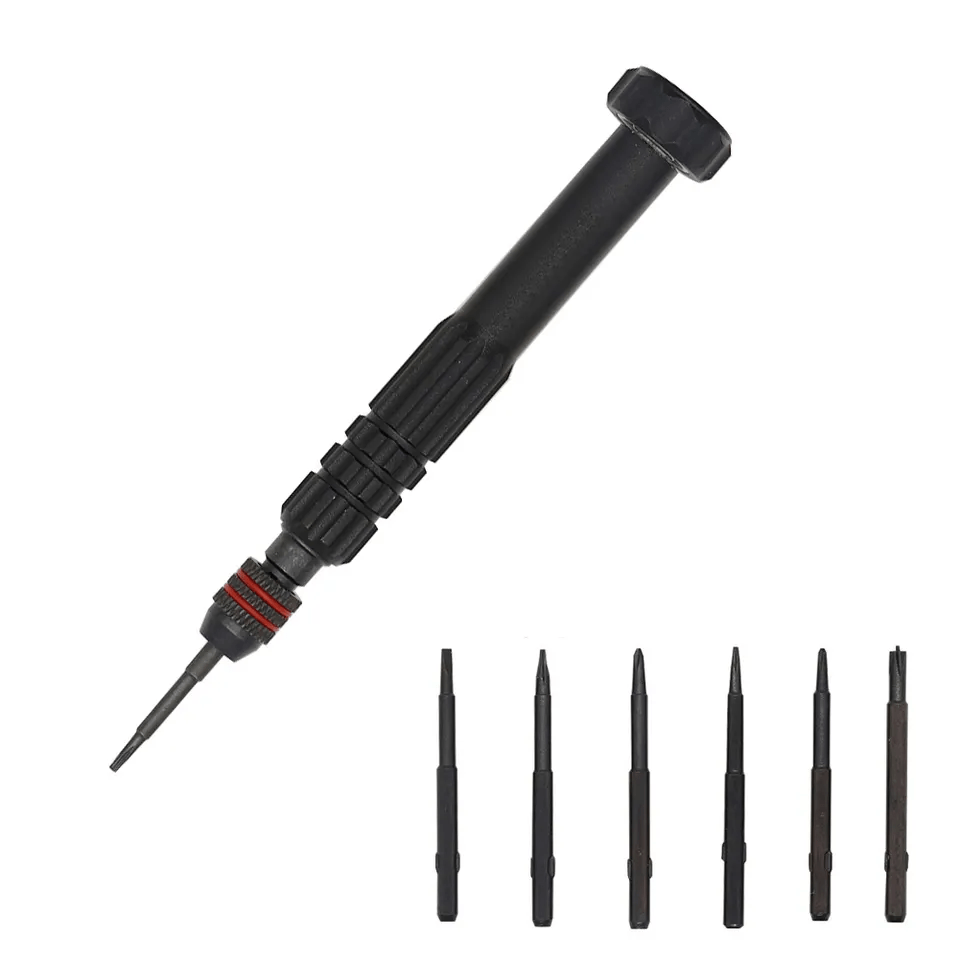
Tools You Need
For this repair, you will need a suction cup, Pentalobe screwdriver, T3, T5, T6, and T8 screwdrivers, a PL1 screwdriver, and a plastic spudger for safe disconnection of cables and removal of delicate components.
-

140 in 1 Steel Bit Precision Magnetic Screwdriver Tool Set with Case for Phone PC Electronics
$25.00 -
5 in 1 Chip Repair Thin Blade Remover Knife Disassemble Phone PC Rework Processor Tools
$9.00 -
6 in 1 Steel Bit Precision Magnetic Screwdriver Tool Set with Case for Phone PC Electronics
$8.00 -
Professional Spudger Kit, 10 in 1, Anti Static Pry Tools For Electronics and Display Repair
$7.00 -

9 in 1 Disassemble Multi Opening Repair Tools Kit Metal Pry Bar
$9.00
Remove Bottom Case
- Flip the MacBook Pro over and unscrew the eight pentalobe screws located on the bottom.
- Use a suction cup to help lift the bottom case while pushing the top case assembly away from you.
- Pull the bottom case towards yourself to fully detach it, revealing the internal clips and standoff layout.

-
A2779 Space Gray Bottom Case For MacBook Pro 14″ 2023 M2
-83% $24.77Was:$149.00

Disconnect Battery Management and Trackpad Flex
- Remove the two T3 screws securing the trackpad flex cable.
- Unplug the battery management unit flex cable, which reports battery status to the logic board.
- Peel back and fully disconnect the cable to expose the pancake screw underneath.

-
A2779 Trackpad Flex Cable 821-03214-A for 2023 Apple MacBook Pro 14†M2 Pro / Max
-55% $21.77Was:$48.00
Discharge Battery Connection
- Use a T5 screwdriver to remove the pancake screw connecting the jumper from the logic board to the battery board.
- With this step, the unit is now discharged and safe to continue working on.

Remove Wi-Fi Vent and LCD Screws
- Remove four silver T5 screws that secure the Wi-Fi vent module and LCD cables.
- Also remove the T5 screws for the LCD hinge covers and the long silver T5s beside the Wi-Fi module.

-
A2779 WiFi Antenna Module for 2023 Apple MacBook Pro M2 Pro / Max 14″
-78% $7.77Was:$35.00 -
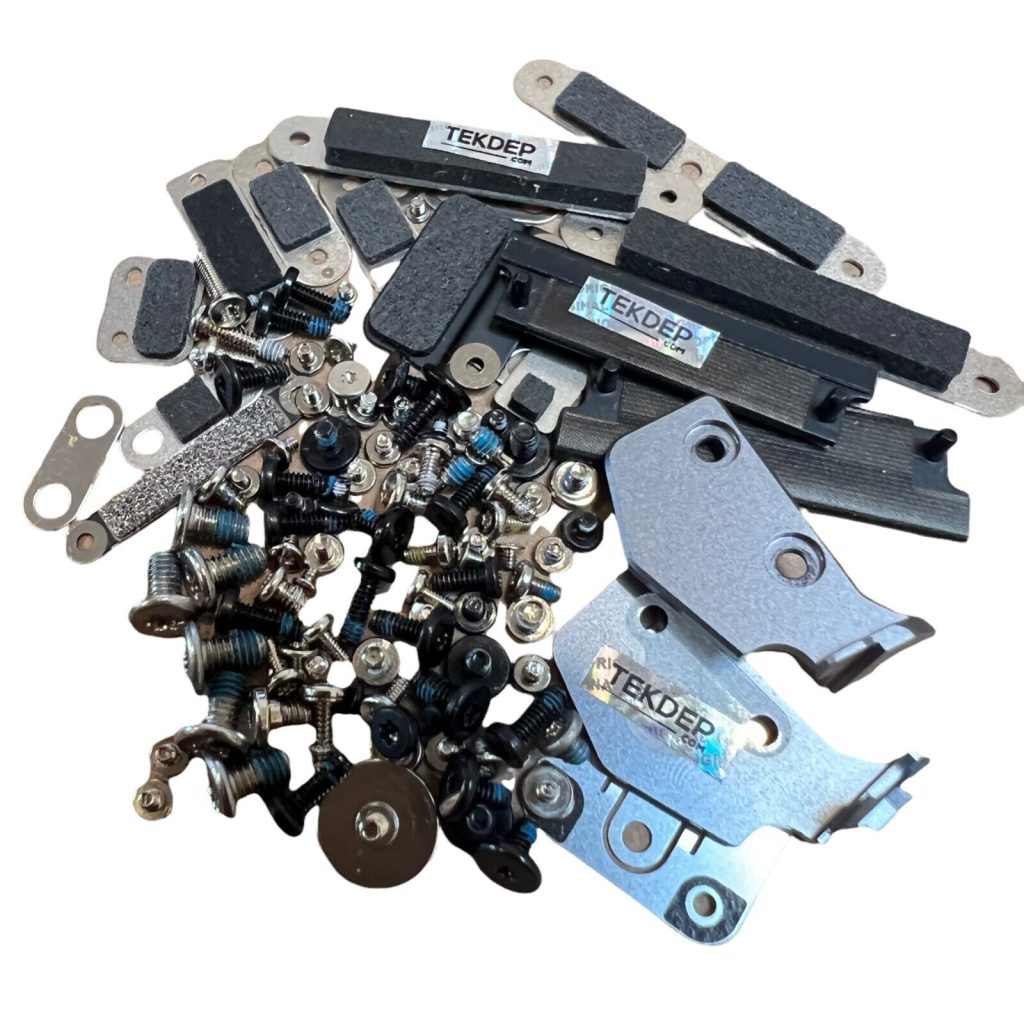
A2779 Complete Internal Screw Set, Brackets, LCD Hinge for 2023 Apple MacBook Pro 14†M2 Pro / Max
-56% $19.77Was:$45.00

Remove LCD Proximity Sensor Bracket
- Switch to a T3 screwdriver and remove the two T3 screws on the right-hand side.
- Take out the bracket for the LCD proximity sensor, which helps the unit detect the screen’s open/closed position.

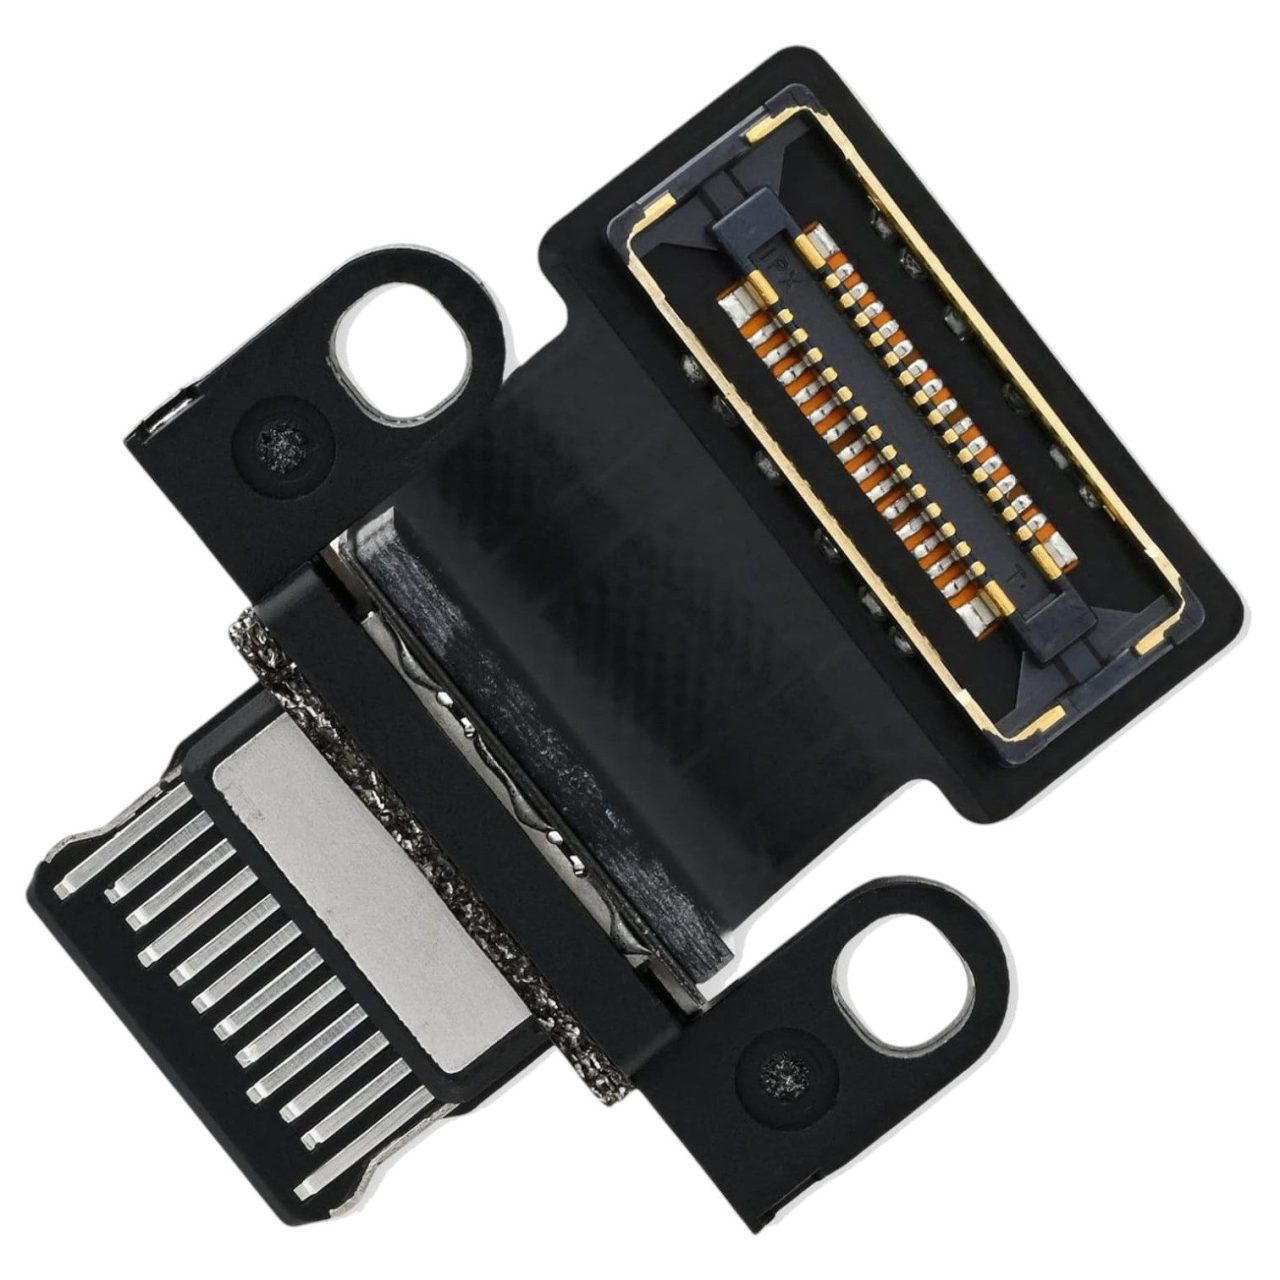
Disconnect LCD Connectors and Wi-Fi Antennas
- Remove the T3 screws and brackets holding the LCD display connectors to the logic board.
- Unscrew the T3 screws for the Wi-Fi antennas and unplug the antenna cables.
- Remove the nine PL1 screws securing the Wi-Fi vent module and take out the Wi-Fi antenna bracket.

Disconnect LCD Cables
- Carefully detach the LCD cables which clip into the top case.
- Remove the foam pads with pins underneath, designed to protect and align the cables.

Remove LCD Assembly
- Remove the hinge covers, then unscrew the six T8 screws (three per hinge).
- Open the MacBook to release and remove the LCD assembly, which includes the proximity sensor.
Remove Logic Board Brackets
- Using a T3 screwdriver, remove retention brackets around the logic board:
- MagSafe 3 charging port
- Thunderbolt 4 USB-C ports
- 3.5mm audio jack
- Touch ID sensor
- Final USB-C and HDMI ports on the left

Disconnect All Internal Cables
- Unplug the following in order:
- Touch ID flex cable
- Left USB-C port
- Left speaker
- Left CPU fan
- Keyboard flex cable
- Keyboard backlight cable
- Right CPU fan
- Right speaker
- Microphone array
- Audio jack
- Right USB-C ports
- MagSafe port
Remove Logic Board
- Use a T5 screwdriver to remove the board retention screws.
- Then use a T6 screwdriver to remove the three additional T6 screws.
- Don’t forget the two hidden T5 screws near the fan grommets.
- Lift the board from the left side and remove it carefully, ensuring grommets remain in place.
-
A2779 Logic Board –MacBook Pro 14 inch M2 Pro 16GB RAM, 512GB SSD (2023)
-7% $790.00Was:$849.00

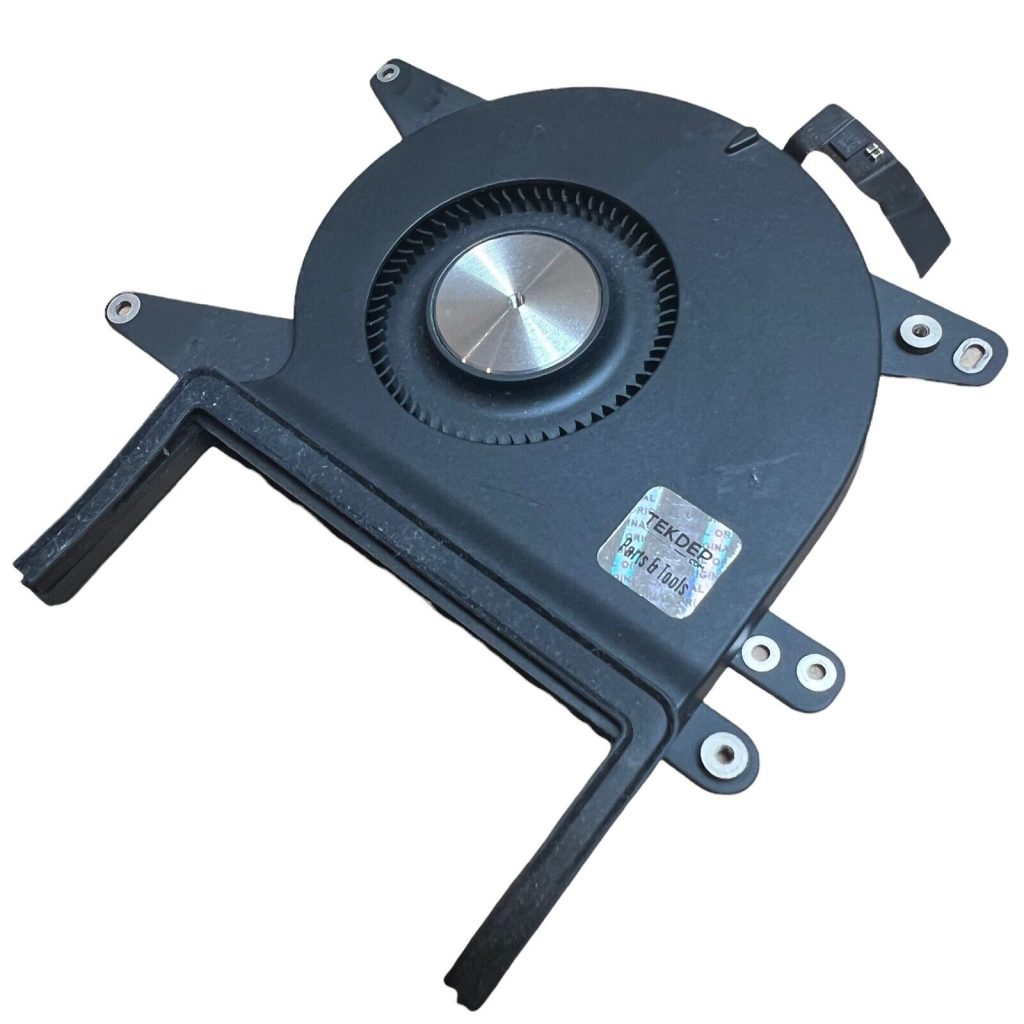
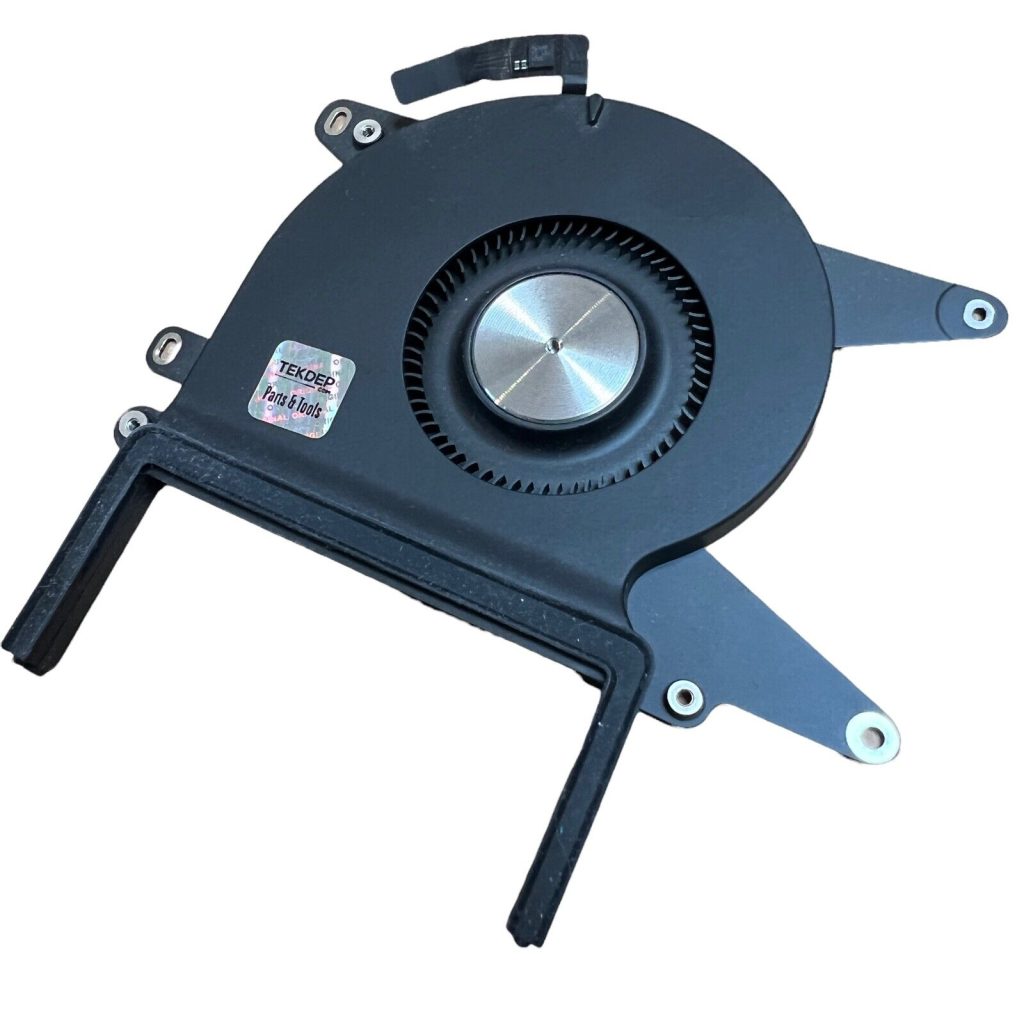
Remove CPU Fans
- Use a T3 screwdriver to remove three screws from around each CPU fan.
Use a T5 screwdriver to take out the last remaining screw per fan and remove the fans.
-
A2779 Left CPU Cooling Fan 610-00533 For 14†Apple MacBook Pro 2023
-61% $13.77Was:$35.00 -
A2779 Right CPU Cooling Fan 610-00532 For 14†Apple MacBook Pro 2023
-78% $7.77Was:$35.00
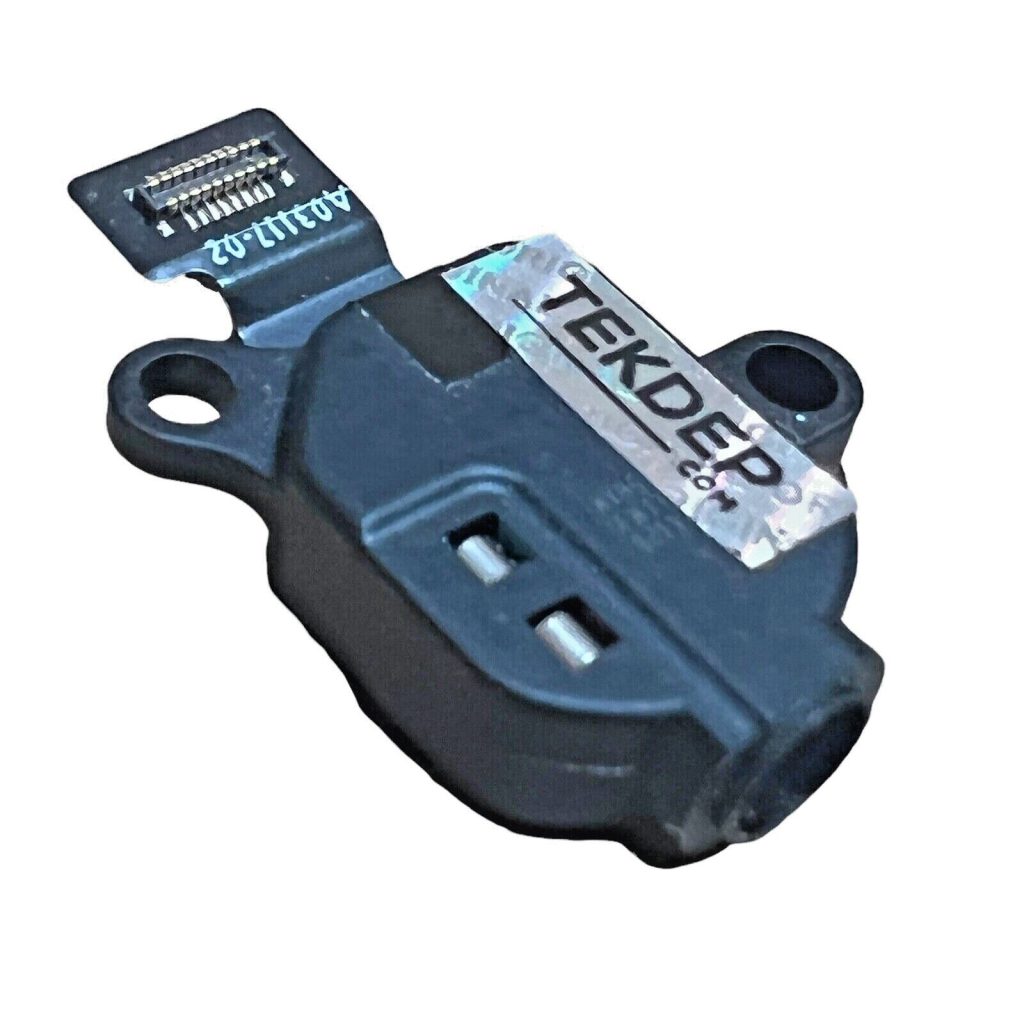
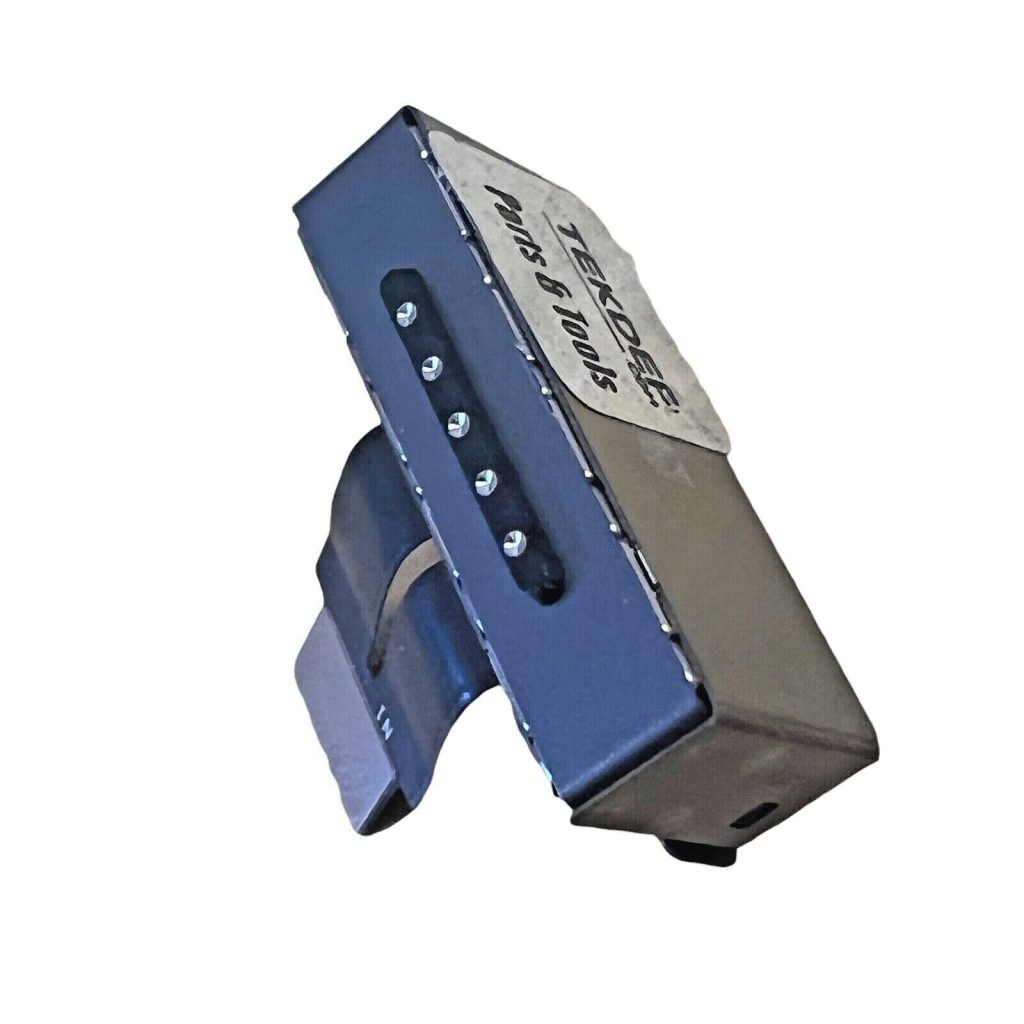
Remove Right-side Ports
- Start with the headphone jack, using a T5 screwdriver.
- Remove the USB-C ports, noting the mix of T5 (aluminum screws) and T3 screws at the top.
- Remove two T2 screws at the base of the MagSafe port to fully disconnect it.

-
A2779 Aftermarket USB-C I/O Board for 2021 M2 MacBook Pro 14″
$45.01 -
A2779 Headphone Audio Jack Flex Cable Board 03117-A for 2023 Apple MacBook Pro 14â€
$39.01 -
A2779 USB-C Board for 2023 Apple MacBook Pro 14â€
-70% $8.77Was:$29.00 -
A2779 MagSafe 3 Board for 2023 Apple MacBook Pro 14â€
-67% $9.77Was:$30.00
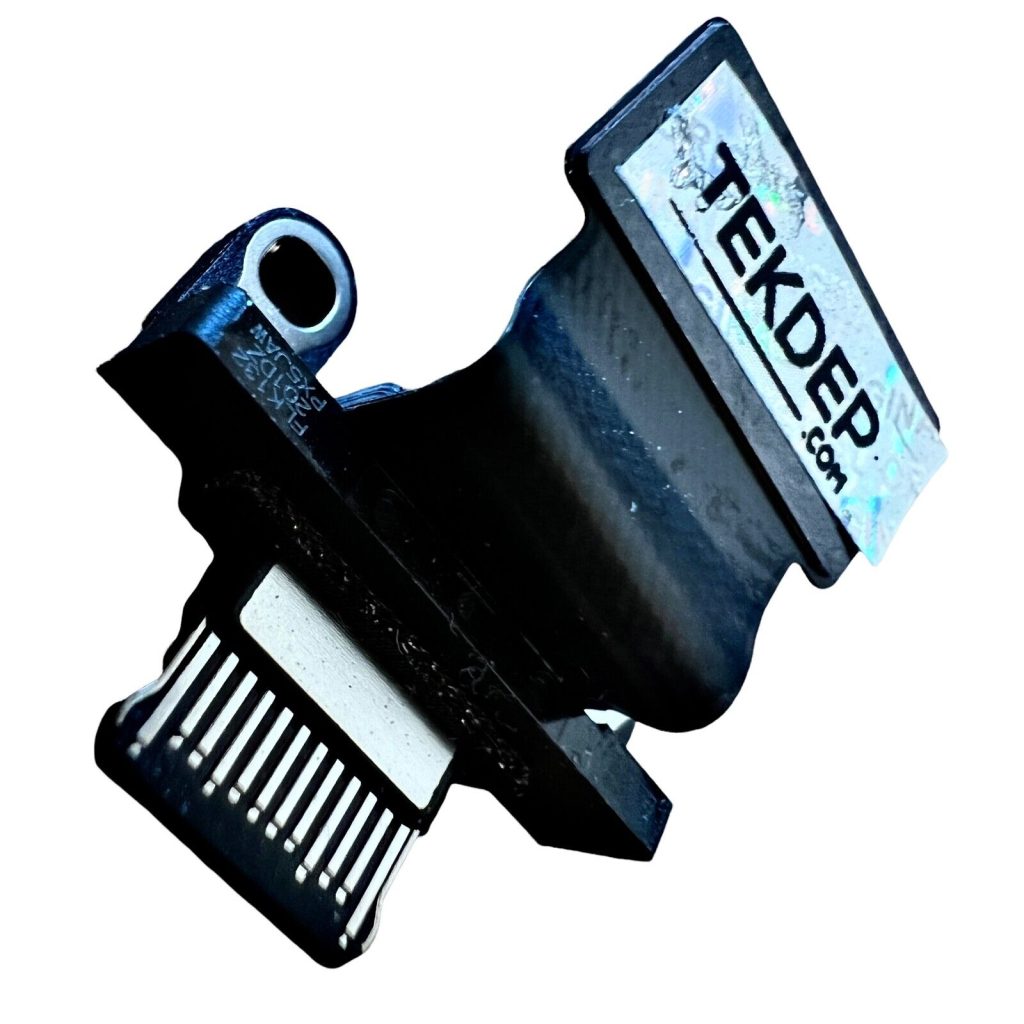
Remove Left-side Ports
- Remove two T5 screws holding the USB-C port on the left side.
- Disconnect the remaining ports from the board as shown.

Remove the Trackpad
- Remove all T5 screws (two in each corner and two in the center) securing the trackpad.
- Gently lift the unit to drop the trackpad out of the bottom of the top case.
- Unplug the trackpad flex cable and remove the tactile washers, which are crucial for the clicking feel.
-
A2779 Trackpad Touchpad Space Gray for 2023 Apple MacBook Pro 14â€
-50% $49.77Was:$99.00

Battery and Speaker Removal (Optional)
- Battery: Identify the pull tabs on the ends and center of the battery. Use these for removal.
- Speakers: Use isopropyl alcohol and a plastic spudger around the edges to loosen adhesive. Removal is tricky as speakers often break, so this is not shown in the teardown.

CONCLUSION:
This teardown of the 14-inch MacBook Pro M2 gives you full access to the internal components for repair or replacement. From the battery and trackpad to the logic board and LCD assembly, each part is accessible with the right tools. While some components like the speakers and battery are more delicate, most repairs are manageable with patience. Always follow the disassembly steps closely to avoid damage. Be sure to refer to our video for further visual assistance.


VIDEO TUTORIAL:
Looking for a more in-depth tutorial? Check out our complete teardown video for a detailed step-by-step walkthrough.
MAIL-IN REPAIR SERVICE:
We offer professional screen replacement services. If you’re unsure about doing this repair yourself, send your device to our expert technicians for fast and reliable repair.
SHOP PARTS:

2023 MacBook Pro A2779
SHOP TOOLS:
Using precision tools ensures a safe and efficient repair. Always use the right tools to prevent damage to delicate components. Investing in proper equipment makes complex repairs much easier.

REPAIR TOOLS
Discover an extensive range of tools, including screwdrivers, tweezers, pry tools, and more, essential for all your repair and maintenance needs.
HAVE QUESTIONS?
We’re here to help! Contact us:
- Phone: 818-456-4479
- Email: [email protected]

YOUR EXPERIENCE MATTERS:

Microsoft Surface Laptop Studio Battery Replacement: Beginner’s Guide
The Microsoft Surface Laptop Studio is notoriously complex, but replacing its battery is surprisingly simple. Follow our step-by-step beginner's guide to safely remove the hidden fasteners and swap the backplate-mounted battery.

A3112 MacBook Pro M4 Teardown: Logic Board Extraction and Parts Pairing Rules
The 14-inch MacBook Pro M4 (A3112) brings powerful Apple Intelligence, but introduces a cryptographic minefield for DIY repair. Learn how to extract the logic board and bypass parts pairing restrictions.

MacBook Pro A1706 Teardown & Flexgate Diagnostic Guide
The MacBook Pro A1706 introduced the Touch Bar and a host of internal complexities. Our expert teardown guide breaks down the glued battery challenge, logic board extraction, and the infamous Flexgate issue.

Official TEKDEP Tutorials
Subscribe for expert tutorials, pro tech tips, and teardowns.
